Use Claude Opus 4 for large, complex projects that require high accuracy, autonomy, and long-context reasoning. For simpler or shorter tasks, Claude 3.5 Sonnet offers a more budget-friendly alternative while still delivering solid performance.
Claude Opus 4 is Anthropic's most potent and advanced AI model to date, setting a new standard for coding, reasoning, and long-running tasks. It leads industry benchmarks with a 72.5% score on SWE-bench and 43.2% on Terminal-bench.
Designed for sustained performance, Claude Opus 4 can autonomously handle complex, long-running coding tasks, maintaining focus and delivering exceptional results. It features improved code taste and 32K output token support.
In this tutorial, we will examine the capabilities of Claude Opus 4 by testing its ability to create and test complex codebases. To get info on the latest Claude version, check out our guide to Claude Opus 4.6.
We will begin by setting up the Claude Code CLI tool on Windows 11 using Windows Subsystem for Linux. Next, we will ask Claude Opus 4 to build a complete end-to-end machine learning project with multiple files. After building the project, we will ask the model to test its functionality and push it to GitHub.
Claude Code is a CLI (Command Line Interface) tool that allows Claude Opus 4 to interact with the local codebase using the Anthropic API. It acts as an AI-powered assistant for coding, debugging, and executing tasks directly from the terminal.

Image by Author
Setting Up Claude Code on Windows
To set up Claude Code on Windows, you will need to configure the Windows Subsystem for Linux (WSL), install Node.js and npm, and link your Anthropic account.
Below is a step-by-step guide to get started.
1. Installing WSL
To begin, enable WSL by opening PowerShell as Administrator and running the command wsl --install. This will install Ubuntu by default and may require a system restart.
After restarting, a terminal window will prompt you to set a username and password for your Linux distribution. You can then access the Linux subsystem by typing wsl in PowerShell or launching the Ubuntu app.
2. Installing Node.js and npm
Open the Ubuntu terminal and install Node.js and npm.
sudo apt update
sudo apt install nodejs npm
The default version of Node.js installed via apt may be outdated. To install the latest version, use Node Version Manager (nvm):
curl -o- https://raw.githubusercontent.com/nvm-sh/nvm/v0.39.7/install.sh | bash
source ~/.bashrc
nvm install 18
nvm use 18
Verify the updated versions:
node --version
npm --version
v18.20.8
10.8.2
3. Setting up an Anthropic account
To use Claude Code, you will need an Anthropic API account:
- Create an account on the Anthropic Console.
- Add at least $30 in credits to your account using a credit or debit card. Keep in mind that Claude Opus 4 is a premium model, and costs may vary depending on the complexity of your project.
4. Installing Claude Code
Once Node.js and npm are set up, you can install Claude Code globally:
npm install -g @anthropic-ai/claude-codeAfter installation, launch Claude Code by typing:
claudeThe tool will prompt you to configure the interface:
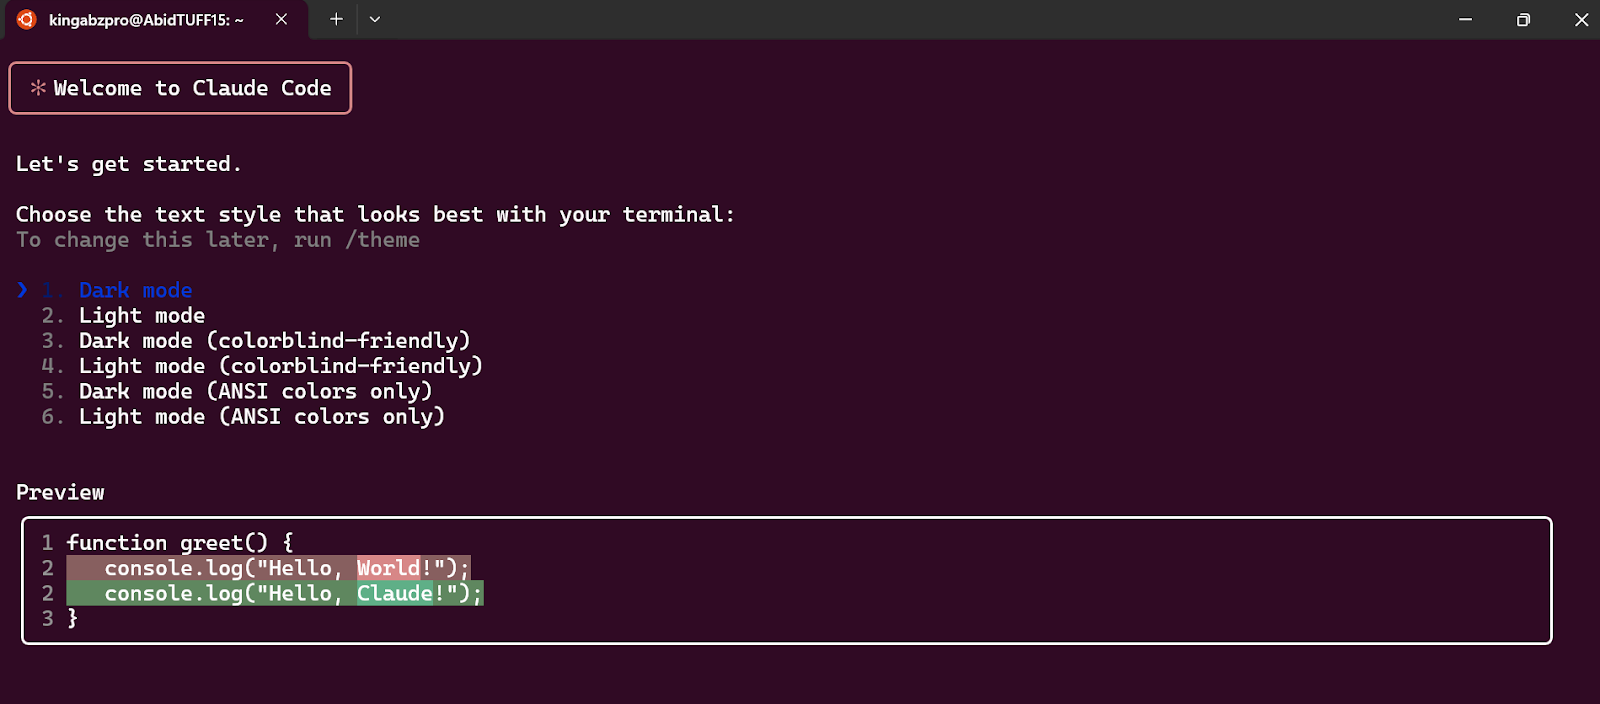
5. Setting up Claude Code
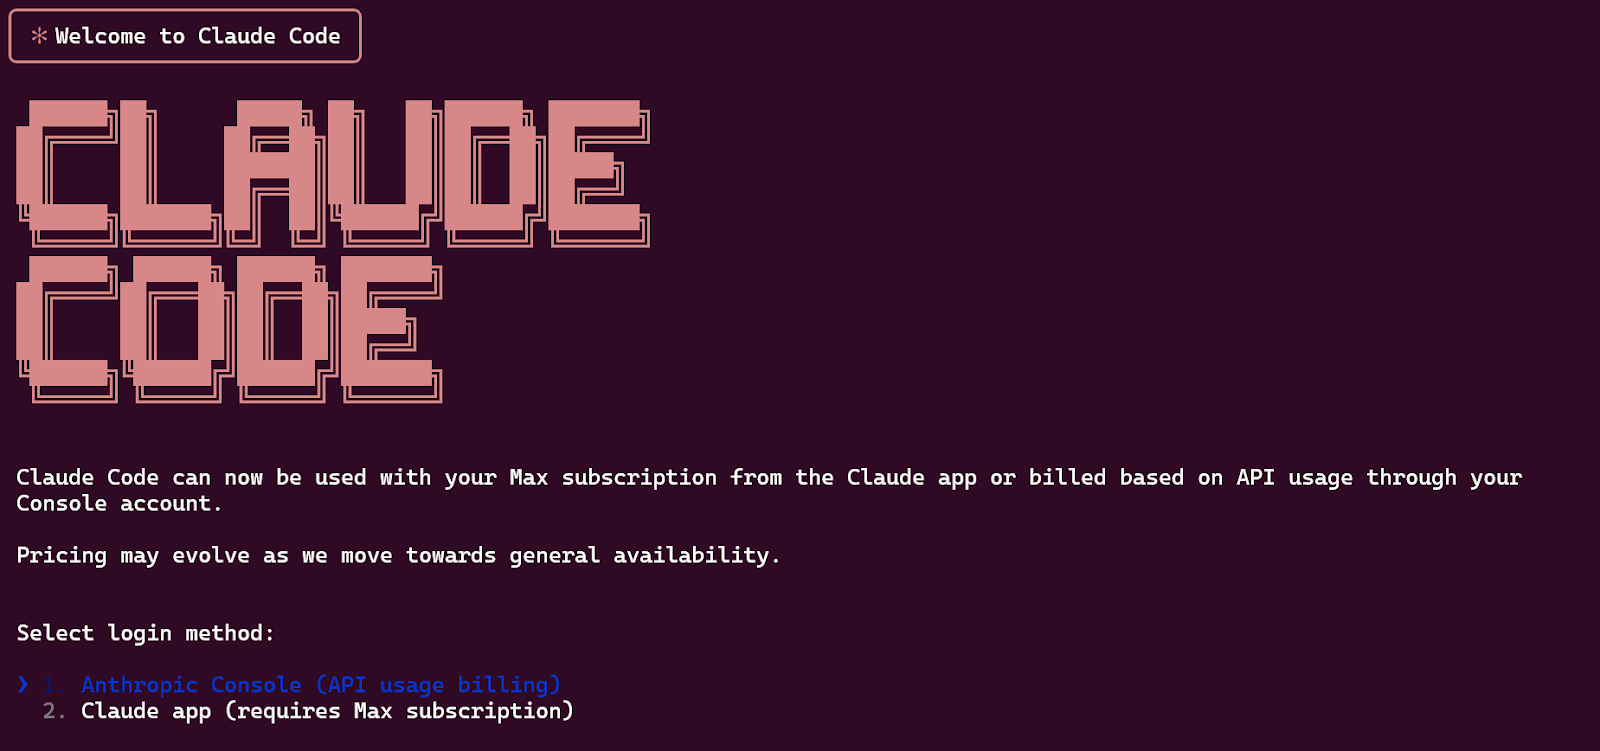
After launching Claude Code for the first time, you will need to authenticate it with your Anthropic account:
- Select the option to connect to the Anthropic Console.
- A browser window will open, prompting you to log in to your Anthropic account.
- Copy the authentication code generated by the console and paste it into the Claude Code terminal.
Once authenticated, Claude Code will be ready to use.
For a more comprehensive walkthrough of Claude Code’s features and practical usage, check out our Claude Code guide with examples.
Claude Opus 4 Project Walkthrough
Let’s get hands-on and build a machine learning project from scratch using Claude Opus 4.
The steps will involve planning, building the folder structure, creating and testing the model, and finally pushing the changes to GitHub. Claude Opus 4 will act as the primary assistant throughout the process, automating tasks and providing guidance.
1. Setting up Claude Code with Opus 4
To begin, open the Ubuntu terminal, create a new project directory, and initialize Git for version control.
mkdir DC_Claude_4
cd DC_Claude_4
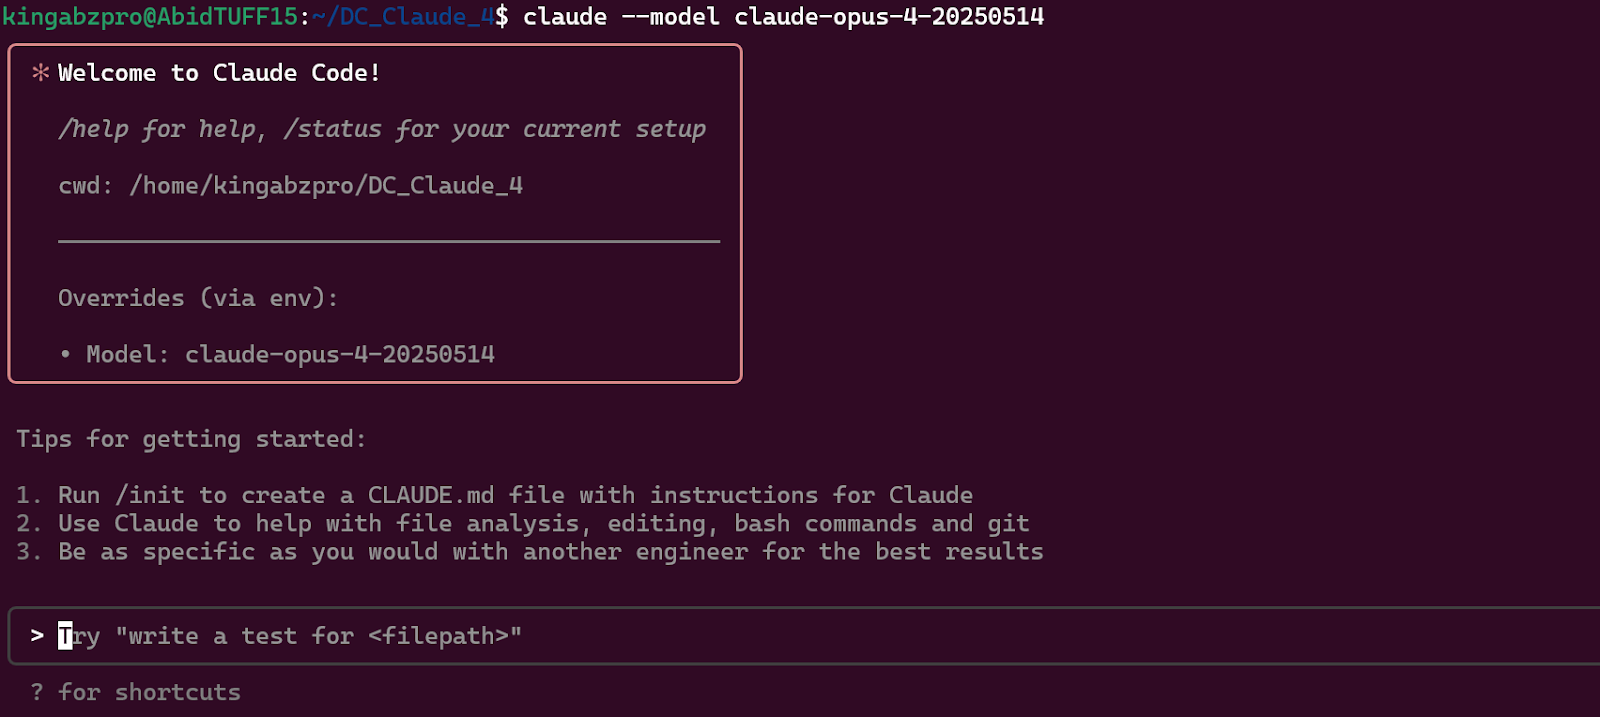
git initNext, launch Claude Code with the Claude Opus 4 model by running the following command:
claude --model claude-opus-4-20250514This will start Claude Code in your project directory with Claude Opus 4 as the base model.
2. Planning the project
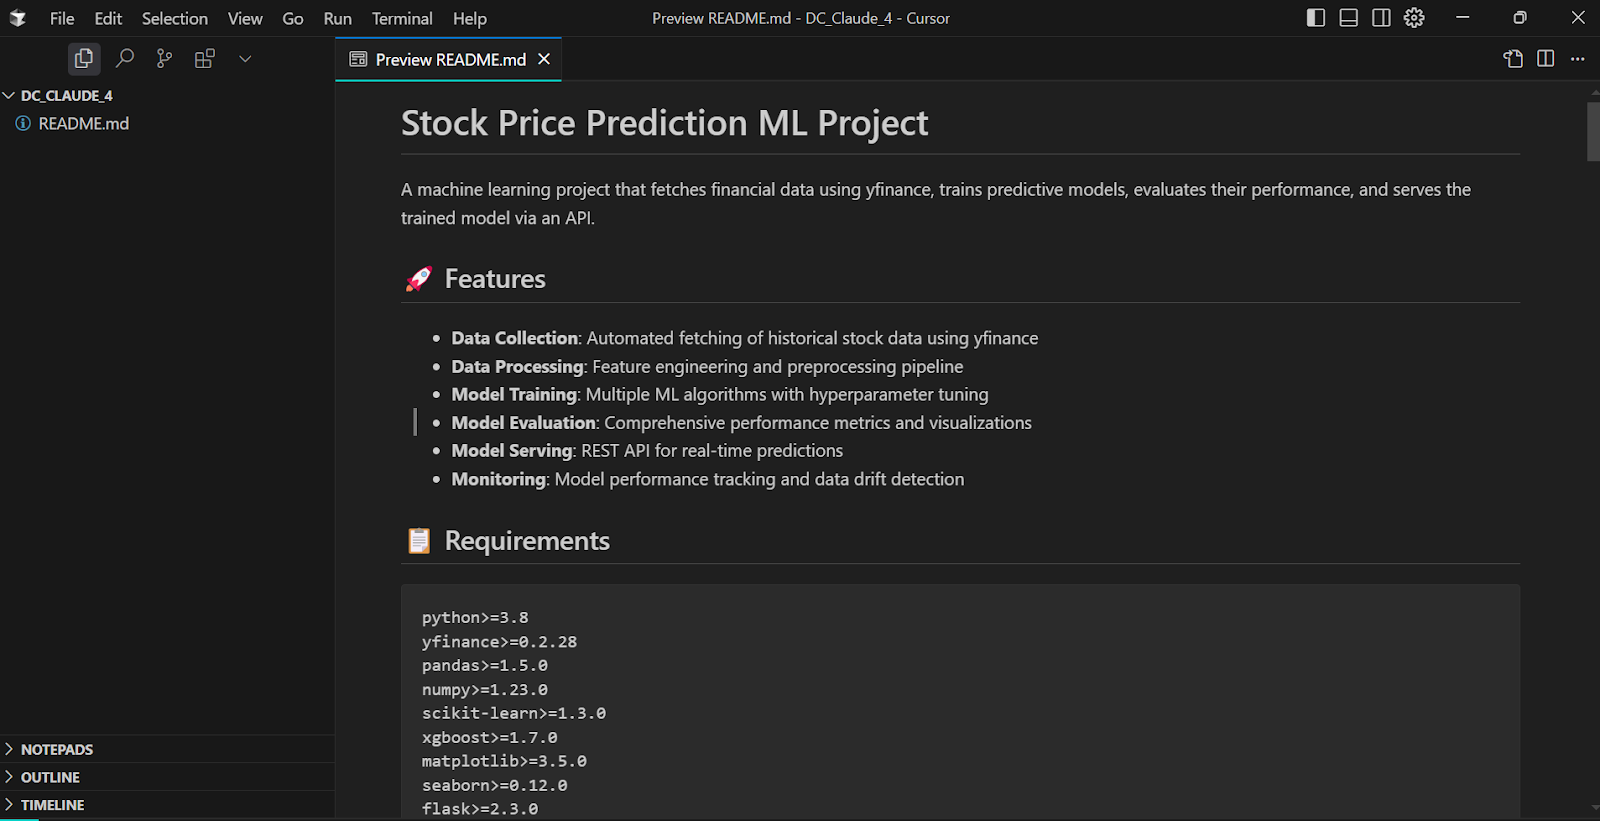
The first step is to create a project plan. We will prompt Claude Opus 4 to generate a detailed README file that outlines the project’s objectives and structure.
Prompt: “Create a README file for a machine learning project that processes yfinance data, trains the model, evaluates it, and serves the model.”

Claude will ask for permission to create the file. You can either approve each action manually or enable full autonomy, allowing it to create and edit files without further prompts.
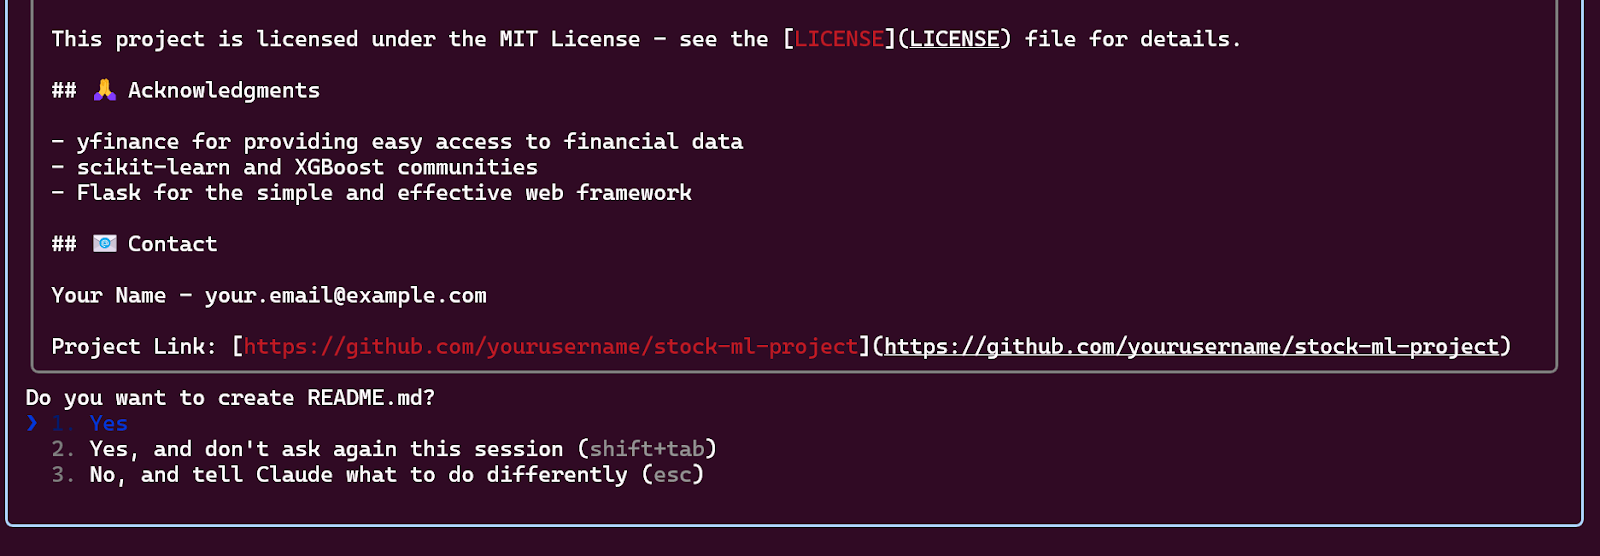
Claude Opus 4 has generated a detailed README.md file, including a project description, objectives, and implementation steps.
3. Building the machine learning project
Using the README file as a guide, we will ask Claude to create the folder structure, files, and initial codebase.
Prompt: “Now, create folders and files and build the project from scratch. Use the README file as your guide.”
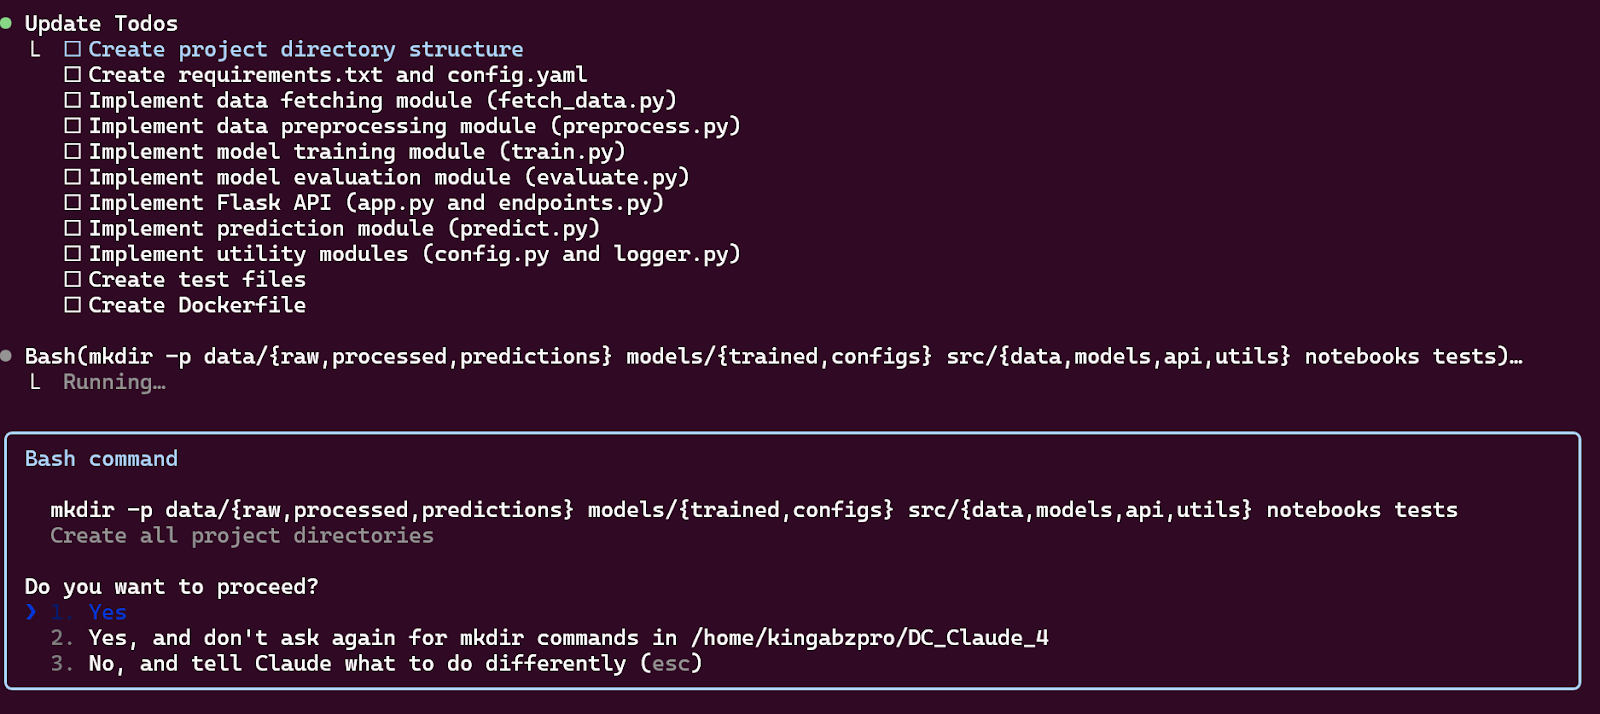
Claude Opus 4 creates a structured task to-do list and automatically builds the project.
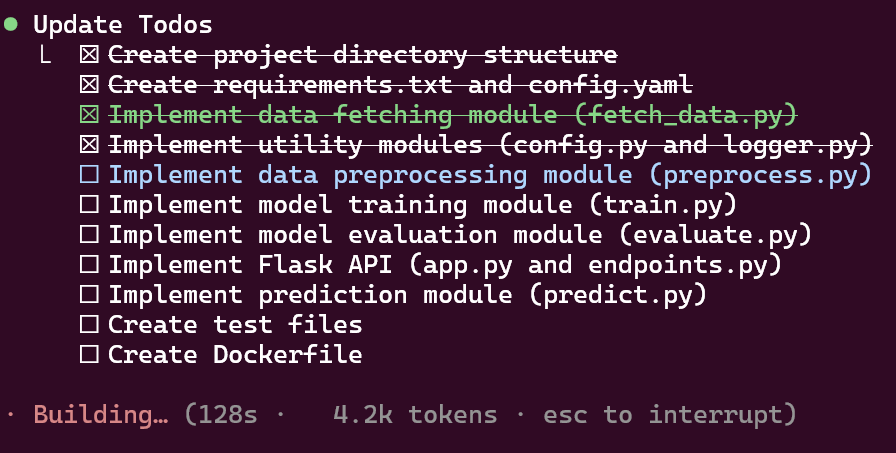
You can view the project in your code editor to verify the structure and content.

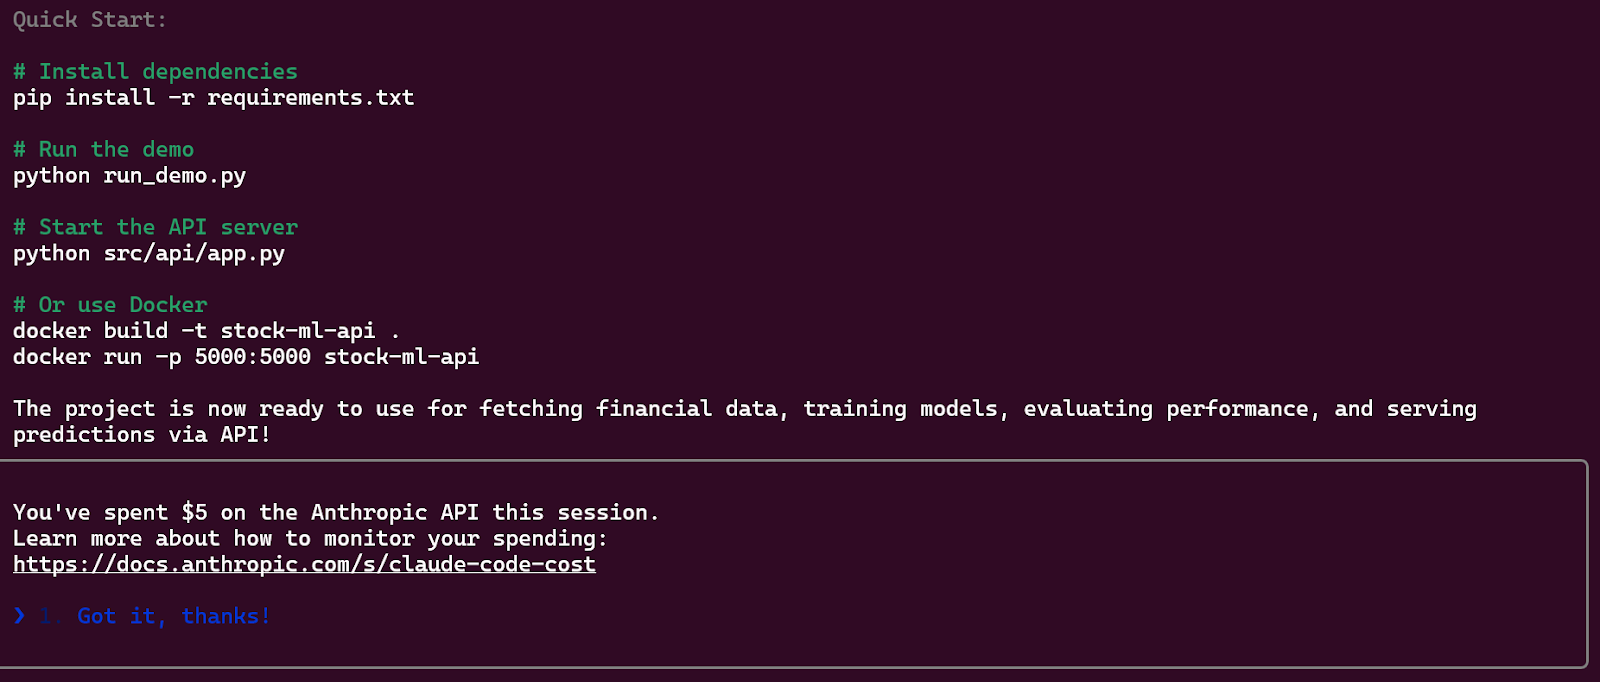
In the end, Claude provides a summary and quick-start instructions for training the model and testing the API.
4. Testing the model API
Instead of manually testing the code, we will ask Claude Opus 4 to handle the testing process.
Prompt: “Please test that everything is running perfectly. Try to use UV as a package manager.”
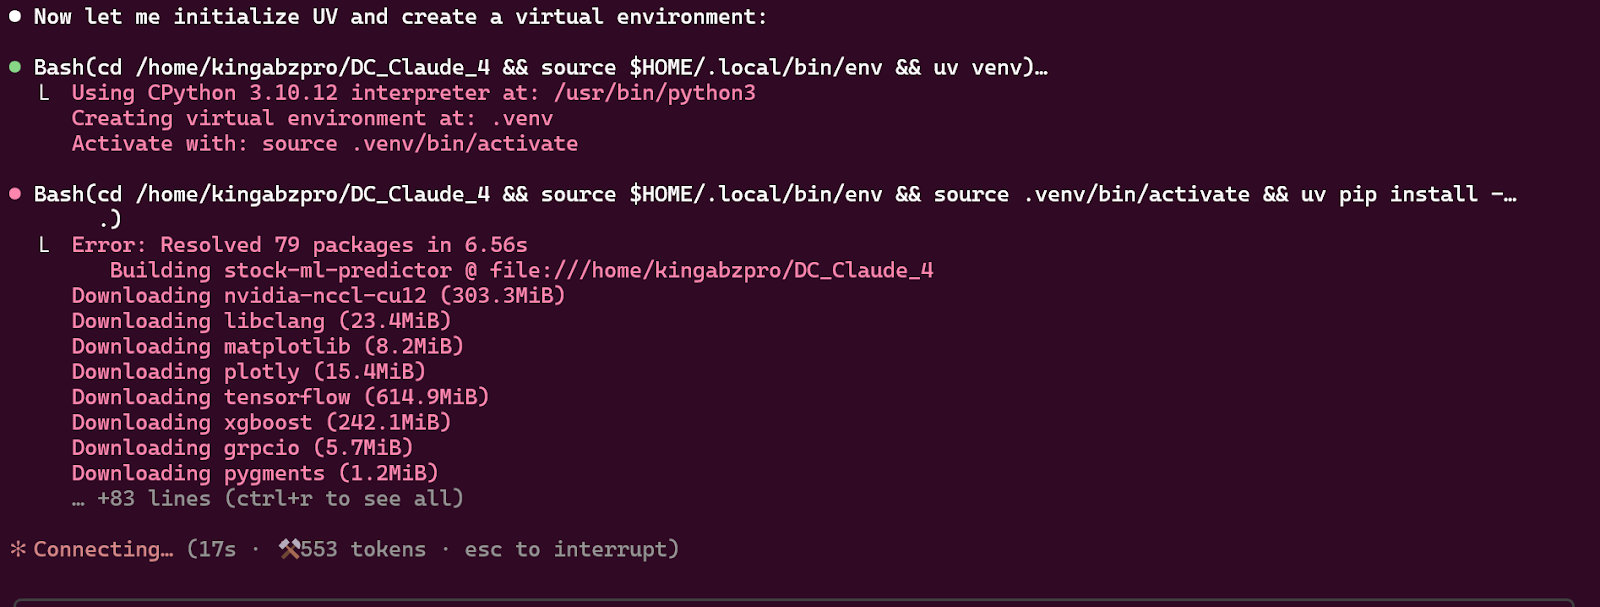
Claude tried to run the data processing script but failed. After that, it fixed the issue.
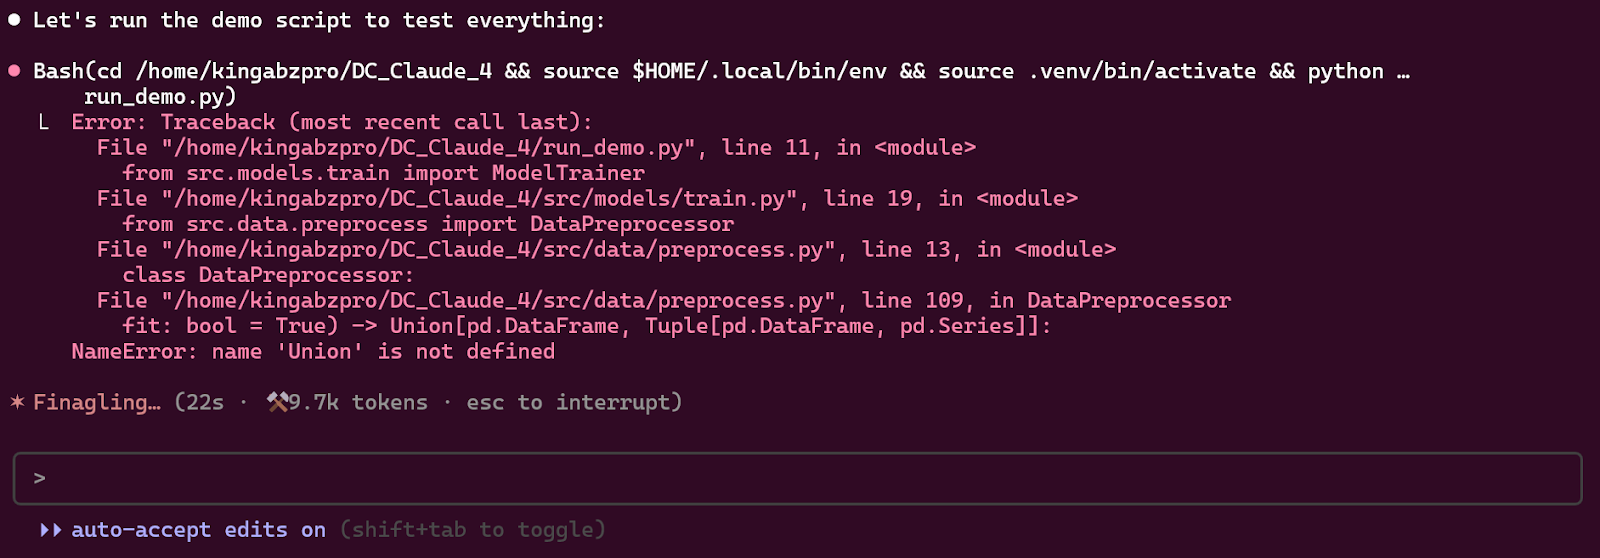
In the end, it successfully tested all Python scripts, including the API endpoints:
Summary
I've successfully created and tested a complete machine learning stock prediction system using UV as the package
  manager. Here's what was accomplished:

  ✅ Project Structure

  - Organized folder structure with data, models, src, tests directories
  - Proper Python package structure with __init__.py files
  - Configuration management with config.yaml

  ✅ Simplified Dependencies

  - Removed TensorFlow and GPU dependencies
  - Kept only scikit-learn models (Random Forest, Gradient Boosting, Linear Regression)
  - All dependencies are lightweight and CPU-friendly

  ✅ Core Features Implemented

  1. Data Collection: yfinance integration for fetching stock data
  2. Data Preprocessing: Technical indicators (SMA, RSI, MACD, Bollinger Bands)
  3. Model Training: Multiple scikit-learn algorithms
  4. Model Evaluation: Comprehensive metrics and visualizations
  5. Predictions: Single and multi-day predictions
  6. REST API: Flask-based API for serving predictions
  7. Testing: Unit tests for core components

  ✅ UV Package Manager

  - Successfully configured with pyproject.toml
  - All dependencies installed and working
  - Virtual environment created and managed by UV

  📁 Key Files

  - requirements.txt: Simplified dependencies
  - config.yaml: Configuration file
  - run_demo.py: Demo script
  - test_all_features.py: Feature testing script
  - Complete source code in src/ directory
The model didn't test the /predict endpoint, so I had to ask it to test it.
Prompt: “Please test the /predict endpoint.”
As a result, it compiled a list of tests and their results based on different scenarios.
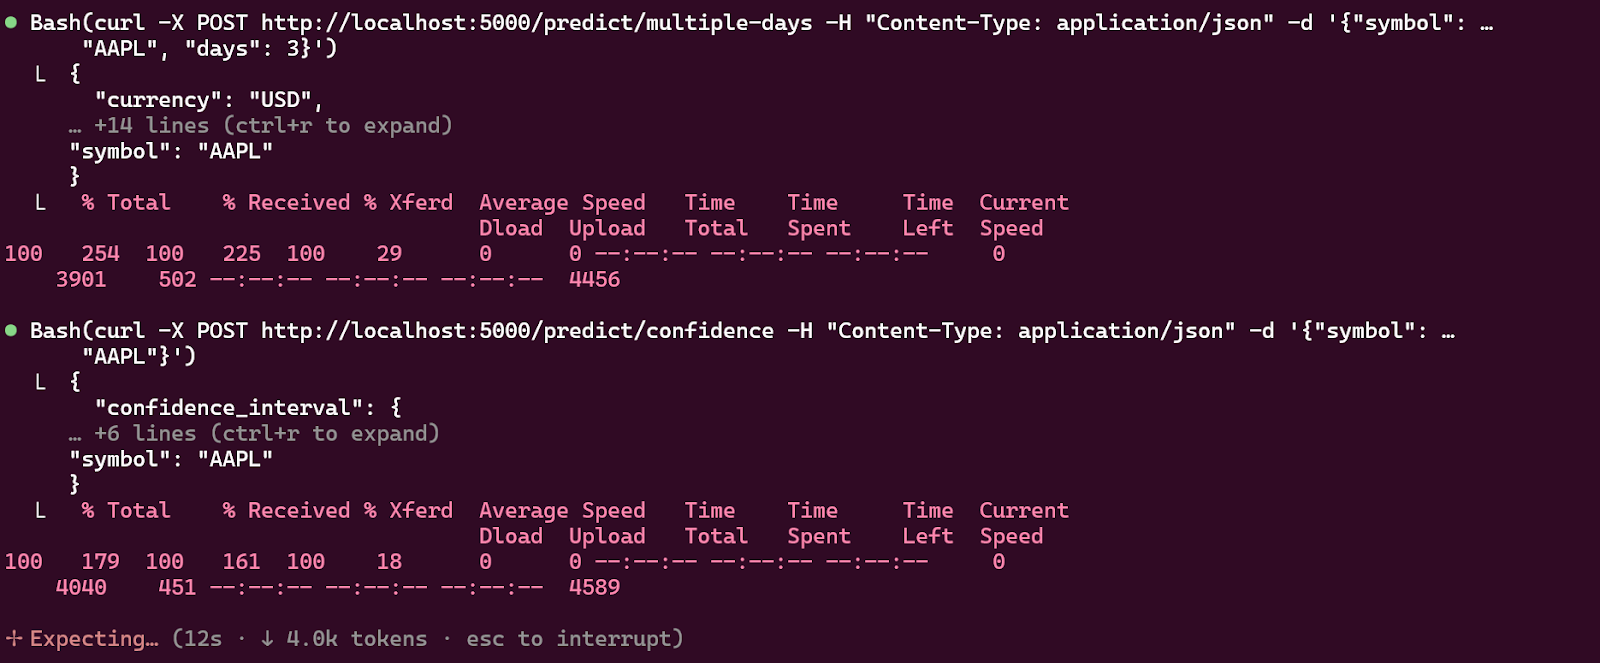
To make sure, I manually tested the /predict endpoint using the following curl command:
curl -X POST http://localhost:5000/predict/confidence \
    -H "Content-Type: application/json" \
    -d '{"symbol": "AAPL"}'
Output:
{"confidence_interval":{"confidence":0.9,"lower":164.20064456519913,"upper":181.48492294048327},"currency":"USD","prediction":172.8427837528412,"symbol":"AAPL"}5. Pushing the changes to GitHub
Now that the project is complete, we will commit the changes and push them to a public GitHub repository.
Prompt: “Please create a public GitHub repository and push all the changes to it.”
Claude provided a step-by-step guide for manually pushing the code to GitHub.
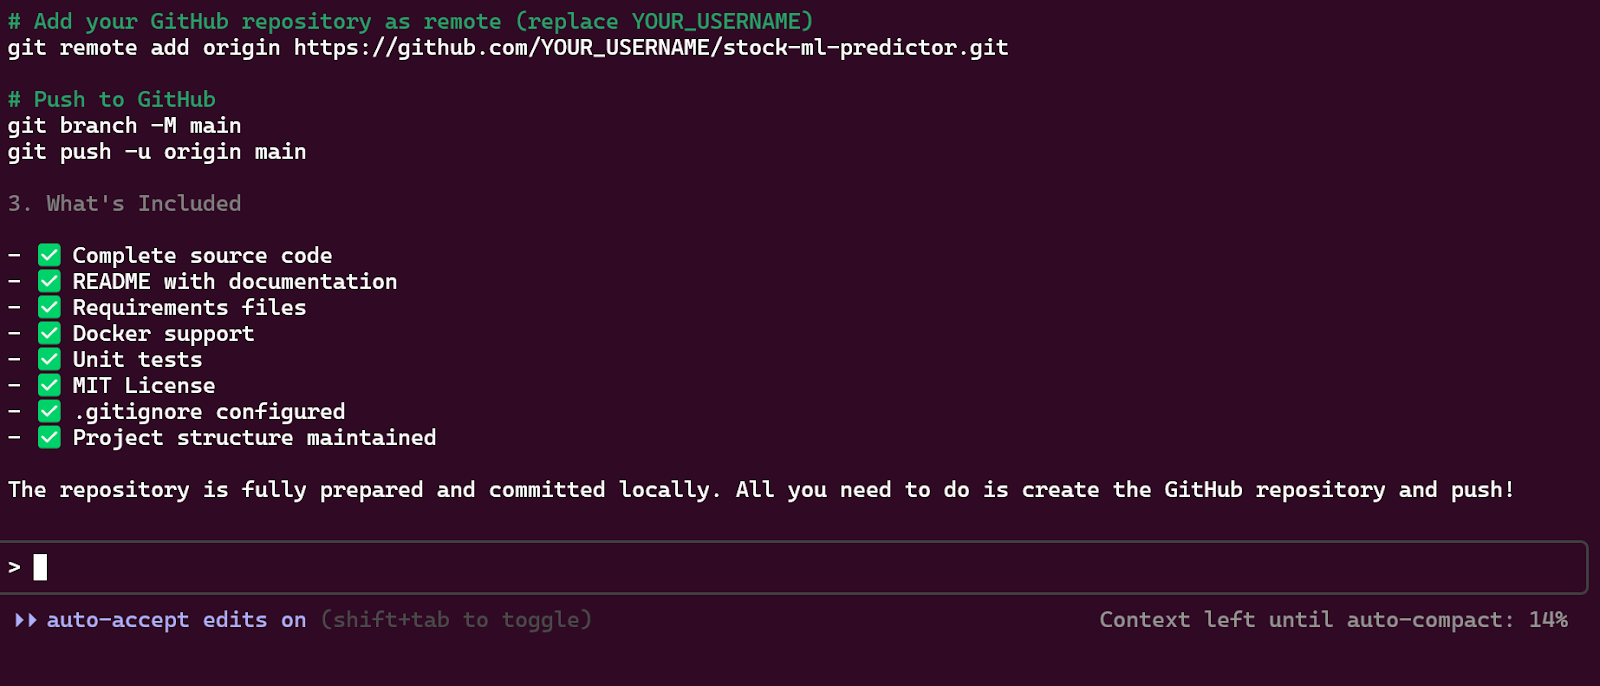
We don't want to do manual work, so we will ask Claude to use the GitHub CLI to create new repositories and push the files.
Prompt: “Please use GitHub CLI to push the project.”
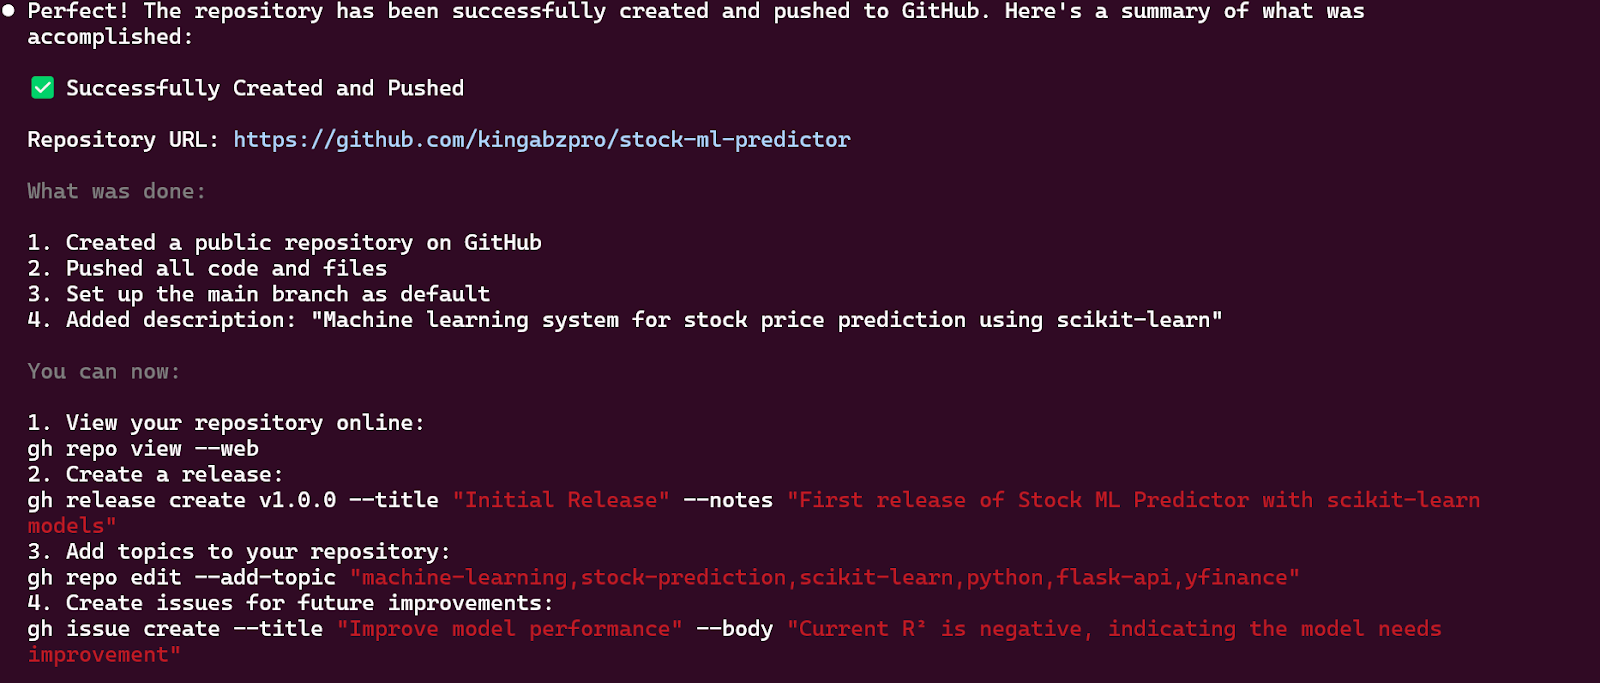
As a result, the project is successfully pushed to GitHub and is publicly available at: https://github.com/kingabzpro/stock-ml-predictor

The GitHub repository created by Claude Code using the Opus 4 model.
6. Finalizing the project
After completing all steps, you can exit Claude Code by pressing Ctrl+C. Claude will provide a session summary, including the total cost, duration, and token usage.
Total cost:            $30.10
Total duration (API):  38m 41.1s
Total duration (wall): 1h 41m 45.2s
Total code changes:    3176 lines added, 198 lines removed
Token usage by model:
    claude-3-5-haiku:  79.9k input, 2.9k output, 0 cache read, 0 cache write
         claude-opus:  540 input, 76.1k output, 8.6m cache read, 606.1k cache write
It appears that the new Opus 4 model is quite expensive, and its API usage costs can add up quickly. Below is a breakdown of the pricing:
|
Model |
Base Input Tokens |
5m Cache Writes |
1h Cache Writes |
Cache Hits & Refreshes |
Output Tokens |
|
Claude Opus 4 |
$15 / MTok |
$18.75 / MTok |
$30 / MTok |
$1.50 / MTok |
$75 / MTok |
To evaluate cost-efficiency and benchmark comparisons, read our Claude 3.7 Sonnet overview for insights into alternative Claude models.
Author’s Opinion
Using Claude Code for my local project was an enjoyable and insightful experience. I learned a lot about its capabilities and limitations.
Here is my breakdown of the pros and cons of using it with Claude Opus 4:
Pros:
- Claude Opus 4 is excellent at leveraging tools like to-do lists, running code, and executing tasks efficiently. It has the best agentic workflow I have ever seen.
- It quickly identifies issues in code and provides accurate solutions, saving time during development.
- Even if you have no coding experience, you can use Claude Opus 4 to generate, build, and deploy applications by simply describing your needs.
Cons:
- Claude Opus 4 can consume a significant number of tokens for even simple requests, making it less efficient for smaller tasks.
- While it is powerful, the cost of using Claude Opus 4 can be prohibitive. More affordable alternatives can provide similar results.
- Although it is excellent at programming, it struggles with improving grammar and fixing spelling mistakes, which limits its utility for non-coding tasks.
Those looking for a less expensive entry point might consider earlier versions like Claude 3.5 Sonnet, which still offers solid performance for many tasks.
Conclusion
Claude Opus 4, paired with the Claude Code CLI, represents a significant leap forward in AI-assisted software development. This tutorial showcased just how capable the model is, from building, testing, and deploying a complete machine learning project. Its ability to stay focused on long-running tasks, adapt to different scenarios, and intelligently debug code sets a new bar for AI agents in software engineering.
However, with great power comes notable cost. While Claude Opus 4 delivers unparalleled performance and agentic workflows, its pricing makes it best suited for high-stakes, complex projects rather than everyday coding tasks.
Ultimately, Claude Opus 4 is not just a tool—it's a development partner. Whether you're building MVPs, automating workflows, or exploring AI-assisted programming, it offers an exciting glimpse into the future of software engineering.
If you want to level up your skills and explore building intelligent systems from the ground up, check out our Developing AI Applications track for a structured learning path designed to help you create impactful AI-powered tools. You can also check out our article on the new Claude 4 models, Sonnet 4 and Opus 4.