Program
Kontainerisasi dan Virtualisasi dengan Docker dan Kubernetes
13 Hr
Autonomous AI agents are changing how people work with software. Instead of switching between apps and tools, you can give a simple text command and let the agent handle the task for you. That can include setting reminders, helping with emails, supporting project management, or assisting with coding and writing.
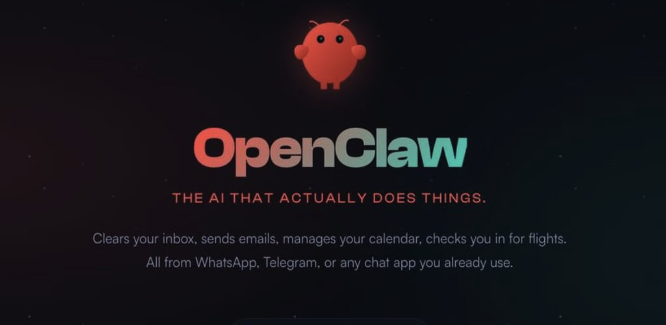
Tools like OpenClaw have made this idea much more practical. They show what is possible when an AI agent is always available on your laptop or phone. At the same time, larger agent systems can feel heavy, complex, and difficult to manage. They may introduce security concerns, require more setup, and be more than you need for a personal local workflow.
That is where NanoClaw comes in. NanoClaw is a lighter local-first alternative that is easier to run and experiment with on your own machine. It is also designed with security in mind, using Docker-based isolation to keep your environment contained and your data protected.
In this tutorial, you will set up NanoClaw on Windows using WSL and prepare the environment step by step. You will install the required system tools, set up Node.js, clone the NanoClaw repository, connect authentication, and get the project running locally.
For a comparison of the two agentic tools, I recommend reading our NanoClaw vs OpenClaw guide.
Before you begin, you’ll need a fairly recent Windows 10/11 PC that supports WSL 2 and hardware virtualization, has enough RAM (at least 4 GB, ideally 8 GB or more) and disk space (around 20–30 GB free) to run Docker Desktop and an Ubuntu WSL environment.
Start by installing WSL on Windows. Open PowerShell as Administrator and run:
wsl --installAfter installation, restart if needed, then check your setup:
wsl --statusYou want your distribution to be running on WSL 2. This matters because Claude Code supports WSL on Windows, and Anthropic notes that sandboxing works with WSL 2 while WSL 1 is not supported.
Once WSL is ready, launch Ubuntu:
wsl
Inside Ubuntu, update the system and install the basic development tools:
sudo apt update && sudo apt upgrade -y
sudo apt install -y build-essential curl git wget
This gives you a clean Linux environment with the core tools needed for the rest of the setup.
Before you install NanoClaw itself, you need to prepare the tools it depends on.
In this part, you will install Node.js so the project can run its JavaScript tooling, make sure Docker is available inside WSL so NanoClaw can use isolated containers, and install Claude Code, which you will use to run the guided NanoClaw setup.
The easiest way to install Node.js in WSL is with NVM, the Node Version Manager. This gives you a clean and flexible way to manage Node versions without relying on the system package manager.
Run the following commands inside your Ubuntu terminal:
curl -o- https://raw.githubusercontent.com/nvm-sh/nvm/v0.40.4/install.sh | bash
\. "$HOME/.nvm/nvm.sh"
nvm install 24
node -v
npm -v
After this, you should see output similar to:
v24.14.1
11.11.0
Node.js is needed because NanoClaw uses a JavaScript-based setup and dependency flow. Installing it through NVM is useful because it keeps your environment easier to manage later. If you ever need to switch versions or reinstall Node, you can do it without affecting the rest of your Linux setup.
NanoClaw runs in a more secure and controlled way by using Docker-based container isolation. That means Docker needs to be installed on Windows and connected properly to your WSL environment.
First, download Docker Desktop from the Docker website and install it on Windows. Then open Docker Desktop, go to Settings, make sure the option Use the WSL 2-based engine is enabled, and under Resources → WSL Integration, turn on integration for your Ubuntu distro.
Once that is done, go back to your Ubuntu terminal and run:
docker --version
docker ps
You should see output similar to this:
Docker version 29.1.3, build f52814d
CONTAINER ID   IMAGE     COMMAND   CREATED   STATUS    PORTS     NAMES
This is a good sign. It means Docker is available inside WSL and ready to be used by NanoClaw.
With Node and Docker ready, the next step is to install Claude Code inside WSL. This is the interface you will use to complete NanoClaw’s guided setup.
Run:
curl -fsSL https://claude.ai/install.sh | bash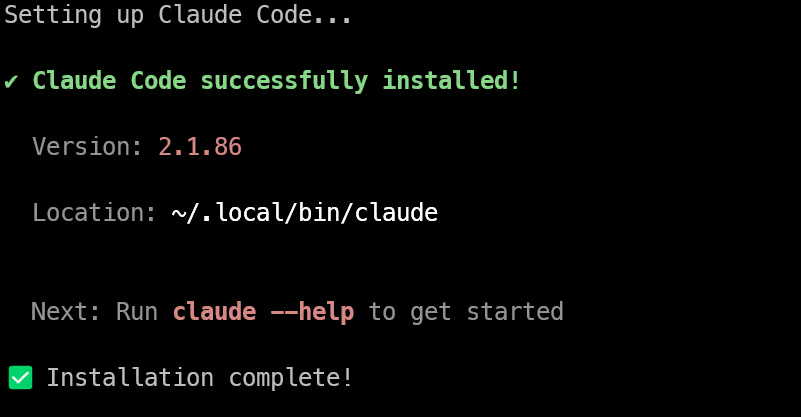
This installs Claude Code directly into your Ubuntu environment.
Now that your environment is ready, it is time to download NanoClaw and open it in Claude Code.
Start by cloning the repository and moving into the project folder:
git clone https://github.com/qwibitai/nanoclaw.git
cd nanoclaw
If you plan to customize NanoClaw later, you can fork the repository first and clone your own copy instead. For a first setup, cloning the main repository is completely fine.
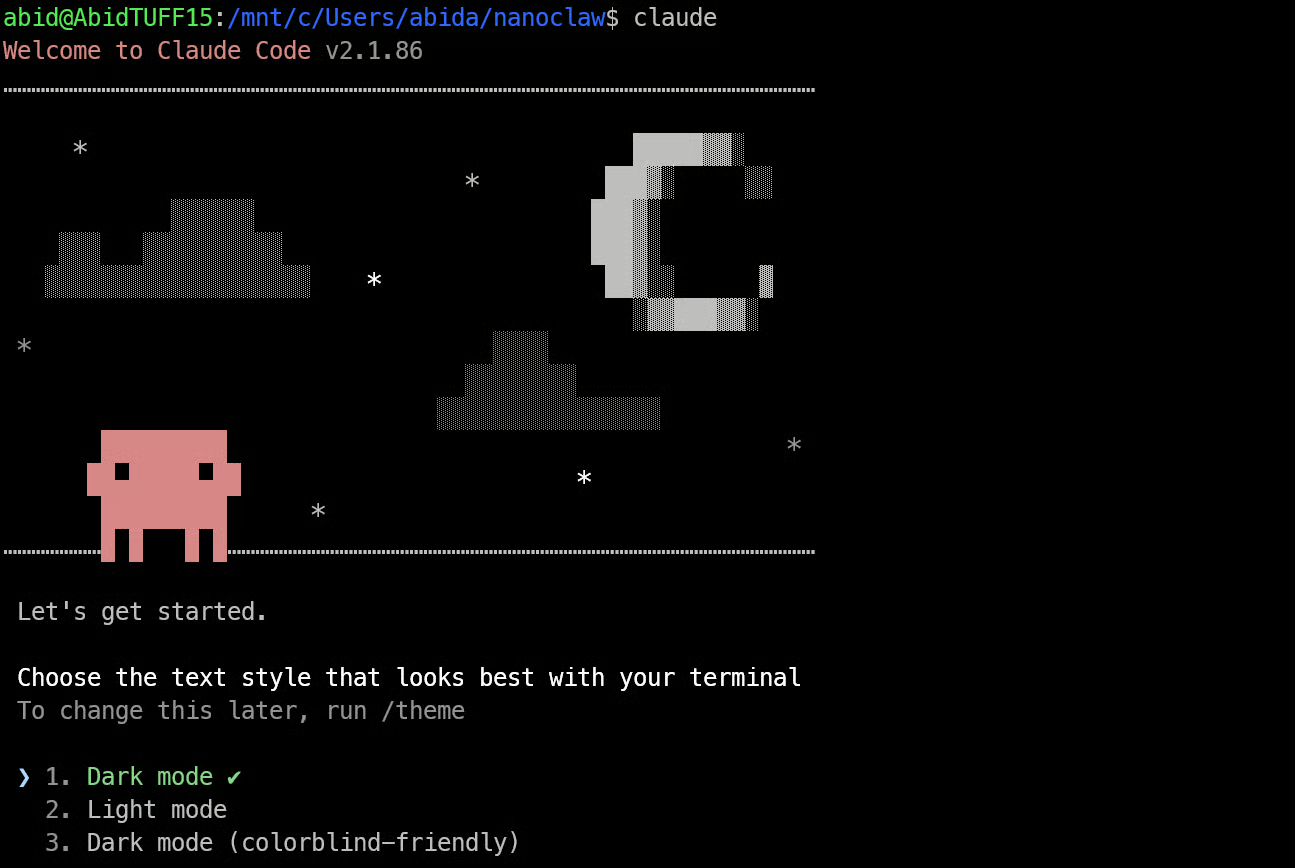
Once you are inside the nanoclaw folder, run:
claudeThe first time you launch Claude Code, it will guide you through the initial sign-in and configuration flow. You can sign in with a Claude.ai account, or use direct Anthropic API access with an API key.
If you already have a Claude Pro or Max subscription, the sign-in process is usually the simplest route. If you are working with API billing instead, Claude Code can also be configured to use your Anthropic API key.
Once sign-in is complete, Claude Code will open inside your NanoClaw project and you will be ready to continue with setup.
With Claude Code open inside the nanoclaw folder, you can now start the full setup.
Run:
/setupThis starts NanoClaw’s guided setup flow.
Once you run /setup, Claude Code begins preparing NanoClaw for you. This part can take a little time, so let it work through each stage.
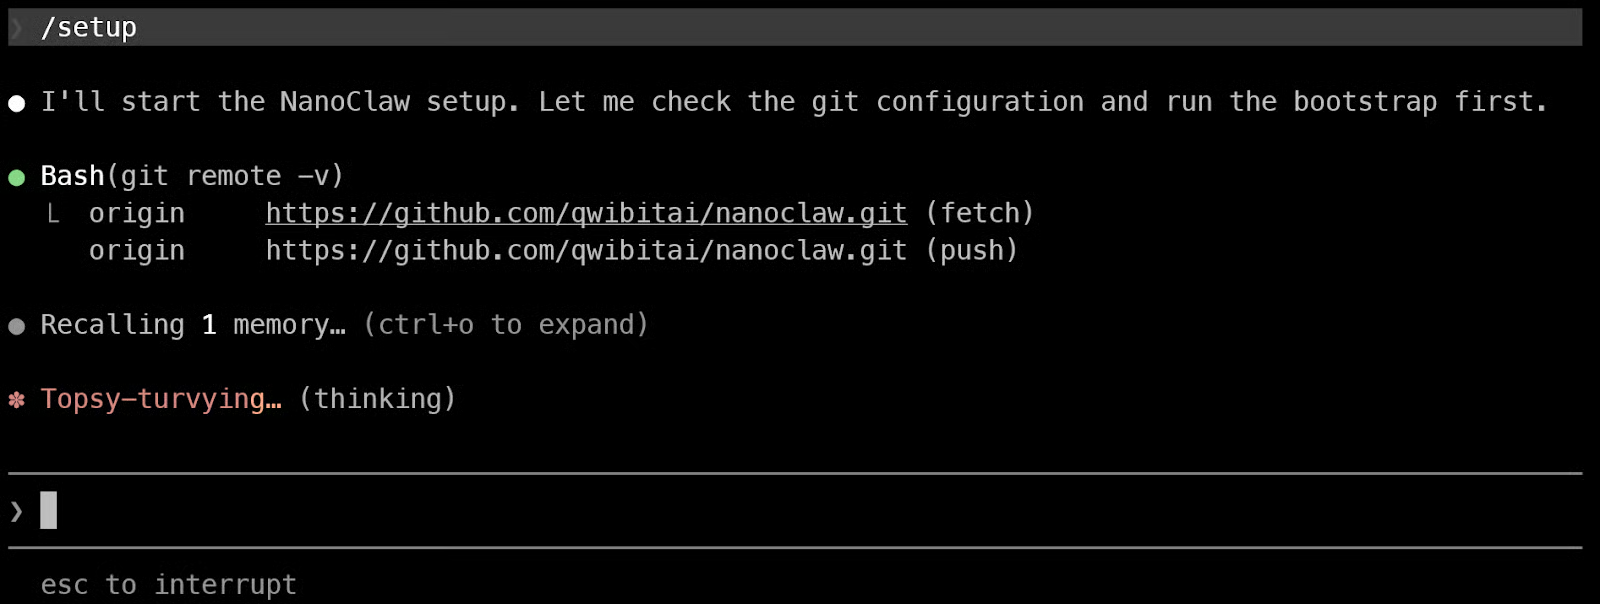
First, it installs the project dependencies and checks that your local environment is ready.
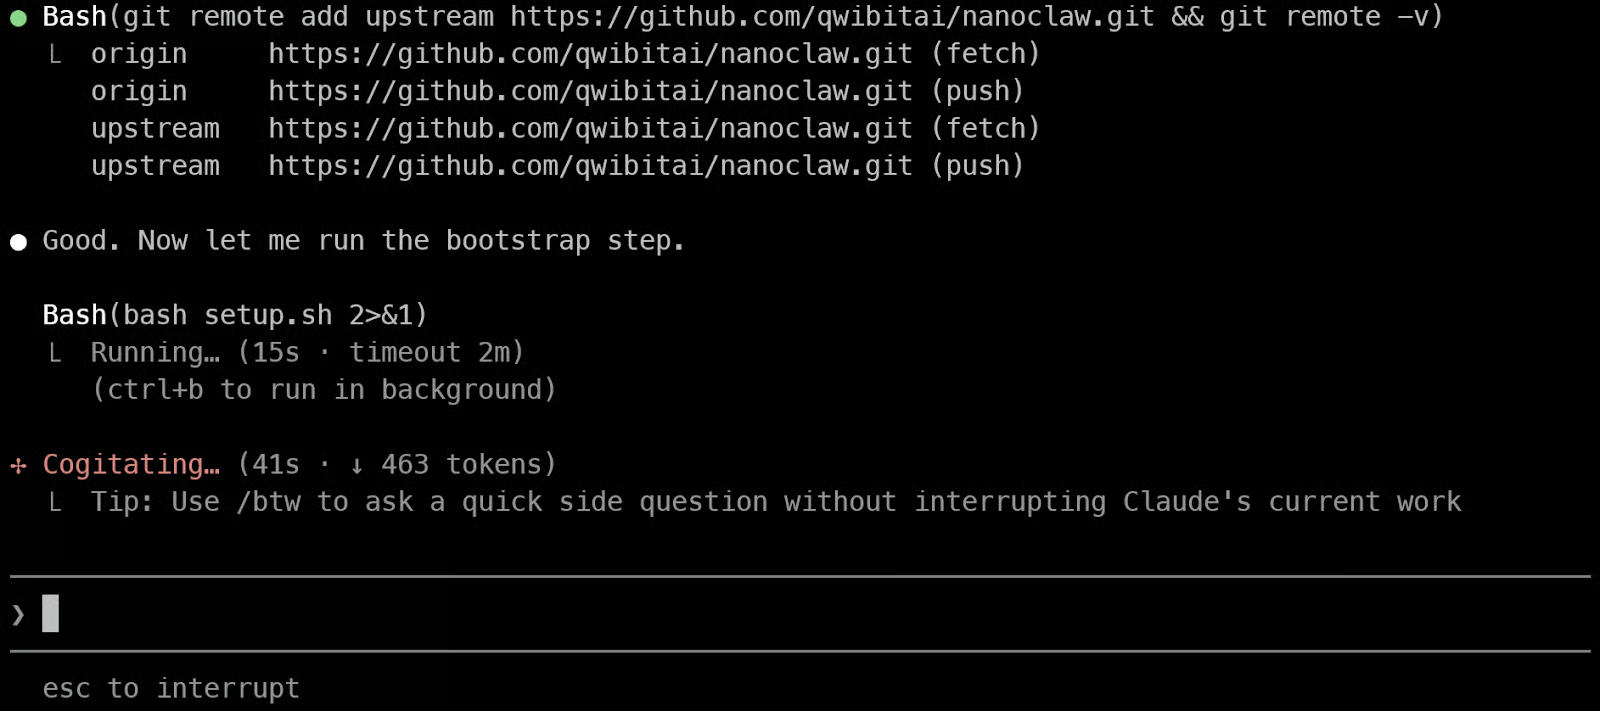
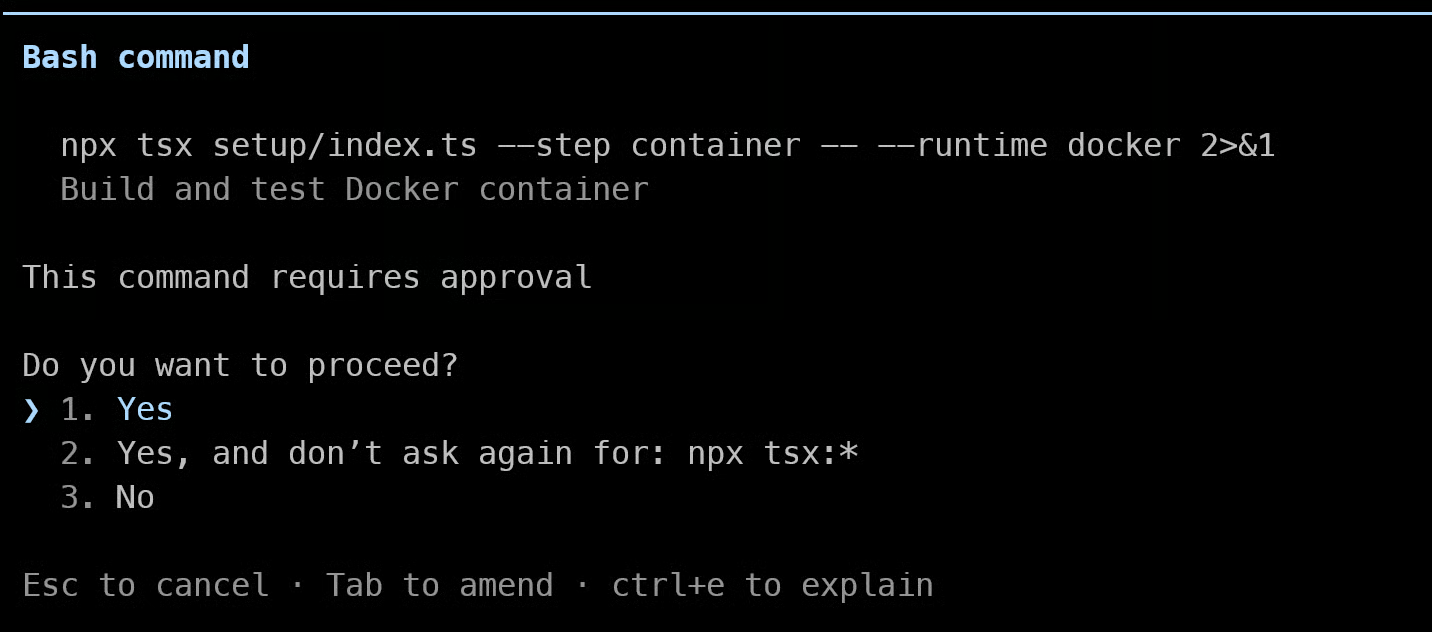
After that, it moves into the container setup stage, where it runs the Docker commands needed to build NanoClaw’s custom container and test that it starts correctly.
Once the container is built and verified, the setup continues by installing OneCLI. This is an important part of the NanoClaw stack because it helps manage secrets and container access more securely.

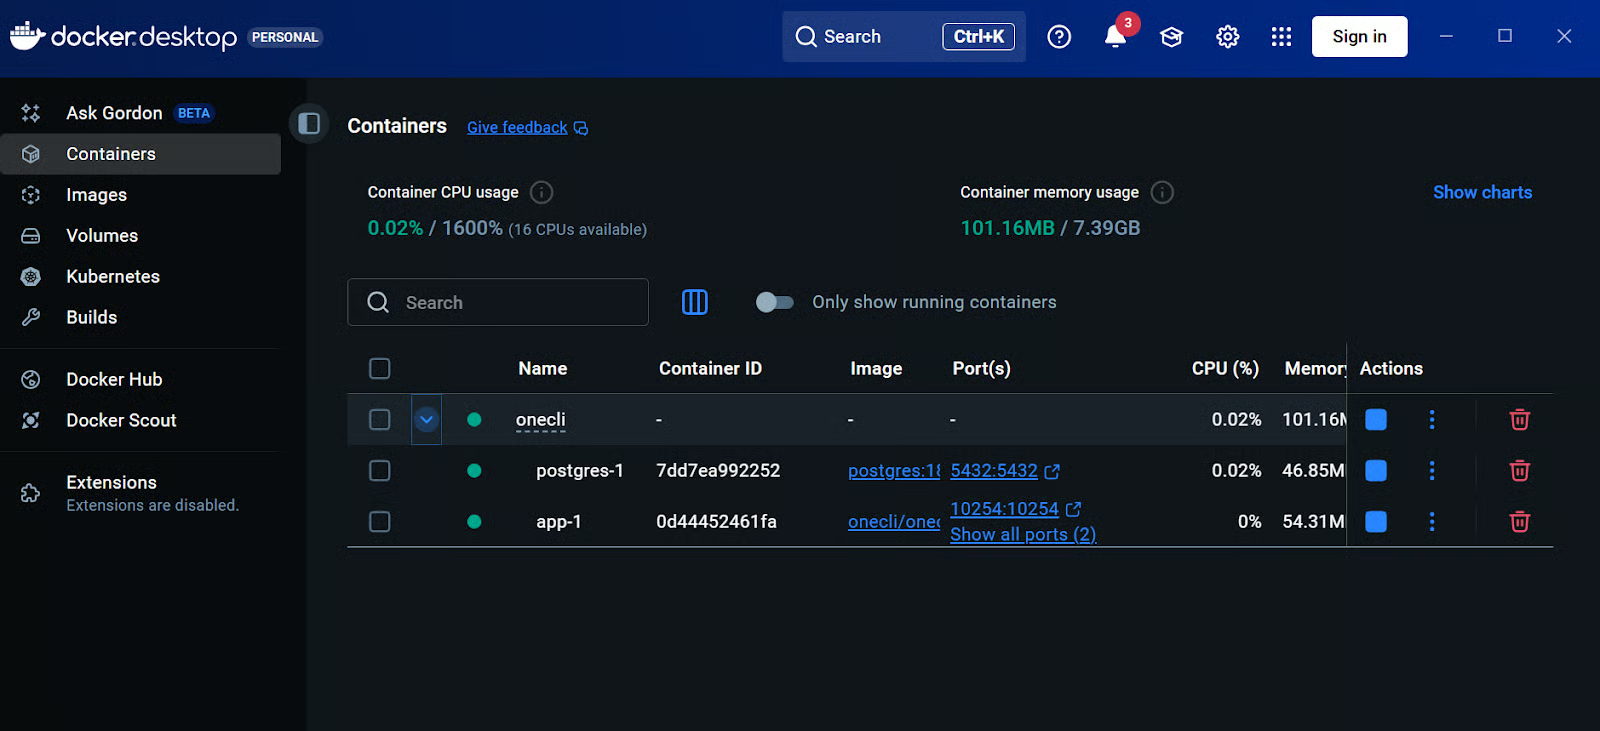
After this finishes, you can open your Docker Desktop dashboard and confirm that the containers are running. At this point, you should see the NanoClaw services appear there, including the app container and supporting services such as PostgreSQL.
Even though Claude Code is already signed in inside WSL, the NanoClaw container needs its own secure way to access Claude. To do that, you need to generate a token and register it with OneCLI.
Open a new terminal and run:
claude setup-tokenThis command will generate a link for you to open in your browser. Sign in, approve the request, and then paste the returned code back into the terminal. After that, Claude Code will give you a token.
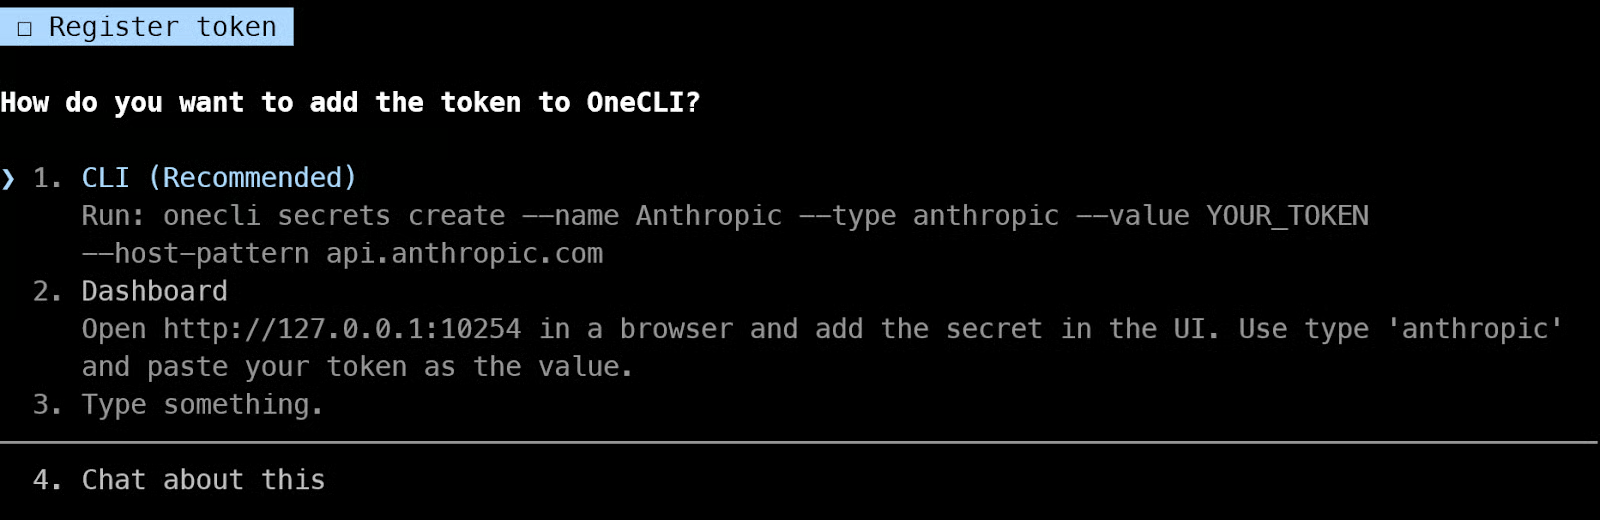
Copy that token, then run the following command in your terminal, replacing YOUR_TOKEN with the token you just generated:
onecli secrets create --name Anthropic --type anthropic --value YOUR_TOKEN --host-pattern api.anthropic.comThis step gives the NanoClaw container secure access to Claude without directly exposing your credentials inside the container. Once that is done, the setup is ready for the next stage.
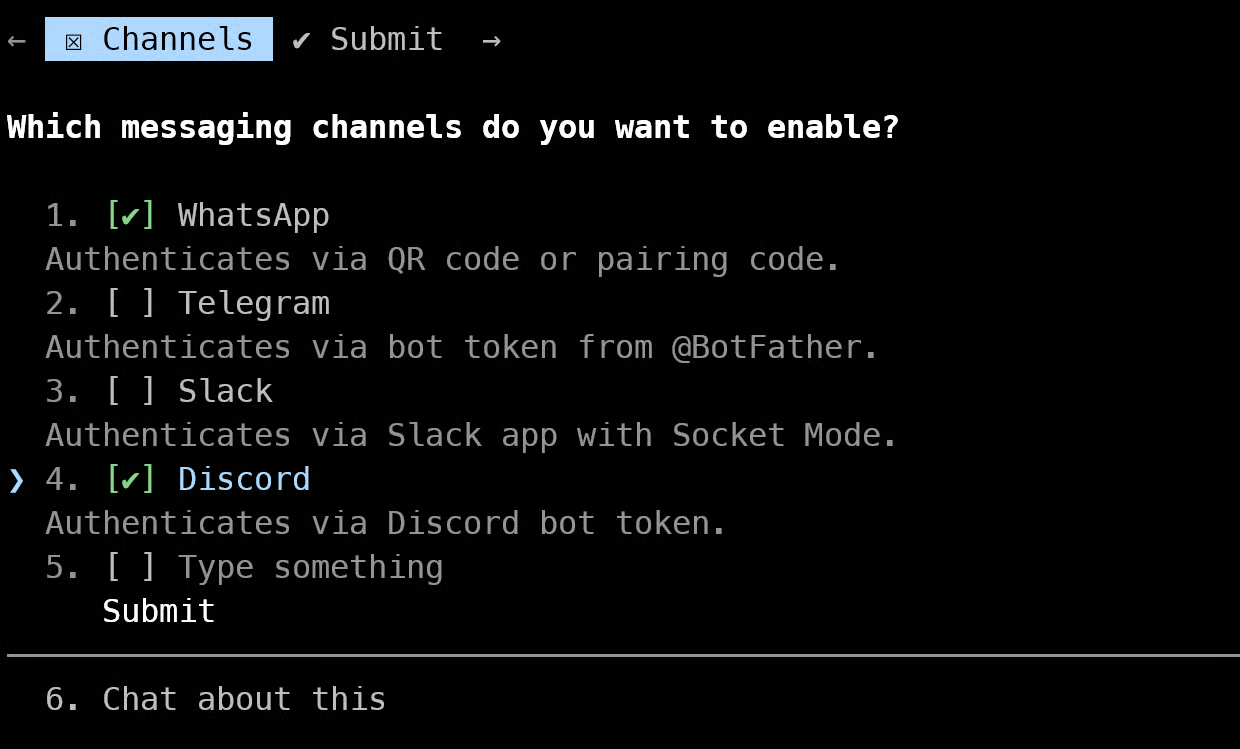
After the main setup completes, Claude Code will move to the channel setup stage. This is where you choose how you want to interact with NanoClaw.
Select WhatsApp (you can also select other supported channels like Discord, Telegram or Slack for later, but we will focus on WhatsApp for now), then continue.
For some reason, the QR code in the browser did not work for me. It seemed to be caused by a networking issue between WSL and the browser, likely related to how the local port was being accessed. Because of that, we will use the QR code in the terminal option instead.

Claude Code will try to show a QR code in the terminal. In some cases, this QR code may be cut off or not displayed properly.
To fix this, open a new terminal, then run:
cd nanoclaw
npm run auth
This will generate a clean QR code in your terminal.
Now open WhatsApp on your phone and follow these steps:
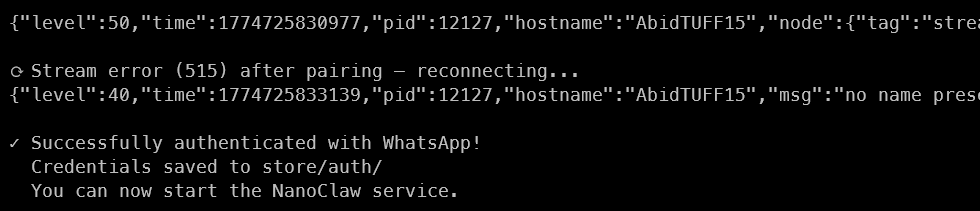
Once the scan is successful, your WhatsApp account will be connected to NanoClaw.
After pairing, you should see a success message in the terminal.
Go back to your original Claude Code terminal and continue the setup.
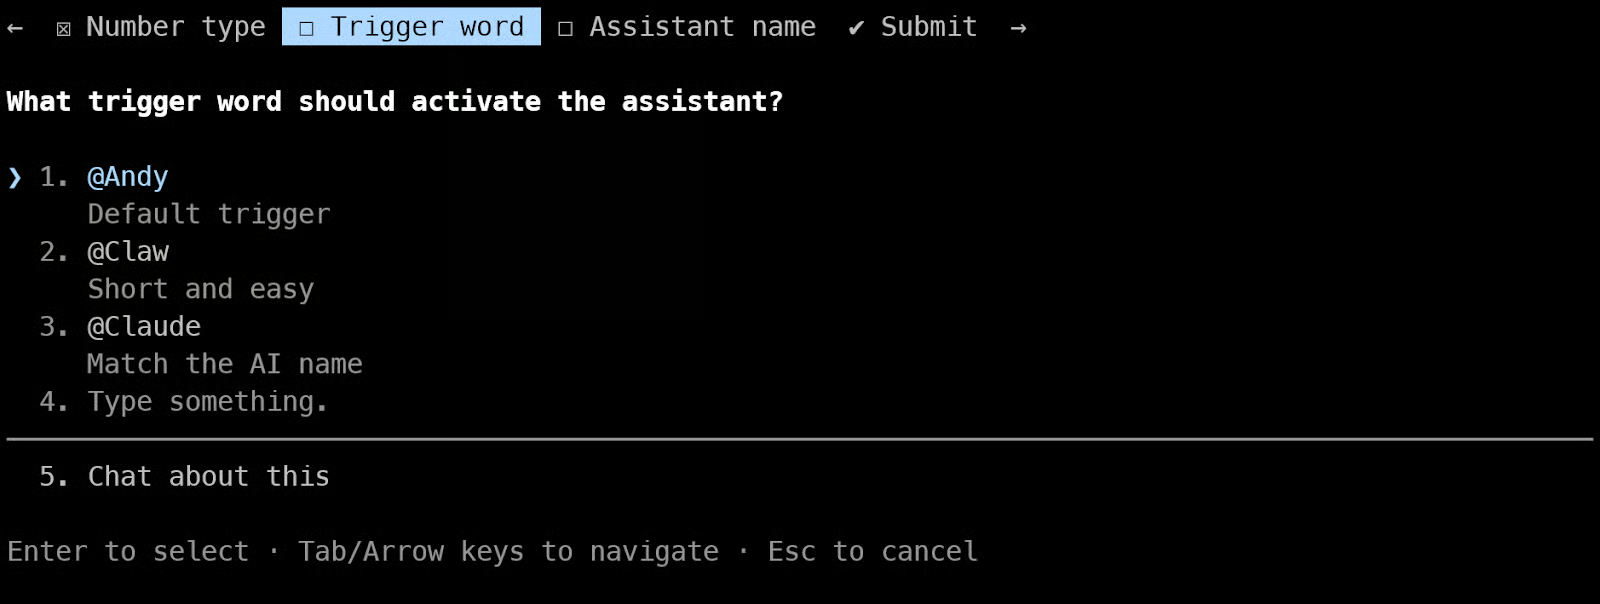
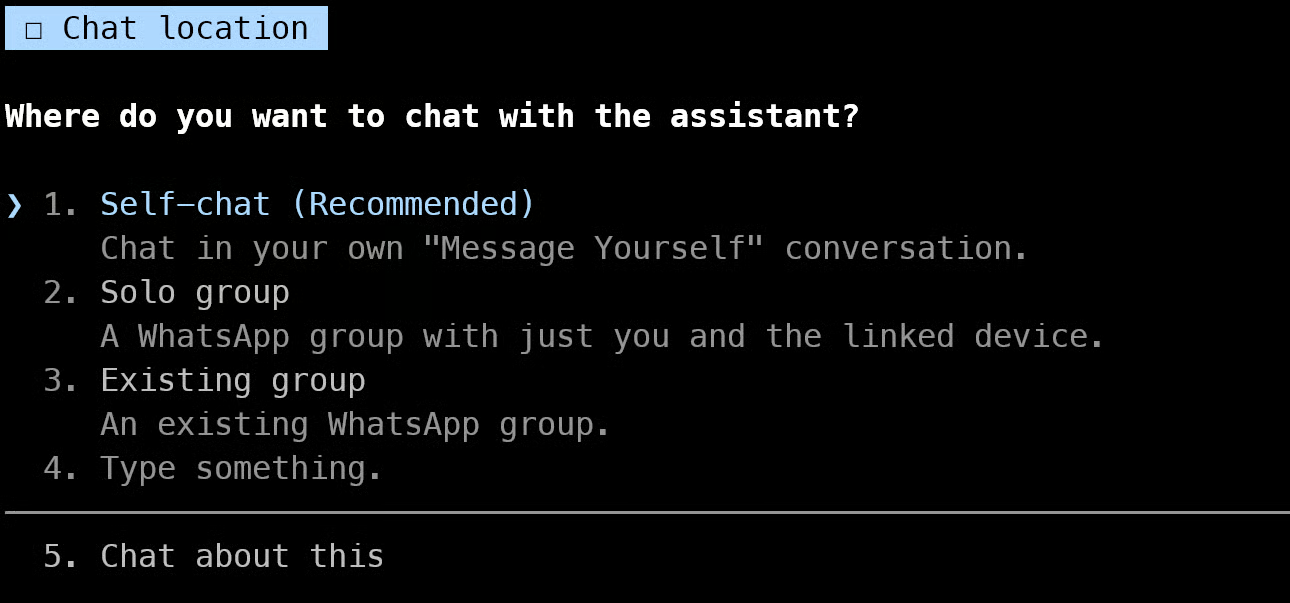
You will be asked a few configuration questions. For now, you can choose the recommended options.
Self-chat mode means NanoClaw will only respond to you in your own WhatsApp chat. This is useful for testing, since no one else can interact with your agent.
Once everything is configured, NanoClaw will rebuild the container with your new settings. This may take a short while.
After that, you will see instructions on how to use NanoClaw.
To test it:
@Andy helloIf everything is working correctly, NanoClaw will respond in your chat.
Now that everything is set up, you can test NanoClaw directly from WhatsApp.
Open WhatsApp on your phone and go to your own chat. This will appear as your number with “(You)” in brackets. Start with a simple message like:
@Andy how are you?Within a few seconds, NanoClaw should respond in the chat. This confirms that your setup is working correctly and that the agent is connected to WhatsApp.
You can also test how the trigger works. Try sending a message without the trigger word, such as:
How are you?You should notice that NanoClaw does not respond. This is expected behavior. The trigger word ensures that the agent only activates when you explicitly call it.
Once basic messaging works, you can try a more advanced task. For example, ask:
@Andy Tell me the latest gold and silver prices and should i buy it or notNanoClaw will perform the task and return a structured response. This shows that your agent is not just replying to messages, but can also carry out multi-step tasks and provide useful outputs when it is configured with the right tools, such as web search.
At this point, your NanoClaw setup is fully working and ready for more advanced use cases.
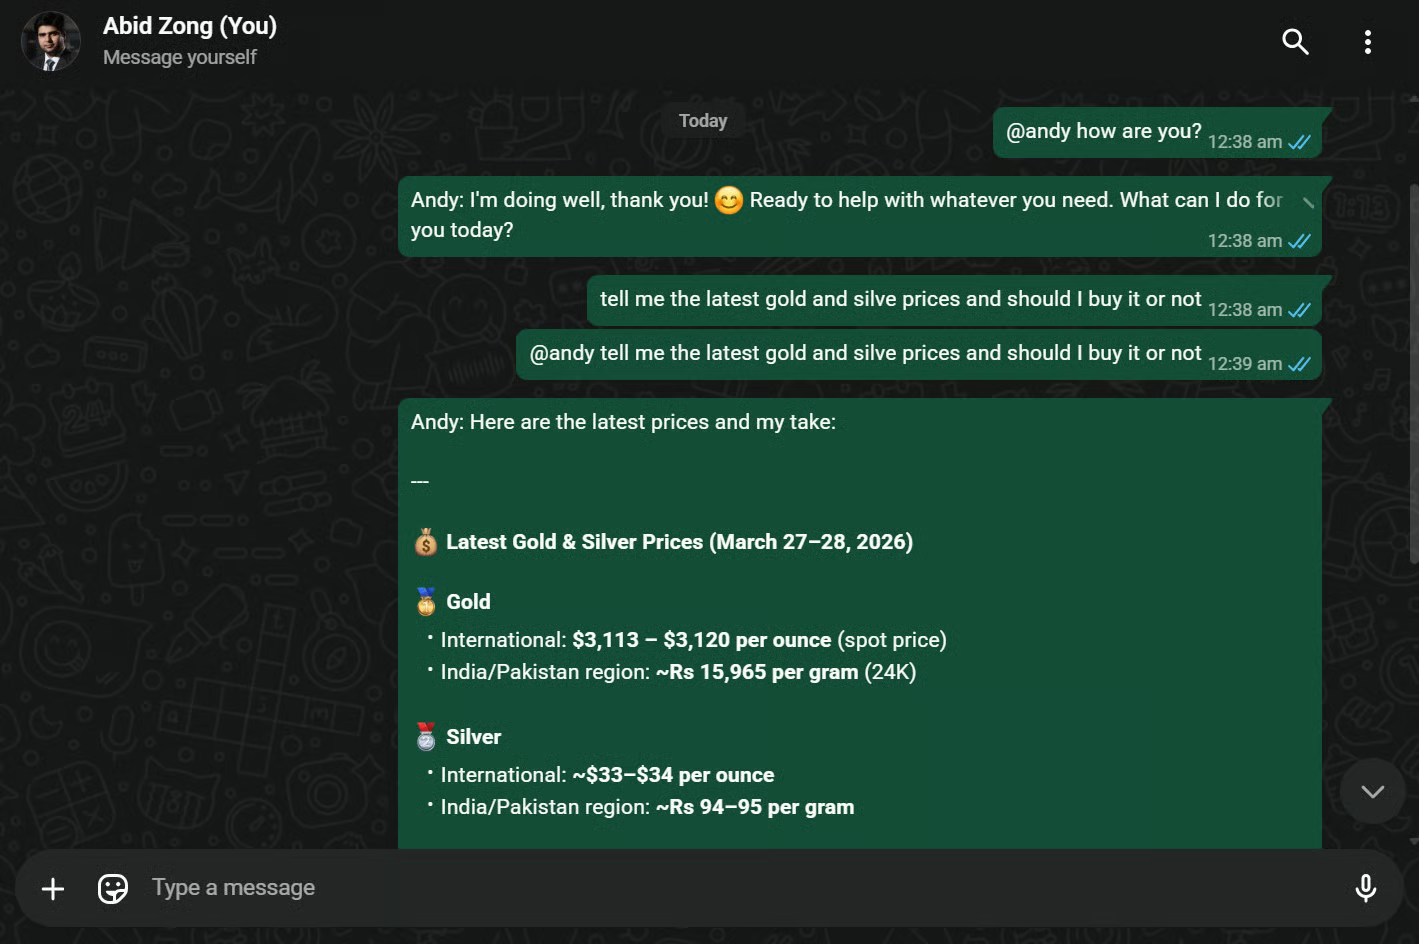
The gold and silver prices were incorrect, which suggests it did not actually perform a web search and instead relied on outdated information from the model’s built-in knowledge.
Setting up NanoClaw took much more time than I expected, especially on Windows with WSL. Between Docker, container setup, multiple supporting services, and the number of permissions I had to keep approving inside Claude Code, the process felt heavier than a lightweight local agent should feel. After a while, the constant prompts and approvals became tiring, and the overall setup experience did not feel beginner-friendly.
The installation flow was also not as smooth as I hoped. At several points, Claude Code asked me to open new terminals, run extra authentication commands, generate tokens, and manually register them with OneCLI. If you are new to AI tools, containers, or command-line workflows, this part can quickly become confusing. It is doable, but it asks for more manual effort than I think many users will expect.
Because of that, I personally preferred Nanobot. It took me only a few minutes to start messaging my agent from WhatsApp, and the experience felt much faster and more direct. With NanoClaw, the effort-to-result ratio did not feel as strong.
The WhatsApp experience itself also needs improvement. The replies did work, but the interaction felt rough. There was no clear typing or replying indicator, and the response bubble looked the same as my own messages, which made the conversation feel less natural. A clearer visual distinction and some feedback that the agent is working would make a big difference, especially when responses take time.
Overall, I still think the idea behind NanoClaw is strong. A secure, local-first, lightweight agent is a very useful direction. But in practice, the setup was more complex than expected, and the final experience felt a bit underwhelming compared to the amount of effort required to get there.
Agentic AI Courses
Program
Program
Kursus
blogs
Derrick Mwiti
8 mnt
blogs
Austin Chia
12 mnt
Tutorials
Derrick Mwiti
Tutorials
Bex Tuychiev
Tutorials
Derrick Mwiti
Tutorials
Bex Tuychiev