Track
Containerization and Virtualization with Docker and Kubernetes
13 hr
When I started using Docker, I quickly realized how powerful it was. Imagine setting up your development environment in minutes instead of hours or running applications across different machines without the classic "it works on my machine" problem.
Docker simplifies how we build, ship, and run applications by packaging them into lightweight, portable containers. Whether you're a developer, data scientist, or system administrator, mastering Docker can save you headaches and make your workflows more efficient.
In this tutorial, I’ll walk you through the basics—installing Docker, understanding key concepts, and running your first containerized application. By the end, you’ll not only know how Docker works but also have hands-on experience using it, setting a strong foundation for more advanced topics. Let’s dive in!
Docker is an open-source containerization platform that simplifies application deployment by packaging software and its dependencies into a standardized unit called a container. Unlike traditional virtual machines, Docker containers share the host OS kernel, making them more efficient and lightweight.
Containers ensure that an application runs the same way in development, testing, and production environments. This reduces compatibility issues and enhances portability across various platforms. Due to its flexibility and scalability, Docker has become a crucial tool in modern DevOps and cloud-native development workflows.
Docker official logo.
Docker can be installed on various operating systems, including Windows, macOS, and Linux. While the core functionality remains the same across all platforms, the installation process differs slightly depending on the system. Below, you'll find step-by-step instructions for installing Docker on your preferred operating system.
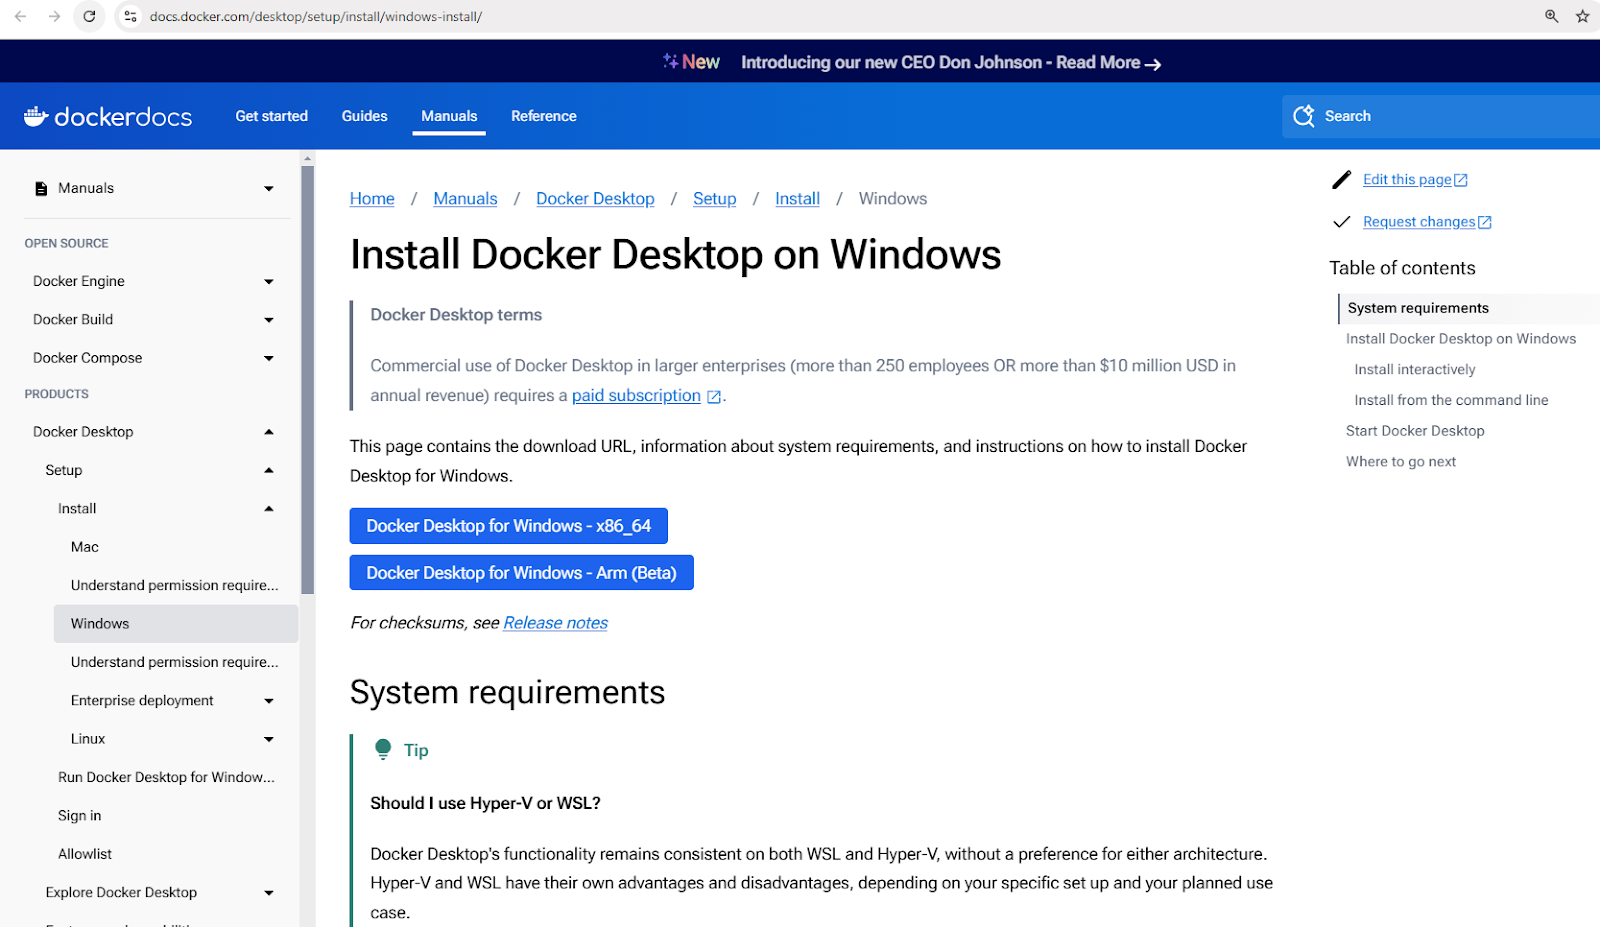
Download Docker Desktop Installer for Windows
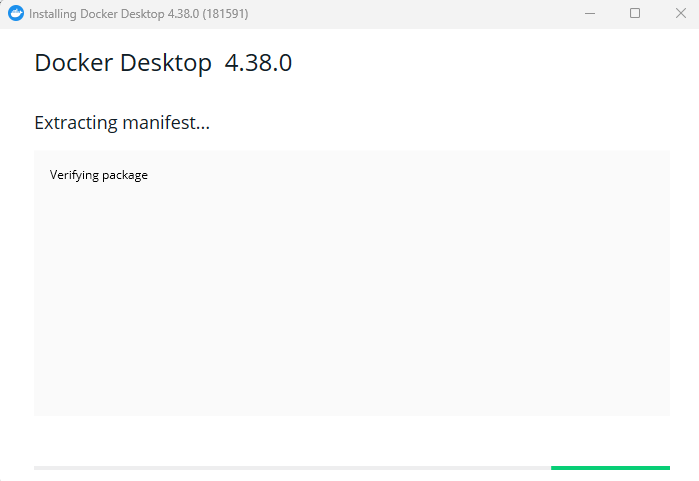
Installing Docker Desktop for Windows
docker –version in PowerShell.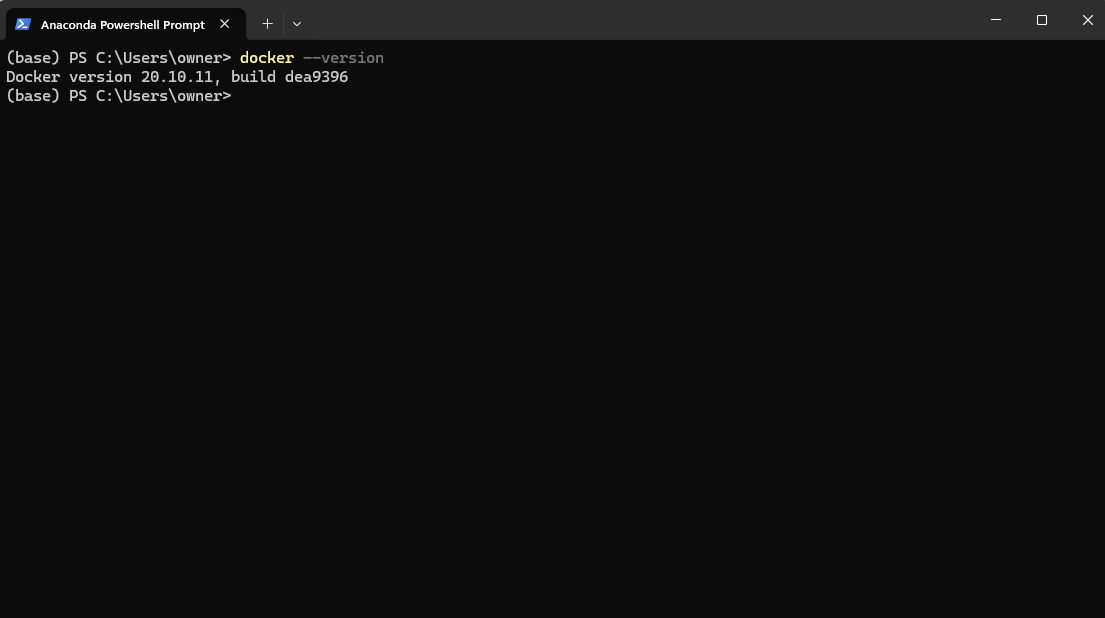
Checking Docker version after installation through Powershell
5. Start the Docker Desktop app from your run menu.
Launching Docker Desktop Application on Windows
Download Docker Desktop installer for Mac
.dmg file and drag Docker to the Applications folder.docker –version in the terminal.sudo apt update sudo apt install apt-transport-https ca-certificates curl software-properties-common curl -fsSL https://download.docker.com/linux/ubuntu/gpg | sudo apt-key add - sudo add-apt-repository "deb [arch=amd64] https://download.docker.com/linux/ubuntu $(lsb_release -cs) stable" sudo apt install docker-ce docker –versionNow that you have Docker installed, you might be eager to jump right in and start running containers. But before we do that, it's important to understand a few key concepts forming the foundation of Docker's work. These concepts will help you navigate Docker more effectively and avoid common beginner pitfalls.
At the heart of Docker are images, which serve as blueprints for containers; containers, which are the running instances of these images; and Docker Hub, a centralized repository for sharing and managing images.
Let’s explore each of these concepts in more detail.
Docker images are the fundamental building blocks of containers. They are immutable, read-only templates containing everything needed to run an application, including the operating system, application code, runtime, and dependencies.
Images are built using a Dockerfile, which defines the instructions for creating an image layer by layer.
Images can be stored in and retrieved from container registries such as Docker Hub.
Here are some example commands for working with images:
docker pull nginx: Fetch the latest Nginx image from Docker Hub.docker images: List all available images on the local machine.docker rmi nginx: Remove an image from the local machine.A Docker container is a running instance of a Docker image. Containers provide an isolated runtime environment where applications can run without interfering with each other or the host system.Each container has its own filesystem, networking, and process space but shares the host kernel.
Containers follow a simple lifecycle involving creation, starting, stopping, and deletion. Here’s a breakdown of common container management commands:
docker create or docker rundocker startdocker stopdocker restartdocker rmLet’s see a practical example. The following command runs an Nginx container in detached mode (running in the background), mapping port 80 inside the container to port 8080 on the host machine:
docker run -d -p 8080:80 nginxAfter running this command, Docker will pull the Nginx image (if not already available), create a container, and start it.
To check all running and stopped containers:
docker ps -aThis will display a list of all containers and details like their status and assigned ports.
Docker Hub is a cloud-based registry service for finding, storing, and distributing container images. Users can push custom images to Docker Hub and share them publicly or privately.
Here are some commands for interacting with Docker Hub:
docker login: Authenticate with Docker Hub.docker push my-image: Upload a custom-built image to Docker Hub.docker search ubuntu: Search for official and community images.docker pull ubuntu: Download an Ubuntu image from Docker Hub.New to containerization? Get a solid foundation with the Containerization and Virtualization Concepts course.
Now that we’ve covered Docker's core concepts, it’s time to put them into action! Let’s start by running our first container to ensure Docker is installed correctly and working as expected.
To test your Docker installation, open PowerShell (Windows) or Terminal (Mac and Linux) and run:
docker run hello-worldThis pulls the hello-world image from DockerHub and runs it in a container.
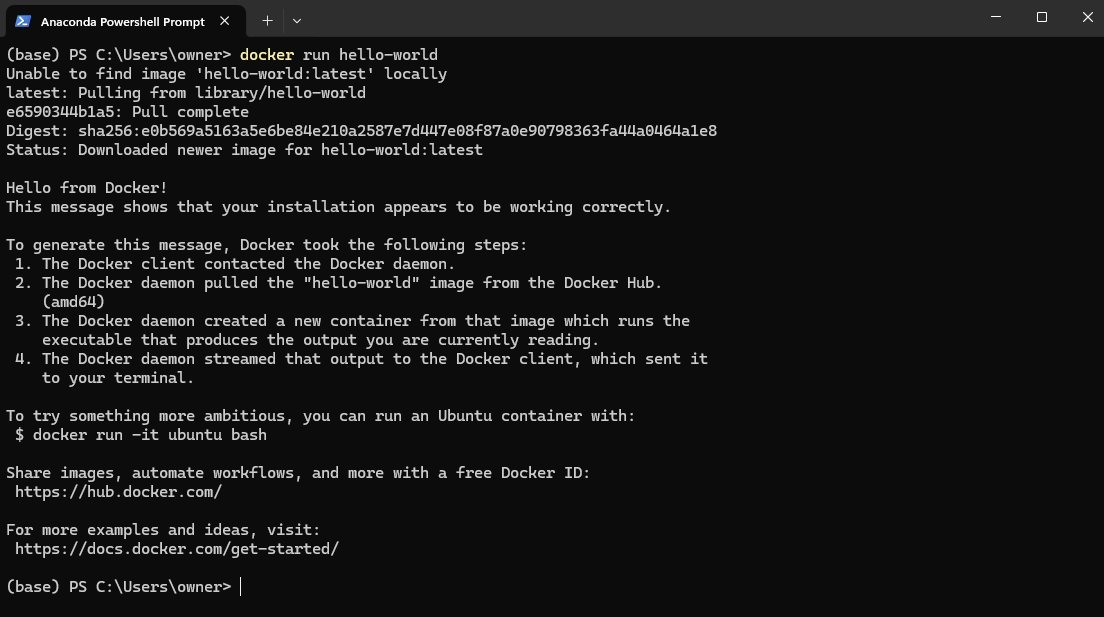
Docker hello-world image example
Now, let’s go a step further and run a real-world application—an Nginx web server. Execute the following command:
docker run -d -p 8080:80 nginxThe above command does the following:
-d flag runs the container in detached mode, meaning it runs in the background.-p 8080:80 flag maps port 80 inside the container to port 8080 on your local machine, allowing you to access the web server.Once the command runs successfully, open a browser and visit: http://localhost:8080
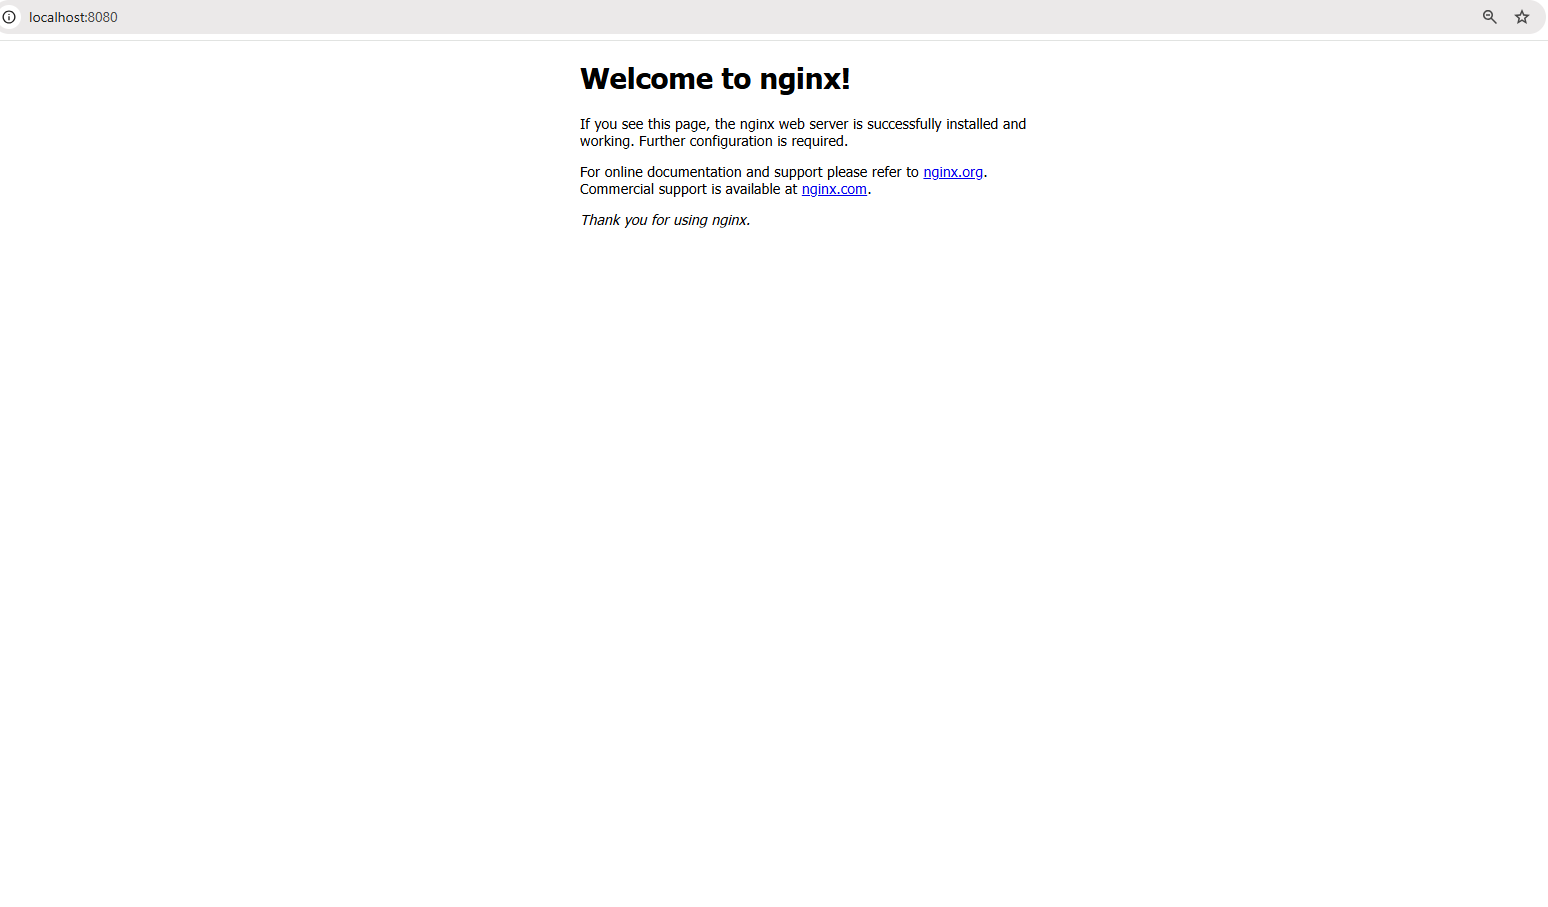
Accessing web server at localhost:8080
You should see the default Nginx welcome page, confirming that your web server is running inside a container!
You will also see a container running in your Docker Desktop:
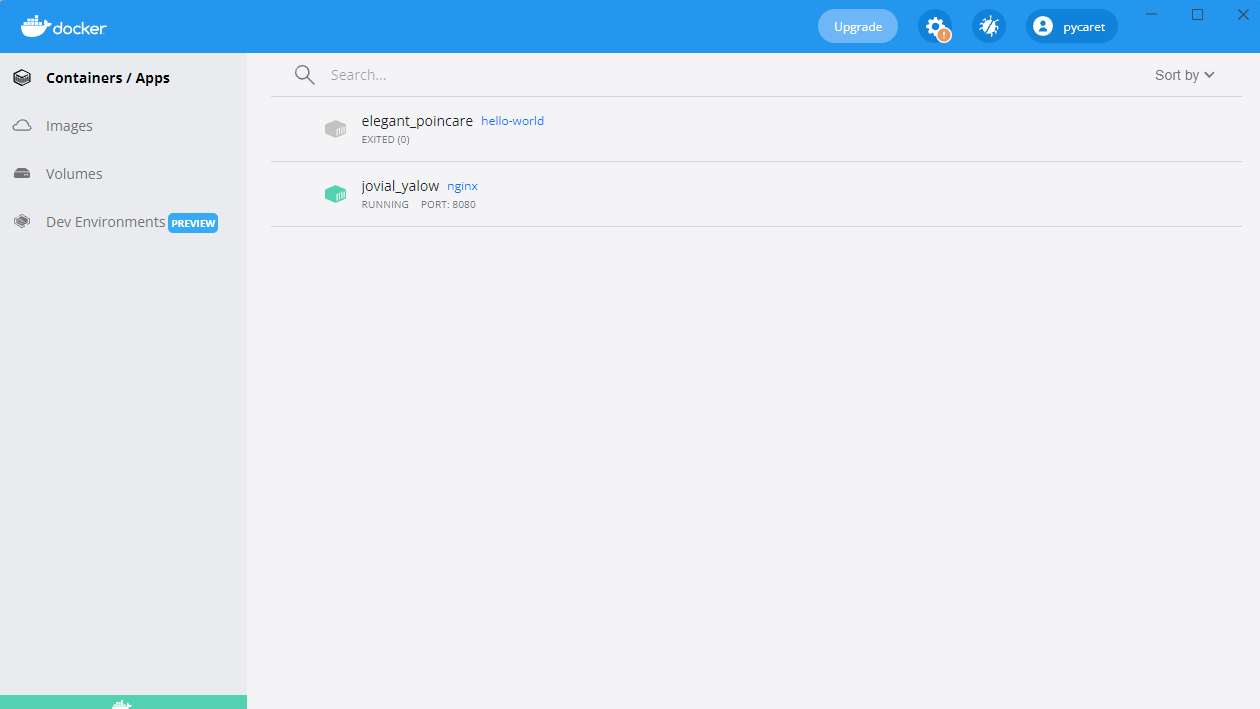
Nginx container running on port 8080
So far, we’ve been running pre-built images from Docker Hub. But what if you need a custom environment tailored to your application? That’s where building your own Docker image comes in.
Creating a Docker image involves writing a Dockerfile, a script that automates image-building. This ensures consistency and portability across different environments. Once an image is built, it can be run as a container to execute applications in an isolated environment.
In this section, we’ll learn the fundamentals of writing a Dockerfile, building a custom image, and running it as a container.
A Dockerfile is a script containing a series of instructions that define how a Docker image is built. It automates the image creation process, ensuring consistency across environments. Each instruction in a Dockerfile creates a new layer in the image. Here’s a breakdown of an example Dockerfile for a simple Python Flask app:
# Base image containing Python runtime
FROM python:3.9

# Set the working directory inside the container
WORKDIR /app

# Copy the application files from the host to the container
COPY . /app

# Install the dependencies listed in requirements.txt
RUN pip install -r requirements.txt

# Define the command to run the Flask app when the container starts
CMD ["python", "app.py"]
In the above command:
-v my-volume:/app/data mounts the my-volume storage to the /app/data directory inside the container./app/data will persist even if the container stops or is removed.Breaking down the Dockerfile above:
FROM python:3.9: Specifies the base image with Python 3.9 pre-installed.WORKDIR /app: Sets /app as the working directory inside the container.COPY . /app: Copies all files from the host’s current directory to /app in the container.RUN pip install -r requirements.txt: Installs all required dependencies inside the container.CMD ["python", "app.py"]: Defines the command to execute when the container starts.Once the Dockerfile is defined, you can build and run the image using the following commands:
docker build -t my-flask-app .The above command:
.) as the build context.Dockerfile and executes its instructions.-t) the resulting image as my-flask-app.docker run -d -p 5000:5000 my-flask-appThe above command:
-d).-p 5000:5000).Once running, you can access the Flask application by navigating to http://localhost:5000 in a browser.
By default, data inside a Docker container is temporary—once the container stops or is removed, the data disappears. To persist data across container restarts and share it between multiple containers, Docker provides volumes, a built-in mechanism for managing persistent storage efficiently.
Unlike storing data inside the container’s filesystem, volumes are managed separately by Docker, making them more efficient, flexible, and easier to back up.
In the next section, we’ll explore how to create and use Docker volumes to ensure data persistence in your containers.
Before using a volume, we need to create one. Run the following command:
docker volume create my-volumeThis creates a named volume called my-volume, which Docker will manage separately from any specific container.Step 2: Use the volume in a container
Now, let's start a container and mount the volume inside it:
docker run -d -v my-volume:/app/data my-appIn the above command:
-v my-volume:/app/data mounts the my-volume storage to the /app/data directory inside the container./app/data will persist even if the container stops or is removed.So far, we’ve been working with single-container applications, but many real-world applications require multiple containers to work together. For example, a web application might need a backend server, a database, and a caching layer—each running in its own container. Managing these containers manually with separate docker run commands can quickly become tedious.
That’s where Docker Compose comes in.
Docker Compose is a tool that simplifies the management of multi-container applications. Instead of running multiple docker run commands, you can define an entire application stack using a docker-compose.yml file and deploy it with a single command.
Now, let’s create a real-world example—a simple Node.js application that connects to a MongoDB database. Instead of managing the two containers separately, we’ll define them in a docker-compose.yml file.
Here’s how we define our multi-container setup in Docker Compose:
version: '3'
services:
  web:
    build: .
    ports:
      - "3000:3000"
    depends_on:
      - database
  database:
    image: mongo
    volumes:
      - db-data:/data/db
volumes:
  db-data:
Breaking down the file above:
version: '3': Specifies the Docker Compose version.services:: Defines individual services (containers).web:: Defines the Node.js web application.database:: Defines the MongoDB database container.volumes:: Creates a named volume (db-data) for MongoDB data persistence.Once the docker-compose.yml file is ready, we can launch the entire application stack with a single command:
docker-compose up -dThe previous command starts both the web and database containers in detached mode (-d).
To stop all services, use:
docker-compose downThis stops and removes all containers while preserving volumes and network settings.
So far, we’ve focused on running containers and managing storage, but what happens when containers need to communicate with each other? In most real-world applications, containers don’t operate in isolation—they need to exchange data, whether a web server talks to a database or microservices interact with each other.
Docker provides a range of networking options to accommodate different use cases, from isolated internal networks to externally accessible configurations.
Ready to level up your Docker skills? Enroll in Intermediate Docker to explore multi-stage builds, advanced networking, and more!
Docker networking is a built-in feature that allows containers to communicate with each other, whether on the same host or across multiple hosts in a distributed environment. It provides network isolation, segmentation, and connectivity options suited for different deployment scenarios.
Docker supports multiple network types, each serving different use cases:
docker network create my-bridge-networkdocker run --network host nginxdocker network create --driver overlay my-overlay-networkdocker network create -d macvlan --subnet=192.168.1.0/24 my-macvlanLet’s walk through how to set up and use a custom bridge network for container communication.
Before running containers, we first need to create a dedicated network:
docker network create my-custom-networkThis command creates an isolated network that containers can join for inter-container communication.
Now, let’s start two containers and connect them to our newly created network:
docker run -d --network my-custom-network --name app1 my-app
docker run -d --network my-custom-network --name app2 my-app--network my-custom-network flag attaches the container to the specified network.--name flag assigns a unique container name, making it easier to reference.Both app11 and app2 can now communicate using their container names. You can test the connectivity using the ping` command inside one of the containers:
docker exec -it app1 ping app2If everything is set up correctly, you’ll see a response confirming that the containers can communicate.
To verify network configurations and connected containers, use:
docker network inspect my-custom-networkThis command provides details about the network, including IP ranges, connected containers, and configurations.
When running containers that need to be accessible externally, you can expose specific ports.
For example, to run an Nginx web server and expose it on port 8080 of your local machine, use:
docker run -d -p 8080:80 nginxThis maps port 80 inside the container to port 8080 on the host, making the service accessible via http://localhost:8080.
docker network inspect, Wireshark, or Prometheus to analyze network traffic and detect anomalies.Now that you’ve learned the fundamentals of Docker, it’s time to level up your skills and adopt best practices that will help you build secure, efficient, and maintainable containerized applications.
The following best practices will help you streamline your Docker workflows and avoid common pitfalls.
python:3.9-slim instead of python:3.9). Remove unnecessary dependencies and files to optimize storage and pull times. my-app:v1.0.0) instead of latest to avoid unexpected updates when pulling images.docker scan, Trivy, or Clair to identify and remediate security vulnerabilities in your images before deployment..git, node_modules, venv) to reduce build context size and prevent accidental inclusion of sensitive files in images.docker logs and enable structured logging for better observability.Once you've mastered the basics of Docker, there are plenty of advanced topics to explore. Here are a few areas worth exploring next:
Docker has revolutionized how developers build, ship, and run applications, making it an essential tool for modern software development.
In this tutorial, we covered:
But this is just the beginning! If you want to deepen your Docker expertise, you can take a beginner-level Introduction to Docker course. For more in-depth knowledge, you can take an Intermediate Docker course that covers multi-stage builds, Docker networking tools, and Docker Compose. Finally, you can also pursue Docker certification, check out The Complete Docker Certification (DCA) Guide for 2025 if interested!
Learn more about Docker and Kubernetes with these courses!
Track
Course
Course
blog
Laiba Siddiqui
15 min
blog
Joel Wembo
14 min
Tutorial
Srujana Maddula
Tutorial
Patrick Brus
Tutorial
Rajesh Kumar
Tutorial
Arunn Thevapalan