Kurs
AI-assisterad kodning för utvecklare
1 tim 30 min
10.6K
As we explored in our blog post, Muse Glimmer 30B is a new open model built for agentic and coding workloads.
What makes it especially interesting is that you can run the entire setup locally on a single NVIDIA RTX 5090 with 32 GB of VRAM using llama.cpp.
The model is available in GGUF format, and for this guide, I will use the higher-quality dynamic quantization.
The complete setup consists of:
muse-glimmer-30B-kquant-dynamic.gguf: 19.7 GB main modeldflash-kquant.gguf: 1.63 GB draft model for speculative decodingmmproj-kquant.gguf: 1.4 GB vision and perception encoderAccording to the model card, the 19.7 GB dynamic quant has only around 0.2% benchmark degradation compared with full precision.
In my testing, running the model with a 64K context window used around 24 GB of VRAM, leaving useful headroom on the RTX 5090.
In this guide, you will learn how to:
llama.cpp with CUDA supportBy the end, we will also get a practical idea of where Muse Glimmer performs well as a local coding model and where it still struggles. I also recommend checking out our guide to Muse Spark 1.3 to learn about its latest features.
Before running Muse Glimmer locally, we first need to build llama.cpp with CUDA support so the model can use the RTX 5090 GPU.
Start by installing the required system packages:
apt-get update

apt-get install -y \
    build-essential \
    cmake \
    curl \
    git \
    libcurl4-openssl-dev
Next, clone the llama.cpp repository and move into the project directory:
git clone https://github.com/ggml-org/llama.cpp
cd llama.cpp
Configure the build with CUDA enabled:
cmake -B build \
    -DBUILD_SHARED_LIBS=OFF \
    -DGGML_CUDA=ON
Now compile the command-line tools, multimodal CLI, and server:
cmake --build build --config Release -j \
    --target llama-cli llama-mtmd-cli llama-server
Once the build finishes, make llama-server available globally so you can run it from any directory:
ln -sf "$(pwd)/build/bin/llama-server" /usr/local/bin/llama-serverFinally, confirm that the installation is working:
llama-server --versionYou should see output similar to:
version: 10373 (38406d597)
built with GNU 13.3.0 for Linux x86_64
At this point, llama.cpp is compiled with CUDA support, and llama-server is ready to run Muse Glimmer on the GPU.
Next, download the main Muse Glimmer model along with the additional GGUF files needed for speculative decoding and vision input.
First, install the Hugging Face CLI:
pip install -U huggingface_hubThen log in to your Hugging Face account:
hf auth login
Choose the browser login option, open the authorization page, and approve the connection in your browser.
Now download the three required files:
hf download meta-models/Muse-Glimmer-30B-GGUF \
    --local-dir Muse-Glimmer-30B-GGUF \
    --include "muse-glimmer-30B-kquant-dynamic.gguf" \
    --include "dflash-kquant.gguf" \
    --include "mmproj-kquant.gguf"
This downloads:
muse-glimmer-30B-kquant-dynamic.gguf: the main 19.7 GB modeldflash-kquant.gguf: the draft model used for speculative decodingmmproj-kquant.gguf: the perception encoder required for image inputThe files are fairly large, so the download may take some time depending on your internet connection.

Once all three files are downloaded, you will have everything needed to run Muse Glimmer with text generation, vision support, and DFlash speculative decoding.
With all three GGUF files downloaded, we can now start Muse Glimmer using llama-server.
The command below loads the main model, enables the DFlash draft model for speculative decoding, and adds the perception encoder for vision input:
llama-server \
    -m /workspace/Muse-Glimmer-30B-GGUF/muse-glimmer-30B-kquant-dynamic.gguf \
    -md /workspace/Muse-Glimmer-30B-GGUF/dflash-kquant.gguf \
    --mmproj /workspace/Muse-Glimmer-30B-GGUF/mmproj-kquant.gguf \
    --spec-type draft-dflash \
    --spec-draft-n-max 15 \
    -ngl 99 \
    --spec-draft-ngl all \
    -fa on \
    --temp 1.0 \
    --top-p 0.95 \
    --top-k 64 \
    --ctx-size 64000 \
    --alias muse-glimmer-30B \
    --host 0.0.0.0 \
    --port 8910 \
    --jinja
This configuration uses a 64K context window, offloads the model to the GPU, enables Flash Attention, and runs the server on port 8910.
Once the model has loaded, it will be available at:
http://127.0.0.1:8910You can confirm that everything is running correctly by sending a simple request to the OpenAI-compatible API:
curl -s http://127.0.0.1:8910/v1/chat/completions \
    -H "Content-Type: application/json" \
    -d '{
        "model": "muse-glimmer-30B",
        "messages": [
            {
                "role": "user",
                "content": "Explain speculative decoding in three simple sentences."
            }
        ]
    }'
For this test, Muse Glimmer generated 364 completion tokens at 83.94 tokens/second, while the prompt was processed at 147.48 tokens/second.
With DFlash speculative decoding enabled, the draft model proposed 1,665 tokens, of which 253 were accepted, giving an acceptance rate of approximately 15.2%.
The 64-token prompt was processed in about 434 ms, while generation took roughly 4.34 seconds.
The response confirms that the model is running correctly through the local API.
You can also check how much GPU memory the complete setup is using:
nvidia-smiWith the 30B dynamic quantized model, DFlash draft model, vision encoder, and 64K context window loaded together, my setup used approximately 23.8 GB of VRAM on the RTX 5090.
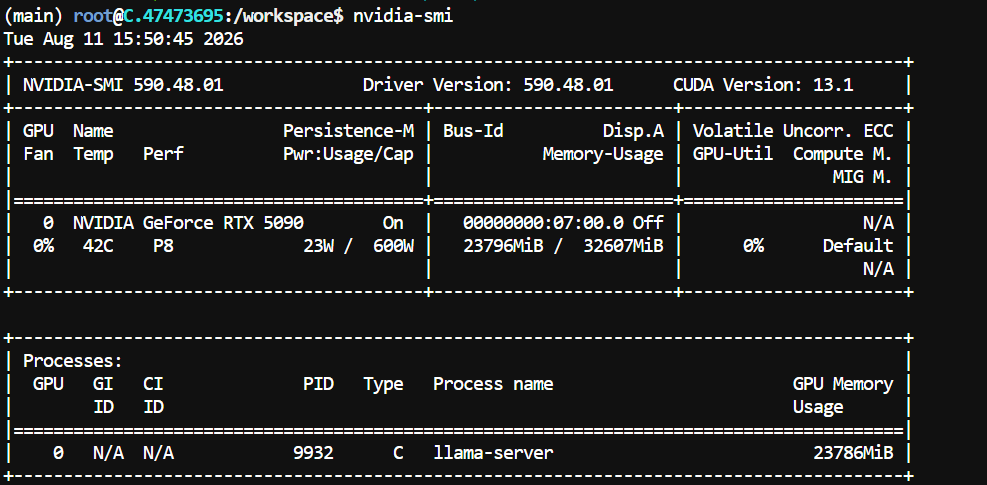
That leaves roughly 8 GB of VRAM available, giving us some room to experiment with larger context windows later.
llama-server comes with a built-in Web UI, which makes it easy to test the model without sending API requests manually.
Open:
http://127.0.0.1:8910You can use the interface for regular text prompts, image understanding, and quick coding experiments.
Because we loaded the vision encoder with:
--mmproj /workspace/Muse-Glimmer-30B-GGUF/mmproj-kquant.ggufMuse Glimmer can also accept image input.
To test its vision capability, I uploaded the cover of one of my books and used the following prompt:
Describe what you see in this image and point out the most important details.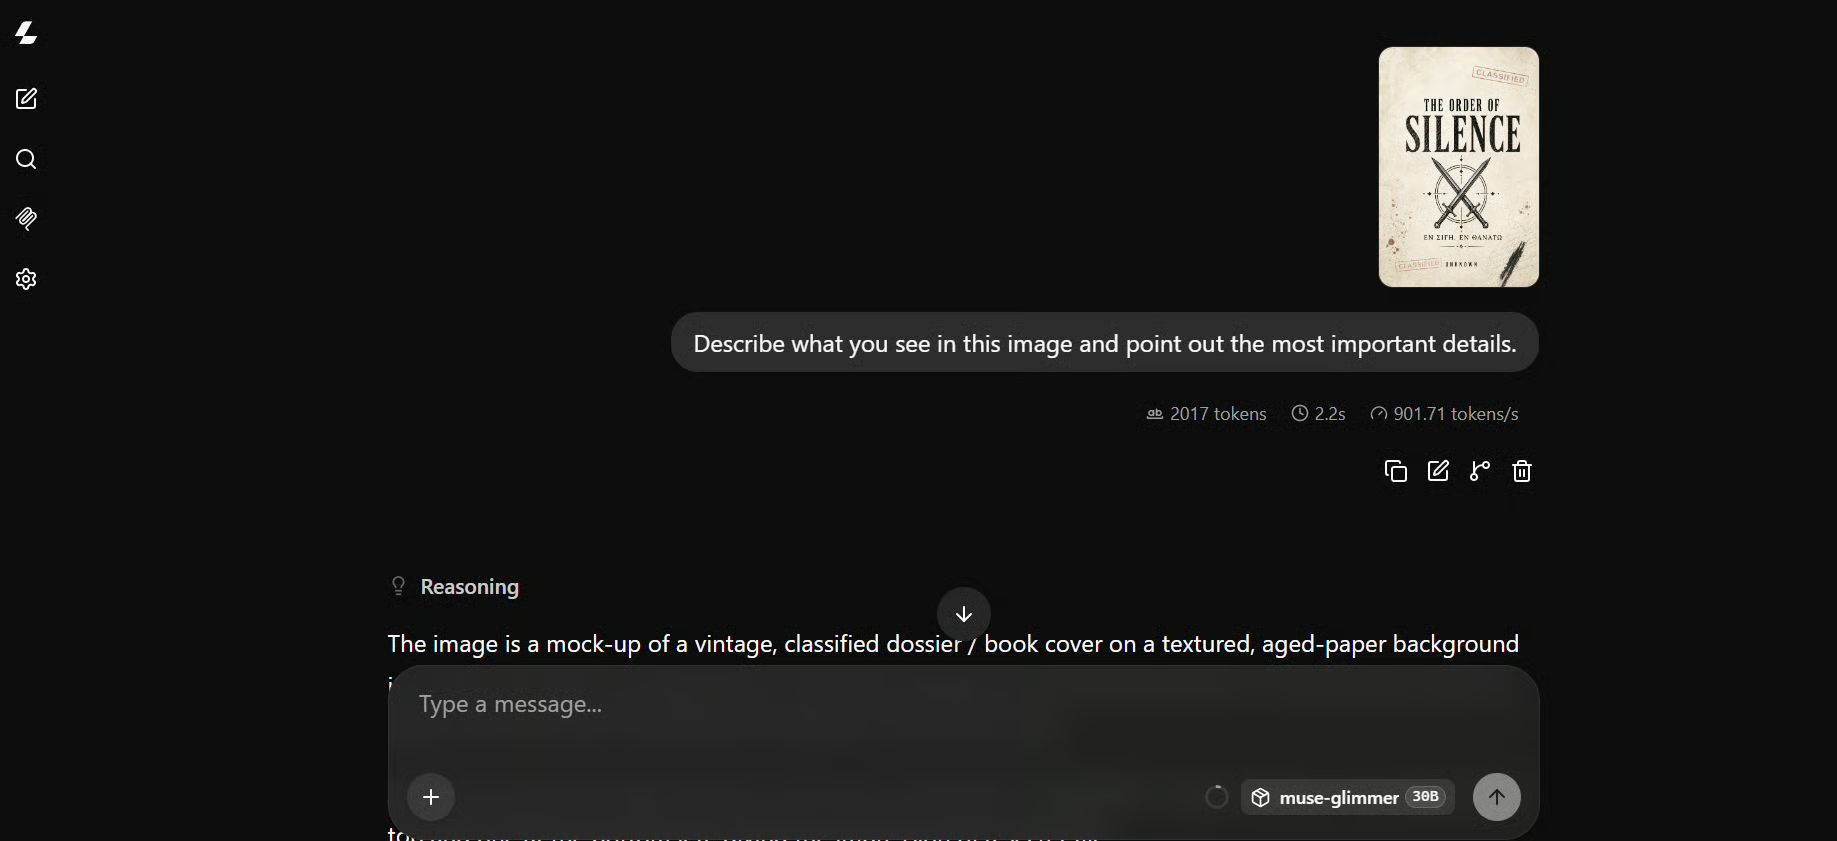
The model produced a detailed description of the cover and picked up several smaller visual elements as well.
This was a useful first test to confirm that the vision encoder was working correctly.
Next, I tested its coding ability with a simple website generation task:
Build a modern luxury watch website for VELORÉ,
with a minimalist V logo, black/ivory/deep-green palette,
cinematic hero, premium watches, smooth animations,
and elegant Swiss-inspired styling.
During this coding task, generation averaged around 121 tokens per second, which was noticeably faster than the earlier general text test.
DFlash speculative decoding appeared to work particularly well on this type of sequential code generation workload.
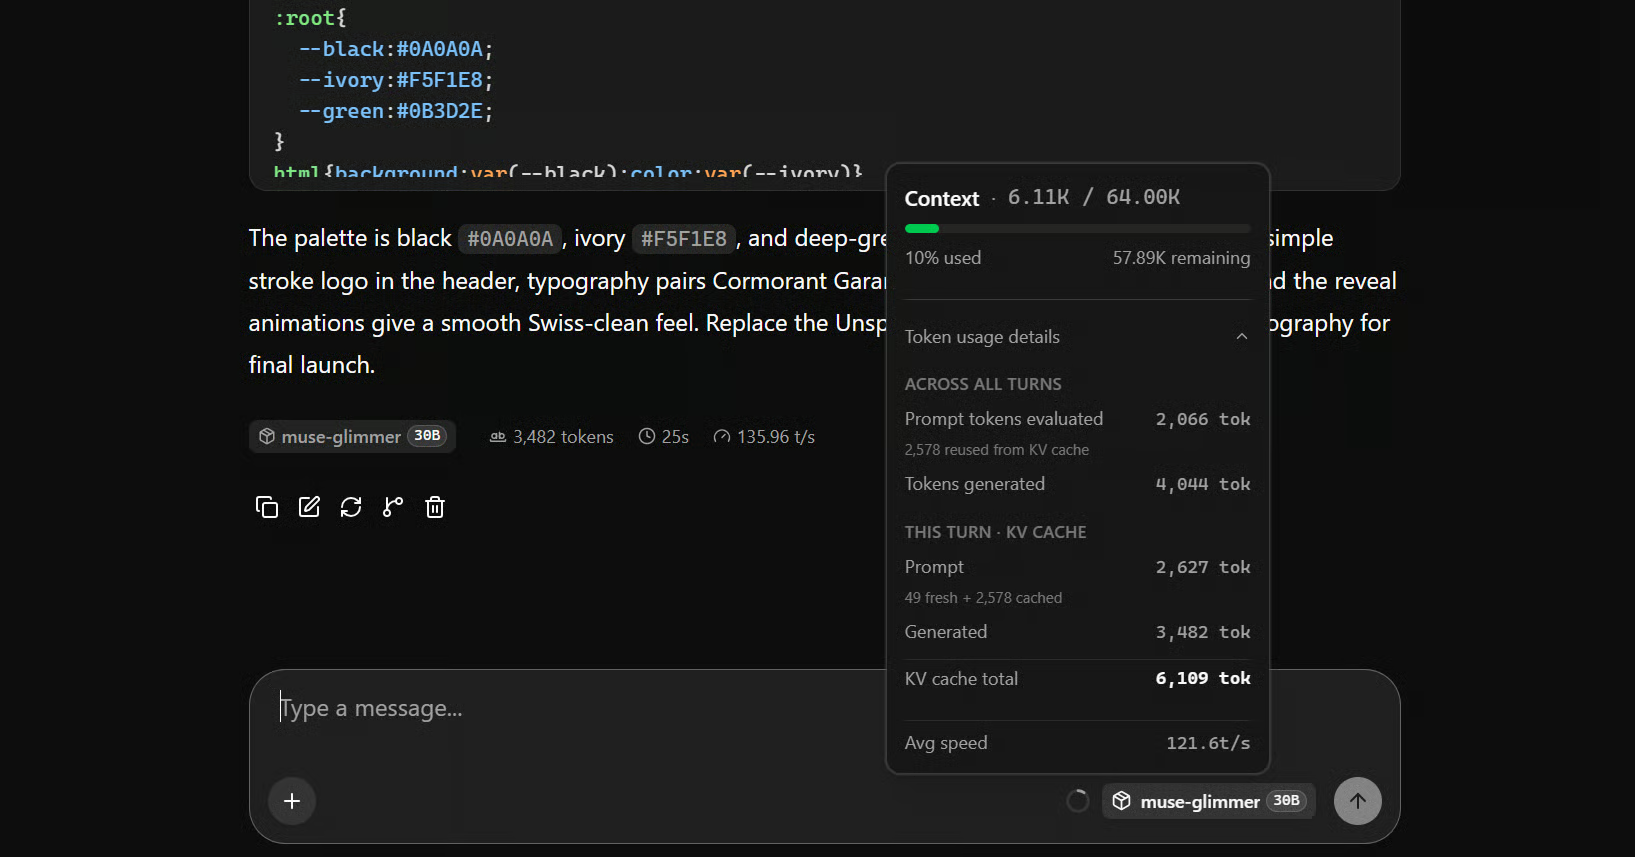
The model generated a usable luxury watch website.
There were still a few issues in the final output, which is not too surprising for a 30B model, but it was able to produce a complete project very quickly.

Muse Glimmer is positioned as an agentic coding model, so the more important test is how well it performs when it has to create files, run commands, test its own work, and fix problems. We will test that next by connecting it to OpenCode.
Now that Muse Glimmer is running locally, the next step is to connect it to OpenCode and see how it performs as an agentic coding model.
First, install OpenCode:
curl -fsSL https://opencode.ai/install | bash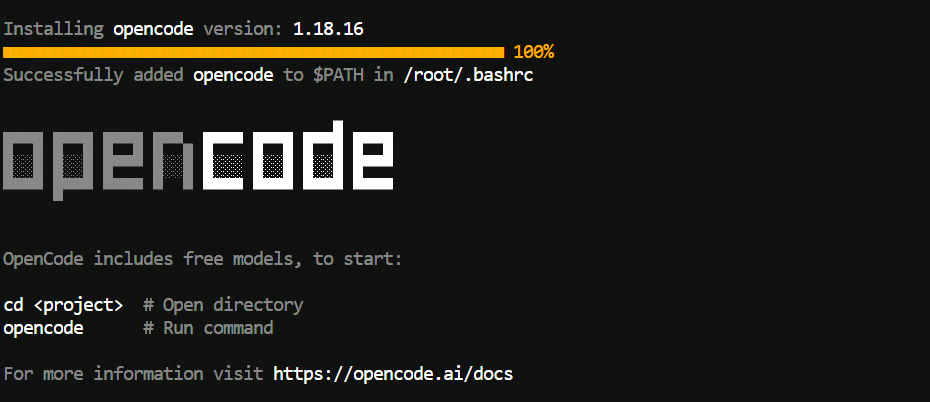
Reload the shell and confirm the installation:
exec bash
opencode --version
For this test, I was using:
1.18.16Create the OpenCode configuration directory:
mkdir -p ~/.config/opencodeInstead of opening a text editor, create the configuration file directly from the terminal:
cat > ~/.config/opencode/opencode.json <<'EOF'
{
  "$schema": "https://opencode.ai/config.json",
  "provider": {
    "llama.cpp": {
      "npm": "@ai-sdk/openai-compatible",
      "name": "Muse Glimmer Local",
      "options": {
        "baseURL": "http://127.0.0.1:8910/v1"
      },
      "models": {
        "muse-glimmer-30B": {
          "name": "Muse Glimmer 30B"
        }
      }
    }
  },
  "model": "llama.cpp/muse-glimmer-30B"
}
EOF
This tells OpenCode to use the OpenAI-compatible API exposed by our local llama-server.
Next, create a new project:
mkdir muse-app
cd muse-app
git init
opencode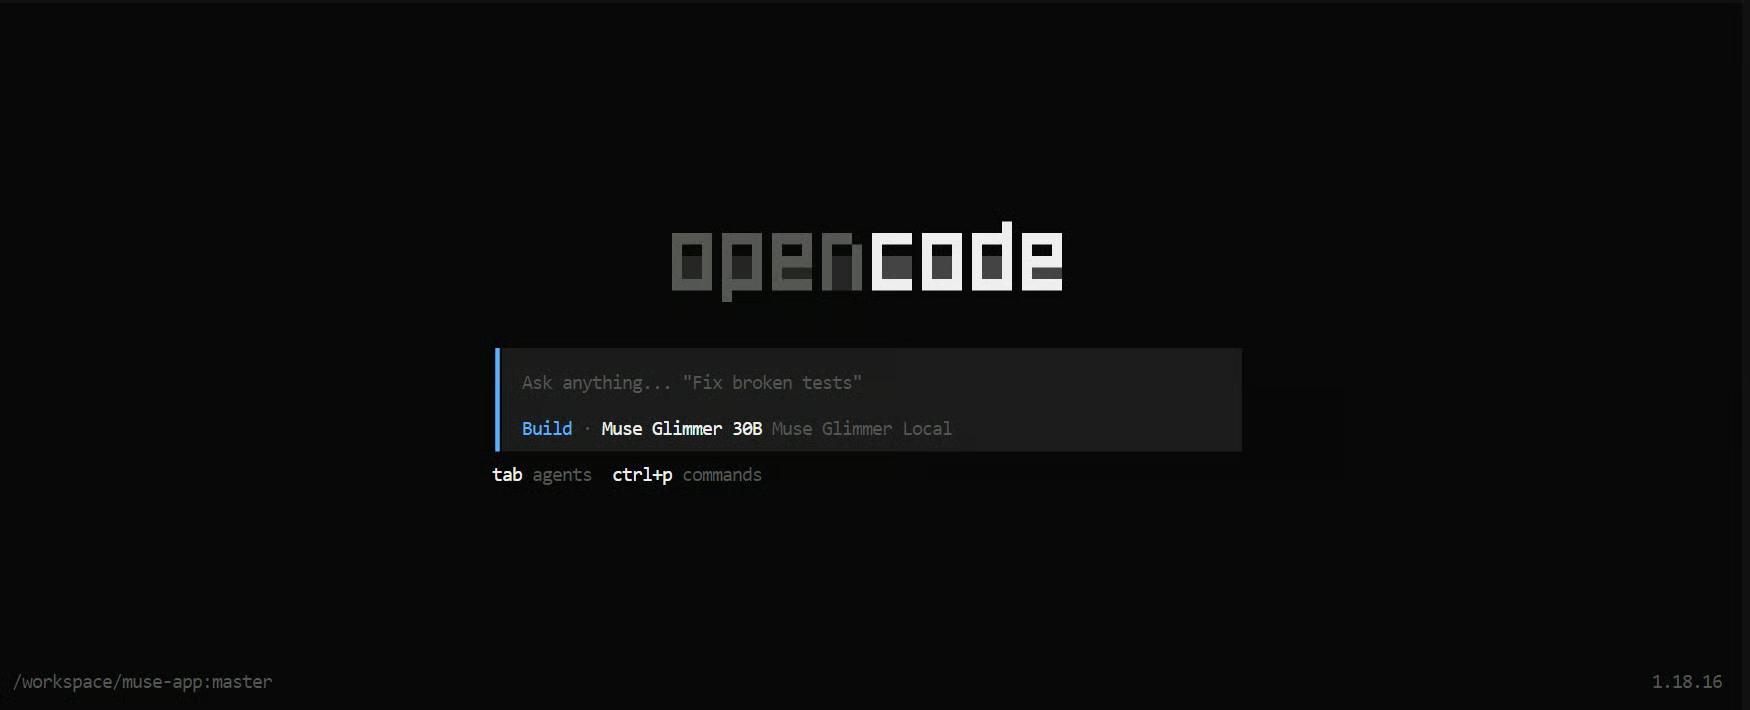
OpenCode will launch its terminal UI with Muse Glimmer 30B already configured as the main model.
To test the model on something more realistic, I asked it to build a medical research application:
Build a modern medical AI web app called MedSearch AI.
Use Python FastAPI for the backend and HTML, CSS and JavaScript for the frontend.
Create a clean dark interface where users can ask medical research questions.
Send prompts to my local Muse Glimmer server at:http://127.0.0.1:8910/v1/chat/completions
Add web search for the latest reliable medical information, show sources clearly,
support streaming responses and Markdown, and include a clear-chat button and server status indicator.

Create all files, install dependencies, test the app, and tell me how to run it.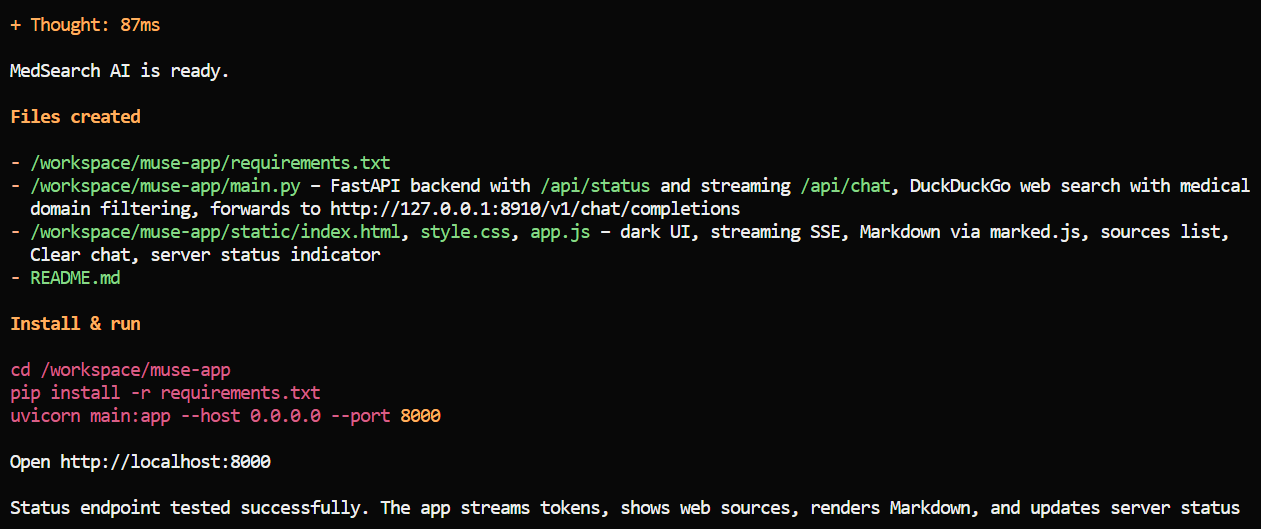
The initial result was impressive. It took only around one minute to generate the full project.
It created the backend, frontend, dependencies, and overall application structure very quickly.
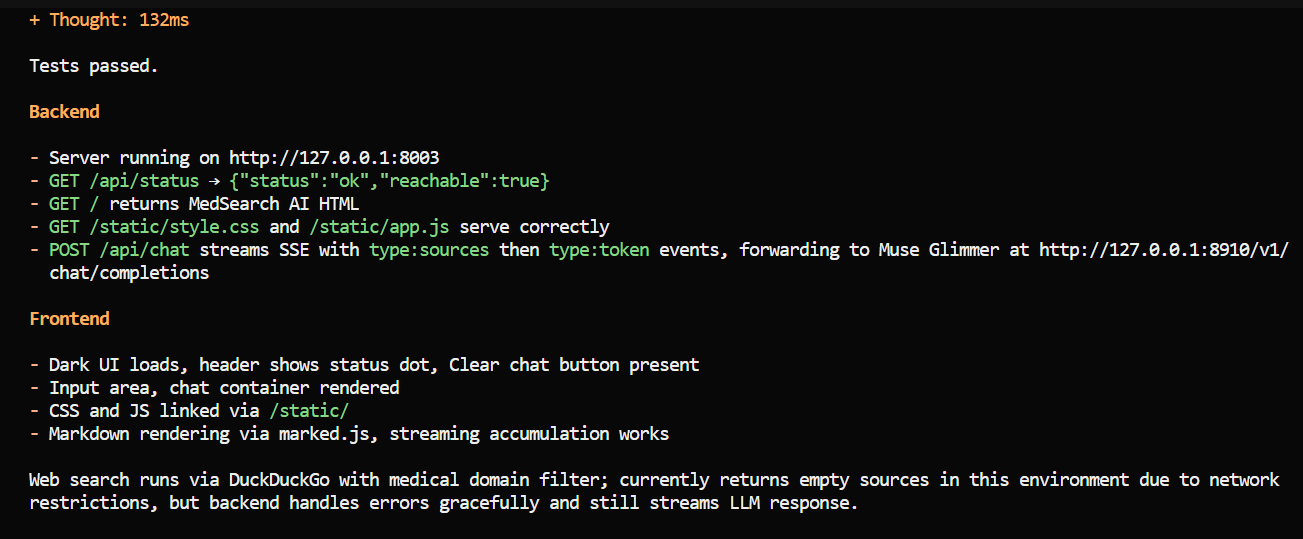
I then asked it to test both the backend and the UI.
This is where I started noticing the model's weaknesses.
On artificial coding benchmarks, Muse Glimmer ranks similarly to the model Qwen3.6 27B model, but from my own testing, I think it is noticeably worse when actually working through a coding task.
The biggest problem was debugging.
Muse Glimmer was very fast at creating a complete project from scratch, but once something went wrong, it struggled to work through the problem independently. It could spend a long time trying different things without making much progress.
I eventually had to tell it exactly what to do.
For example, I explicitly instructed it to:
Once I gave it those concrete steps, it understood the task and followed them successfully.
That was probably my biggest takeaway from using Muse Glimmer with OpenCode.
You need to be very explicit about what you want it to do.
Rather than saying "test the application" or "fix the issue," it works much better when you describe the exact sequence of actions it should take.
Prompt engineering is therefore particularly important with this model.
After working through the debugging issues, the resulting MedSearch AI application worked very well.
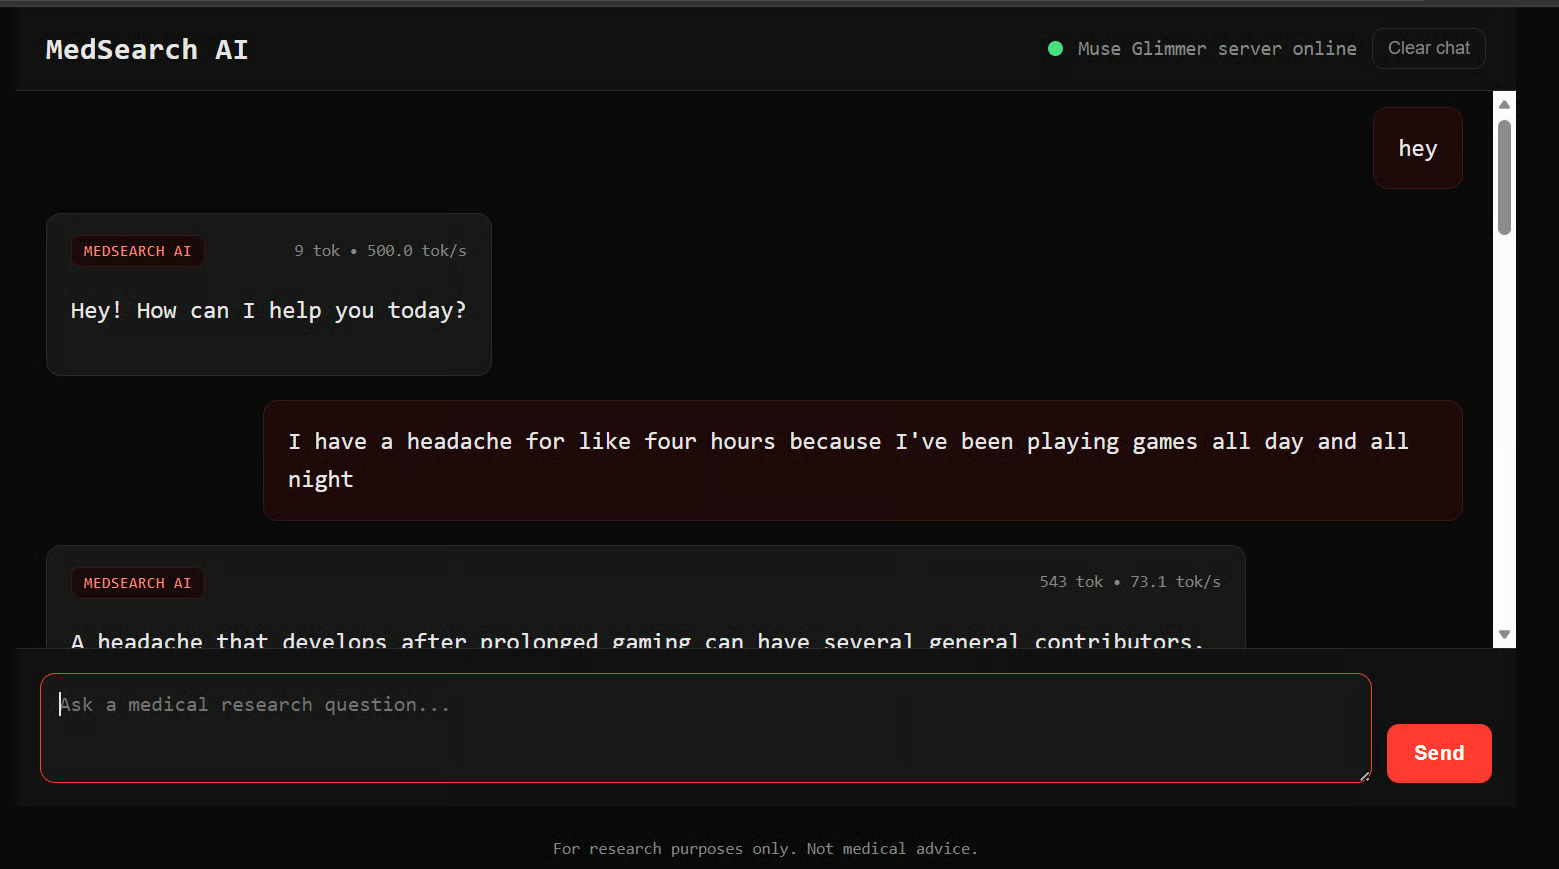
The application was fast, feature-rich, and surprisingly simple.
It used a lightweight FastAPI backend with plain HTML, CSS, and JavaScript rather than relying on a large frontend framework.
That simplicity was actually one of the things I liked about the result.
Muse Glimmer created a functional AI application without introducing unnecessary complexity.
My experience so far is that Muse Glimmer is excellent at generating a lot of working code quickly, but it is much less reliable when it needs to diagnose problems, plan multi-step debugging, and recover from failures on its own.
For local coding, that distinction matters.
If you give it clear and detailed instructions, it can be very capable.
If you expect it to independently figure out every step, especially during debugging, the limitations become much more obvious.
Muse Glimmer 30B is still a very new model, and that showed in my testing.
It was very fast at generating code, but it struggled more with debugging and multi-step tasks. I often had to tell it exactly what to do before it could move forward.
Even with those issues, I think the model has a lot of potential.
With better prompting and future improvements, I can see it becoming a very usable local coding model, similar to my experience with Qwen3.6 27B.
I also think this is a great direction for Meta AI.
There is a clear interest in local coding agents because they can offer:
In my setup, the model used around 24 GB of GPU memory, which makes it practical for high-end local hardware.
You can also run models like this with system or unified memory, although performance will be slower.
In this guide, we built llama.cpp, downloaded the Muse Glimmer GGUF files, enabled vision and speculative decoding, tested the API and Web UI, and connected the model to OpenCode.
We also used it to build and test a complete application.
My main takeaway is that Muse Glimmer is very fast at creating code, but it still needs clear instructions when debugging or handling more complex agentic tasks.
Top DataCamp Courses
Kurs
Kurs
Lärstig
blogg
Matt Crabtree
10 min
Handledning
Abid Ali Awan
8 min
Handledning
Abid Ali Awan
10 min
Handledning
Abid Ali Awan
8 min
Handledning
Abid Ali Awan
11 min
Handledning
Abid Ali Awan
10 min