Image by Author
What is Git
Git is an open-source version control system, which data scientists use to track changes in code, models, datasets, and metadata. Git allows us to merge changes and revert to older versions of code and data. It also lets us sync changes with a remote server. Due to its popularity, Git has become an industry standard, and most development programs (VS Code, JupyterLab, Atom) come with a built-in integration of Git and GitHub. Learn more about Git by reading this Intro to Git and GitHub Tutorial.
In this tutorial, we will learn how to install Git on macOS, Windows, and Linux using command-line tools and a binary installer. We will also learn how to install Git large file storage (Git LFS), and set up Git configurations and Git GUI applications for beginners.
Install Git on macOS X
macOS Xcode comes with built-in Git and GitHub features; and if you are not an Xcode user, you can install Git with Homebrew, MacPort, or a binary installer.
Install Git with Homebrew
Homebrew is a package manager for macOS. You can install, modify, and uninstall applications using a simple command in the terminal.
First, you need to install Homebrew, then type the command into the terminal.
brew install gitTo Install git-gui and gitk for a user-friendly experience and browsing interactive commit history, type in the command below.
brew install git-guiInstall Git with MacPort
MacPorts, a software manager for macOS systems, is similar to Homebrew.
If you have MacPorts installed, then:
sudo port install gitInstall Git with Mac Installer
You can also install Git using the installer by Tim Harper. Download and install the latest setup from SourceForge.net.
By following the installation instructions and keeping everything in its default setting, you can install the Git package within a few minutes.
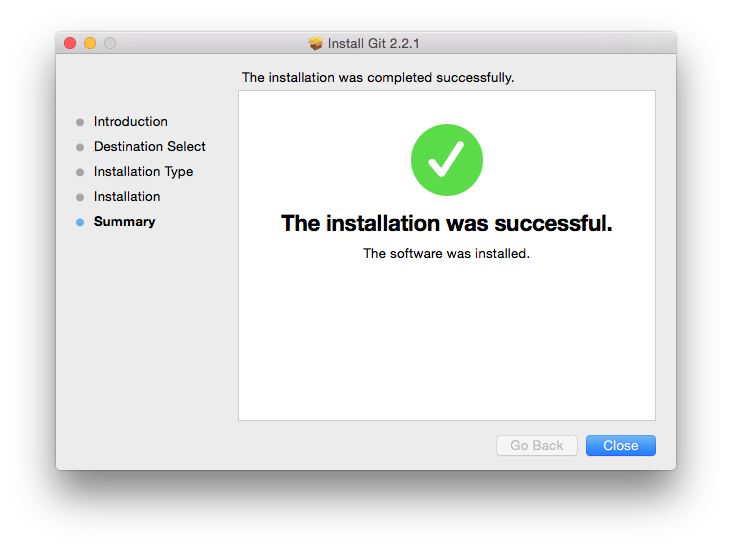
Image from SourceForge.net
Install Git on Linux
Linux is the most popular operating system (OS) among developers, and the majority of web servers are running on Linux/Unix-based systems. In this section, we will learn to install Git on various versions of OS using command-line tools.
Debian and Ubuntu
We will update apt-get and install the latest version of Git. apt-get is a command-line tool that allows you to modify, install, update, and remove the software.
sudo apt-get update
sudo apt-get install git
Fedora
To install Git on older versions (up to 21) of Fedora use:
yum install gitFor the latest versions (22+) use:
dnf install gitOther Linux and Unix based OS
There is a long list of various versions for Linux/Unix-based systems, and you can use the commands below to install Git on almost every OS.
- Gentoo: emerge --ask --verbose dev-vcs/git
- Arch Linux: pacemerge --ask --verbose dev-vcs/git
- openSUSE: zypper install git
- Mageia: urpmi git
- Nix/NixOS: nix-env -i git
- FreeBSD: pkg install git
- Solaris 11 Express: pkg install developer/versioning/git
- OpenBSD: pkg_add git
- Alpine: apk add git
- Slitaz: tazpkg get-install git
Install Git on Windows
Installing Git on Windows is fairly straightforward. In this section, we will learn how to install Git using Winget, Chocolatey, and a binary installer.
Command line
Winget package installers come by default with Windows 11, so it is quite easy for users to run the command on PowerShell. You can also install it on older versions of Windows from the Microsoft store.
winget install --id Git.Git -e --source wingetChocolatey
Chocolatey is a package manager for Windows. If you have installed it on your system, then simply run the command on PowerShell.
choco install gitInstall Git with Windows installer
Download the latest (2.35.2) 64-bit version of Git setup. If you want to download a portable or 32-bit version of setup, check out the Git download page. After downloading the Windows binary setup, it is time to run it.
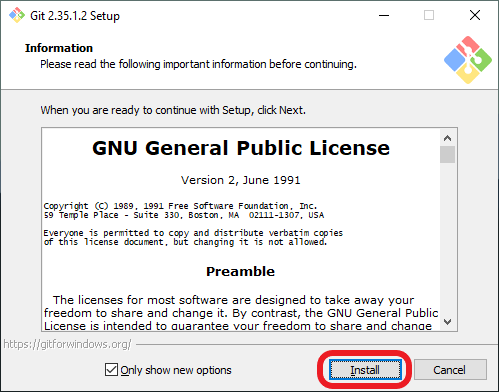
Window Git Install
Click on the install button and follow the instructions to extract the package. The setup will take a few minutes, and it will also install Git LFS, Git Bash, and Git GUI.
Keep options at default. You can remove the installation of Git Bash and other supportive applications by clicking on the checkmark. Make sure the default editor is either VS Code or Atom. You can set the default Git branch later, but it is easy to set it within the installer. In the next step, set Git to be accessed by the command line and other 3rd party software. Use the default option OpenSSL library and Git Credential Manager Core for a better experience.
If you are new to Git, keep everything at default. As you become more comfortable with it, you can make changes using the Git command line.
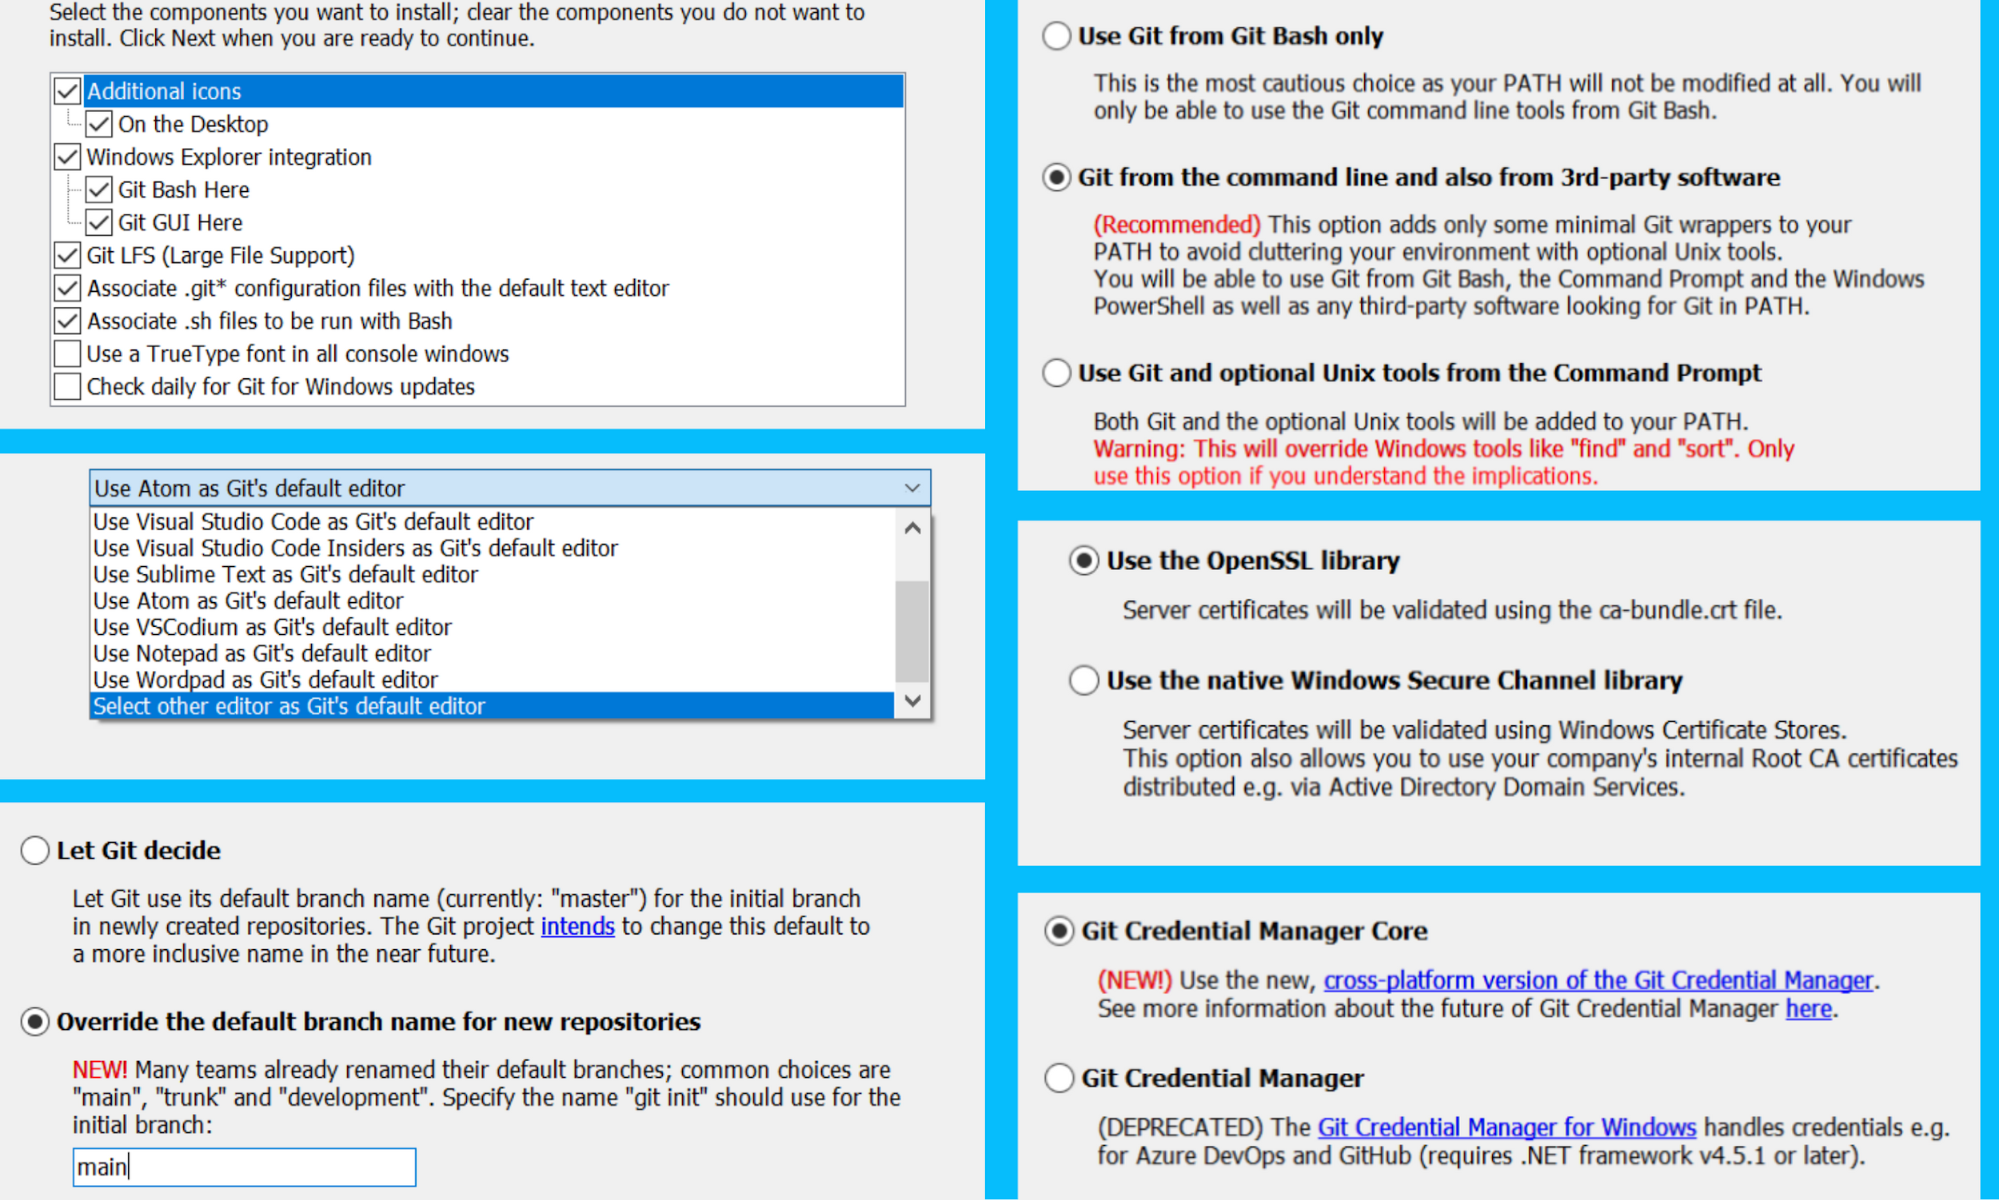
Windows Installer Options
To validate the installation, run the Git Bash and type `git –help`.
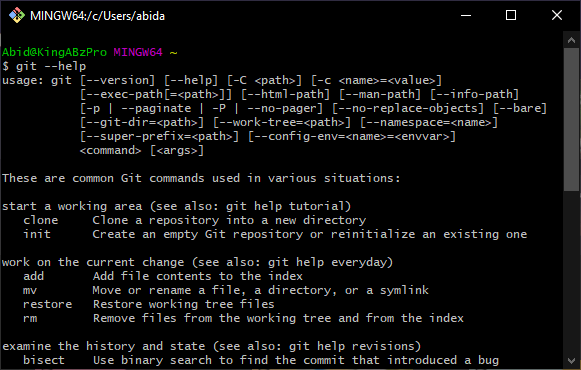
Git Bash
You will also see Git Bash and Git GUI options when you press the right-click button on your mouse. This is part of the accessibility so that you can open Git Bash in a specific directory containing the Git repository.
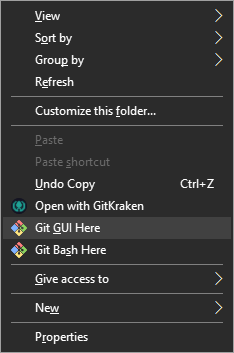
Right-click on Directory
The Git GUI helps visualize branches and historical changes, and instead of typing commands, you will be pressing buttons.
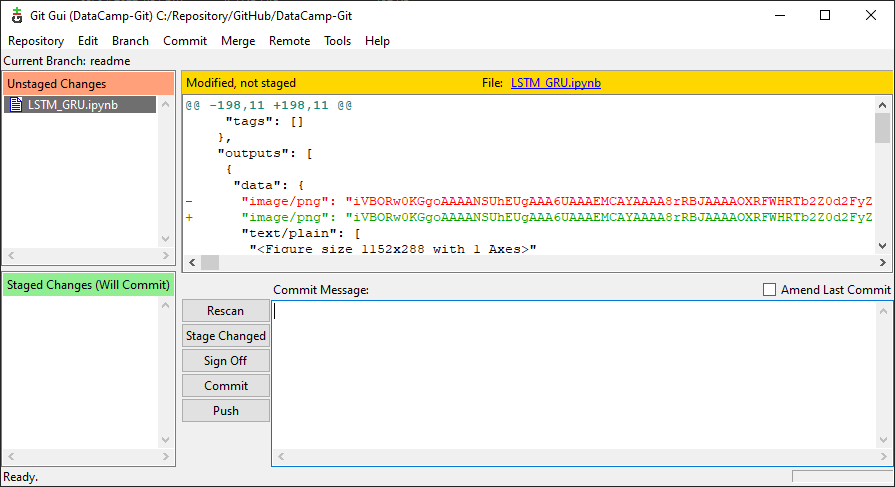
Git GUI
Git Initial Setup
It is necessary to configure Git before jumping into creating a repository. Setting up a username and email are necessary as they are yours to sign commits.
git config --global user.name "username"
git config --global user.email username@gmail.com
The majority of remote platforms (GitHub) have the main branch as their default, so It is recommended to set the main branch as the default by using:
git config --global init.defaultBranch mainMake sure your configurations are successfully added. The command below will show all the configurations – from the remote setup to ssh keys.
git config --listAfter early configuration, you are ready to add a file, commit, and push it to GitHub. On your first push, you have to add a username and password. After that, Git will store your credentials so that you don't have to type the password in again.
Installing Git LFS
Git Large File Storage (LFS) is an open-source Git extension for tracking and versioning large files. In data science, it is used for versioning large models, datasets, and metadata. The LSF replaces large datasets with a text pointer inside Git and stores the original files on a remote server. This makes versioning, pulling, and pushing large files faster. It also optimizes the storage.
- Windows: download and install the package.
- Ubuntu: run the command sudo apt-get install git-lfs
- macOS: if you have Homebrew installed, then use brew install git-lfs
- Other OS: check out GitHub repository git-lfs/git-lfs
After successfully installing the LFS, run the command below in the terminal to initialize a large file storage system.
git lfs install

>>> Git LFS initialized.
Git GUI Clients
Git GUI is for both beginners and experts. Instead of typing commands, you can use a graphical interface to initialize, modify, and push changes to the Git remote server. The visualization features of historical commits are quite useful in tracking the project's progress.
Git GUIs are necessary as they come with additional features such as project management, multiple repository management, team management, visualizing Git branches, tags, submodules, and much more. The best Git GUI client comes with Visual Studio Code as it is fully integrated with the development environment. You can perform all the tasks by clicking on options and avoid making mistakes.
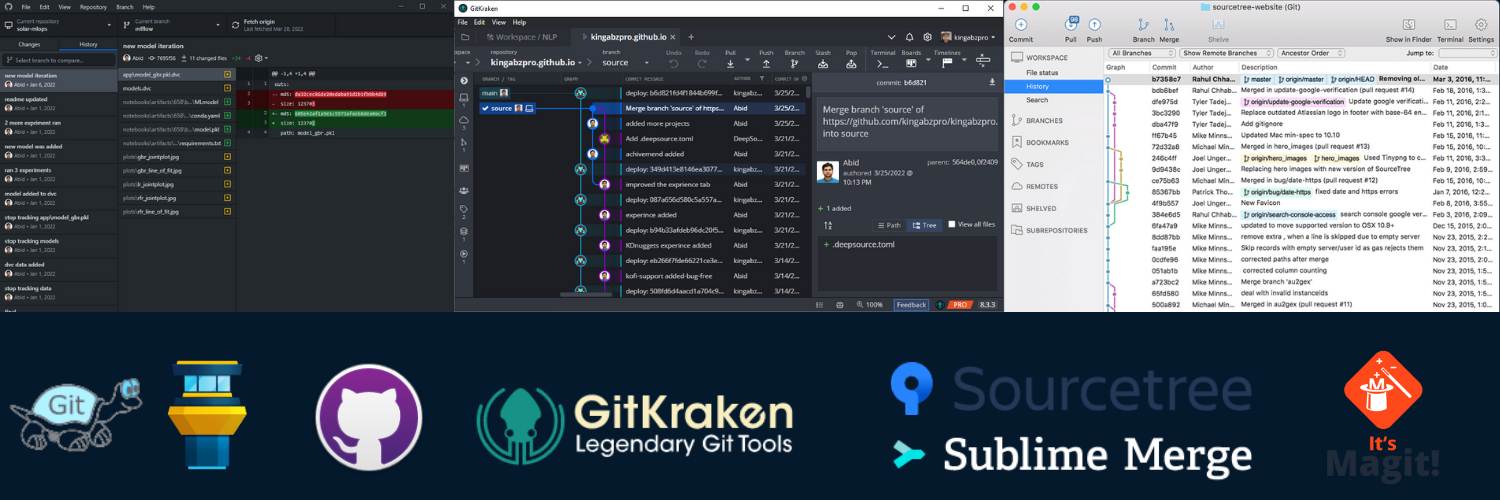
Git GUI Applications
List of top tier Git GUI clients:
- GitHub Desktop
- GitKraken
- Sourcetree
- Tower
- Tortoise Git
- Sublime Merge
- Cycligent
- Cong
- Aurees
- Magit
- GitFiend
Conclusion
Git has become an essential tool for software developers and data scientists. Even machine learning engineers use it to track the changes in models, datasets, monitor performance metrics, and data pipelines. If you are new to Git and want to understand how it works, then read All About Git. You can also learn by solving 46 coding exercises within DataCamp’s Introduction to Git course.
In this tutorial, we have shown how to install Git on various operating systems. Furthermore, we have discussed how to set up Git configurations, install Git large files storage, and make use of Git graphical user interface.

Git Install | Illustration by Storyset