Course
Intermediate Python
4 hr
1.4M
OpenCV, or the Open Source Computer Vision Library, is a robust open-source library widely adopted in computer vision projects. OpenCV is designed to offer an integrated framework for real-time computer vision and serves as a platform that facilitates numerous image and video analysis applications.
The OpenCV library plays a pivotal role in enabling developers and researchers to harness the advantages of visual data processing. Its capabilities span various applications, from basic image processing to more complex tasks such as object identification and facial recognition. By offering an extensive collection of algorithms, methods and image data processing operations, OpenCV facilitates the development of intelligent systems capable of recognizing and classifying visual content.
One notable application of OpenCV is in object recognition, where its algorithms facilitate identifying and localizing objects within images or video streams. This capability also extends to other computer vision tasks, such as facial recognition, movement tracking, and support for augmented reality technologies.
In this article, we explore the following:
To go through this OpenCV tutorial, you’ll need an intermediate knowledge of Python and a basic understanding of computer vision. Familiarity with image processing principles will also improve the learning experience throughout the tutorial, although key concepts are defined when mentioned.
!pip install opencv-pythonYou may use the following command in case you are using Anaconda:
!conda install -c conda-forge opencvTo confirm if the installation is successful, run the following code on a Python Interpreter or Jupyter NoteBook:
import cv2
print(cv2.__version__)
On successful installation, this should print the version number of the installed OpenCV library. Failure of the version number not printed on the terminal or console implies that the installation process wasn’t successful.
Important Note if using Google Colab: For adapting the code to display images within Google Colab notebooks, it's necessary to modify the traditional cv2.imshow function to cv2_imshow provided by Google Colab's specific libraries. This adjustment ensures compatibility with the Colab environment, which does not support cv2.imshow. To implement this change, import the cv2_imshow function from Google Colab's patches as follows:
from google.colab.patches import cv2_imshow

# Displaying an image in a window
cv2_imshow(image)
The code snippet below introduces a fundamental entry point to utilizing the OpenCV library for image processing. Loading an image into a development environment is conducted in various areas, from simple computer vision projects to complex real-time object detection applications in production. Displaying an image is also crucial for observing the content of an image or processing result. In the code below, we read a JPG from a file and display it using the OpenCV library.
The following code snippet could be used to load and display images in OpenCV:
import cv2

# Loading image from a file
image = cv2.imread('your/image/path.jpg')

# Displaying an image in a window
cv2.imshow('Image', image)
cv2.waitKey(0)
cv2.destroyAllWindows()
Office workers surrounding a laptop. Source: Canva
In this code, the image is read from a file using ‘cv2.imread’ and then displayed in a window with the help of ‘imshow’. The 'cv2.waitKey(0)' function ensures the window remains open until the user closes it by pressing a key.
Image processing is manipulating pixel data in an image in such a manner that it modifies the visual appearance of the initial image, either for feature extraction, image analysis, or other computer vision-related tasks. Examples of image processing techniques are color processing, filtering, segmentation, edge detection, etc.
The code snippet below demonstrates a simple image processing technique on the image loaded in the previous code snippet. The image processing technique shown here is a simple color conversion, specifically, a grayscale conversion. Grayscale conversion is a fundamental technique in image processing, reducing the image to a single channel of intensity values.
# Converting an image to grayscale form
gray_image = cv2.cvtColor(image, cv2.COLOR_BGR2GRAY)

# Displaying the grayscale image
cv2.imshow('Gray Image', gray_image)
cv2.waitKey(0)
cv2.destroyAllWindows()
Here, cv2.cvtColor() converts the loaded image into a grayscale.

Office workers surrounding a laptop(Grayscale). Source: Canva
Edge detection is a fundamental technique in image processing and computer vision. It identifies points in an image where brightness changes sharply or has discontinuities. Detecting edges is essential in computer vision, especially when detecting features within image data. Edge detection generally functions by detecting sharp changes in pixel intensities. By joining these points of sharp changes in image brightness, lines and edges that outline objects in an image are formed.
With edge detection algorithms, miniscule textural and structural features of an object on an image can be detected.
Several edge detection algorithms, such as Canny Edge Detector, Sobel Method, and Fuzzy Logic method, are utilized in object recognition, image segmentation, and feature extraction. The following code snippet demonstrates basic edge detection using OpenCV:
# Applying Canny edge detection (a simple edge detection method)
edges = cv2.Canny(gray_image, 50, 150)

# Displaying the edge-detected image
cv2.imshow('Edges', edges)
cv2.waitKey(0)
cv2.destroyAllWindows()
The Canny edge detection algorithm is made readily available in the OpenCV library by the underlying function 'cv2.Canny()' that applies to detect the edges of an object for the grayscale image.
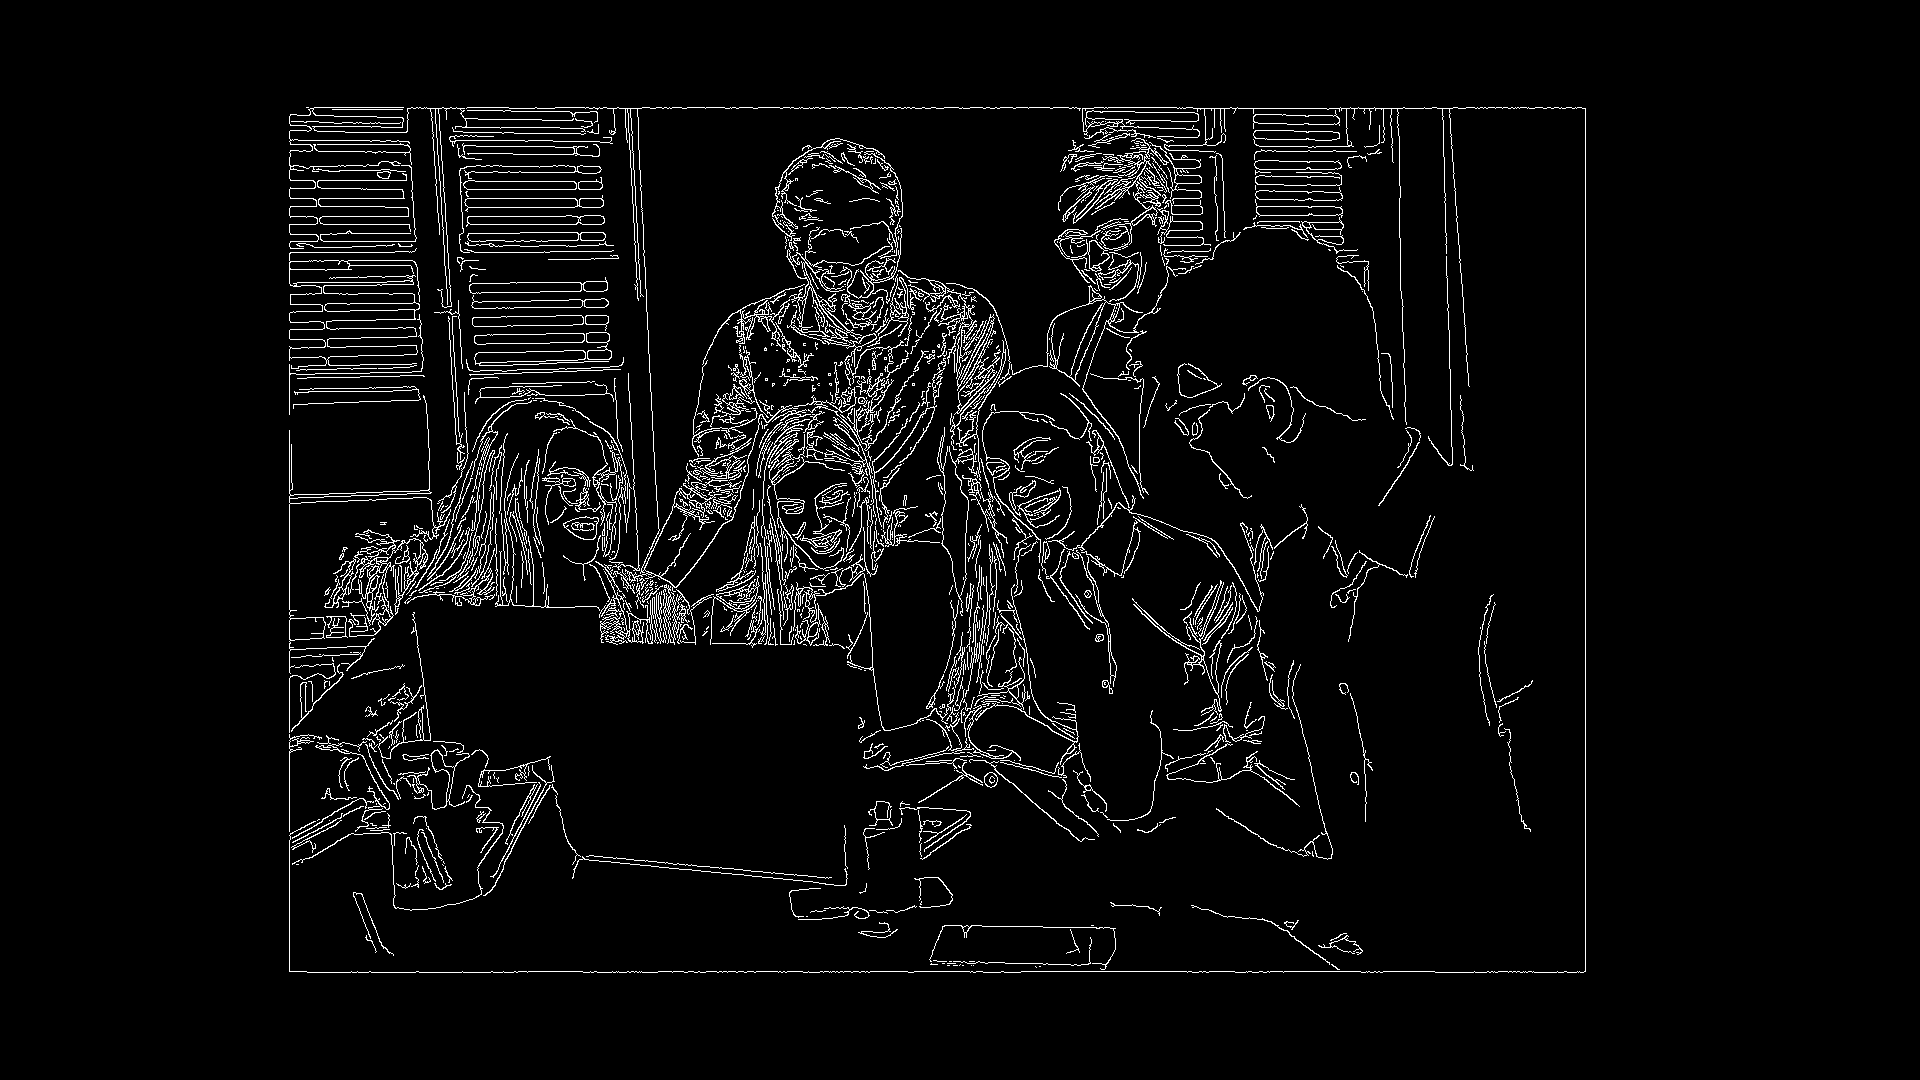
Office workers surrounding a laptop(Grayscale). Source: Canva
Resizing and rotating images are fundamental requirements for image processing since they facilitate the adaptation and transformation of visual content. Resizing an image involves changing its dimensions, whether enlarging or reducing, and this function is essential for scaling and placing images in specific environments.
Rotating is an adjustment that alters the angle at which a specified rotation angle views an image. Both operations are commonly applied as image pre-processing steps for various purposes, including computer vision, machine learning, and graphics. For example, in training deep neural networks, rotating and resizing images are data augmentation techniques used to increase the dataset variability of the training data fed into neural networks during training. Data augmentation aims to train the network with a dataset with enough variance to enable the trained network to generalize unseen data well.
To resize and rotate images using OpenCV, you can use the following code:
# Resizing the image
resized_image = cv2.resize(image, (width, height))

# Rotating the image by 45 degrees
rotation_matrix = cv2.getRotationMatrix2D((width / 2, height / 2), 45, 1)
rotated_image = cv2.warpAffine(resized_image, rotation_matrix, (width, height))

# Displaying the resized and rotated images
cv2.imshow('Resized Image', resized_image)
cv2.imshow('Rotated Image', rotated_image)
cv2.waitKey(0)
cv2.destroyAllWindows()
While 'cv2.resize' is used to resize the image, and 'cv2.getRotationMatrix2D' along with 'cv2.warpAffine' are both used for rotating the image.

Office workers surrounding a laptop(Rotated). Source: Canva
Videos are a series of images presented sequentially. In computer vision, video processing capabilities are crucial to developing and building applications that process real-time and recorded data. In contrast to the static nature of images, video processing deals with temporal sequences of images, allowing for the analysis of motion, changes over time, and the extraction of temporal patterns.
The dynamic nature of content within video data requires video processing techniques to be efficient, especially in critical systems, for example, in applications such as surveillance, autonomous driving, activity recognition, and many more, where understanding movement and change is essential.
A significant advantage of using OpenCV for video processing tasks is the provisioning of a suite of comprehensive features designed to handle video streams efficiently. OpenCV provides video capture, processing, and analysis tools as it does with images.
The following code snippet can be used to load and process a video located locally:
import cv2

# Open a video capture object
cap = cv2.VideoCapture("Your video's path.mp4")

# To check if the video has opened successfully of not
if not cap.isOpened():
    print("Error: Couldnot open the video.")
    exit()

# Loop through the video frames
while True:
    # Reading a frame from the video
    ret, frame = cap.read()

    # Break the loop if the video has ended
    if not ret:
        break

    # Display the original frame
    cv2.imshow('Original Video', frame)

    gray_frame = cv2.cvtColor(frame, cv2.COLOR_BGR2GRAY)
    cv2.imshow('Black and White Video', gray_frame)

    # Perform edge detection on the video
    edges_frame = cv2.Canny(gray_frame, 50, 150)
    cv2.imshow('Edges Video', edges_frame)

    # Break the loop if 'q' key is pressed
    if cv2.waitKey(25) & 0xFF == ord('q'):
        break

# Release the video capture object and close all windows
cap.release()
cv2.destroyAllWindows()
In this code, the ‘cv2.VideoCapture’ class is used to access a video file and read frames through its method called ‘cap.read'. It then shows first the original video, then converts to black and white, and finally does edge detection for each frame. The loop runs until the video gets empty or before taking input from the keyboard to quit. The ‘cv2.waitKey(25)’ allows a short time delay between the frames to display them, thus ensuring an even playback.
Object detection is a fundamental computer vision task that aims to detect and localize objects in an image or video and provide recognition results – a list of detected class labels and corresponding bounding boxes. People detection, a variant of object recognition, focuses on identifying and localizing people within visual information.
Applications of people detection include surveillance, crowd management, people counting, tracking, human-computer interaction, and smart environments. In surveillance, this technology aids in detecting suspicious activities, while in crowd management, it supports gesture recognition and tracking. People detection plays a crucial role in human-computer interaction and is also employed in smart environments for resource optimization and enhanced security.
YOLO, an acronym for "You Only Look Once," has emerged as a commonly used system that efficiently achieves real-time object recognition. Contrary to classical object detection methods, YOLO divides the image into a grid of cells, simultaneously predicting bounding boxes and class probabilities for each cell.
You can read more about YOLO Object Detection in our comprehensive guide.
Below is a code snippet using OpenCV and Yolo for person detection in an image:
import cv2

net = cv2.dnn.readNet('yolov3.weights', 'yolov3.cfg')
layer_names = net.getUnconnectedOutLayersNames()

image = cv2.imread('image path.jpg')
height, width = image.shape[:2]

blob = cv2.dnn.blobFromImage(image, 1/255.0, (416, 416), swapRB=True, crop=False)
net.setInput(blob)
outs = net.forward(layer_names)

for out in outs:
    for detection in out:
        scores = detection[5:]
        class_id = np.argmax(scores)
        confidence = scores[class_id]

        if confidence > 0.5 and class_id == 0:  # Class ID for person
            box = detection[:4] * np.array([width, height, width, height])
            (x, y, w, h) = box.astype(int)
            cv2.rectangle(image, (x, y), (x + w, y + h), (0, 255, 0), 2)

cv2.imshow('Person Detection', image)
cv2.waitKey(0)
cv2.destroyAllWindows()Similarly, the code structure follows similar principles for person detection in a video. Instead of processing one static image, the script or application continuously processes video frames.
The same principle underlies the identification of people in both images and video clips, with the main difference being the factor of time. With images, the task involves recognizing and positioning people in single static frames.
This application is most suited for surveillance snapshots and other non-overlapping photographs. In contrast, with videos, the goal is to identify and track individuals as they move onto subsequent frames. This is sometimes referred to as object tracking in videos. The temporal aspect is crucial when considering human movements and interactions over time, making video-based person detection a vital tool for real-time applications, including security surveillance, crowd monitoring, and behavior analysis.
Some other real-world use cases of people detection include smart cities, retail analytics, and public safety. Nevertheless, there are ethical considerations related to privacy issues, consent, and misuse of the technology. Responsible deployment across domains is achieved by balancing the benefits and ethical concerns.
This tutorial demonstrated the foundational aspects of working with the OpenCV library for various computer vision tasks. Starting with the basics, it showed how to install OpenCV in a Python environment. OpenCV operations for loading and displaying images were showcased along with image processing techniques, such as converting images to grayscale and applying edge detection. Overall, it is clear that OpenCV can perform sophisticated image transformations and analysis, including applying image processing techniques to video frames.
Notably, OpenCV plays a crucial role in applied computer vision as It offers versatility and robust capabilities, enabling computer vision engineers and machine learning practitioners to address many challenges related to visual data processing. The key advantage of utilizing the OpenCV library is that it streamlines the process of applying computer vision algorithms and efficiently moves application concepts into practical implementations.
Enhance your understanding of the concepts discussed in this article by delving deeper into image processing in Python through a well-curated course. This course broadens your toolkit for image processing and computer vision with additional libraries like Sci-kit Image and Numpy.
Start Your Python Journey Today!
Course
Course
Course
Tutorial
Natassha Selvaraj
Tutorial
Bex Tuychiev
Tutorial
Bekhruz Tuychiev
Tutorial
Karlijn Willems
Tutorial
Abid Ali Awan
code-along
Luis Remis