Course
Introduction to Python
4 hr
6.9M
If you are just getting started in Python and would like to learn more, take DataCamp's Introduction to Data Science in Python course.

In general, logging is a way of keeping a log generated from a computer program. A log file usually has a set of records of events that occur in your code ( for example, a python code ) or an operating system. These events or messages are written to a log file, a message, or an event can also be a communication between different users.
It usually depends on the developers on how they would like to generate logs. Maybe they would like to log every operation of an application they developed, log only when an error occurs, or monitor essential operations done by a user and log them. An essential operation could be to check the application or the server was accessed by which end-user or IP address, and in case it was an unsuccessful attempt, the developer then could seek help from the logs and provide better insights than a mere stack trace.
A nice example would be when you try to do an installation on Linux as a sudo user when you are not a sudo user. You see a message "Xyz is not in the sudoers file. This incident will be reported", which is written in a log file.
The good news is that Python comes with a built-in logging module, and you can use it off the shelf without any installation.
Logging is similar in spirit to a Print Function. However, a Print function lacks a lot of information that might be useful to a developer. Logging, on the other hand, can log the timestamps and line number at which the error occurred. It can log errors or any information to files, sockets, etc., and it offers you five types of severity based on which you can differentiate your logging.
Five Levels of Logging as shown here, are:
Debug (10): Useful for diagnosing issues in the code.
Info (20): It can act as an acknowledgment that there are no bugs in the code. One good use-case of Info level logging is the progress of training a machine learning model.
Warning (30): Indicative of a problem that could occur in the future. For example, a warning of a module that might be discontinued in the future or low-ram warning.
Error (40): A serious bug in the code, could be a syntax error, out of memory error, exceptions.
Critical (50): An error due to which the program might stop functioning or might exit abruptly.
Enough of theory, right?
Let's now understand how you can implement logging in a Python code.
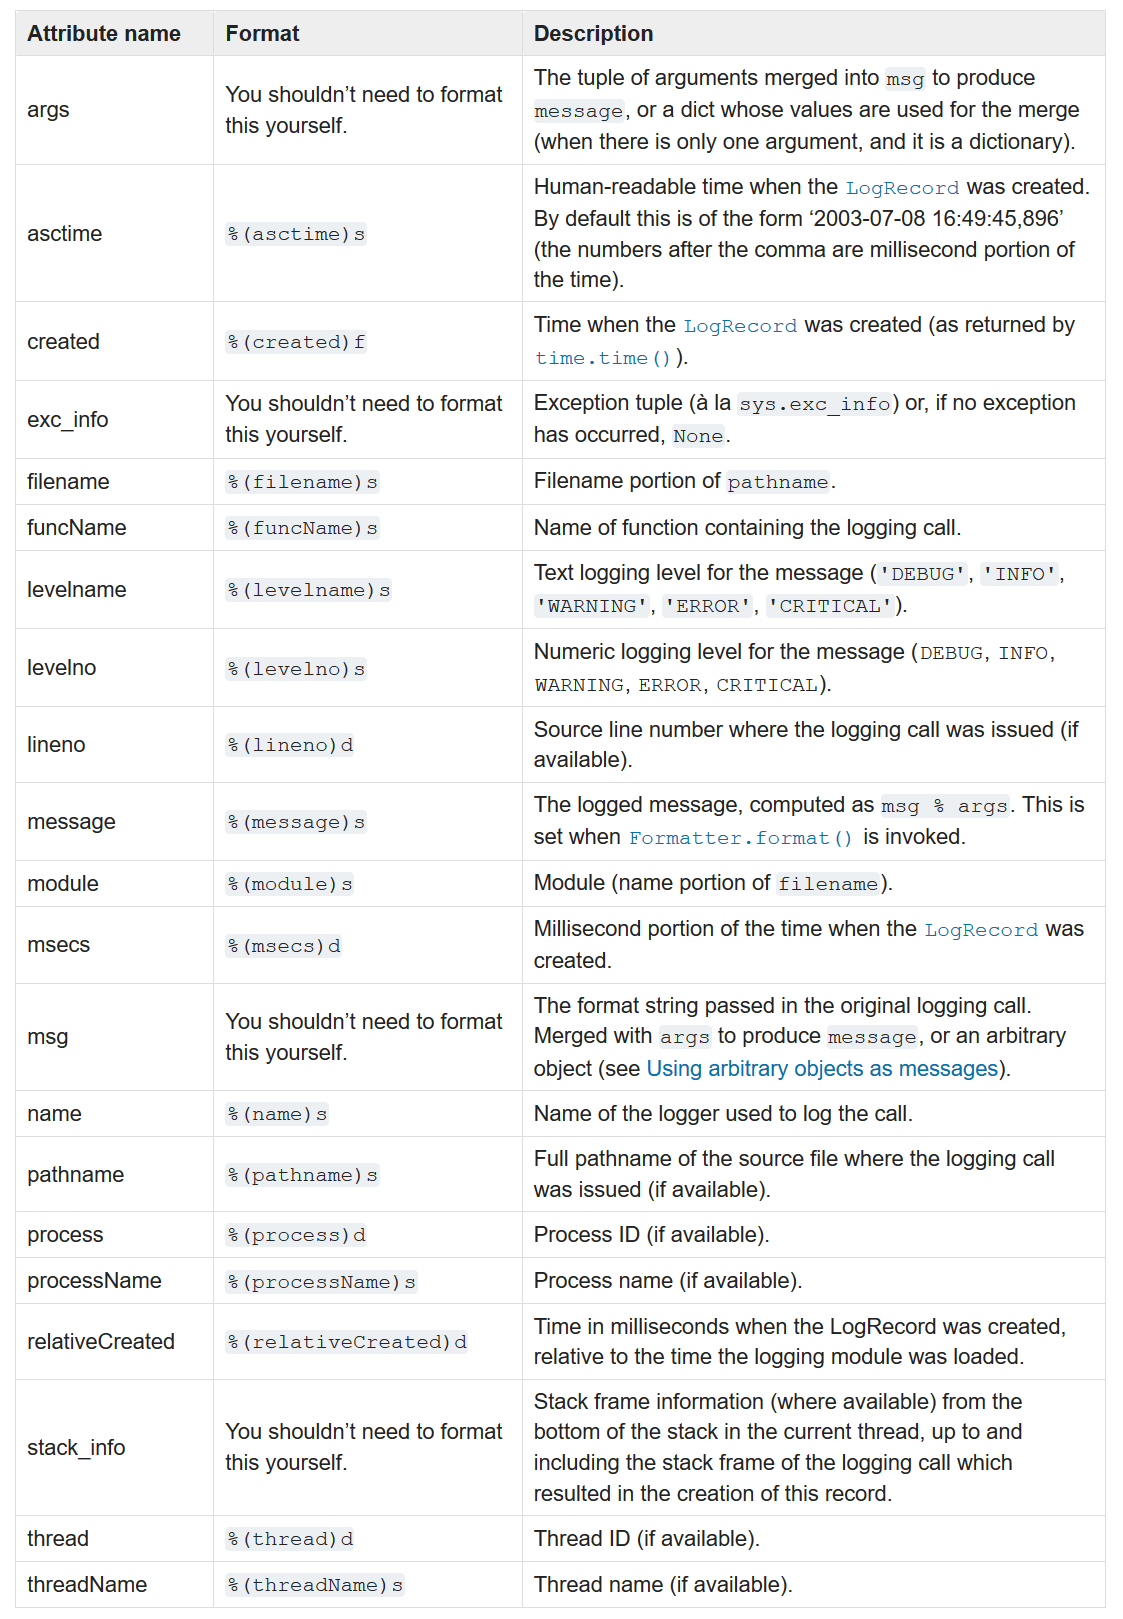
But before that, let's see the logging attribute table, you would be using some of the below logging attributes in today's tutorial.
import logging
Now you will call the basicConfig() method, which helps you in creating a basic configuration for the logging system to work smoothly.
It allows you to set the following parameters:
Remember that the basicConfig() method is optional, and you might want to skip it.
logging.basicConfig()
Let's now build the five levels of severity.
logging.debug("A Debug Logging Message")
logging.info("A Info Logging Message")
logging.warning("A Warning Logging Message")
WARNING:root:A Warning Logging Message
logging.error("An Error Logging Message")
ERROR:root:An Error Logging Message
logging.critical("A Critical Logging Message")
CRITICAL:root:A Critical Logging Message
As you can observe from the above outputs, only the ones which have severity level greater than 20 were successfully logged since that is the default configuration of logging in Python.
However, as discussed above, you can modify the severity levels using the basicConfig() method. Here you would change the severity level to 20, which means logging levels having severity greater than 10 will be logged.
Note: Kindly restart the kernel before running the below cells to see the correct output.
import logging
logging.basicConfig(level=logging.INFO)
logging.debug("A Debug Logging Message")
logging.info("A Info Logging Message")
INFO:root:A Info Logging Message
logging.warning("A Warning Logging Message")
WARNING:root:A Warning Logging Message
logging.error("An Error Logging Message")
ERROR:root:An Error Logging Message
logging.critical("A Critical Logging Message")
CRITICAL:root:A Critical Logging Message
Let's now log the above outputs in a log file. To achieve this, you would use the basicConfig() method.
import logging
logging.basicConfig(level = logging.INFO, filename = 'datacamp.log')
logging.debug("A Debug Logging Message")
logging.info("A Info Logging Message")
logging.warning("A Warning Logging Message")
logging.error("An Error Logging Message")
logging.critical("A Critical Logging Message")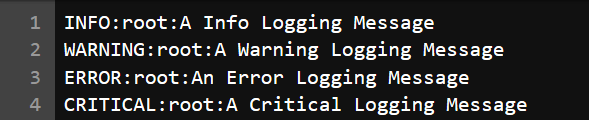
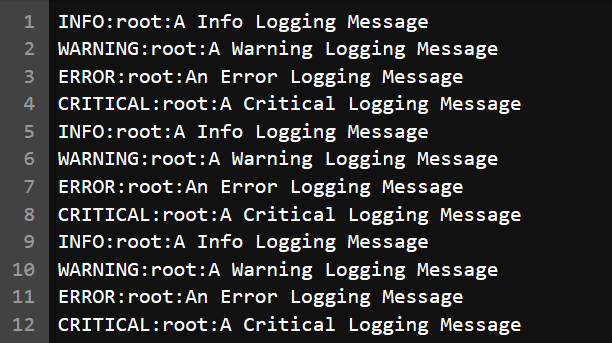
As you can see, now the logs are being generated in a log file datacamp.log. Upon running the above cells multiple times, you would notice that logs will be added in the log file that many times. By default, the file is in append mode.
You can make use of the filemode keyword to prevent the log file from being written with multiple copies of logs i.e., append mode. The filemode can be changed to write mode, which will overwrite the previous logs and only save the current ones. Since the filemode is set to w, this means that the log file will be opened in write mode each time basicConfig() is run, which will ultimately overwrite the file.
The file mode functionality in logging is similar to a standard file handling that Python offers.
import logging
logging.basicConfig(level = logging.INFO, filename = 'datacamp.log', filemode = 'w')
logging.debug("A Debug Logging Message")
logging.info("A Info Logging Message")
logging.warning("A Warning Logging Message")
logging.error("An Error Logging Message")
logging.critical("A Critical Logging Message")
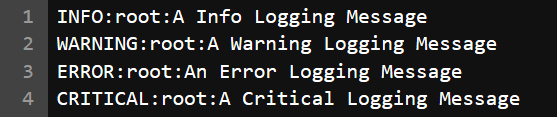
Let's run the above lines of code multiple times. You will notice that this time only the current log entries will be saved, and the previous ones will be overwritten, as shown below.
Let's look at some more logging attributes like date, time, line number at which warning or error was generated. Well, as you might agree by now that all these are advantages over a simple Print function and is far more capable than a mere Print function.
In order for you to accomplish this, you will pass the logging attributes asctime and lineno. Also you will pass the message attribute, which will be a placeholder for the message you would like to display for the logs. All these attributes will be passed to the format method.
import logging
logging.basicConfig(format='Date-Time : %(asctime)s : Line No. : %(lineno)d - %(message)s', \
                    level = logging.DEBUG)
logging.debug("A Debug Logging Message")
logging.info("A Info Logging Message")
logging.warning("A Warning Logging Message")
logging.error("An Error Logging Message")
logging.critical("A Critical Logging Message")
Date-Time : 2020-03-18 23:58:12,429 : Line No. : 1 - A Debug Logging Message
Date-Time : 2020-03-18 23:58:12,436 : Line No. : 2 - A Info Logging Message
Date-Time : 2020-03-18 23:58:12,437 : Line No. : 3 - A Warning Logging Message
Date-Time : 2020-03-18 23:58:12,440 : Line No. : 4 - An Error Logging Message
Date-Time : 2020-03-18 23:58:12,441 : Line No. : 5 - A Critical Logging Message
Let's look at the definitions of each attribute straight from this table.
asctime: Human-readable time when the LogRecord was generated. By default, this is of the form 2020-03-18 22:24:42,670 (the numbers after the comma are millisecond portion of the time). Since this attribute is a string, hence, you use s keyword after it.
lineno: Source line number where the logging call was called. Since this attribute is an integer, hence, you use d keyword after it.
message: The logged message, computed as msg % args. This is set when Formatter.format() is invoked. If you do not specify this attribute while using the format() parameter, the messages you wish to log will not be generated. Similarly, for a message attribute, you use s since its a string.
funcName: This will output the module or the function name in which the log is generated. It is useful when you have a lot of functions in your code, and you want to segregate the logs based on the function or method they belong to.
Let's take a simple example and see how you can plug in the logging debug function in place of the print function.
import logging

logging.basicConfig(format='%(asctime)s :: %(levelname)s :: %(funcName)s :: %(lineno)d \
:: %(message)s', level = logging.INFO)

def addition(x, y):
    add = x + y
    return add


def subtract(x, y):
    sub = x - y
    return sub


def multiply(x, y):
    mul = x * y
    return mul


def divide(x, y):
    div = x / y
    return div

def exponent(x, y):
    exp = x ** y
    return exp


num1 = 20
num2 = 2

def main():
    add_result = addition(num1, num2)
    logging.info('Add: {} + {} = {}'.format(num1, num2, add_result))

    sub_result = subtract(num1, num2)
    logging.info('Sub: {} - {} = {}'.format(num1, num2, sub_result))

    mul_result = multiply(num1, num2)
    logging.info('Mul: {} * {} = {}'.format(num1, num2, mul_result))

    div_result = divide(num1, num2)
    logging.info('Div: {} / {} = {}'.format(num1, num2, div_result))

    exp_result = exponent(num1, num2)
    logging.info('Exp: {} ** {} = {}'.format(num1, num2, exp_result))


main()
2020-03-19 00:01:27,372 :: INFO :: main :: 35 :: Add: 20 + 2 = 22
2020-03-19 00:01:27,376 :: INFO :: main :: 38 :: Sub: 20 - 2 = 18
2020-03-19 00:01:27,377 :: INFO :: main :: 41 :: Mul: 20 * 2 = 40
2020-03-19 00:01:27,378 :: INFO :: main :: 44 :: Div: 20 / 2 = 10.0
2020-03-19 00:01:27,379 :: INFO :: main :: 47 :: Exp: 20 ** 2 = 400
Congratulations on finishing the tutorial.
You might want to try out other logging attributes and understand how they can be leveraged in your code.
Please feel free to ask any questions related to this tutorial in the comments section below.
If you are just getting started in Python and would like to learn more, take DataCamp's Introduction to Data Science in Python course.
Python Courses
Course
Course
Course
Tutorial
Abid Ali Awan
Tutorial
Olivia Smith