
Track
Developing AI Applications
21 hr
Quantization is a model compression technique that reduces the precision of model weights.
Large language models are usually stored in high-precision formats such as BF16 or FP16, which preserve quality but require significant memory. Quantization converts those weights into lower-bit formats, such as 8-bit or 4-bit, so the model uses less VRAM and runs more easily locally. Hugging Face notes that 8-bit quantization can roughly halve memory usage, while 4-bit quantization can reduce it even further.
The tradeoff is that lower precision can sometimes reduce output quality, especially if the model was not optimized for quantization. In simple terms, BF16 and FP16 usually provide the best quality but use more memory; 8-bit models are smaller while usually keeping strong quality, and 4-bit models are much smaller but may lose some accuracy or stability.
For local inference, this trade-off is often worth it because it allows larger models to run on consumer GPUs rather than requiring expensive data center hardware.
Quantization-Aware Training (QAT) stands for a training technique in which the model is trained or fine-tuned while simulating low-precision behavior. This helps the model remain more stable after quantization and can improve local inference performance at low bit widths.
The usual approach, post-training quantization, compresses a model after it has already been trained. This is simple and practical, but the model may lose some quality because it was not trained to handle low-precision weights.
According to Google AI Edge documentation, post-training quantization is a conversion step that can reduce model size and improve latency, usually with little accuracy loss. However, the final quality can still depend on the model and quantization level.
Quantization-Aware Training, or QAT, takes a different approach. Instead of quantizing only after training, QAT simulates low-precision behavior during training or fine-tuning. This helps the model learn how to stay stable when it is later converted to a smaller format. It minimizes the quality loss when the model is compressed.
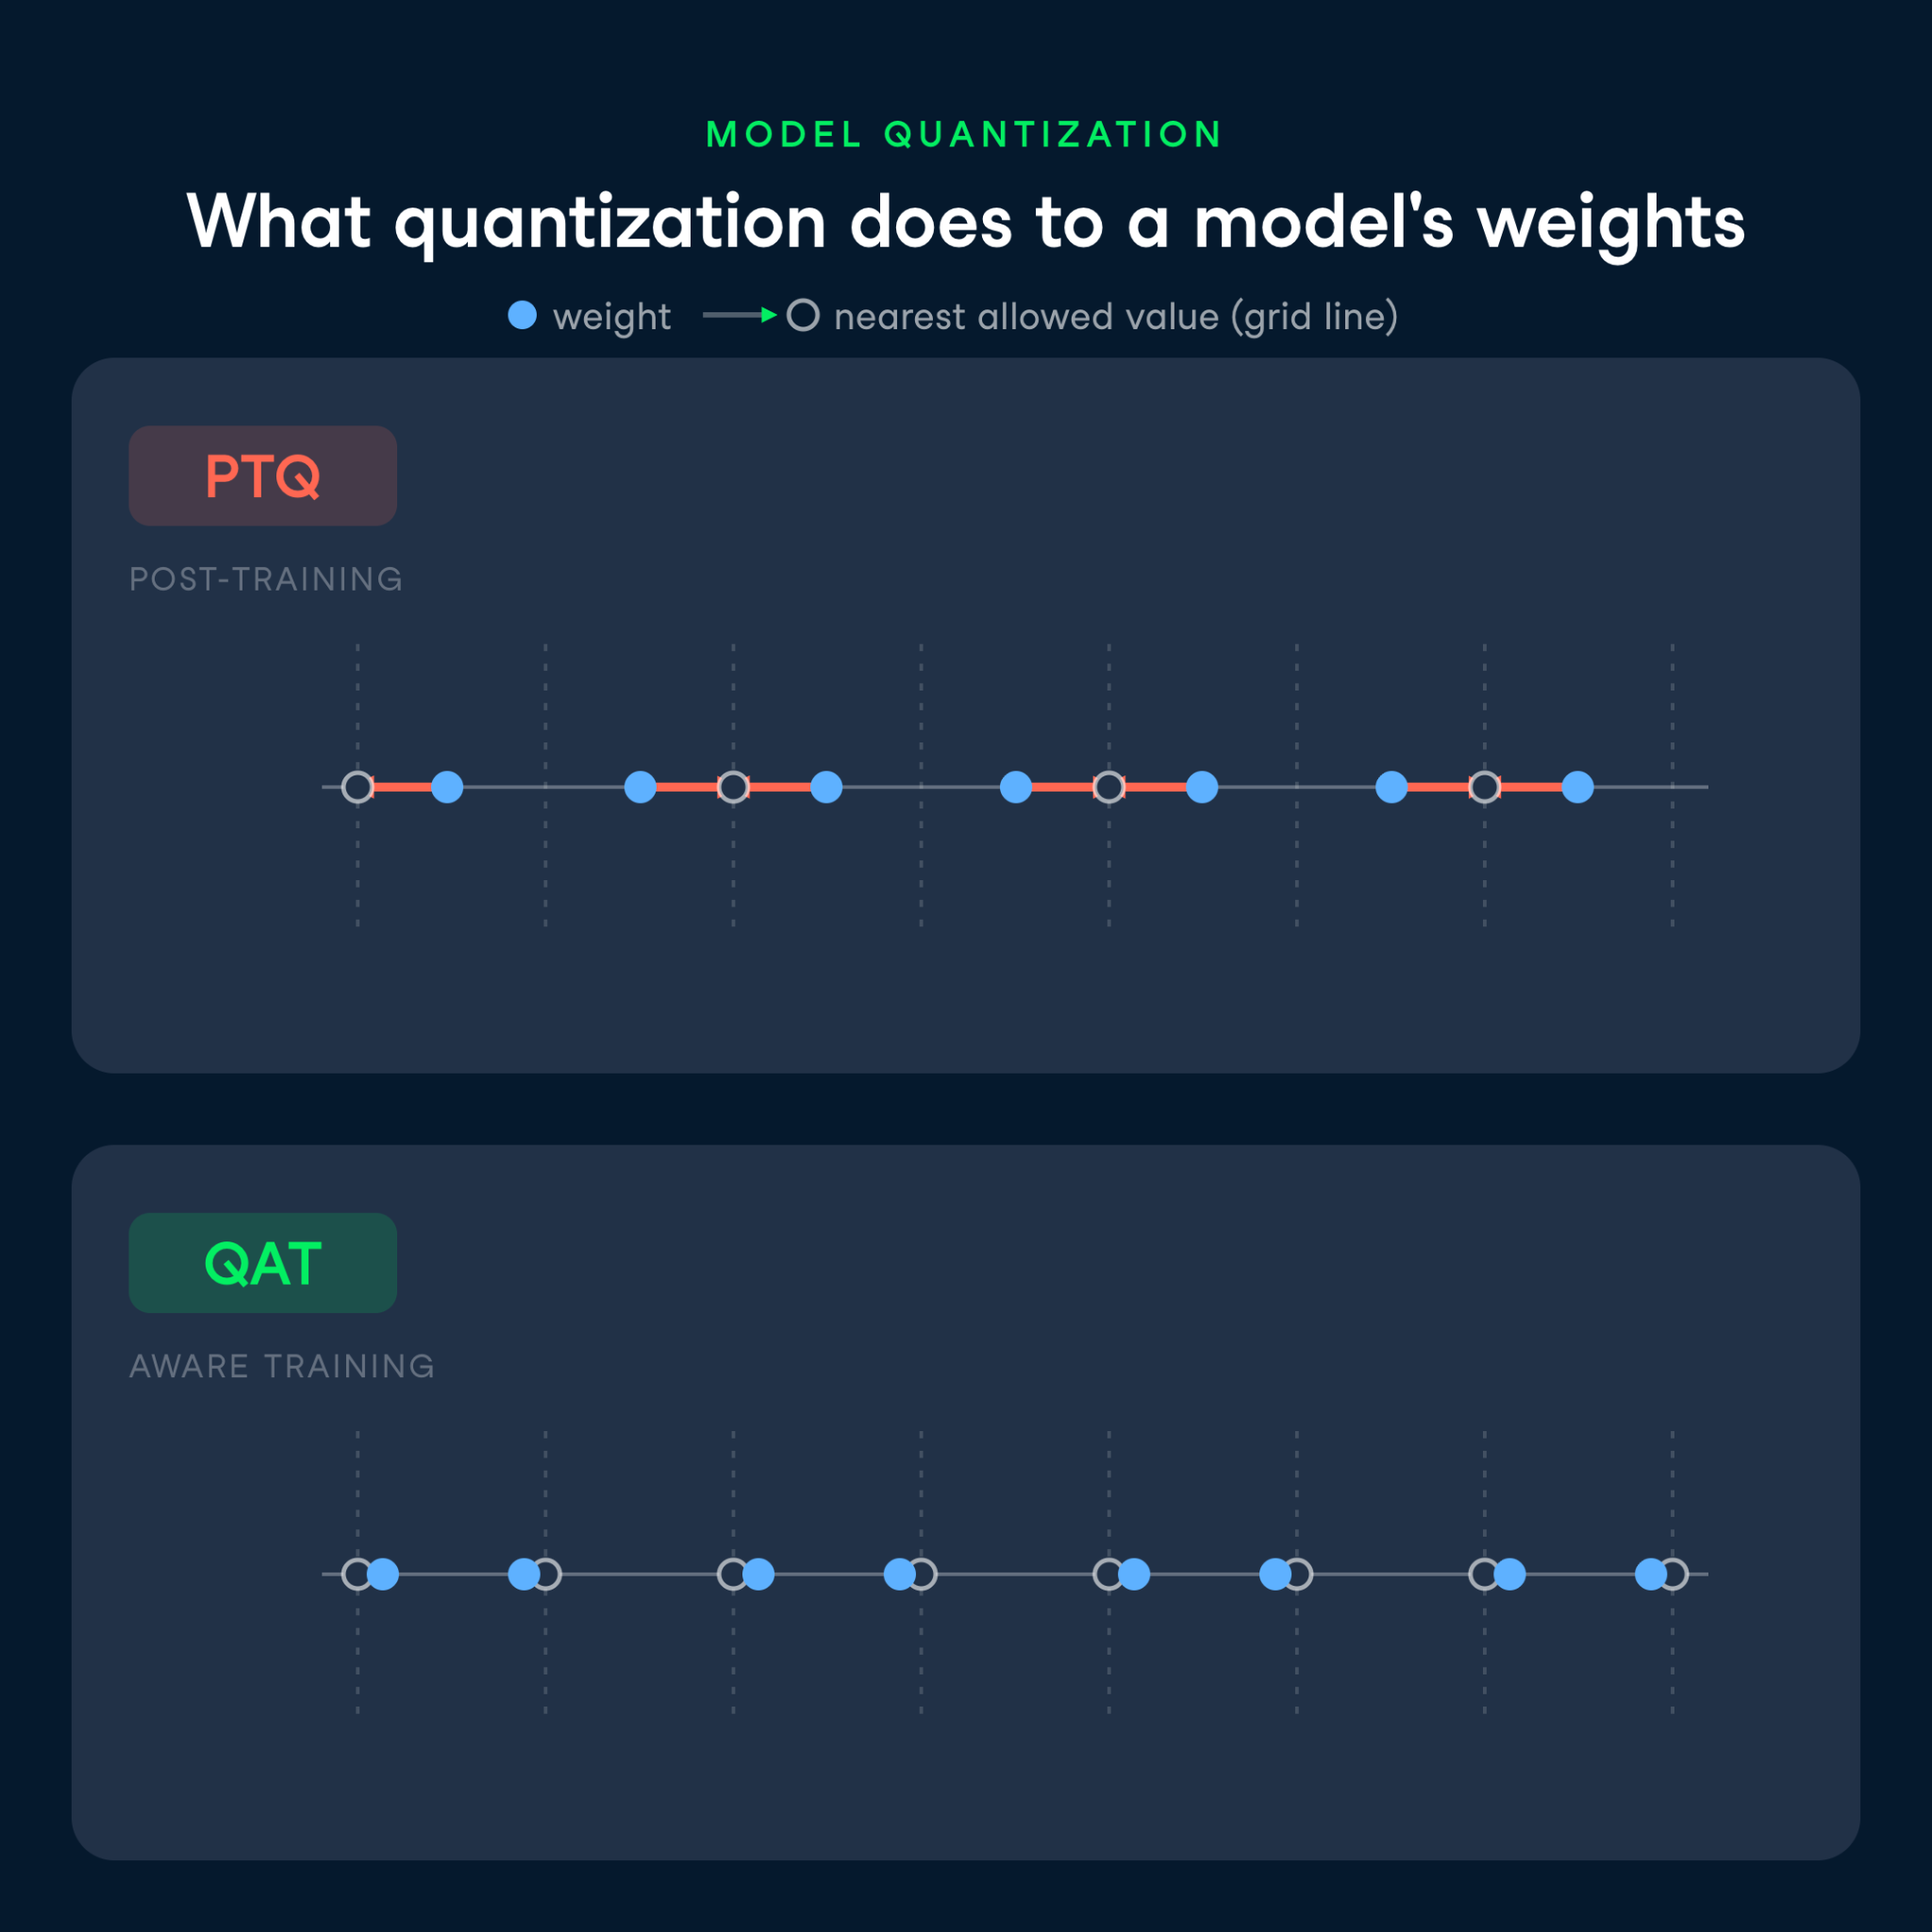
That is why Gemma 4 QAT is useful for local AI. It is built with quantization in mind, so it can keep more of the original model quality while using less memory. For users running models on consumer GPUs, this can mean better low-bit stability, lower VRAM usage, and a more practical local inference.
Before downloading the models, we first need to prepare the local runtime. This tutorial was tested on a machine with an NVIDIA RTX 4090 GPU and 24 GB of VRAM. We will use llama.cpp as the inference runtime, GGUF as the model format, and the UD-Q4_K_XL quantized model files.
Tested setup:
We will compare the following two Unsloth GGUF models:
First, check that your GPU is available.
nvidia-smi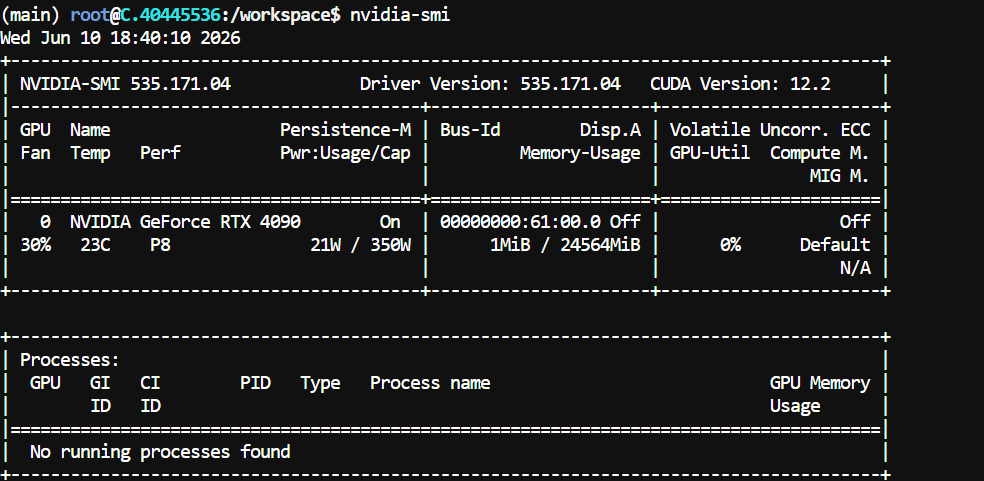
Next, install the system packages required to build llama.cpp.
apt-get update
apt-get install pciutils build-essential cmake curl libcurl4-openssl-dev -y
Clone the official llama.cpp repository.
git clone https://github.com/ggml-org/llama.cppNow build llama.cpp with CUDA support enabled. This allows the model layers to run on the GPU rather than only on the CPU.
cmake llama.cpp -B llama.cpp/build \
    -DBUILD_SHARED_LIBS=OFF \
    -DGGML_CUDA=ON
Compile the required binaries.
cmake --build llama.cpp/build \
    --config Release \
    -j \
    --clean-first \
    --target llama-cli llama-mtmd-cli llama-server llama-gguf-split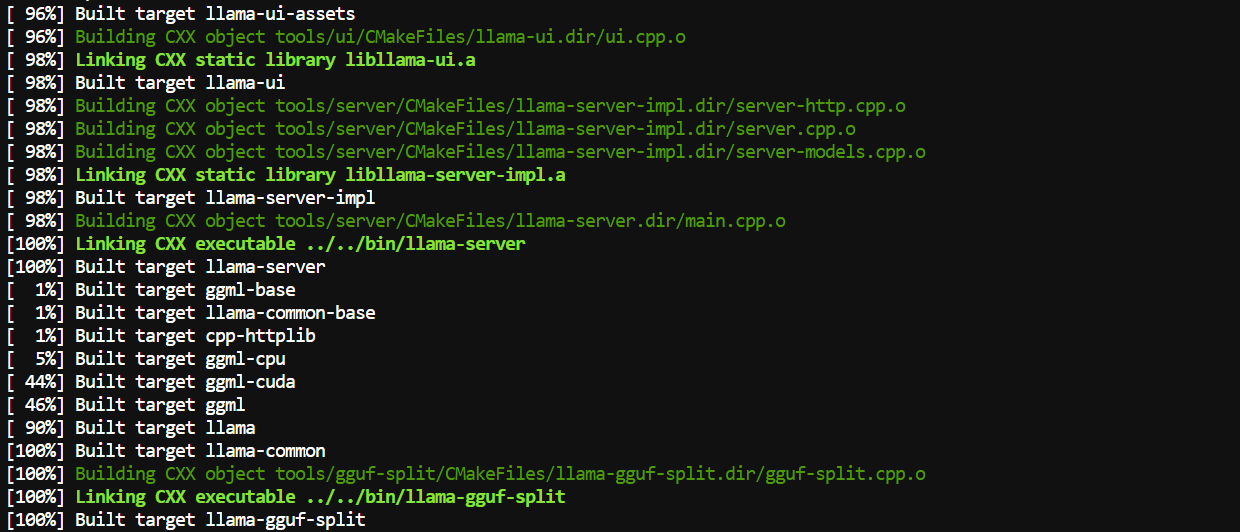
After the build finishes, the main binary we will use is llama-server. It lets us run the GGUF model locally and exposes an OpenAI-compatible API endpoint that we can query with curl.
Now that llama.cpp is ready, we can download both Gemma 4 12B model variants from Hugging Face. We will download the regular instruction-tuned model and the QAT version in GGUF format.
First, install the Hugging Face Hub CLI with faster download support.
pip install -U "huggingface_hub[hf_xet]" hf-xet hf_transferEnable high-performance Xet downloads.
export HF_XET_HIGH_PERFORMANCE=1Download the regular Gemma 4 12B instruction model in GGUF format.
hf download unsloth/gemma-4-12B-it-GGUF \
  --local-dir models/gemma-4-12B-it-GGUF \
  --include "*mmproj-BF16*" \
  --include "*UD-Q4_K_XL*"
Next, download the QAT version using the same quantization format.
hf download unsloth/gemma-4-12B-it-qat-GGUF \
  --local-dir models/gemma-4-12B-it-qat-GGUF \
  --include "*mmproj-BF16*" \
  --include "*UD-Q4_K_XL*"
The --include flags ensure we only download the files needed for this tutorial, rather than pulling the full repository. Here, we are downloading the UD-Q4_K_XL GGUF model files and the mmproj-BF16 files used by the model package.
After the downloads finish, confirm that both model folders exist.
ls modelsExpected output:
gemma-4-12B-it-GGUF
gemma-4-12B-it-qat-GGUF
At this point, both the non-QAT and QAT models are available locally, and we can start serving them with llama-server.
We will start by running the regular Gemma 4 12B instruction model. This gives us a baseline so we can later compare it with the QAT version using the same settings.
Start the non-QAT model with llama-server.
./llama.cpp/llama-server \
  -m models/gemma-4-12B-it-GGUF/*UD-Q4_K_XL*.gguf \
  --host 0.0.0.0 \
  --port 8001 \
  --ctx-size 8192 \
  --n-gpu-layers 99 \
  --temp 1.0 \
  --top-p 0.95 \
  --top-k 64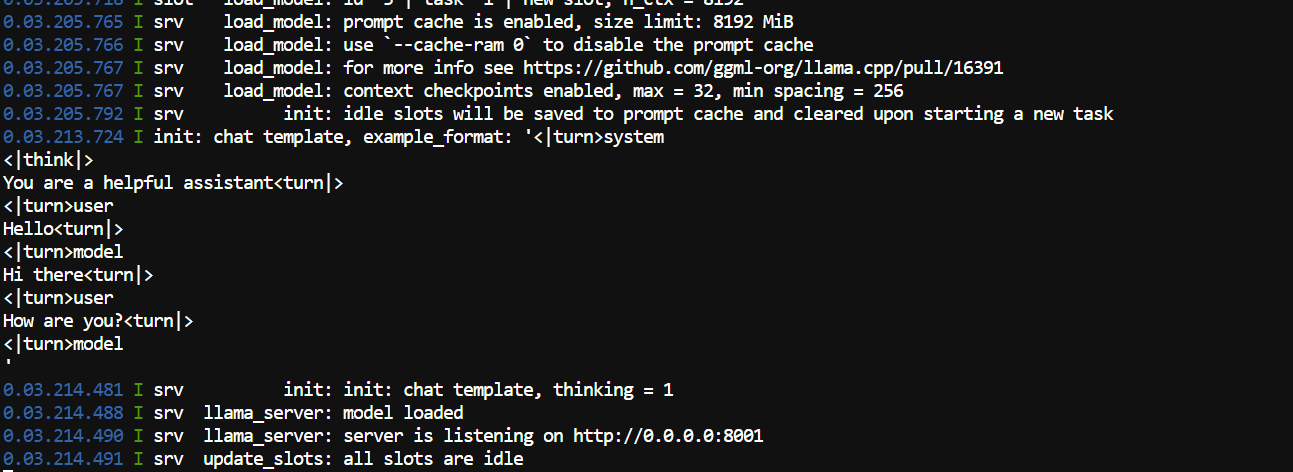
This starts a local OpenAI-compatible server at http://localhost:8001.
Open another terminal and send a request to the local server.
time curl http://localhost:8001/v1/chat/completions \
-H "Content-Type: application/json" \
-d '{
  "model": "gemma-4-12B-it",
  "messages": [
    {
      "role": "system",
      "content": "You are a helpful local AI assistant."
    },
    {
      "role": "user",
      "content": "Explain why quantization-aware training is useful for running LLMs on consumer GPUs."
    }
  ],
  "temperature": 1.0,
  "top_p": 0.95,
  "max_tokens": 512
}'
In this command, we use the local /v1/chat/completions endpoint, which follows the OpenAI-compatible API format. The prompt asks the model to explain quantization-aware training, and max_tokens is set to 512 to ensure both model variants are tested with the same output length.
In our RTX 4090 test, the non-QAT model produced the following timing results:
The GPU memory usage was:
9247 MiB / 24564 MiB
This gives us the baseline performance for the regular Gemma 4 12B model. In the next step, we will run the QAT version with the same configuration and compare the results.
Now we will run the QAT version of Gemma 4 12B using the same llama-server settings. Make sure to stop the previous non-QAT server before starting this one, because both commands use the same port.
Start the QAT model.
./llama.cpp/llama-server \
  -m models/gemma-4-12B-it-qat-GGUF/*UD-Q4_K_XL*.gguf \
  --host 0.0.0.0 \
  --port 8001 \
  --ctx-size 8192 \
  --n-gpu-layers 99 \
  --temp 1.0 \
  --top-p 0.95 \
  --top-k 64
This starts the QAT model on the same local OpenAI-compatible endpoint, http://localhost:8001.
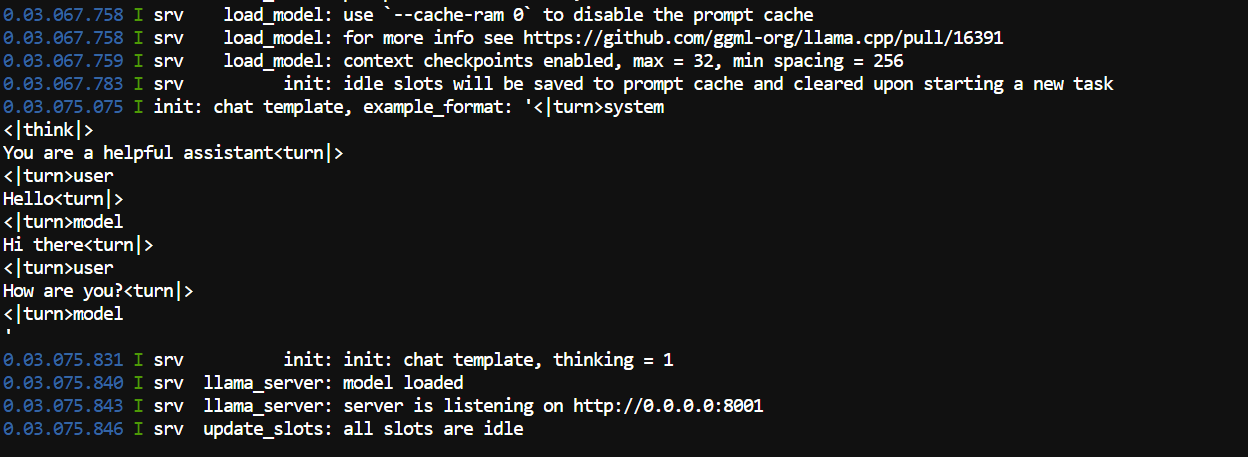
Now send the same test prompt to the QAT model.
time curl http://localhost:8001/v1/chat/completions \
-H "Content-Type: application/json" \
-d '{
  "model": "gemma-4-12B-it-qat",
  "messages": [
    {
      "role": "system",
      "content": "You are a helpful local AI assistant."
    },
    {
      "role": "user",
      "content": "Explain why quantization-aware training is useful for running LLMs on consumer GPUs."
    }
  ],
  "temperature": 1.0,
  "top_p": 0.95,
  "max_tokens": 512
}'
In our RTX 4090 test, the QAT model produced the following timing results:
The GPU memory usage was:
8627 MiB / 24564 MiB
You can also copy the local server URL (http://localhost:8001) and paste it into your browser:
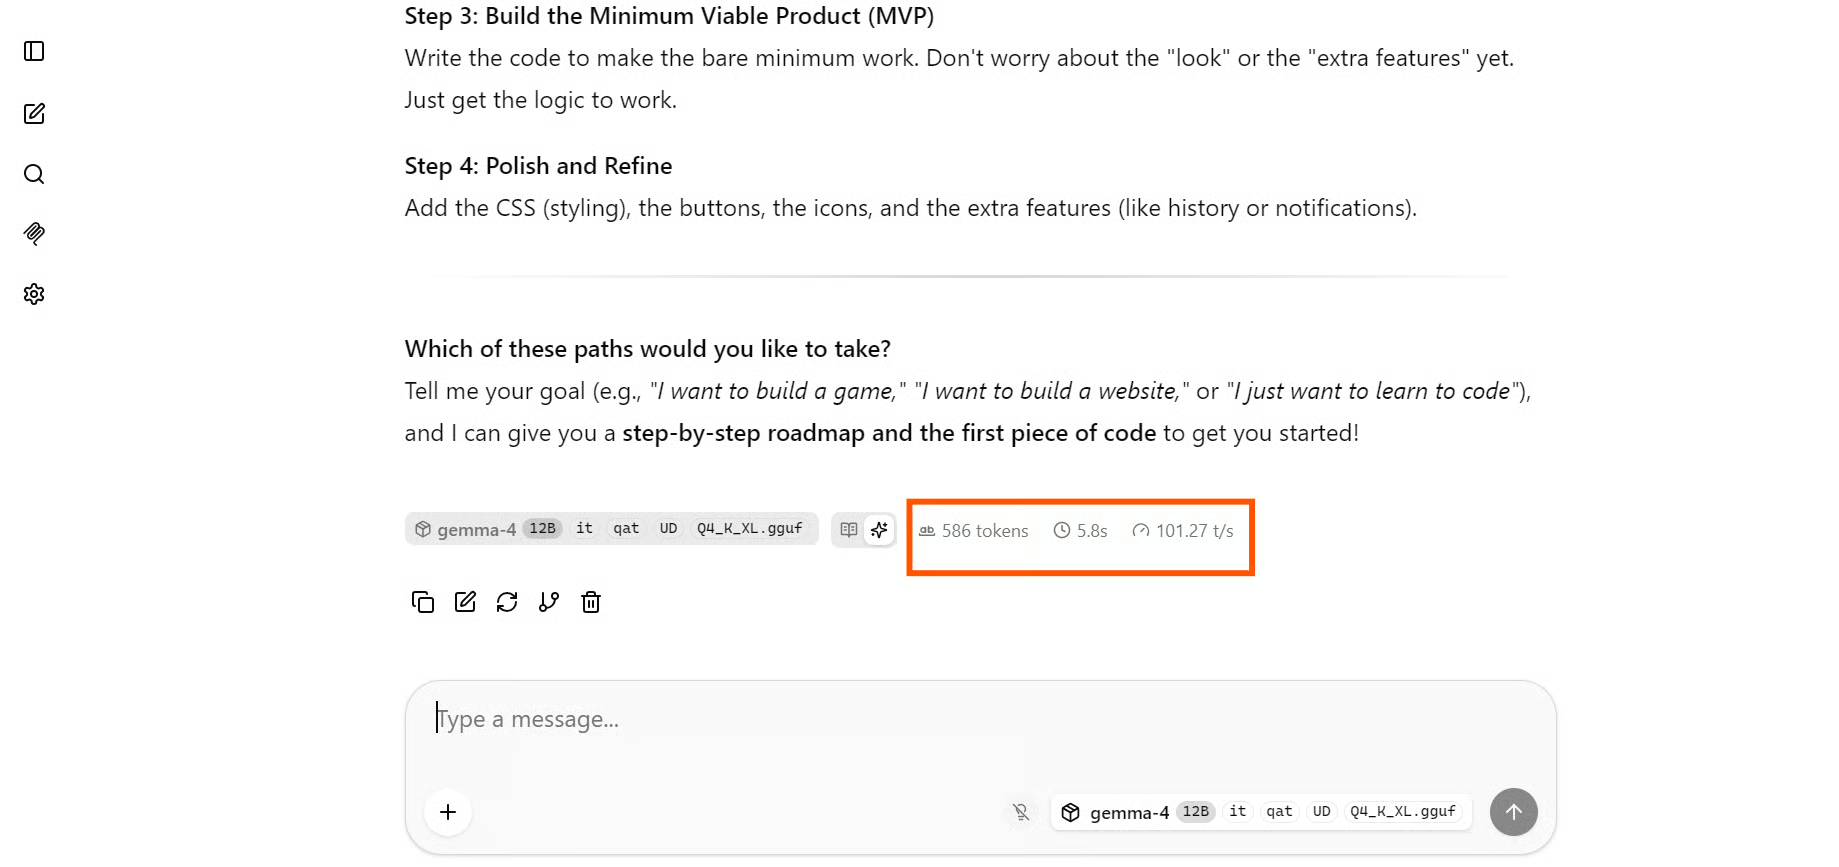
This opens the built-in llama.cpp web UI, which gives you a simple ChatGPT-like interface for testing the local model. You can use it to chat with the QAT model directly in the browser, experiment with prompts, and use the model as a daily local AI assistant.
After testing both models with the same prompt and server settings, we can directly compare their performance on the RTX 4090.
|
Metric |
Gemma 4 12B Non-QAT |
Gemma 4 12B QAT |
|
Quantization |
UD-Q4_K_XL |
UD-Q4_K_XL |
|
Context size |
8192 |
8192 |
|
Prompt tokens |
40 |
40 |
|
Completion tokens |
512 |
512 |
|
Prompt speed |
510.22 tokens/sec |
593.93 tokens/sec |
|
Generation speed |
94.65 tokens/sec |
101.65 tokens/sec |
|
Total time |
5.516 sec |
5.114 sec |
|
VRAM usage |
9247 MiB |
8627 MiB |
In this run, the QAT model was both faster and lighter than the regular non-QAT model. It used 620 MiB less VRAM, reducing memory usage by around 6.7%. This is useful for local inference because every bit of saved VRAM helps when running large models on consumer GPUs.
The QAT model also generated tokens faster, improving from 94.65 tokens/sec to 101.65 tokens/sec. That is about a 7.4% increase in generation speed, reducing wall-clock time from 5.516 seconds to 5.114 seconds.
In day-to-day usage, the QAT model felt smoother and more responsive. The response quality also appeared more stable in this test, which is the main reason QAT is useful: it helps the model handle low-bit quantization with less quality loss while still keeping the memory and speed benefits of a compressed model.
Google is doing amazing work for the local AI community. With models like Gemma 4 and techniques such as QAT, the dream of running powerful AI models locally, completely offline, and even on consumer hardware is becoming real.
The most exciting part is that this is not just about reducing model size. With QAT, we are not simply compromising on quality to make the model fit. We are getting models that are designed to run better in low-bit formats, improving the overall local AI experience. In this test, the QAT model was faster, lighter, and smoother to use than the non-QAT version.
I am now looking forward to testing the MTP version of the model, which could increase speed even further, possibly by 2x. That would make it much easier to shift more of my workflow to local AI. I could run the model locally, connect it with tools like OpenCode, and start editing project files directly with a private local assistant.
This new wave of local AI is changing how we think about using AI systems. Tasks that once required large cloud setups, especially multimodal workflows with text, image, and video inputs, are slowly becoming possible on local machines. For developers, researchers, and builders who care about privacy, speed, and control, this is a very exciting direction.
Top AI Courses
Track
Track
Course
Tutorial
Abid Ali Awan
12 min
Tutorial
Abid Ali Awan
10 min
Tutorial
Abid Ali Awan
10 min
Tutorial
Abid Ali Awan
11 min
Tutorial
Abid Ali Awan
12 min
Tutorial
Abid Ali Awan
8 min