

Track
Associate AI Engineer for Developers
29 hr
In simple terms, DFlash uses a draft model to predict several tokens ahead, while the main model verifies those tokens instead of generating everything one token at a time. When many draft tokens are accepted, generation becomes much faster while keeping the output close to the original model.
In my experiment, DFlash delivered almost a 3.7x speedup on certain tasks, with outputs that were very similar to the baseline. The goal of this guide is to show the setup, run both versions, and compare the results clearly.
Standard LLM generation is slow because most models generate text one token at a time. Each token depends on the previous one, so the model has to move step by step through the response.
DFlash speeds this up using speculative decoding.
Instead of asking the main model to generate every token directly, DFlash uses a separate draft model to guess several upcoming tokens first. The main model then verifies those draft tokens in a larger step. If the draft tokens are good, the main model accepts them. If one of them is wrong, the main model corrects it and continues.
A simple way to think about it:
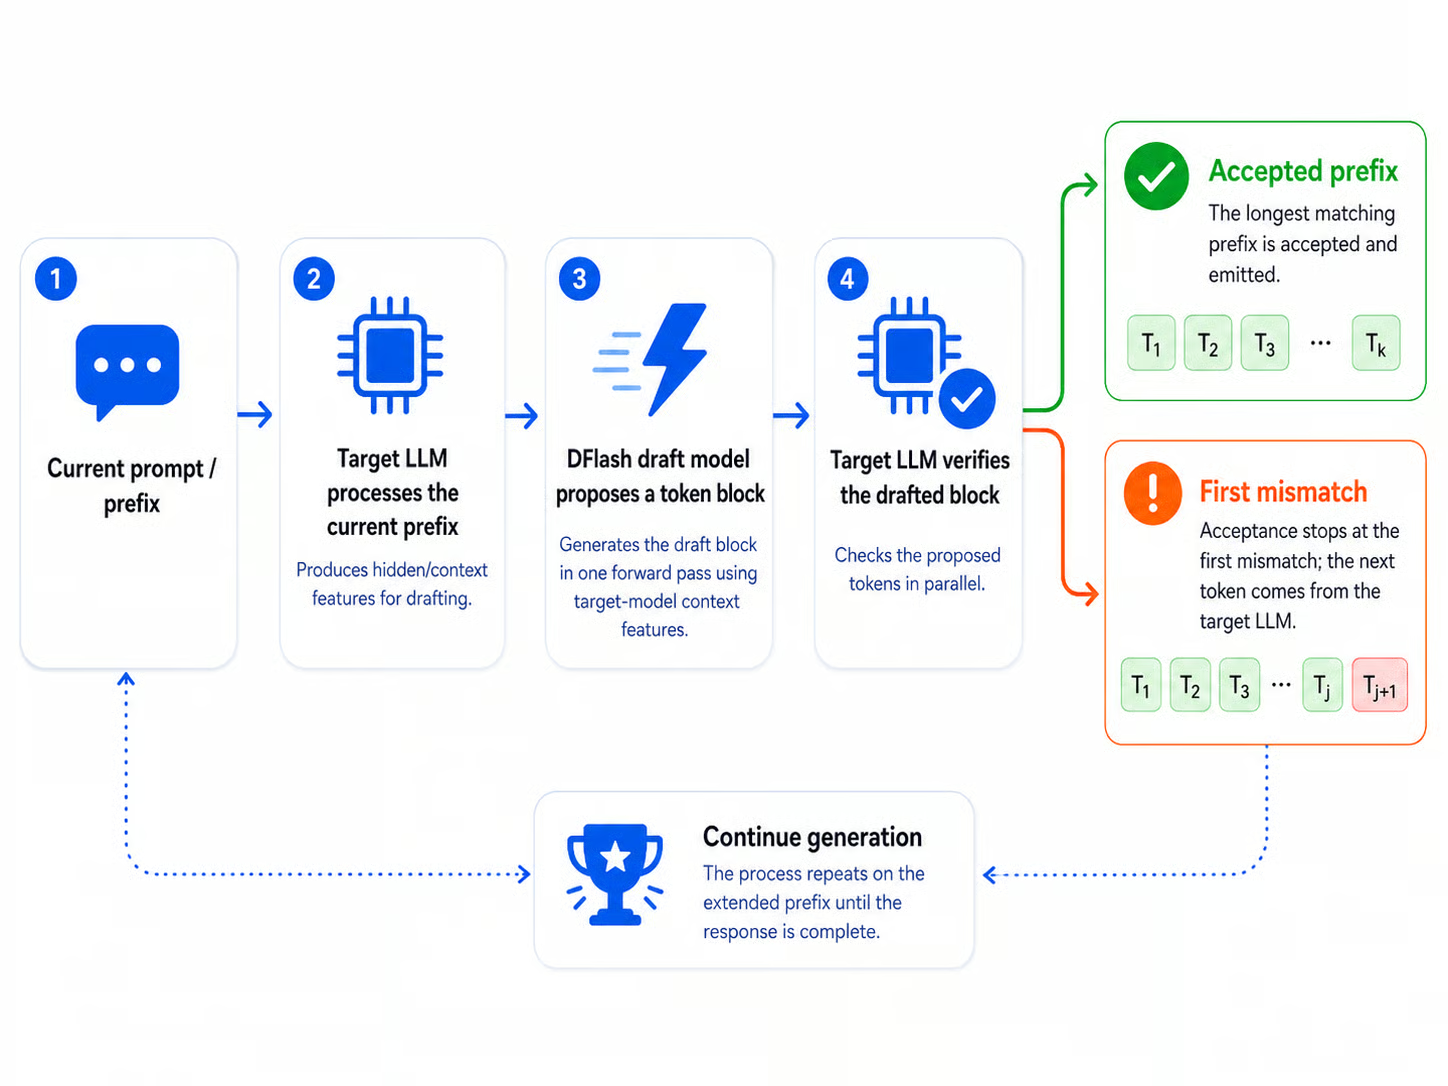
Diagram of the DFlash speculative decoding workflow.
This is especially useful for structured tasks like programming. Code often follows predictable patterns such as imports, function definitions, indentation, loops, and common syntax. Because of this, the draft model can often guess the next tokens correctly, allowing the main model to accept more tokens in each step.
DFlash and Multi-Token Prediction (MTP) both aim to solve the same problem: they help the model generate more than one token per expensive decoding step.
The difference is how they create the draft tokens.
|
Method |
How It Works |
Extra Model Needed? |
Main Strength |
|
MTP |
Uses built-in multi-token prediction heads to predict future tokens |
Usually no separate draft model |
Simpler setup when the model already supports MTP |
|
DFlash |
Uses a separate DFlash draft model to propose larger blocks of tokens |
Yes |
Can achieve strong speedups on structured outputs like code |
In simple terms, MTP is usually built into the model itself. It predicts multiple future tokens using internal prediction heads, so it can be easier to configure and more memory-efficient when supported.
DFlash, on the other hand, uses a separate draft model. This can make the setup slightly heavier, but it also allows more aggressive drafting. That is why DFlash can deliver large speedups on structured tasks where the next tokens are easier to predict.
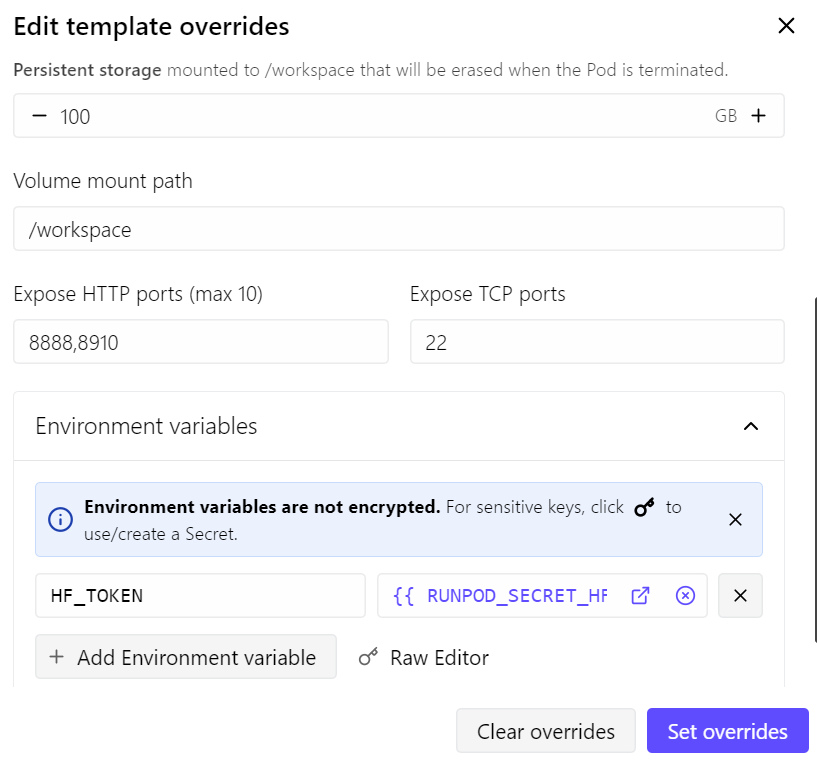
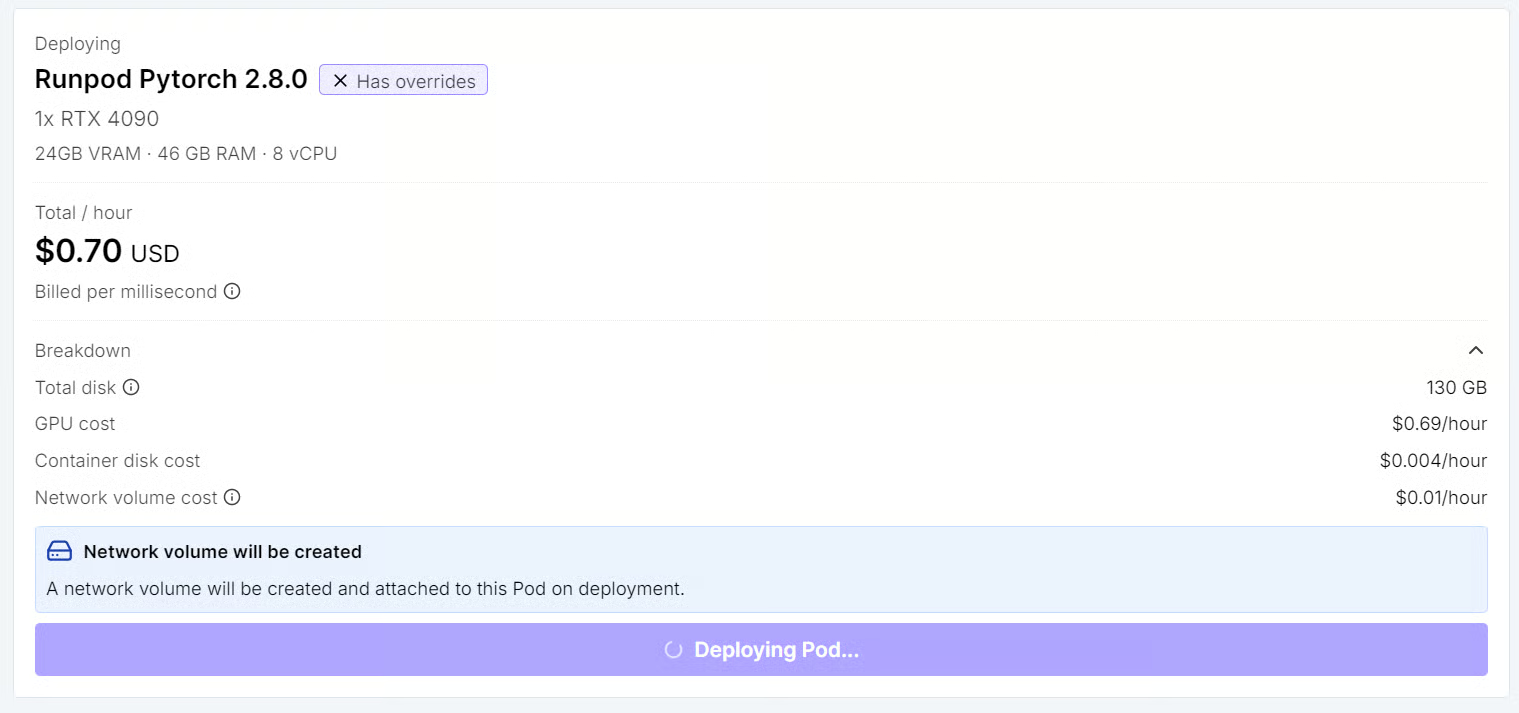
I highly recommend running this setup locally if you have an RTX 3090 or RTX 4090 GPU. Otherwise, you can rent a GPU from RunPod, Vast.ai, or any other GPU provider.
For this guide, we will use a RunPod RTX 4090 pod. I started with the latest RunPod PyTorch template and made a few small changes:
With this setup, the pod costs around $0.70 per hour, depending on current RunPod pricing and availability.
Once the pod is deployed, open JupyterLab from the RunPod dashboard. Then launch a new terminal and install the basic dependencies:
apt update
apt install -y git cmake build-essential curl wget python3-pip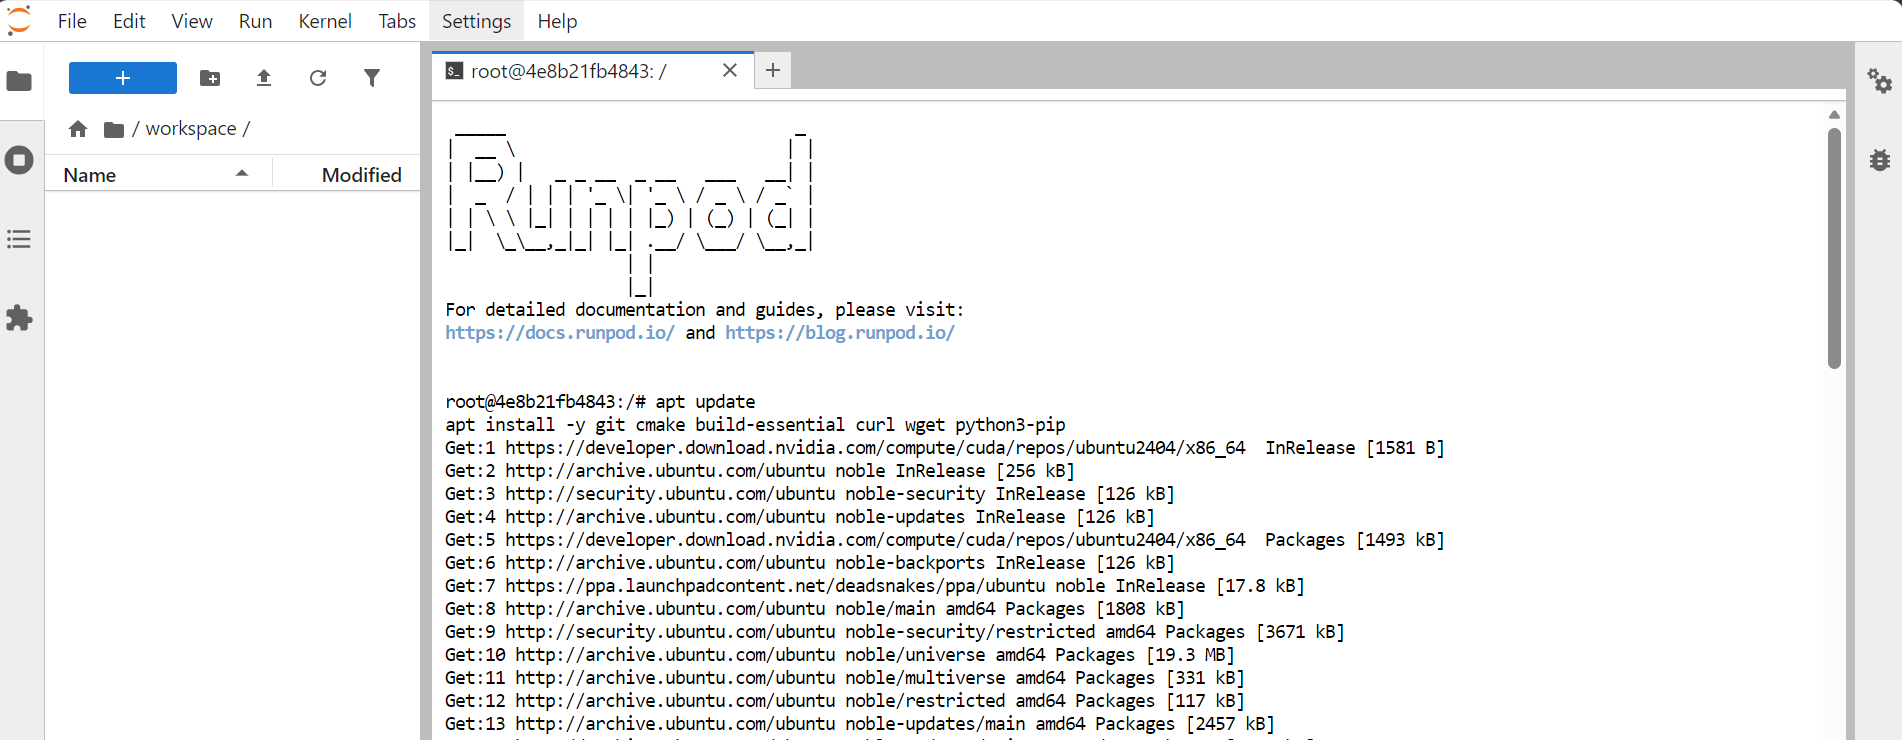
Next, we need to clone BeeLlama.cpp, the llama.cpp fork we will use for this setup.
BeeLlama.cpp is designed for faster local GGUF inference while keeping the familiar llama.cpp workflow. You still get the same style of tools, including llama-server, but with extra performance-focused features such as DFlash speculative decoding, adaptive draft control, and TurboQuant/TCQ KV-cache compression.
Run the following commands inside your JupyterLab terminal:
git clone https://github.com/Anbeeld/beellama.cpp.git
cd beellama.cpp
This will download the BeeLlama.cpp repository and move you into the project folder. All the build commands in the next step should be run from inside this directory.
Now we will build BeeLlama.cpp with CUDA support so it can use the RTX 4090 properly.
For this setup, we will enable CUDA, Flash Attention, native CPU optimizations, and quantized Flash Attention kernels. Since we are using an RTX 4090, we also set the CUDA architecture to 89.
cmake -B build -DGGML_CUDA=ON -DGGML_NATIVE=ON \
 -DGGML_CUDA_FA=ON -DGGML_CUDA_FA_ALL_QUANTS=ON \
 -DCMAKE_CUDA_ARCHITECTURES=89 \
 -DCMAKE_BUILD_TYPE=Release

cmake --build build -j
The build may take 20 minutes. During compilation, you might see warnings related to TurboQuant, TCQ, or DFlash CUDA declarations. In my case, these were just warnings and did not stop the build.
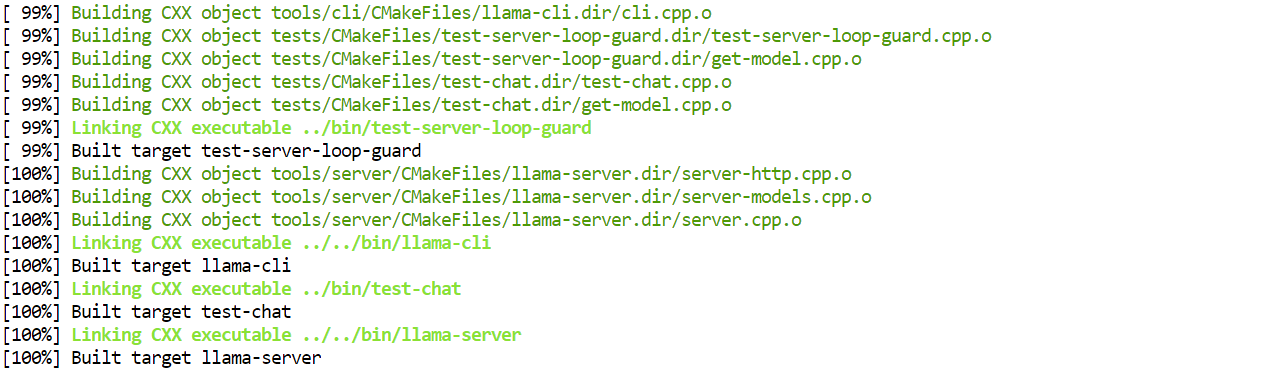
Finally, copy the server binary into the main project folder so it is easier to run later:
cp ./build/bin/llama-server ./llama-serverNow we need to download two GGUF files: the main model and the DFlash draft model.
The main model is the one that produces the final output. The DFlash draft model is much smaller and is used only to predict tokens ahead of the main model. The main model still verifies the generated tokens, so the draft model is there to speed up decoding rather than replace the main model.
First, install the Hugging Face CLI:
pip install -U huggingface_hubThen create a folder to keep the model files organized:
mkdir -p modelsDownload the main Gemma 4 31B IT GGUF model:
hf download unsloth/gemma-4-31B-it-GGUF \
gemma-4-31B-it-Q4_K_S.gguf \
--local-dir models
Next, download the DFlash draft model:
hf download Anbeeld/gemma-4-31B-it-DFlash-GGUF \
gemma4-31b-it-dflash-Q5_K_M.gguf \
--local-dir models
The DFlash draft model is listed on Hugging Face as a dflash-draft architecture model, with the Q5_K_M file around 1.09GB, so it is much smaller than the main 31B model. This is what makes it practical to load alongside the main model for speculative decoding.
Before enabling DFlash, we first need to run Gemma 4 31B normally. This gives us a baseline for generation speed, VRAM usage, and output quality. Later, we will compare this baseline with the DFlash run to see the actual speedup.
Run the following command from inside the beellama.cpp folder:
./llama-server \
 -m "models/gemma-4-31B-it-Q4_K_S.gguf"  \
--host 0.0.0.0  \
 --port 8910 \
-np 1 \
-ngl all \
-b 2048 -ub 512 \
--ctx-size 32768  \
--cache-type-k q5_0 \
--cache-type-v q4_1 \
--flash-attn on \
--jinja \
--metrics \
--log-timestamps \
--log-prefix \
--reasoning off \
--temp 0.7 \
--top-k 64 \
--top-p 0.95 \
--min-p 0.0
This command starts the model server on port 8910. Since we exposed port 8910 when creating the RunPod pod, we can access the model directly from the browser.
Once the model is loaded into GPU memory, you should see a message showing that the server is running on: 0.0.0.0:8910.
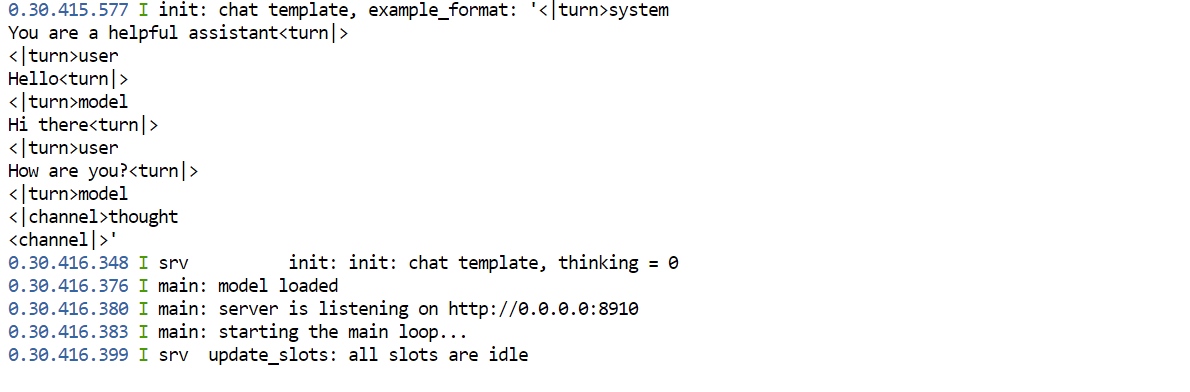
Now go back to your RunPod dashboard and click the port link associated with 8910.
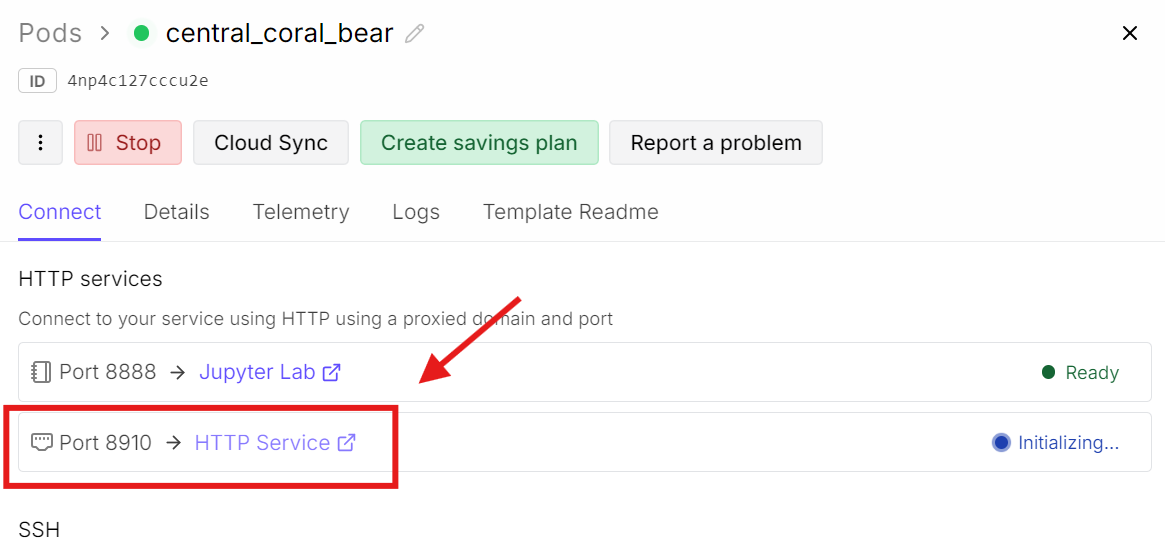
This will open the llama.cpp web interface, where you can test the model in a simple chat-style UI.
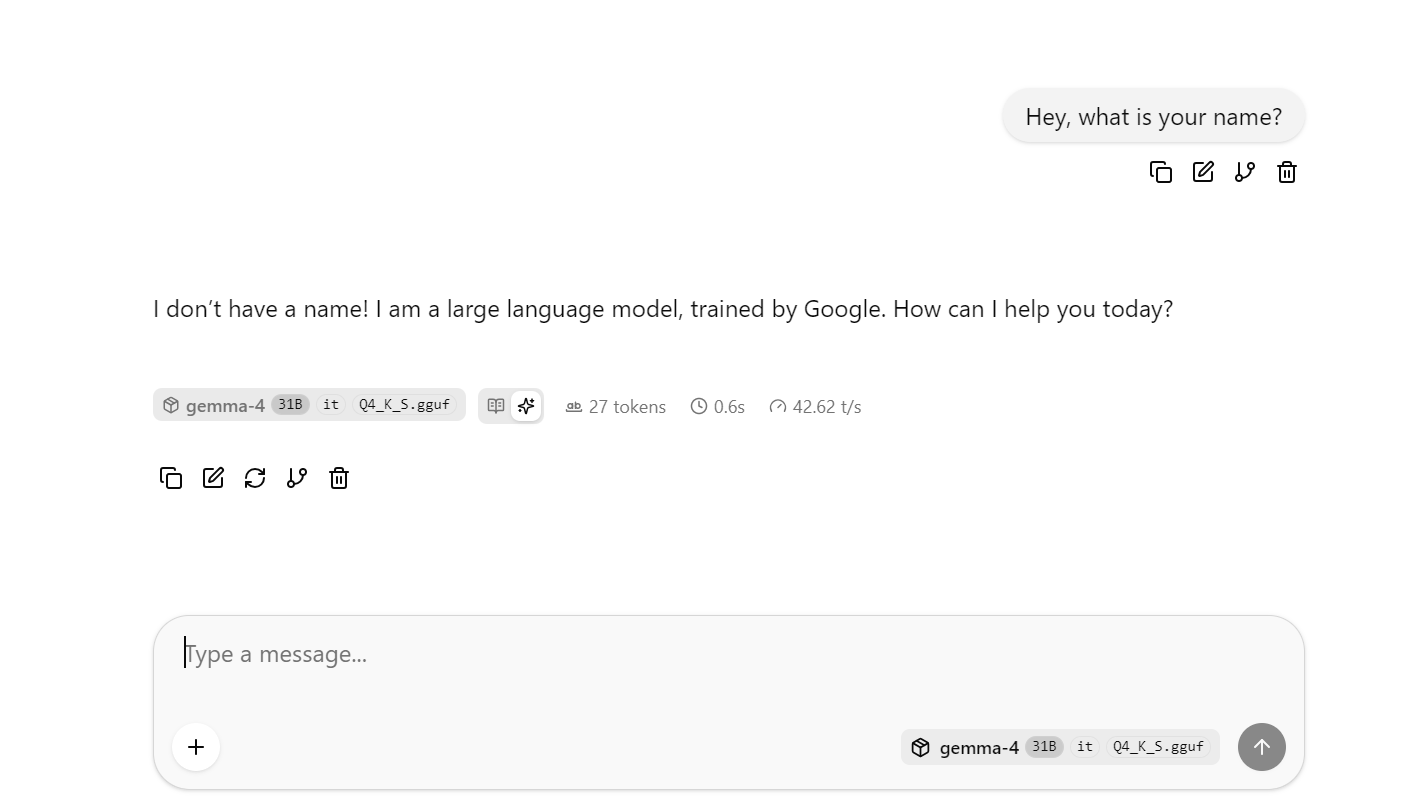
At this point, try asking a few longer or more complex questions so you can observe the average token speed. In my baseline run without DFlash, I was getting around 41 tokens per second on average.
Now that the baseline model is running, we need a simple way to measure its generation speed. For this, we will use three coding prompts and send them to the local llama.cpp server through the OpenAI-compatible chat completions endpoint.
The goal is not to create a perfect benchmark suite. We just want a consistent baseline so we can compare the same prompts later with DFlash enabled.
Launch a new Jupyter Terminal tab and create a test script:
cat > test_llm_prompts.sh <<'EOF'
#!/usr/bin/env bash

PORT="${1:-8910}"
MODEL="${2:-local-gemma}"
PREFIX="${3:-run}"

URL="http://localhost:${PORT}/v1/chat/completions"

PROMPTS=(
"Write a complete Python task store module. Include a Task dataclass, TaskStatus enum, TaskStore class, add_task, update_task, delete_task, search_tasks, filter_by_status, export_to_json, get_all_tasks, and 5 tests. Return only one complete Python file."

"Write a complete Python key-value report module. Include a KeyValueStore class, set, get, delete, exists, list_keys, filter_by_prefix, export_to_json, load_from_json, and a generate_report function that returns total keys, empty values, prefix counts, and largest value length. Include 5 tests. Return only one complete Python file."

"Write a complete Python doubly linked list module. Include a Node dataclass, DoublyLinkedList class, append, prepend, delete, find, reverse, to_list, from_list, clear, and 5 tests. Return only one complete Python file."
)

echo "Testing server: $URL"
echo "Model: $MODEL"
echo "Output prefix: $PREFIX"

for i in "${!PROMPTS[@]}"; do
  NUM=$((i+1))
  OUT="${PREFIX}_prompt_${NUM}.json"

  echo ""
  echo "Running prompt ${NUM}..."
  echo "Saving to ${OUT}"
  echo "--------------------------------"

  jq -n \
    --arg model "$MODEL" \
    --arg prompt "${PROMPTS[$i]}" \
    '{
      model: $model,
      messages: [
        {
          role: "user",
          content: $prompt
        }
      ],
      max_tokens: 1200,
      temperature: 0.7
    }' | curl -s "$URL" \
      -H "Content-Type: application/json" \
      -d @- | tee "$OUT" | jq '.timings'

  echo "Saved full result to ${OUT}"
done

echo ""
echo "Summary"
echo "--------------------------------"

for f in ${PREFIX}_prompt_*.json; do
  echo "$f"
  jq '{
    model: .model,
    prompt_tokens: .usage.prompt_tokens,
    completion_tokens: .usage.completion_tokens,
    total_tokens: .usage.total_tokens,
    generation_speed_tok_s: .timings.predicted_per_second,
    generation_time_sec: (.timings.predicted_ms / 1000),
    draft_tokens: .timings.draft_n,
    accepted_draft_tokens: .timings.draft_n_accepted
  }' "$f"
done
EOF
On macOS or Linux, remember to make the script executable:
chmod +x test_llm_prompts.shThen run it against the baseline model:
./test_llm_prompts.sh 8910 local-gemma-baseline baselineThis script sends three Python code-generation prompts to the model and saves each full response as a JSON file. It also prints useful timing information, including completion tokens, generation speed, generation time, and draft token fields.
The full output is quite long, so below is a short summary of the baseline results. This gives us a quick overview of how the model performs before enabling DFlash.
|
Prompt |
Completion Tokens |
Generation Speed |
Generation Time |
|
Prompt 1: Task store module |
1124 |
40.66 tok/s |
27.64 sec |
|
Prompt 2: Key-value report module |
1200 |
40.67 tok/s |
29.51 sec |
|
Prompt 3: Doubly linked list module |
1200 |
40.72 tok/s |
29.47 sec |
Across all three prompts, the baseline model stayed very consistent at around 40.68 tokens per second. This gives us a clear reference point before testing the same prompts with DFlash enabled.
Now that we have the baseline results, we can run the same model again with DFlash enabled.
Go back to the terminal where the baseline server is running and stop it with Ctrl + C.
Then start the optimized DFlash server:
./llama-server \
-m "models/gemma-4-31B-it-Q4_K_S.gguf" \
--spec-draft-model "models/gemma4-31b-it-dflash-Q5_K_M.gguf" \
--spec-type dflash \
--spec-dflash-cross-ctx 1024 \
--host 0.0.0.0  \
 --port 8910 \
-np 1 \
--kv-unified \
-ngl all \
--spec-draft-ngl all \
-b 2048 -ub 512 \
--ctx-size 32768 \
--flash-attn on \
--cache-ram 0 \
--jinja \
--no-mmap \
--mlock \
--no-host \
--metrics \
--log-timestamps \
--log-prefix \
--reasoning off \
--temp 0.7 \
--top-k 64 \
--top-p 0.95 \
--min-p 0.0
This command loads the same main Gemma 4 31B model, but now it also loads the DFlash draft model using --spec-draft-model.
The important DFlash-related flags are:
|
Flag |
Purpose |
|
|
Loads the DFlash draft model |
|
|
Enables DFlash speculative decoding |
|
|
Sets the cross-context window used by DFlash |
|
|
Offloads the draft model layers to the GPU |
|
|
Uses unified KV handling for the main and draft model setup |
It may take a little longer to start this time because both the main model and the DFlash draft model need to be loaded into memory.
Once the server is fully loaded, you should again see the inference server running on: 0.0.0.0:8910.
Now go back to the Jupyter terminal where we have created the benchmark script. We can run the same script again, but this time against the DFlash-enabled server.
./test_llm_prompts.sh 8910 local-gemma-dflash dflashThis uses the same three coding prompts from the baseline test, which makes the comparison fair. The only major difference is that the server is now running with the DFlash draft model enabled.
The full output is long, so here is a short summary of the baseline and DFlash results:
|
Prompt |
Baseline speed |
DFlash speed |
Speedup |
Baseline time |
DFlash time |
Time saved |
|
Task store module |
40.66 tok/s |
130.96 tok/s |
3.22x |
27.64 sec |
8.23 sec |
19.41 sec |
|
Key-value report module |
40.67 tok/s |
145.68 tok/s |
3.58x |
29.51 sec |
8.24 sec |
21.27 sec |
|
Doubly linked list module |
40.72 tok/s |
153.04 tok/s |
3.76x |
29.47 sec |
7.84 sec |
21.63 sec |
Across these three coding tasks, DFlash increased generation speed from around 40 tok/s to 130–153 tok/s. That gives us roughly a 3.2x to 3.8x speedup, while reducing generation time from almost 30 seconds to around 8 seconds per prompt.
You can also open the same 8910 port link from the RunPod dashboard and test the model through the web UI.
Since we are getting close to a 4x speedup on coding prompts, the next thing to check is output quality. For that, I tested the model on a few different tasks.
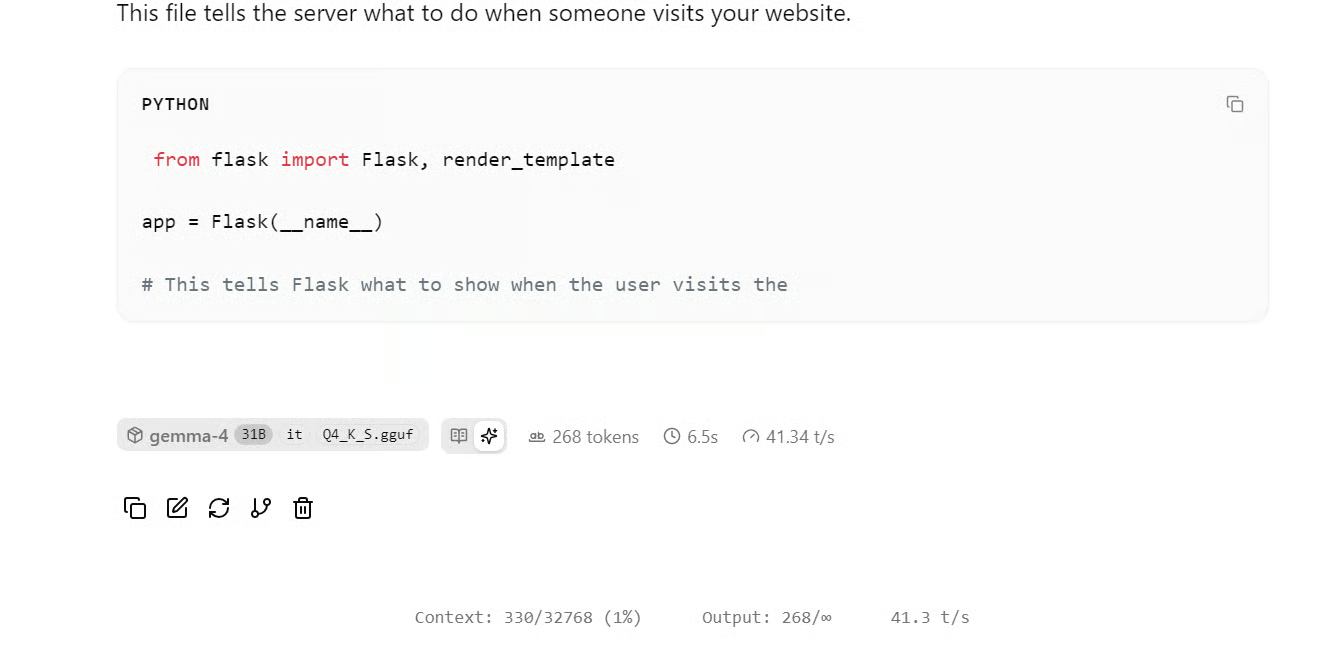
First, I asked it to generate a simple portfolio website for “Abid.” For a local 31B model running on a single RTX 4090, the result was impressive. It produced a clean structure with usable HTML and styling.
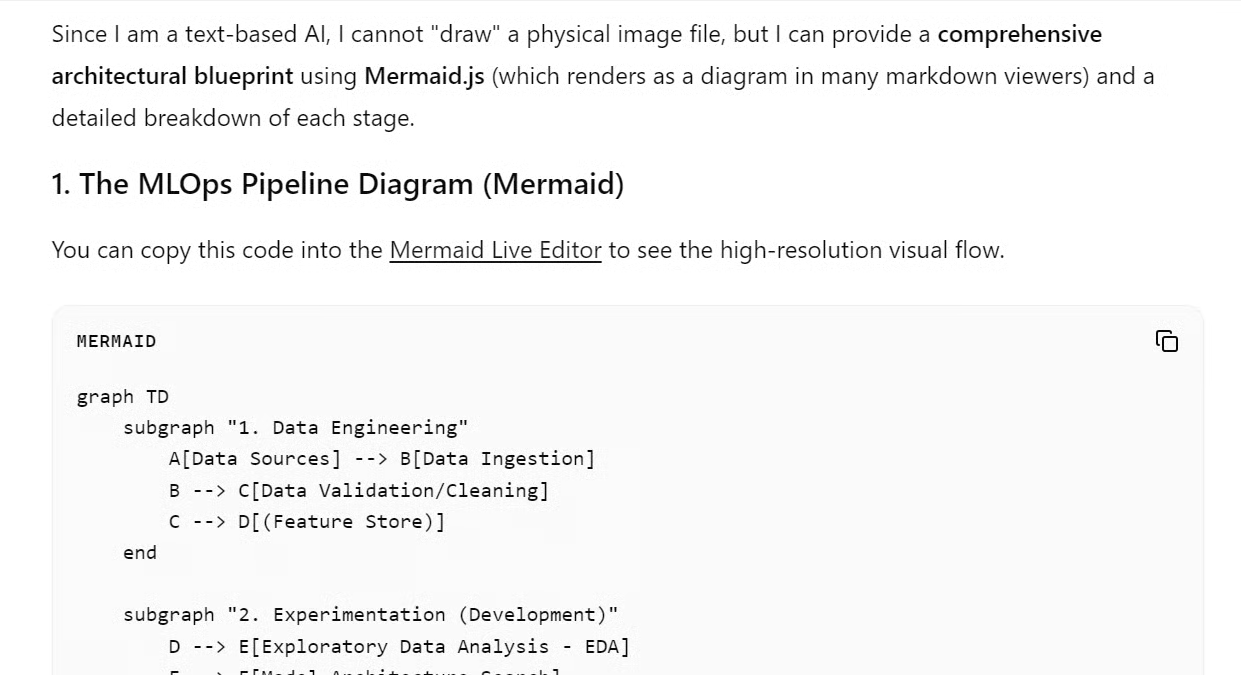
Next, I asked it to generate a diagram for a complete MLOps pipeline. The model returned Mermaid code with labels, colors, and a complete workflow. I tested the code, and it worked right out of the box.
Then I asked it to write a blog on Mixture of Experts in LLMs. The quality was still strong, but the speed dropped to around 95 tok/s. This is still much faster than the baseline, but slower than the coding prompts.
This makes sense because DFlash works best when the output is more predictable. Coding tasks often follow clear patterns, so the draft model can guess more tokens correctly. Creative writing or research-style prompts are less predictable, so the model may accept fewer draft tokens and the speedup can be lower.
After testing this setup, I think speculative decoding combined with better KV-cache handling is the real winner for local LLM inference.
The biggest benefit is not just the speedup on paper. It is what that speed unlocks. When a 31B model can generate code at 130–150 tokens per second on a single RTX 4090, it starts to feel practical as a local coding agent. You can use it to build projects from scratch, connect it with MCP servers, run bash tools, use custom skills, and create a workflow that feels much closer to premium coding agents.
For people who already have an RTX 3090 or 4090, this is even more exciting. Instead of paying for every coding assistant or relying completely on cloud tools, you can run a powerful local setup that is fast, private, and flexible. It may not replace every hosted tool for everyone, but for local AI enthusiasts, developers, and builders, it is getting very close.
I also think this is just the start. Many people are already testing similar setups with newer models like Qwen3.6-27B and reporting even better quality. As the models improve, draft models get better, and inference engines like BeeLlama.cpp become more optimized, local AI will only become more useful.
The best part is the community around it. A lot of these improvements are coming from local AI enthusiasts who are experimenting, benchmarking, improving the tools, and sharing their results openly. That makes it easier for the rest of us to replicate the setup and experience the same performance gains.
Top AI Courses
Track
Course
Course
Tutorial
Abid Ali Awan
Tutorial
Abid Ali Awan
Tutorial
Abid Ali Awan
Tutorial
Aashi Dutt
Tutorial
Abid Ali Awan
Tutorial
Abid Ali Awan