


Cours
Introduction à AWS Boto en Python
4 h
18.4K
Amazon Web Services (AWS) is a platform that offers various cloud computing services. Essentially, it's like renting computing power, storage, and other tech resources from Amazon instead of buying and managing your own hardware.
For data analysis and data science, AWS allows you to quickly set up environments to store and analyze large amounts of data without worrying about the underlying infrastructure.
The platform provides tools for data storage, processing, and machine learning, making it easier to work with data at scale. So, if you need to store a vast dataset, run complex analyses, or even build and deploy machine learning models, AWS has services for almost everything.
In this tutorial, we discuss how to set up and configure your AWS account for the first time, covering a few essential settings and best practices for keeping your account secure.
If you’re new to AWS, consider taking our Introduction to AWS course to get familiar with the basics.
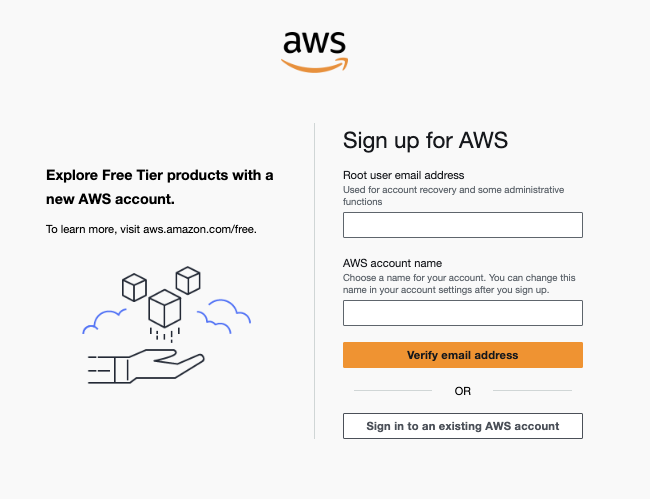
First, visit the AWS website and click "Create an AWS Account."
Enter your email address and choose your AWS account name. Don't worry; you can always change your account name later. You will need to verify your email address, and then you can choose a password.
Sign up for AWS
Choose your account type–personal or professional. There's no difference between the two regarding features, but choose professional if you're using AWS for business purposes.
Then, enter your contact information and add your payment information. AWS requires a valid credit or debit card for account creation, but you can use the AWS Free Tier to avoid charges for certain services.
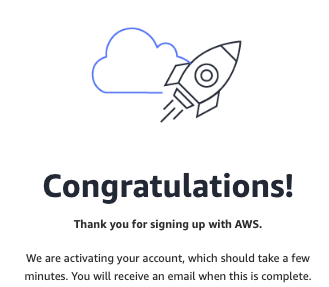
Lastly, choose your support plan. AWS offers three main support plans: basic (free), developer, and business. The basic plan is sufficient for most beginners. Choose the plan that best fits your needs.
Sign up for AWS - Congratulations
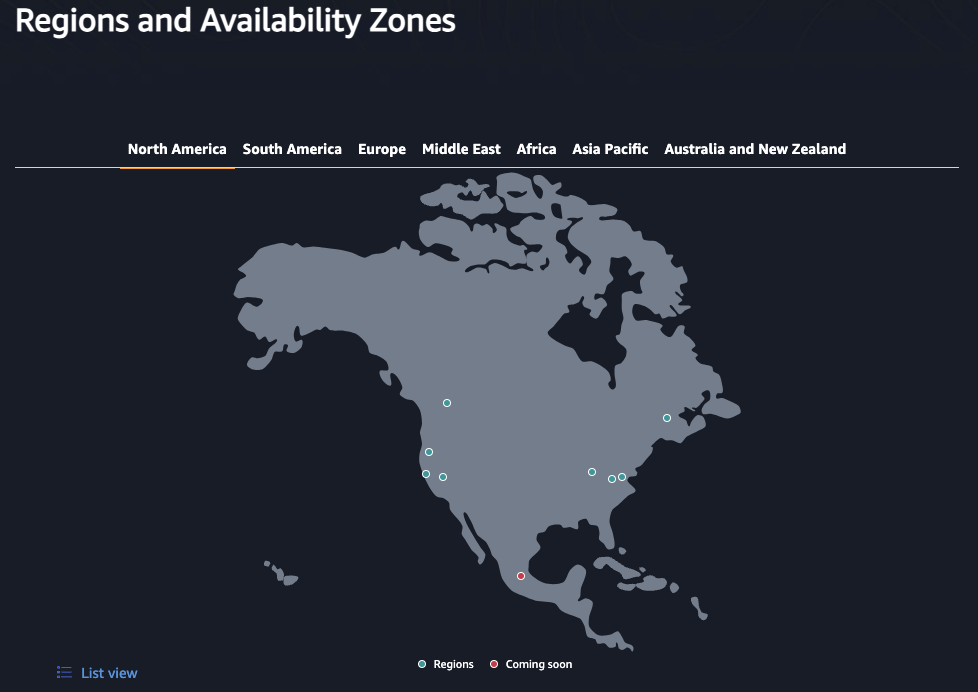
This is more of a decision than a general setting since you must select your region for each service you use. However, it is a good idea to have a region in mind right at the outset.
AWS - Regions and availability zones in North America
The closer you or your clients are to a data center, the lower the latency for your applications and the higher the performance.
Another important factor when choosing a region is service availability. Not all AWS services are available in every region, so ensuring that the services you plan to use are offered in your preferred region is essential. You can check the AWS regional services list to verify this. For example, if you need to use Amazon SageMaker for machine learning, make sure it's available in your chosen region.
Note the shortcode for your chosen region (for example, “eu-east-1” for the US East region). You’ll need this later when configuring the AWS CLI.
You were given a root user account when you created your AWS account. The root user has unrestricted access to all AWS resources and services, which means that if it gets compromised, the entire account is at risk.
By creating Identity and Access Management (IAM) users and groups, you can follow the principle of least privilege, granting only the permissions necessary for each user to perform their tasks.
For day-to-day use of AWS, creating an IAM admin group with one or more admin users is strongly recommended. You can give full administrator permissions to the admin group, meaning you can do almost everything with AWS except a few rare tasks requiring root privileges.
It's a best practice to lock away the root user credentials and only use them for initial account setup and if you really need them.
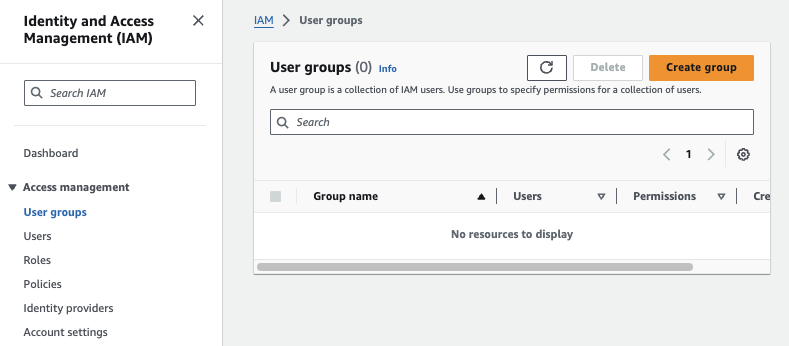
To create groups and users, enter “IAM” into the search bar at the top of the AWS console and click on the first result for IAM.
AWS - Searching for the IAM service
Under “Access management” on the left sidebar, select “User groups” and then select “Create group.” Enter a name for the group.
AWS IAM - Creating a new user group
Next, you need to attach permission policies to the group. You can write custom policies or choose one from the list of policies created by AWS. Select the “AdministratorAccess” policy for the Admin group and then select “Create user group.”
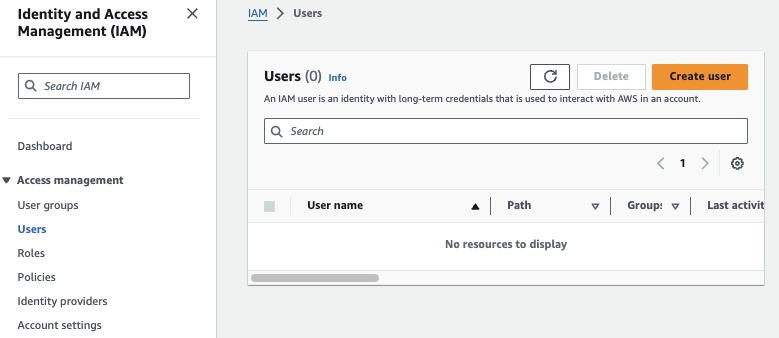
Returning to the IAM dashboard, select “Users” from “Access management” on the left sidebar, and then select “Create user.” Enter a name for the user.
AWS IAM - Creating a new user
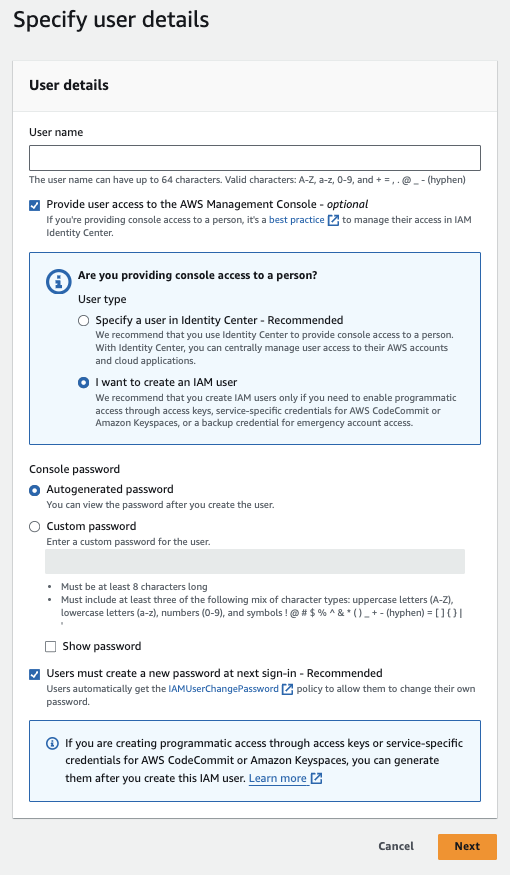
AWS will bring some security considerations and best practices to your attention here. You should read up on these and make sure you understand the best practices and security implications of each choice.
For now, check the box to grant access to the AWS Management Console and select the user type as IAM user (this will also enable programmatic access through access keys—more on this later).
AWS IAM - Specifying user details
Click “Next,” and be sure to download the CSV file containing your user credentials before leaving this page.
An account alias is a user-friendly name you can assign to your AWS account to make it easier to remember and manage.
By default, your AWS account is identified by a long numeric ID, which can be hard to recall and recognize, especially if you manage multiple AWS accounts.
Creating an account alias is very helpful in simplifying the login process. Instead of using the numeric account ID, you can log in with a more meaningful name that you choose. This is particularly helpful for remembering which account you're accessing if you have several AWS accounts for different projects or environments.
You can change your account alias through the IAM dashboard.
Here are five of the most important security best practices you should follow to protect your AWS account:
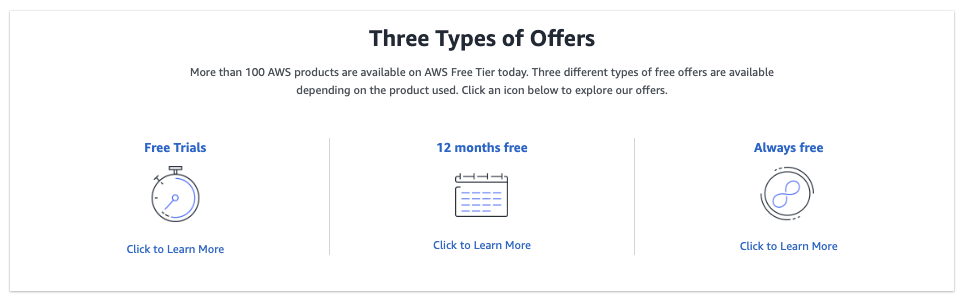
The AWS free tier is a great way to explore and learn about AWS services without worrying about the costs.
AWS free tier - three types of offers
The free tier offers three types of services:
To avoid costs, you should always clean up the resources you no longer need. This helps ensure you stay within the free tier limits and avoid unnecessary charges.
Take advantage of AWS’s extensive documentation and hands-on tutorials, which are designed to help you understand and utilize the free tier effectively. These resources provide step-by-step guides that are perfect for beginners and show you how to clean up the resources you used during the tutorial.
As you branch out independently, start with small projects that fit within the free tier limits. Check out our blog post on 13 hands-on AWS projects you can implement to improve your skills and showcase them in your portfolio.
Budgets in AWS allow you to set financial targets for your usage and costs. They help you monitor and control your spending by providing visibility into your AWS costs and usage.
Budget alerts are notifications that alert you when your costs or usage exceed (or are forecasted to exceed) the thresholds you set. This can be incredibly useful for beginners to avoid unexpected charges as they learn and experiment with various AWS services.
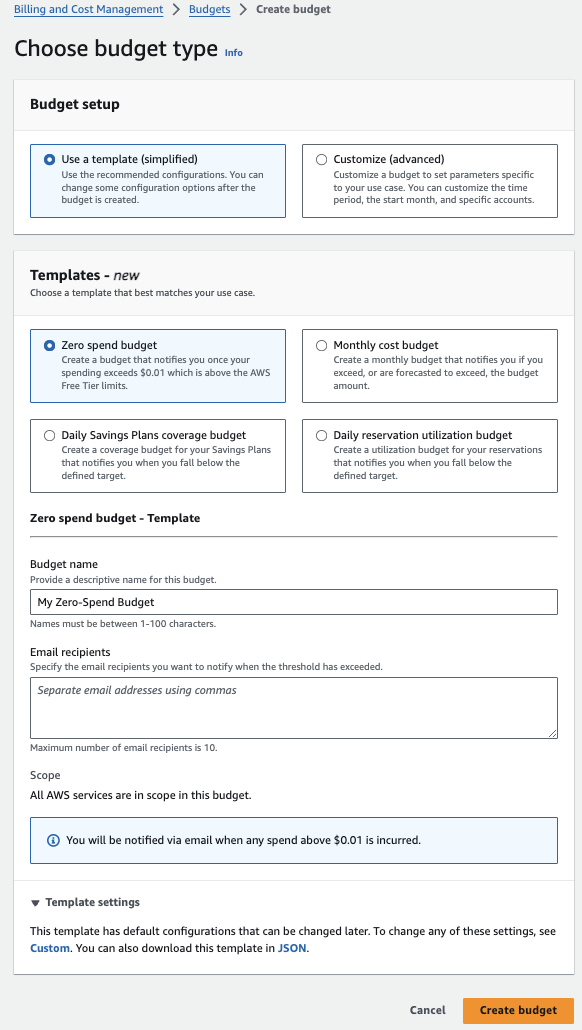
AWS has also made this process very easy by introducing templates. The “Zero spend budget” template is perfect for sticking within the free tier limits for all the services you use. You'll get an email alert when your spending exceeds $0.01, precisely what we want!
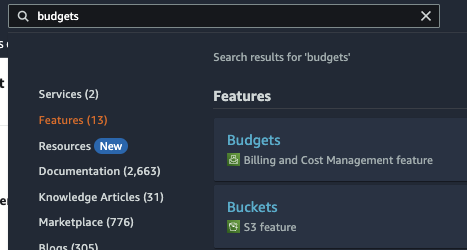
To enable it, enter the keyword “budgets” into the search bar at the top of the page and select “Budgets” from the Billing and Cost Management service.
AWS - Searching for the budgets service
Select “Create budget” and then look for the “Zero spend budget” template. Specify the email address where you want to receive the alerts and select “Create budget”.
AWS - Creating a zero-spend budget
The AWS Management Console can initially seem overwhelming, but with some guidance, it will become much easier to navigate.
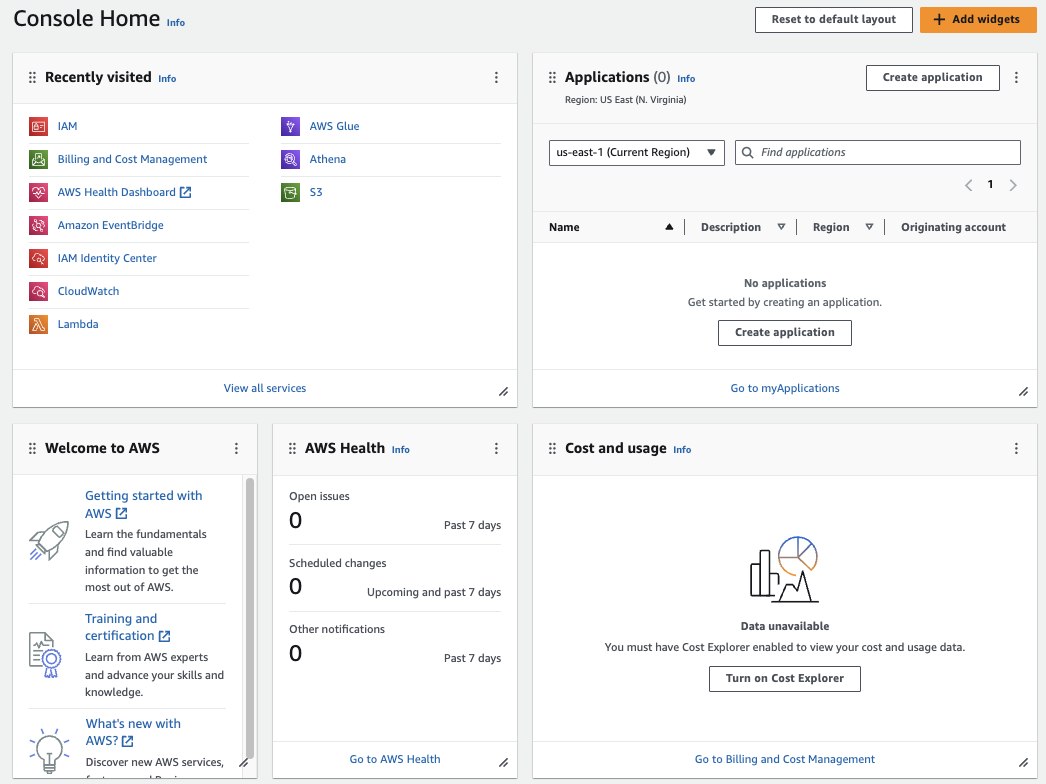
The console home is the main landing page when you log into the AWS Management Console. It provides a high-level overview of your AWS resources and recent activity.
AWS - Console home
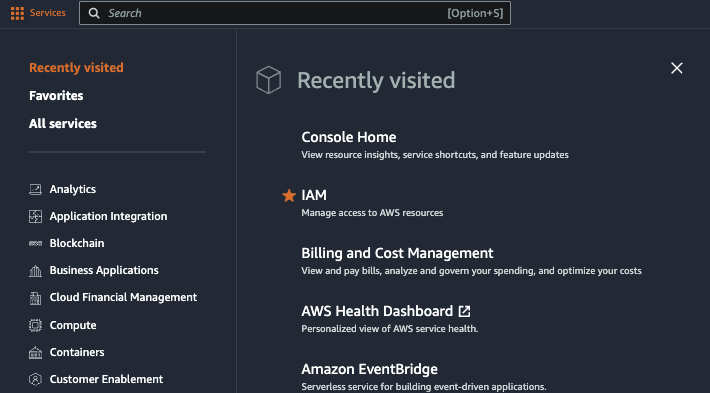
The top left-hand corner contains the services menu, which you will probably use the most often as you navigate AWS.
AWS - Services menu
There are three main areas in the services menu:
You can also access your account details, settings, access to AWS documentation, and other useful options in the top right corner.
Here’s a table summarizing the main AWS services you would use as a data professional, grouped by related functionalities.
|
Category |
Service |
Description |
|
Storage |
Scalable storage for data, suitable for storing raw data, processed results, and backups. |
|
|
Amazon Glacier |
Low-cost storage for archival and long-term backup of infrequently accessed data. |
|
|
AWS Storage Gateway |
Connect on-premises software appliances with cloud-based storage for seamless integration. |
|
|
Compute |
Amazon EC2 |
Scalable virtual servers for running data processing tasks, analyses, and applications. |
|
AWS Lambda |
Serverless compute service that lets you run code in response to events without managing servers. |
|
|
Database |
Amazon RDS |
Managed relational database service supporting multiple database engines (e.g., MySQL, PostgreSQL). |
|
Fast, scalable data warehouse service for running complex queries on large datasets. |
||
|
Amazon DynamoDB |
Managed NoSQL database service for fast and flexible data storage. |
|
|
Data integration |
AWS Glue |
Managed ETL (Extract, Transform, Load) service for preparing and transforming data. |
|
AWS Data Pipeline |
Automate the movement and transformation of data between different AWS services and on-premises. |
|
|
Analytics |
Amazon Athena |
Serverless interactive query service for analyzing data in S3 using SQL. |
|
Amazon EMR |
Managed Hadoop framework that makes it easy to process large amounts of data. |
|
|
Amazon QuickSight |
Business analytics service for building visualizations and dashboards. |
|
|
Machine learning |
Managed service for building, training, and deploying machine learning models. |
|
|
AWS Deep Learning AMIs |
Pre-configured environments for running deep learning frameworks like TensorFlow and PyTorch. |
|
|
AWS Comprehend |
Natural language processing service for extracting insights from text. |
|
|
Amazon Rekognition |
Service for image and video analysis. |
|
|
Monitoring and security |
AWS CloudWatch |
Monitoring and observability service for AWS resources and applications. |
|
AWS CloudTrail |
Tracks user activity and API usage across your AWS infrastructure for auditing and compliance. |
|
|
AWS IAM |
Manage access to AWS services and resources securely. |
The AWS Command Line Interface (CLI) enables you to control multiple AWS services and automate them through scripts, making tasks like deployment, configuration, and monitoring more efficient.
Setting up the CLI is straightforward, and you can start with basic commands to familiarize yourself.
Follow the official AWS CLI installation instructions based on your operating system to install the latest AWS CLI.
Don't forget to confirm your installation at the end by using the following command in your terminal:
aws --versionWhen configuring the AWS CLI, you'll be asked to enter your AWS access key ID and secret access key, so let's prepare these credentials.
Go back to the admin user you created earlier in the IAM dashboard and select “Create access key.”
AWS IAM - Creating access keys
Select an appropriate use case here or “Other” at the bottom. The use case options provide you with the best practices for each use case. Regardless of your choice, make sure you read up and understand the security best practices when using access keys.
Create your access key and download the CSV file with your credentials. Keep these safe!
Simply run the configure command and follow the prompts:
aws configureYou'll be asked to enter your AWS access key ID and secret access key and specify your default region and output format (JSON is the most commonly used format).
The next step is to practice using Python, AWS, and the boto3 library. Check out our webinar for a practical demonstration of how you can combine these services to build powerful data science solutions.
To wrap up, here are some tips and best practices to maximize your usage of AWS.
By following these best practices, you can make the most out of AWS while maintaining a secure, cost-effective, and efficient cloud environment.
You should now have your AWS account set up and ready to go. To learn more about AWS, start by signing up for our AWS cloud technology and services course. After that, you can work your way up in your career by getting AWS certified.
Additionally, check out our detailed guide for career and salary options for an AWS cloud practitioner role. When you’re ready to interview for AWS roles, our blog post on the top 32 AWS interview questions will help prepare you!
Learn more about AWS and data engineering with these courses!
Cours
Cours
Cours
Tutoriel
DataCamp Team
Tutoriel
Florin Angelescu
Tutoriel
Bex Tuychiev
Tutoriel
Zoumana Keita
Tutoriel
Tim Lu
Tutoriel
Joleen Bothma