
Course
Introduction to GitHub Concepts
2 hr
43.3K
Ever deleted a file by mistake or overwritten your code with no way to recover it? Without version control, such errors can be catastrophic. That’s where git init comes in—it transforms your project folder into a Git repository, ensuring that every change is trackable and recoverable.
In this tutorial, I’ll show you how to set up Git, share personal tips from my journey, and help you create a robust workflow right from the start.
The git init command kick-starts your version control journey. When you run it, Git creates a hidden .git folder inside your project directory that stores configuration data, commit history, and all the metadata needed to track your changes.
With every modification recorded, you can branch, merge, and collaborate confidently—knowing that your project’s complete history is always just a command away.
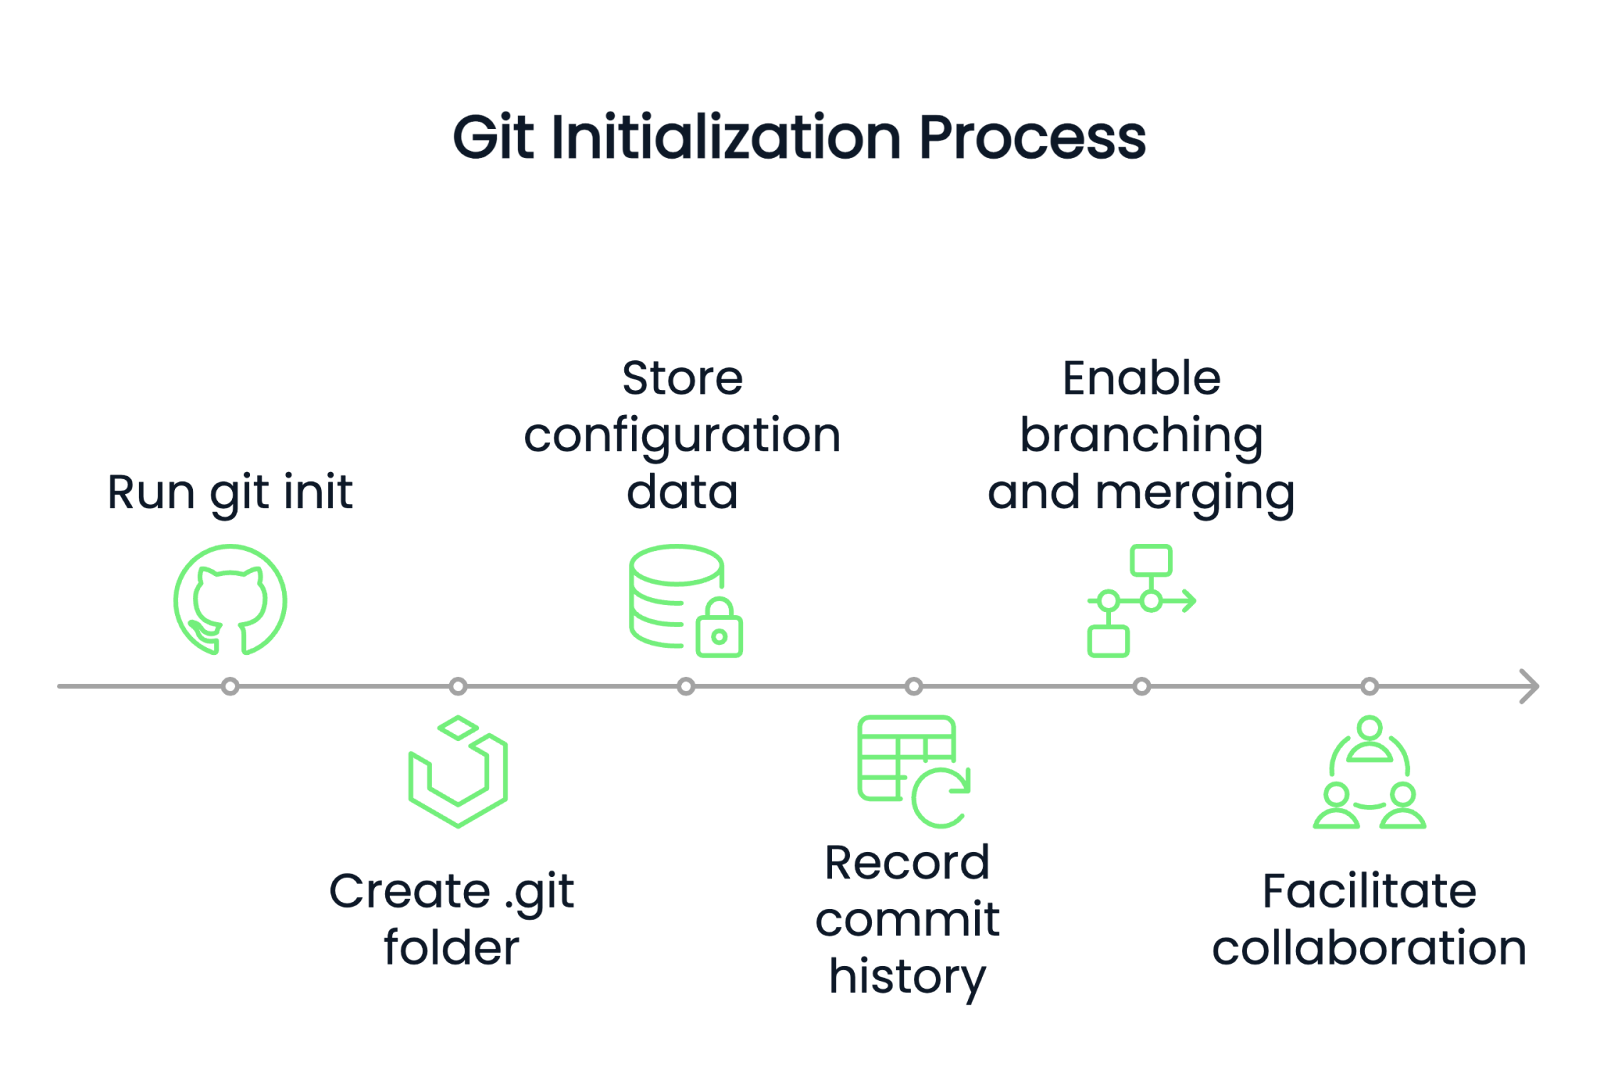
Image by Author
Before getting into advanced topics, it’s essential to understand how to use git init in practice.
Follow these steps to create a new Git repository from scratch:
cd /path/to/your/projectThis changes your current folder to the one you want to track.
git initAfter executing this command, a hidden .git folder is created. That folder stores every bit of Git’s tracking information.
git statusAt this stage, Git is set up but not tracking any files.
For projects that aren’t yet under version control, you can initialize Git and start tracking changes as follows:
cd /path/to/your/projectgit initAs mentioned before, the above command creates the hidden .git folder that enables Git tracking.
git init does not automatically track files, add them with:git add .git commit -m "Initial commit"This process converts an unmanaged project into one with a complete version history—ready for new development and collaboration.
If you encounter the error "Author Identity Unknown," it means Git doesn’t know who you are. To fix it, configure your user identity:
git config --global user.email "your_email@example.com"
git config --global user.name "Your Name"
Using --global applies these settings across all repositories on your machine. Omitting it will set the identity for just the current repository.
git config --global user.email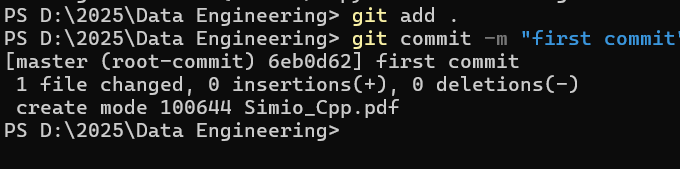
git config --global user.namegit commit -m "First Commit"I encountered this error when I first began using Git—setting my identity resolved it.
The initial Git commit ran successfully in PowerShell.
Once you’ve initialized a Git repository locally, you’ll likely want to back it up or collaborate with others by connecting it to a remote repository (e.g., GitHub, GitLab, Bitbucket).
git remote add origin <repository-url>Replace <repository-url> with the URL of your remote repository. origin is the default alias for the remote repository, but you can use any name.
git remote -v# Push the first commit and track the remote branch
git push -u origin $(git branch --show-current) # Works for 'main' or 'master' The above command pushes the current branch and sets it to track the remote branch.
If you’re using an older Git version that doesn’t support $(git branch --show-current), use:
git push -u origin main # Or 'master' depending on your default branch As you continue working on your project, you'll need to merge changes from different branches when collaborating with a team. Learn how to handle merges effectively with this Git merge tutorial.
If pushing to GitHub, GitLab, or Bitbucket, you might need to authenticate. Depending on your setup, you can:
git remote set-url origin git@github.com:your-username/your-repo.gitgit push https://your-username@github.com/your-repo.gitConnecting to a remote repository was a turning point for me—it validated that my local work was safely backed up and ready for collaboration. Plus, it gave me confidence in version control, knowing my history was preserved even if my local machine failed.
Learn more about Git with these courses!
Course
Course
Course
blog
Laiba Siddiqui
15 min
Tutorial
Olivia Smith
Tutorial
Abid Ali Awan
Tutorial
Zoumana Keita
Tutorial
Srujana Maddula
Tutorial
Derrick Mwiti