Course
Introduction to TensorFlow in Python
4 hr
56.2K
Let’s say you've got a docker-compose.yml file that's been working for months. But now, you're supposed to use Podman instead of Docker, and you're not sure if you need to edit the file or start from scratch. Your local development environment depends on that Compose file, and rebuilding your entire setup isn't exactly something you have time for.
The good news is that Podman Compose lets you run existing Compose files with Podman instead of Docker. It's a Python-based compatibility layer that translates your Compose definitions into Podman commands, so you can keep using the multi-container workflow you're familiar with.
In this article, I'll show you what Podman Compose is, how to install it, and how to run your first multi-container application with it. If you are new the some of the concepts in this article, enroll in our Containerization and Virtualization Concepts course to get a grasp of the basics.
Podman Compose is a Python-based tool that reads your docker-compose.yml files and translates them into Podman commands.
You still write a standard Docker Compose file with services, networks, and volumes. Podman Compose parses that file and runs the equivalent podman commands to start your containers. It's doing the translation work for you, so you don't have to manually convert Compose syntax into Podman CLI commands.
It’s important to note that Podman Compose isn't a drop-in replacement for Docker Compose.
It's a compatibility layer. Some Docker Compose features work out of the box, others need adjustments, and a few don't work at all. The tool aims for compatibility, but it doesn't replicate every single Docker Compose behavior.
Here’s another way to think about it: Docker Compose talks directly to the Docker daemon. Podman Compose talks to the Podman CLI, which then manages containers without a daemon. The end result looks similar, but the underlying mechanics are different.
This means you can reuse most of your existing Compose files, but you'll need to understand where the differences show up.
Podman Compose lets you run multi-container applications without installing Docker.
When compared to Docker, you get rootless containers by default. Podman runs containers without requiring root privileges. In plain English, there’s less risk if a container gets compromised. Docker requires the daemon to run as root, even if you're running rootless containers on top of it.
This makes Podman Compose a better fit for security-focused environments. If you're working on locked-down Linux servers or environments where running a root-level daemon isn't allowed, Podman Compose gives you the multi-container workflow you need.
It's also useful for development and testing. You can spin up local environments, test container configurations, and validate your Compose files without having Docker installed. It’s ideal for lightweight deployments where you don't need full orchestration.
But it’s worth noting that Podman Compose isn't ideal for every situation.
If you're running production workloads at scale, you'll want Kubernetes or Docker Swarm instead. Podman Compose also has weaker support on macOS and Windows compared to Linux, so your cross-platform development experience won't be as smooth. And if your team is already invested into the Docker ecosystem with custom plugins and tooling, switching to Podman Compose means rebuilding parts of that workflow.
To conclude, use Podman Compose when you need rootless containers, security-first environments, or a Docker-free development setup.
Podman Compose works best on Linux, where Podman runs natively.
You can install it on macOS and Windows, but you'll need to run Podman inside a virtual machine first. This adds complexity and isn't as smooth as the Linux experience. If you're on macOS or Windows, expect extra setup steps and potential networking quirks.
The easiest way to install Podman Compose is through pip.
pip install podman-compose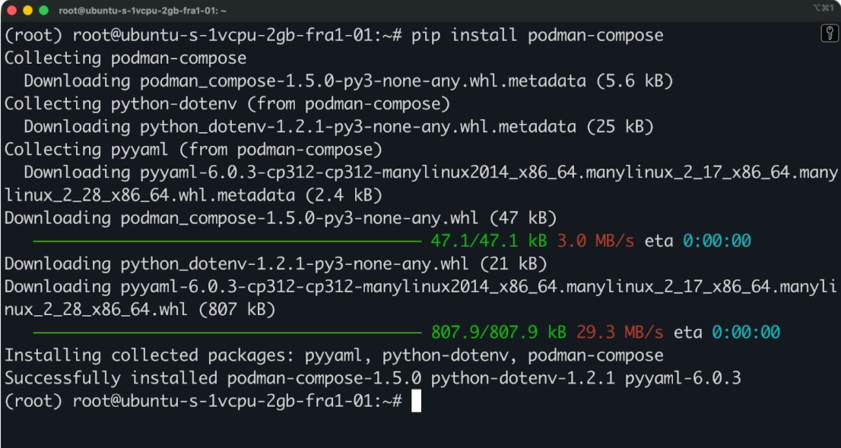
Installing Podman compose on Linux
This installs the latest version from PyPI. You don't need to worry about Python version management - if you have Python 3 installed, you're good to go.
Some Linux distributions also package Podman Compose in their repositories. On Fedora, RHEL, and CentOS, you can use:
sudo dnf install podman-composeOn Ubuntu and Debian-based systems, run the following:
sudo apt install podman-composePackage manager versions tend to lag behind PyPI, so you might not get the latest features right away.
On macOS and Windows, you'll first need to set up Podman Desktop or use podman machine to create a Linux VM. Once that's running, install Podman Compose with pip inside that environment.
So the first step is to connect to the machine:
podman machine ssh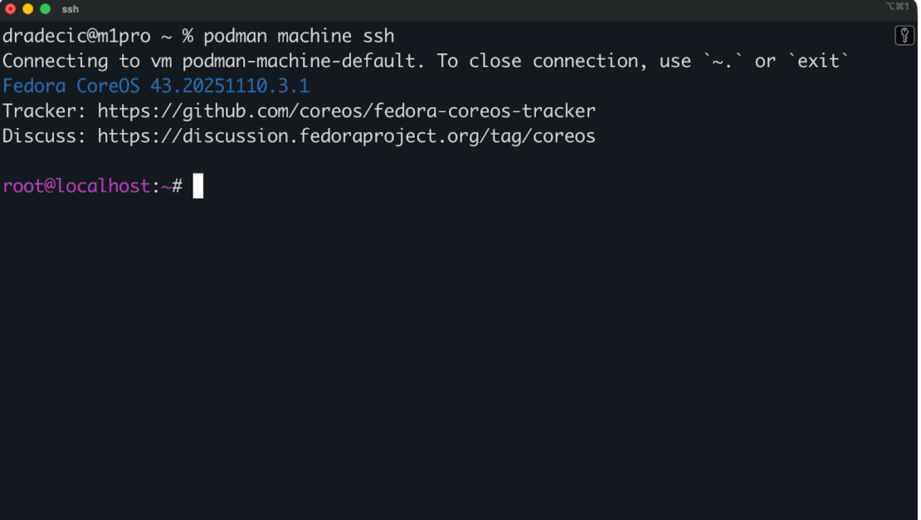
SSH-ing into Podman VM
Since the VM is Fedora-based, you can run this command to install Podman Compose:
sudo dnf install podman-compose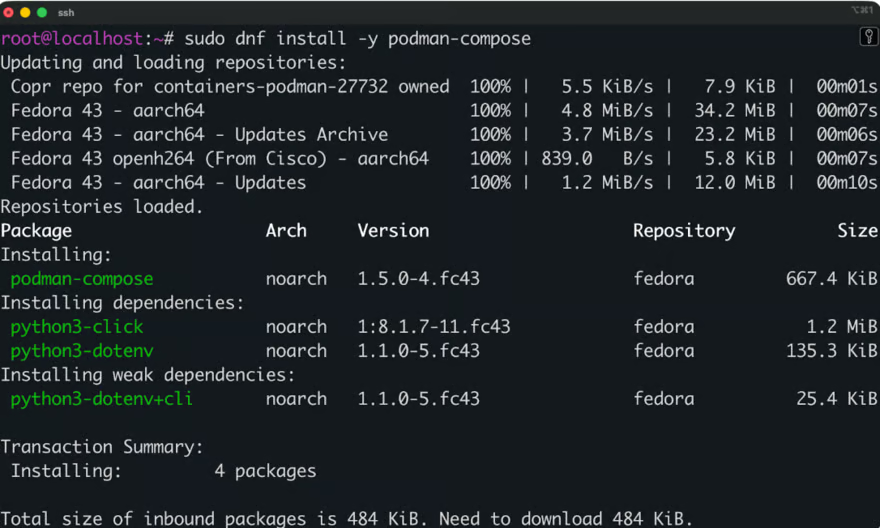
Installing Podman Compose
This two-step process means you're not running Podman Compose directly on your host OS - you're running it inside the Linux VM that Podman creates.
Run this command to check that Podman Compose installed correctly:
podman-compose --version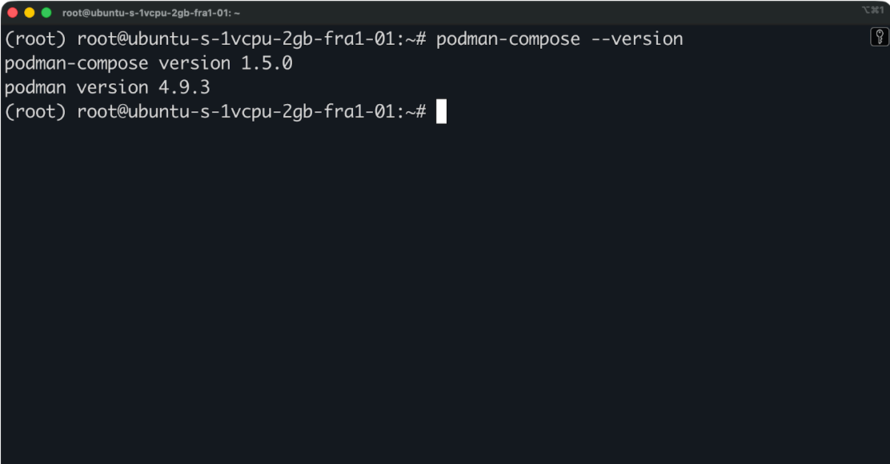
Verifying Podman Compose installation
You should see the version number printed to the terminal. If you get a "command not found" error, make sure your Python bin directory is in your PATH.
That's all you need to start using Podman Compose.
You've got Podman Compose installed - now let me show you how to run an actual application.
Podman Compose reads standard docker-compose.yml files. You don't need to rename anything or change the format.
Here's a simple FastAPI application defined in a Compose file:
services:
  web:
    image: python:3.14-slim
    container_name: fastapi-app
    working_dir: /src
    volumes:
      - ./src:/src
    ports:
      - "8000:8000"
    command: bash -c "pip install fastapi uvicorn && uvicorn main:app --host 0.0.0.0 --port 8000"
With the application code in src/main.py:
from fastapi import FastAPI

app = FastAPI()

@app.get("/")
def read_root():
    return {"message": "Hello from FastAPI"}

@app.get("/health")
def health_check():
    return {"status": "healthy"}
Most Docker Compose features work out of the box with Podman Compose. This includes:
But some features need adjustments. If your Compose file uses Docker-specific plugins, custom network drivers, or advanced build arguments, you'll likely need to modify those sections.
Podman Compose also handles networking differently - services don't automatically resolve each other by service name the same way Docker Compose does.
You can now start your services with this command:
podman-compose upThis pulls images, creates containers, and starts everything defined in your Compose file. Add -d to run in detached mode if you don't want logs streaming to your terminal.
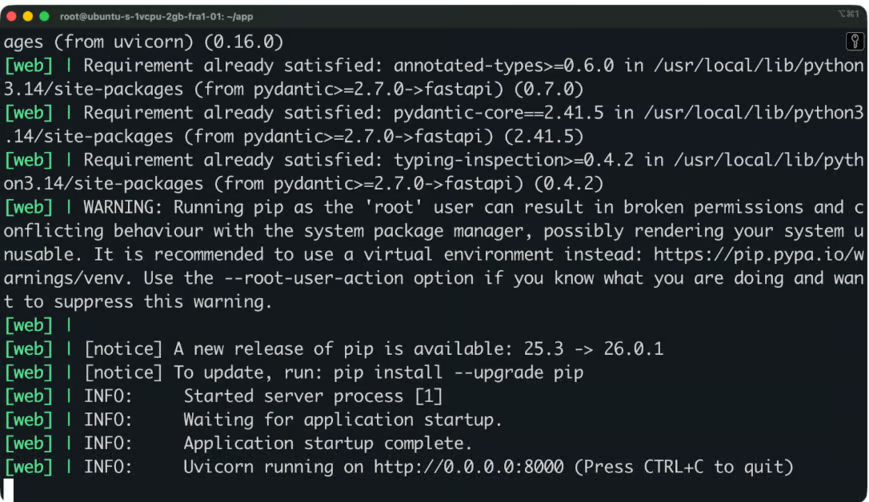
Podman output
You can now open the app on port 8000 on your machine (or on a remote Ubuntu instance like I’m using). You’ll see the following:
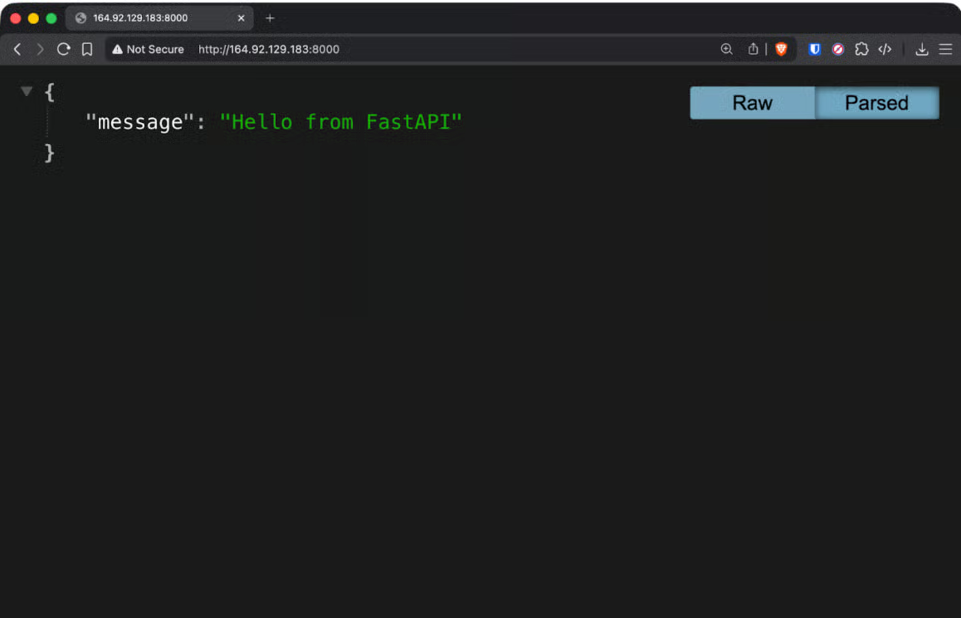
FastAPI application running through Podman
To stop running services, run the following:
podman-compose downThis stops and removes containers. Volumes persist unless you add --volumes to remove them too.
To, check your service logs, execute this command:
podman-compose logsAdd -f to follow logs in real-time, or specify a service name to see logs from just that container.
To clean up everything. including containers, networks, and volumes, run this:
podman-compose down --volumesThe commands mirror Docker Compose syntax, so if you're already familiar with docker-compose, you'll feel right at home.
Podman Compose and Docker Compose aim for the same goal, but they work differently under the hood. Let me explain how.
Docker Compose requires the Docker daemon running as root. Even when you configure rootless containers, the daemon itself needs elevated privileges. Podman Compose runs entirely without root access by default. Your containers start as your user, not as a system service, which reduces attack options and makes Podman Compose safer in multi-user environments.
Docker Compose creates a default bridge network for your services. Containers can reach each other by service name automatically.
Podman Compose uses pod-based networking instead. All containers in your Compose file get grouped into a single Podman pod, and they share the same network namespace. This means containers communicate over localhost rather than service names, which can surprise Docker users.
If your app expects to reach a database at db:5432, you'll need to change that to localhost:5432 when running with Podman Compose.
Docker Compose manages individual containers. Podman Compose creates a pod, which is a Kubernetes-inspired grouping where containers share networking and can share storage. This pod model aligns Podman Compose with Kubernetes patterns, making it easier to migrate workloads later if you need orchestration.
Podman integrates with systemd for managing containers as system services. You can generate systemd unit files from running containers and manage them like any other Linux service. Docker doesn't offer native systemd integration at the container level.
If Podman Compose doesn't fit your needs, you've got these alternatives:
Podman Compose is somewhere between simple container commands and full orchestration. It gives you multi-container workflows without Docker's daemon requirement.
Docker users switching to Podman Compose typically complain about two things: networking and volumes. In this section, I’ll go over the differences.
In Docker Compose, you connect to other services by their service name. If you've got a web service and a database service called db, your app connects to db:5432.
Podman Compose puts all services in a single pod. Containers in the same pod share a network namespace, which means they all use localhost. Your database connection string changes from db:5432 to localhost:5432.
This catches people off guard. Your app starts, tries to connect to db:5432, and fails because that hostname doesn't resolve. You'll need to update your connection strings or environment variables to use localhost instead.
Docker Compose creates a bridge network for your services. Each container gets its own IP address on that network, and Docker's DNS resolver handles service name lookups.
Podman Compose doesn't create separate networks by default. The pod model means containers share networking at a lower level. If you define custom networks in your Compose file, Podman Compose will try to create them, but the behavior might not match Docker exactly.
Volumes and bind mounts mostly work the same way between Docker Compose and Podman Compose. You define them in your Compose file, and Podman creates them.
But there's a permissions catch.
Podman runs rootless by default, so file ownership and permissions can behave differently. A bind mount that works fine in Docker might give you permission errors in Podman because the container user doesn't match your host user's UID.
You'll also notice volume locations differ. Docker stores volumes in /var/lib/docker/volumes/ while Podman stores them in ~/.local/share/containers/storage/volumes/ for rootless containers.
The fixes are easy to implement if you know what's happening. So just adjust connection strings for networking, and check file permissions for volume issues.
Podman Compose works well for basic multi-container setups, but it has limitations you should know about before committing to it.
Not every Docker Compose feature translates to Podman Compose. Build contexts with complex arguments often fail or behave differently. Docker Compose plugins and extensions won't work at all. Features like GPU passthrough, advanced health checks, and some networking modes either don't work or need workarounds.
If your Compose file heavily uses docker-compose.yml version 3.x features, expect some trial and error.
Services don't communicate by service name - they use localhost instead. This breaks apps that hard-code service names in connection strings.
Custom bridge networks don't behave the same way as Docker. DNS resolution works differently because of the pod model.
Expect to spend some time updating configs and environment variables to match Podman's networking model, but that’s a one-off thing.
Podman Compose runs best on Linux. On macOS and Windows, you're running everything inside a Linux VM, which adds layers of complexity. File syncing between your host and the VM can be slower. Networking between your host and containers requires extra configuration.
If your team uses macOS or Windows machines for development, Docker Compose is usually the smoother option.
Podman Compose is younger than Docker Compose. The community is smaller, so finding answers to specific problems takes more digging. Third-party tools and integrations are built for Docker first, Podman second (if at all). IDE support and GUI tools lag behind Docker's ecosystem.
You won't find as many Stack Overflow answers or GitHub issues for Podman Compose problems.
These limitations don't make Podman Compose unusable, but they’re something to think about before committing. Docker Compose users don't deal with these frictions at all.
Here's how to avoid the most common Podman Compose headaches.
Start with simple Compose files. Don't migrate your most complex Docker setup first. Begin with a single-service application, verify it works, then add some more. This lets you isolate problems as they come up.
Test rootless networking early. Spin up a multi-service app and verify containers can communicate over localhost. Change your connection strings from service names to localhost. If networking doesn't work the way you expect, you'll know immediately.
Be explicit with volumes and ports. Don't rely on defaults. Specify full paths for bind mounts. Define port mappings. Set file permissions explicitly if you're mounting host directories. Podman's rootless model means assumptions that worked in Docker might fail here.
Use Podman Compose primarily for development and lightweight production. It handles local dev environments and small deployments well. For production at scale, you'll want Kubernetes or another orchestration platform. Podman Compose isn't built for high-availability clusters or complex service meshes.
Podman Compose gives you a practical way to run multi-container applications with Podman instead of Docker. It reads your existing Compose files and translates them into Podman commands, so you don't need to learn a completely new workflow. But it's not a perfect clone of Docker Compose. Networking works differently, some features aren't supported, and you'll need to adjust connection strings and configs to match Podman's pod-based model.
Finally, I recommend you read up on the differences between Docker and Podman to learn more about their respective architectural approaches and compatibility.
Learn with DataCamp
Course
Course
Course
blog
Jake Roach
9 min
blog
Dario Radečić
15 min
blog
Derrick Mwiti
9 min
Tutorial
Abid Ali Awan
Tutorial
Derrick Mwiti
Tutorial
Benito Martin