Track
Containerization and Virtualization with Docker and Kubernetes
13 hr
If you work with Docker daily, you know how quickly it can consume disk space.
Over time, your system accumulates unused images, containers, volumes, and networks. These mostly sit idle, taking up valuable storage and potentially preventing you from working on your current project. Fortunately, Docker provides built-in cleanup commands that easily remove unnecessary resources.
These cleanup commands are part of the docker prune family, and today, you'll learn all about them. They will quickly become your go-to solution for freeing up disk space.
Let's start with a brief overview before diving into practical examples.
Are you new to Docker? Check out our guide on learning Docker from scratch for data professionals to get up to speed quickly.
The term "Docker Prune" typically refers to a set of commands designed to help you remove unused and unnecessary Docker resources.
Over time, especially if you work across multiple projects, you'll create countless images, run containers, and set up volumes and networks. All of these accumulate on your system, taking up a significant amount of disk space. The purpose of docker prune is to clean up that clutter and reclaim storage.
That being said, there's more to docker prune than meets the eye.
It's not just a single command you can run. Well, you could, but sometimes you need granular control over what gets removed. That’s where this article comes in. It will show you how to manage pruning effectively, ensuring you delete only what you intend to, and how to practice in a safe environment to avoid accidentally removing important data.
It's also worth noting that prune commands only remove resources that are not actively in use. Images, volumes, and networks referenced by running containers won't be deleted. In other words, pruning won't interfere with active workloads.
In the next section, we'll walk you through the different types of pruning commands and explain how they fit into your workflow.
Want to add Docker to your CV or portfolio? These 10 Docker project ideas will get you job-ready.
Docker provides multiple prune commands that allow you to clean up unused resources individually or all at once. In this section, you'll learn about them—both through theory and practical examples.
This is the most comprehensive command for reclaiming disk space. It removes all unused containers, networks, images, and build cache in a single operation.
If you're looking for a quick way to free up disk space with a single command, this is the one to use.
You can pass options to the docker system prune command:
-a or --all removes all unused images instead of just dangling ones (images that aren't tagged or referenced by any container). --filter allows you to specify filter values. -f or --force skips the confirmation prompt. --volumes also prunes anonymous volumes along with containers, networks, images, and build cache. By default, docker system prune prompts you for confirmation since it's a potentially destructive operation:
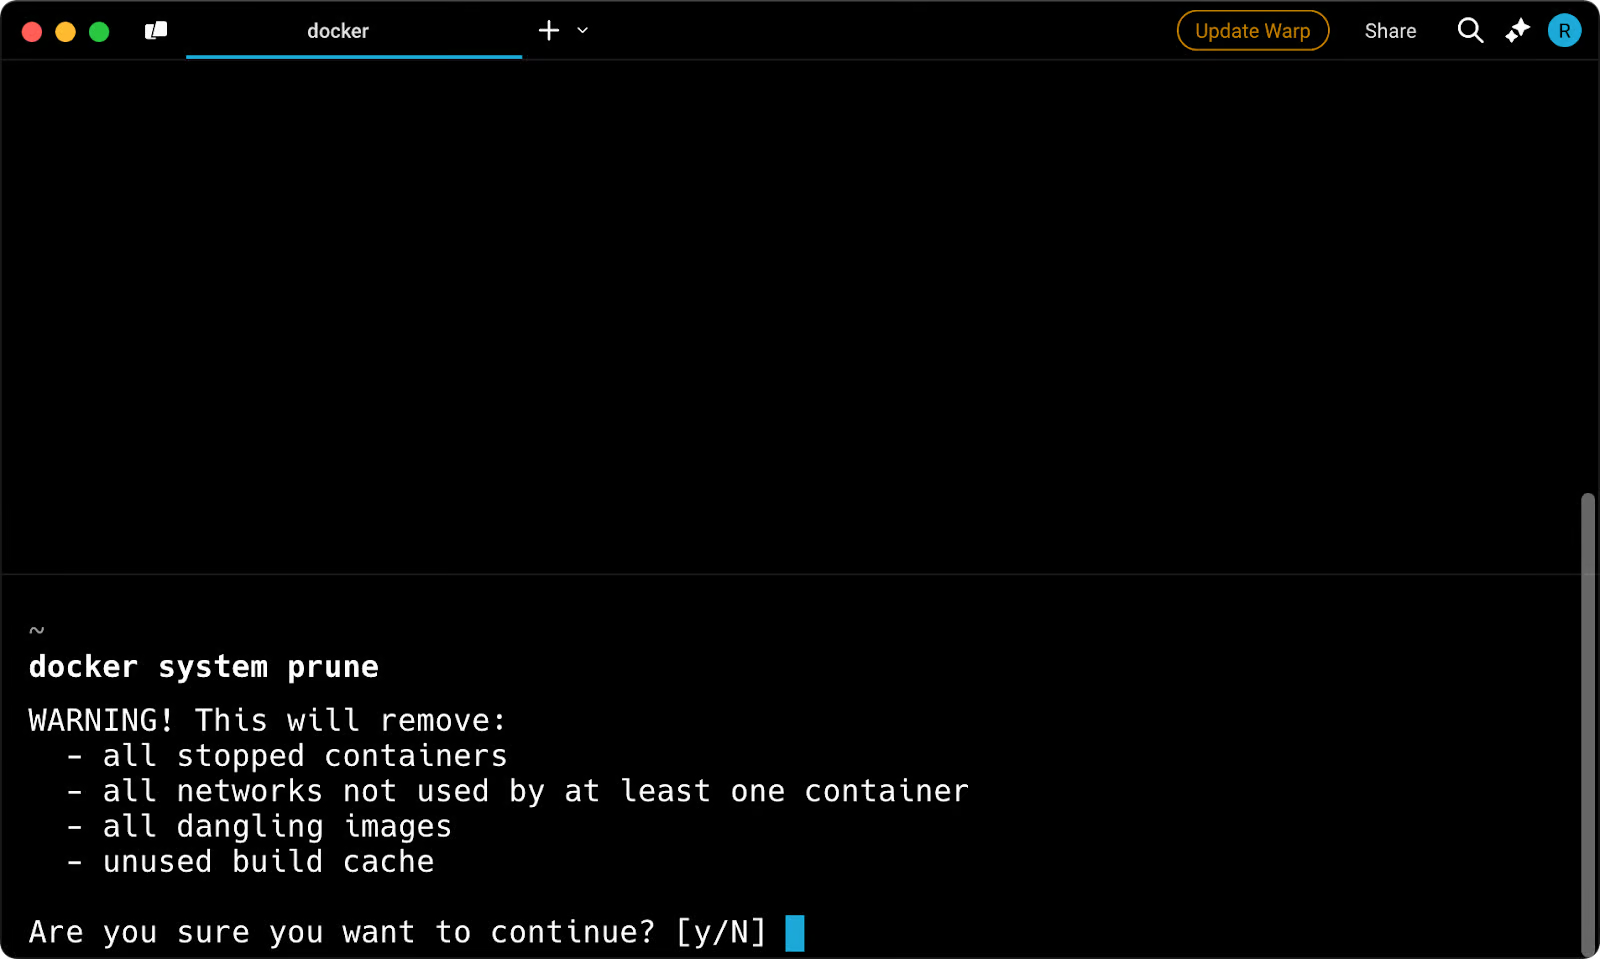
Image 1 - Docker system prune confirmation prompt
To bypass the prompt and remove all unused images, containers, networks, and volumes with a single command, run:
docker system prune -a -f --volumes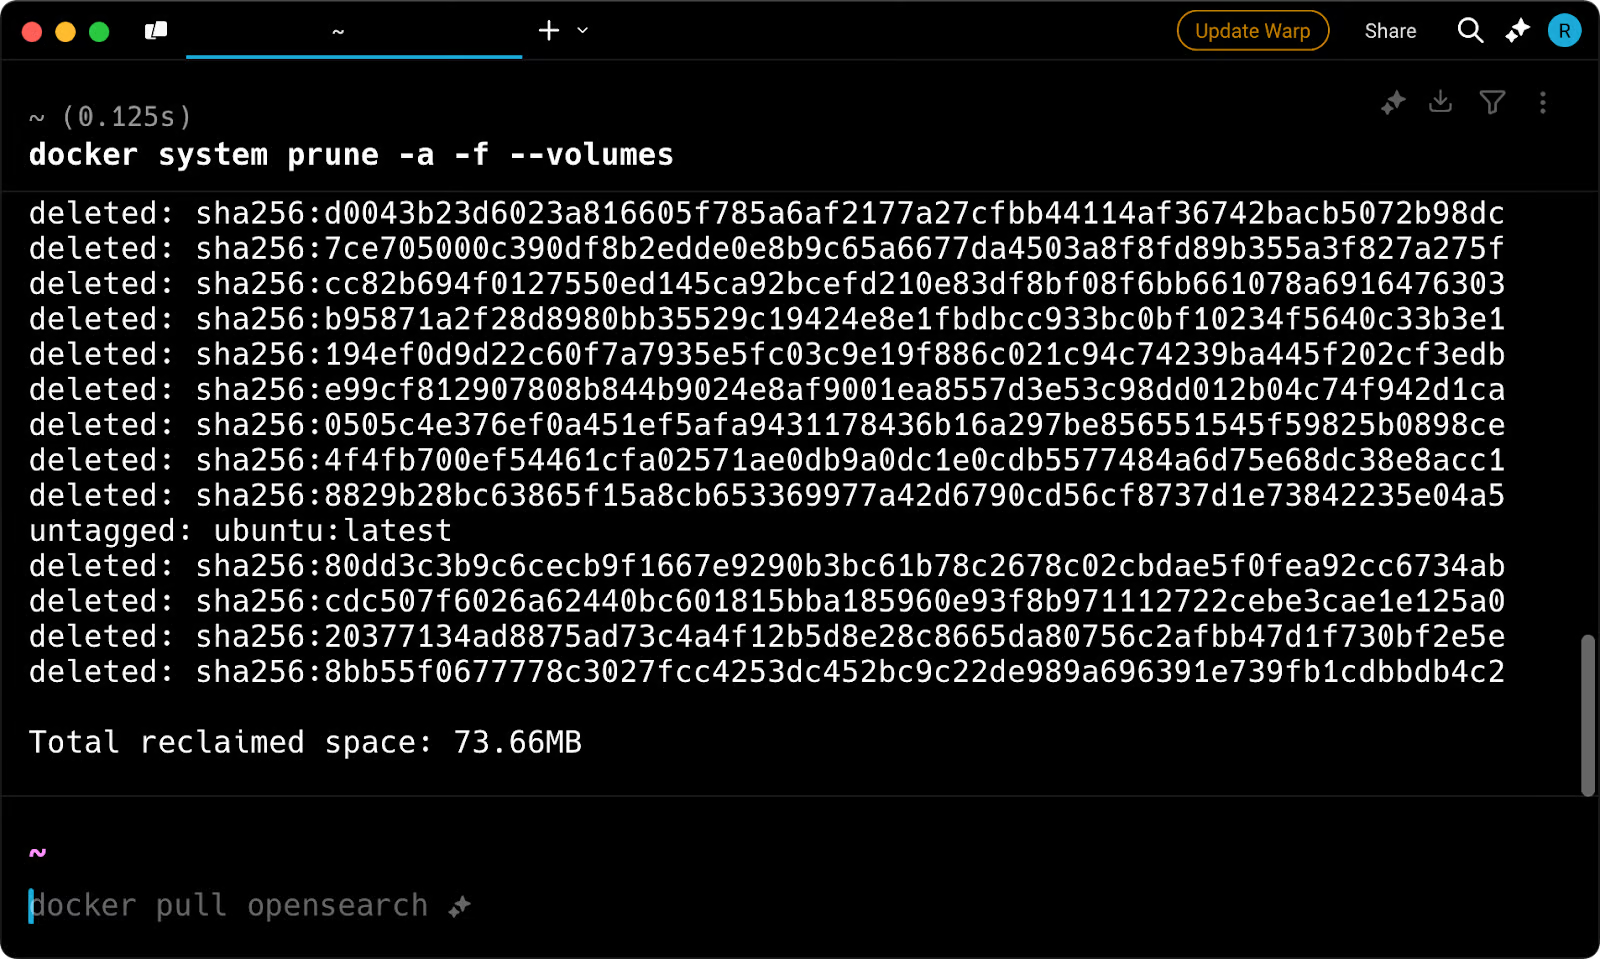
Image 2 - Remove everything with a single docker system prune command
But what if you need more granular control? Let’s cover that next.
Simply put, this command removes all stopped containers.
Stopped containers remain on your system until manually removed. They can take up disk space and be difficult to spot unless you use a tool like Docker Desktop Dashboard.
Like docker system prune, this command supports options:
--filter lets you specify key-value pairs to control which containers get removed.-f or --force skips the confirmation prompt.Here’s a list of non-running containers:
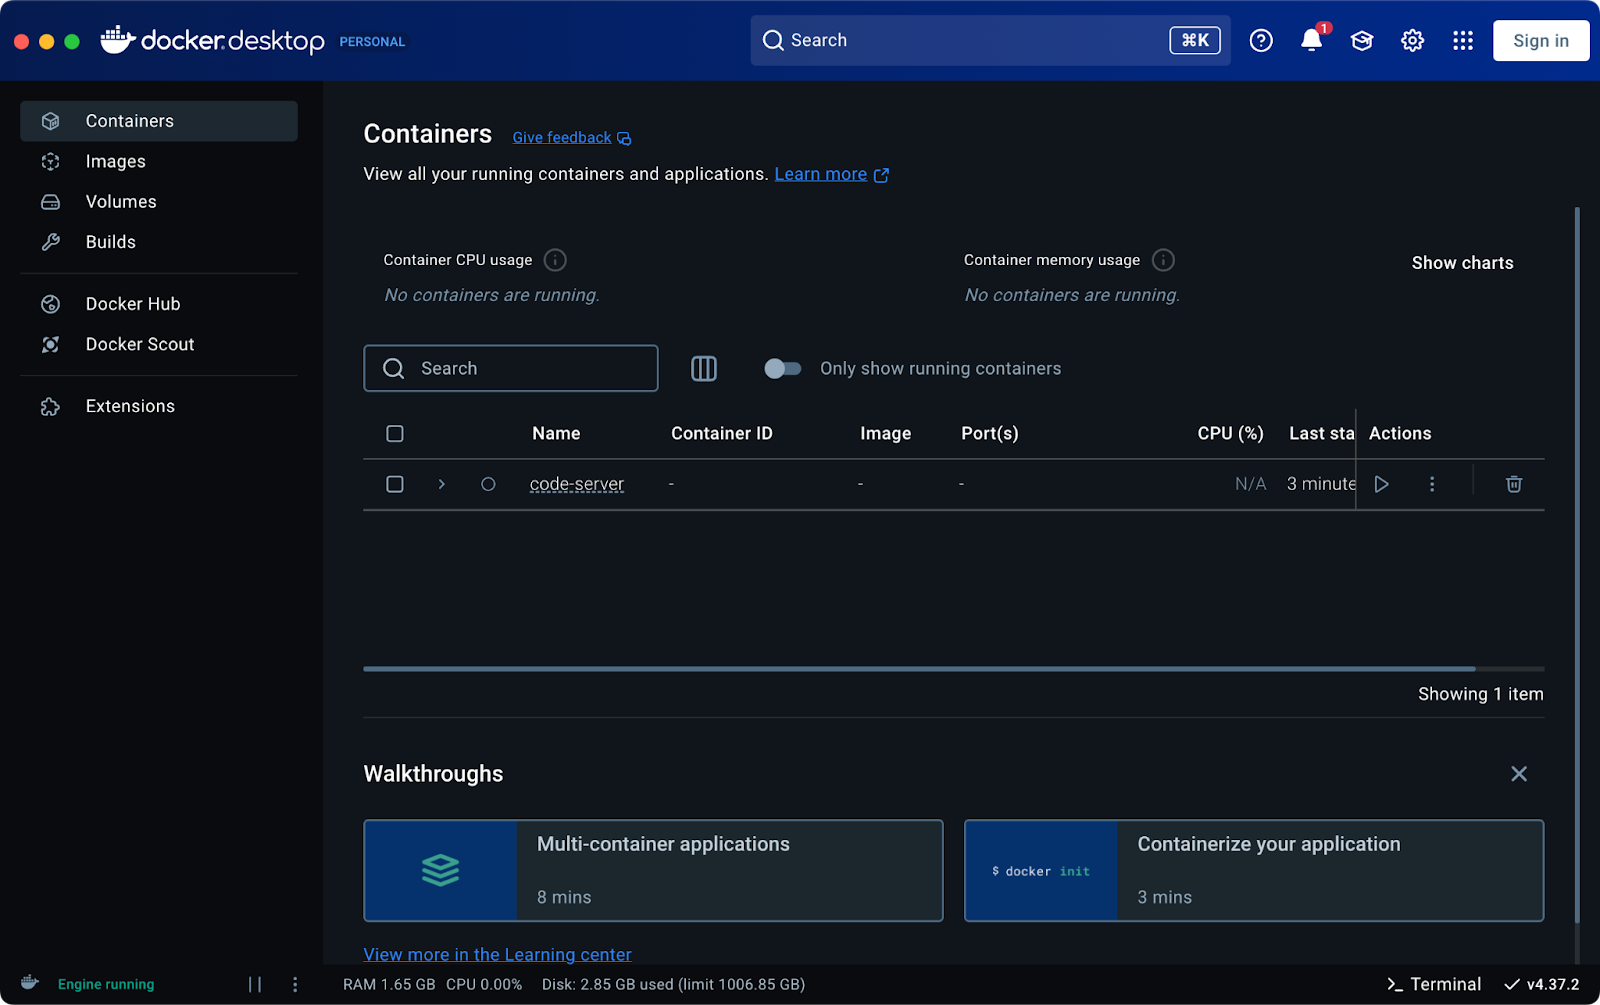
Image 3 - List of non-running containers
To remove code-server (and any other stopped container), run:
docker container prune -fThis won’t prompt you for confirmation, and within seconds, you’ll see an output like this:
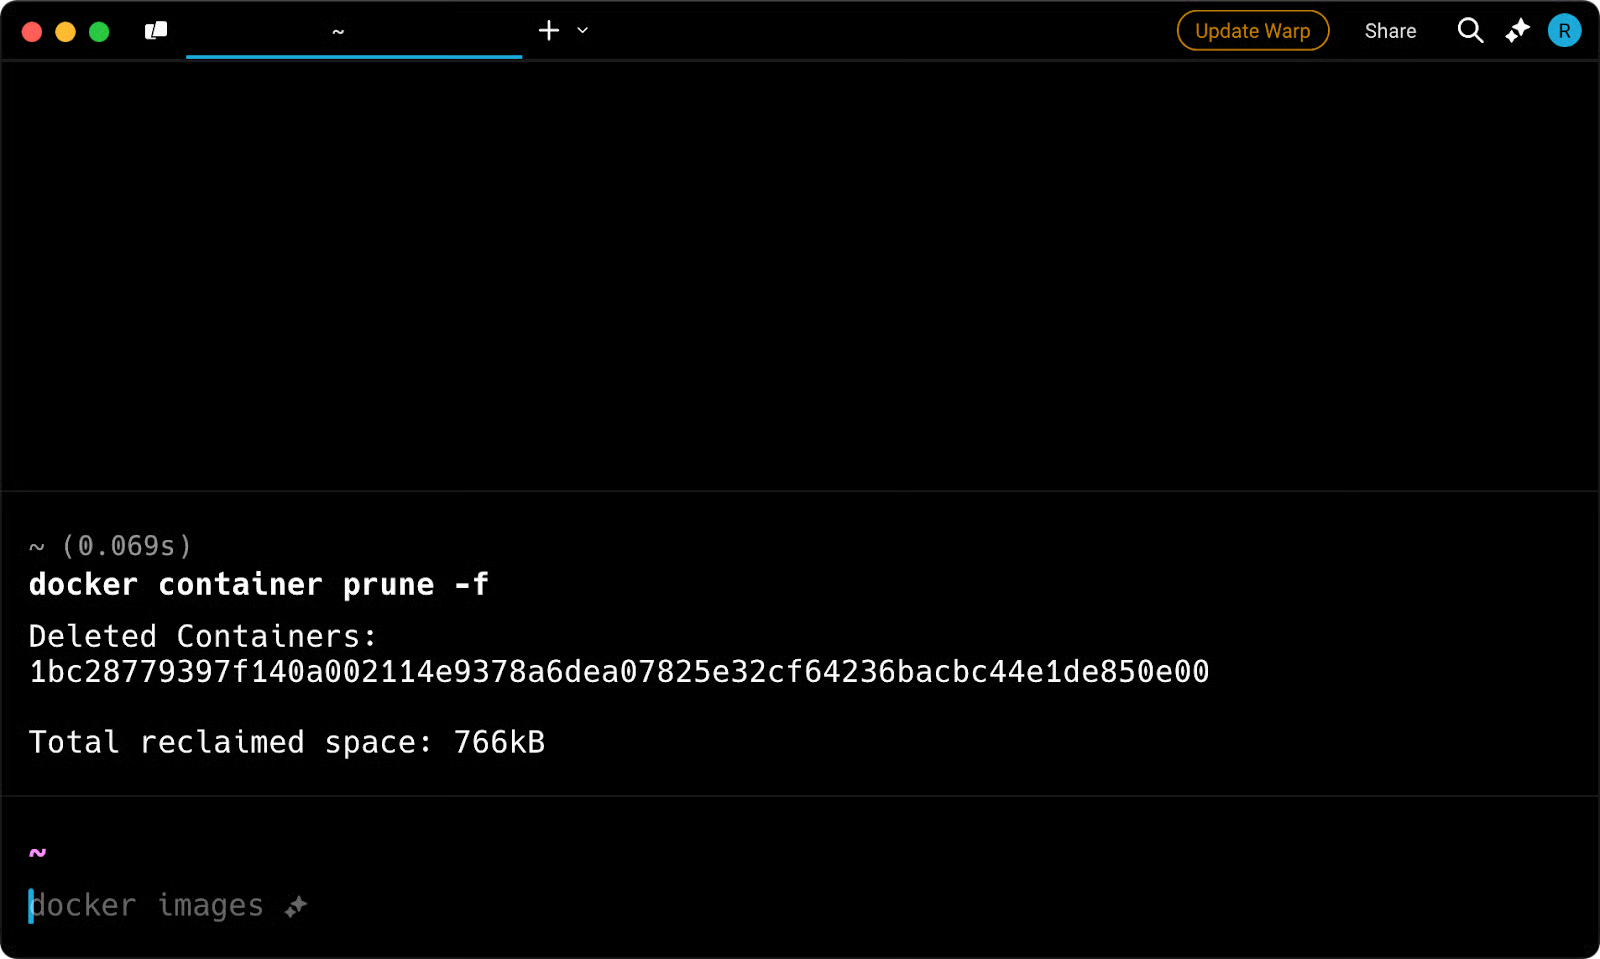
Image 4 - Container pruning output message
And just like that, there are no more stopped containers:
Image 5 - List of non-running containers (2)
Now, let’s take care of unused images.
Similar to the previous command, docker image prune removes unused images.
By default, it removes only dangling images—images that are untagged and not associated with a container. You can use an optional flag to remove all unused images, not just the dangling ones.
Here's a list of available options
-a or --all removes all unused images instead of just dangling ones.--filter lets you specify key-value pairs to control which images get removed.-f or --force skips the confirmation prompt.Now, let’s see it in action!
Here’s a list of images currently on the system:
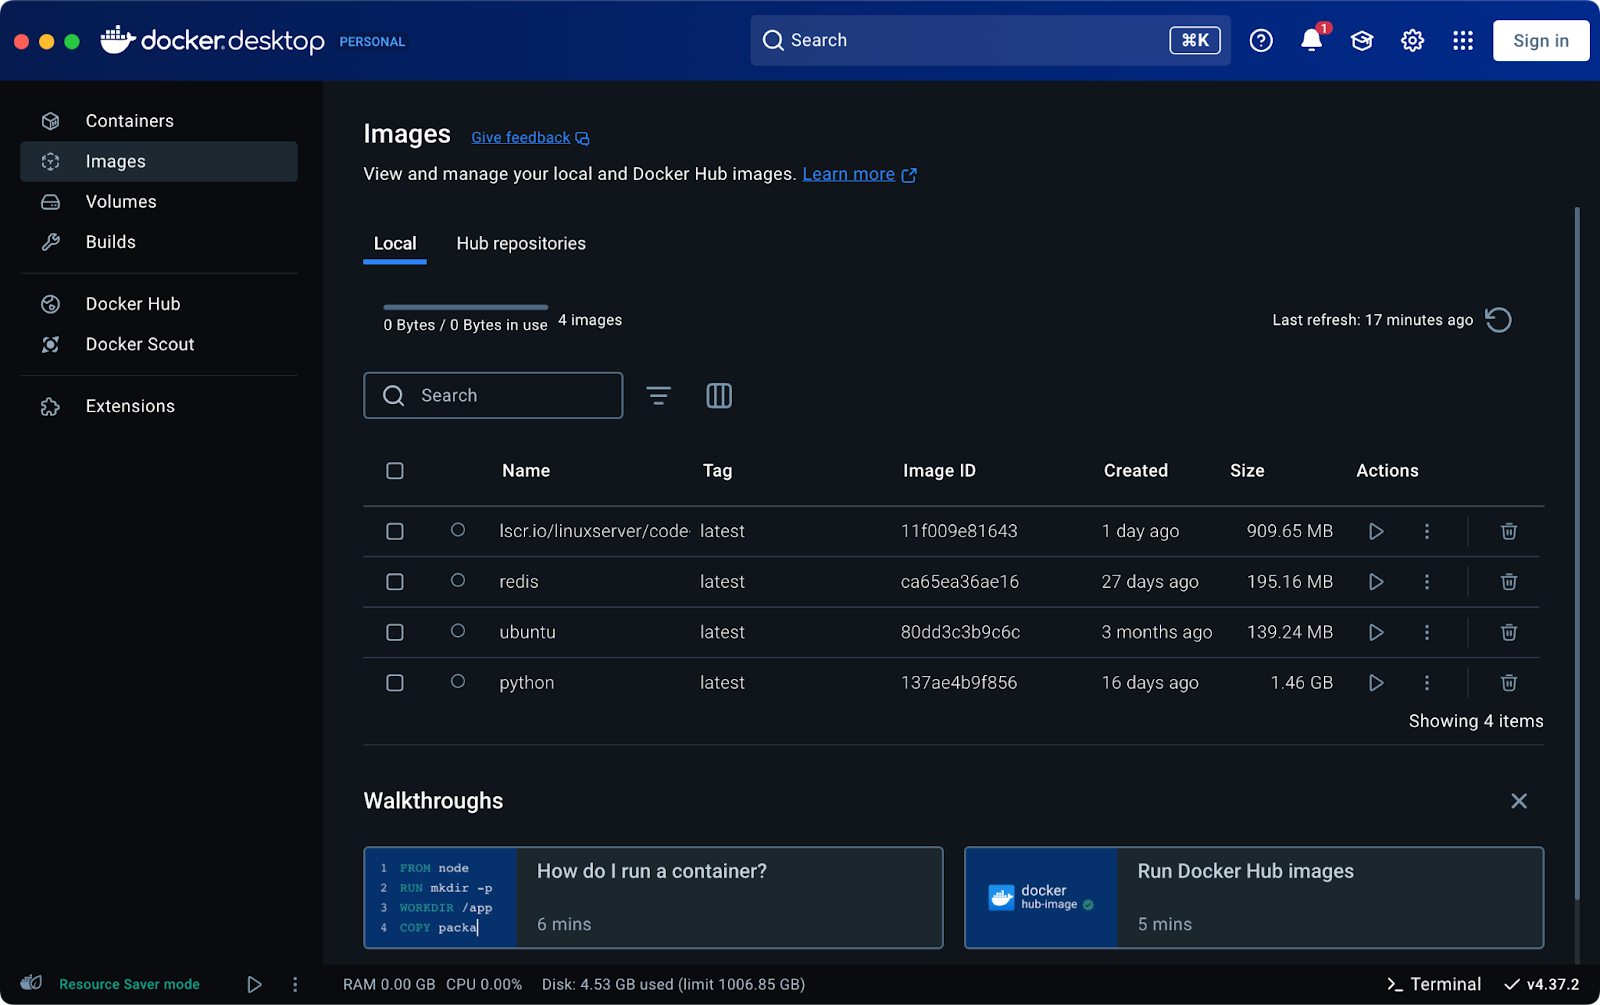
Image 6 - List of Docker images
To remove all of them with a single command, run:
docker image prune -a -fYou’ll see an output like this in the terminal:

Image 7 - Image pruning output message
Afterward, no images remain in Docker Desktop:
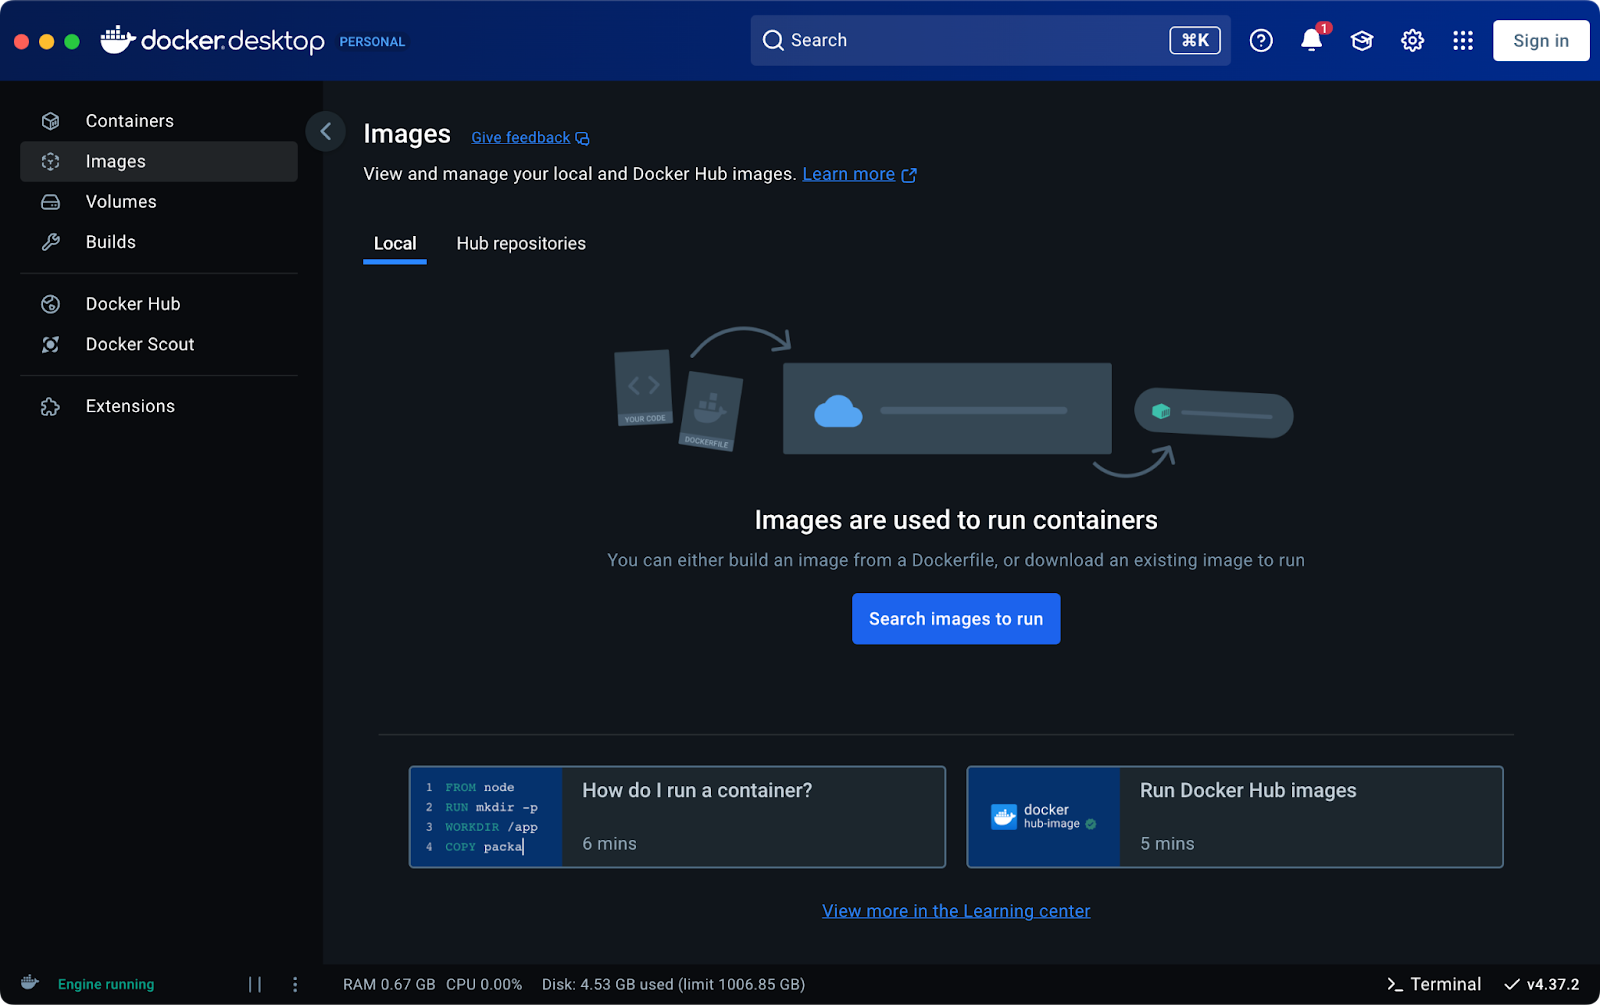
Image 8 - List of Docker images (2)
Next, let’s handle unused volumes.
As the name suggests, the docker volume prune command removes all unused local volumes. In other words, it deletes volumes that aren’t referenced by any container.
By default, the command removes only anonymous volumes - nameless volumes created by Docker when a container starts. To remove explicitly named volumes, you need to pass an additional option.
These are the options you have available:
-a or --all removes all unused volumes instead of just anonymous ones.--filter lets you specify key-value pairs to control which volumes get removed.-f or --force skips the confirmation prompt.On our system, we have a single user-created volume from a docker-compose.yml file:
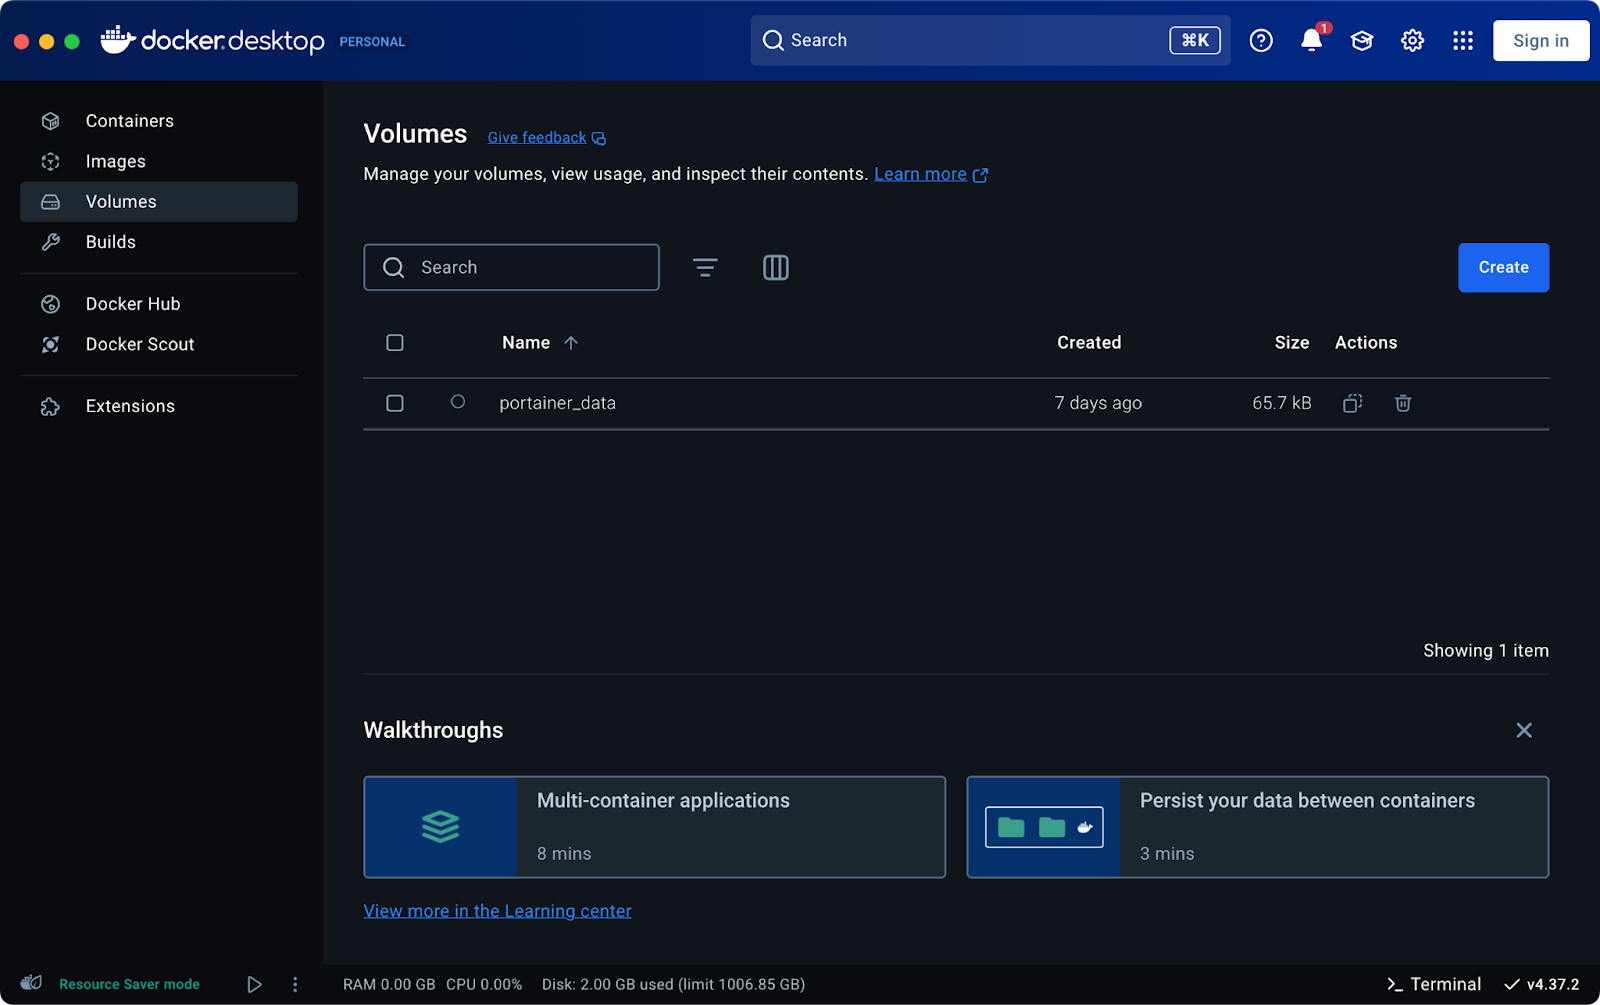
Image 9 - List of Docker volumes
The following command removes all local volumes:
docker volume prune -a -fAfter running it, you’ll see output similar to this:

Image 10 - Volume pruning output message
Now, no volumes remain:
Image 11 - List of Docker volumes (2)
Finally, let’s look at how to delete unused networks.
When Docker containers communicate with each other, they often use user-defined networks. However, their networks usually remain on your system once those containers are removed.
The docker network prune command removes networks that are no longer in use by any container.
Like the other prune commands, it includes a few options:
--filter lets you specify key-value pairs to control which networks get removed.-f or --force skips the confirmation prompt.Unlike images, containers, or volumes, you can’t visually inspect networks through Docker Desktop, so you’ll need to work from the command line. Here’s a list of available networks:
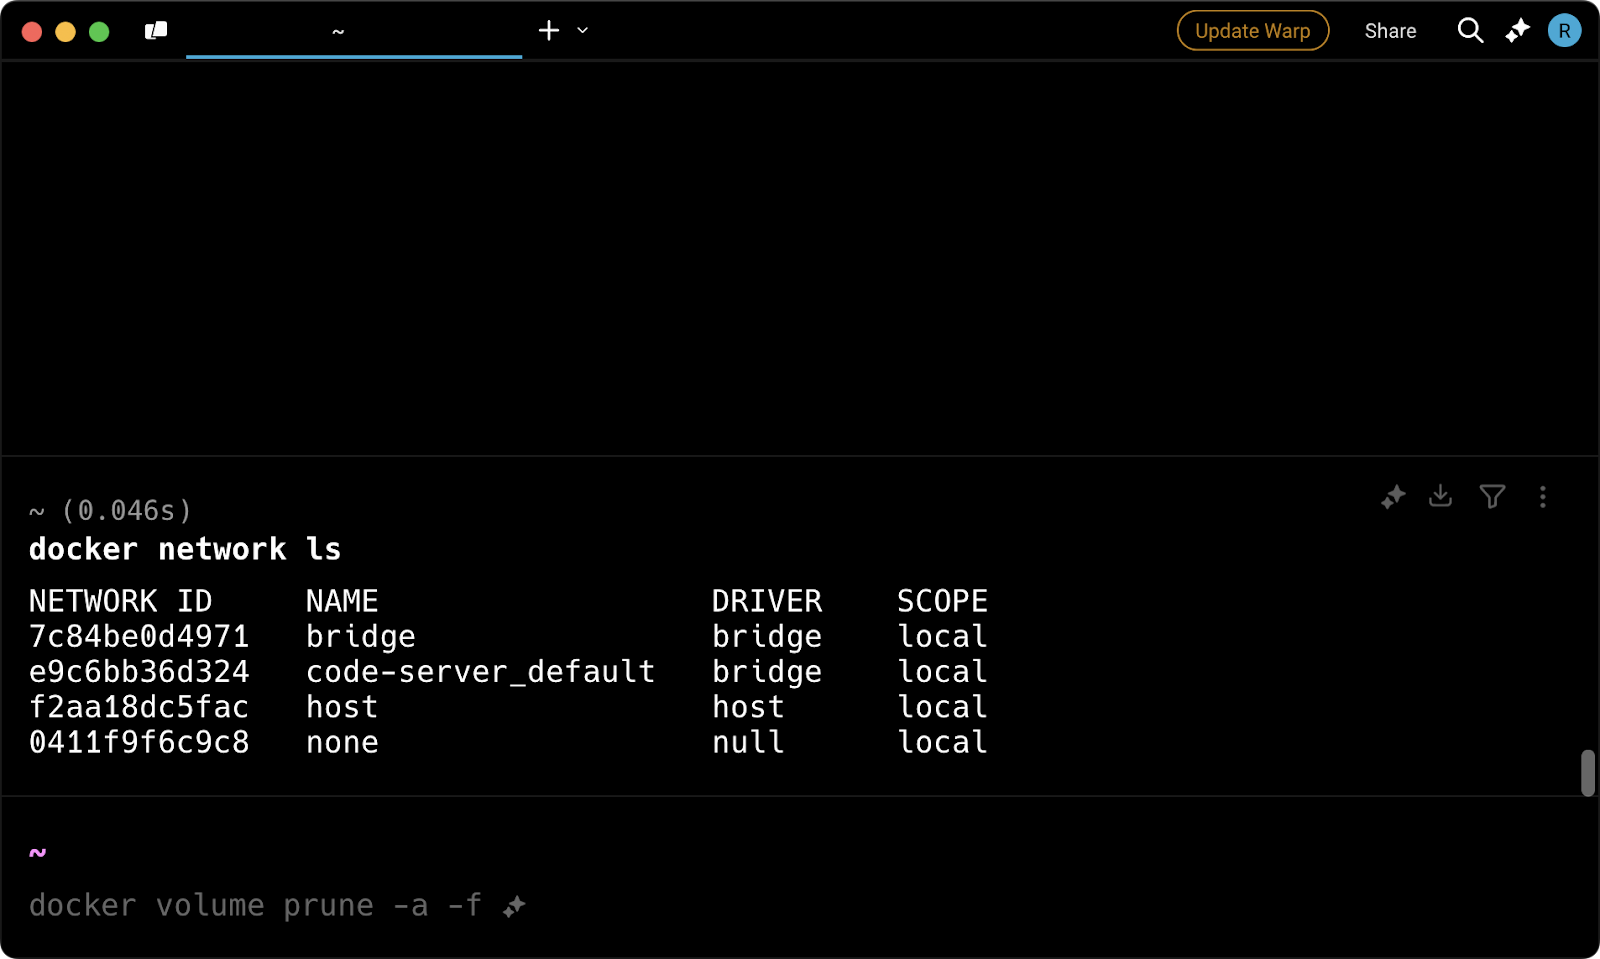
Image 12 - List of Docker networks
To remove all networks not associated with the default Docker installation, run:
docker network prune -a -fAfter executing the command, you’ll see output like this:
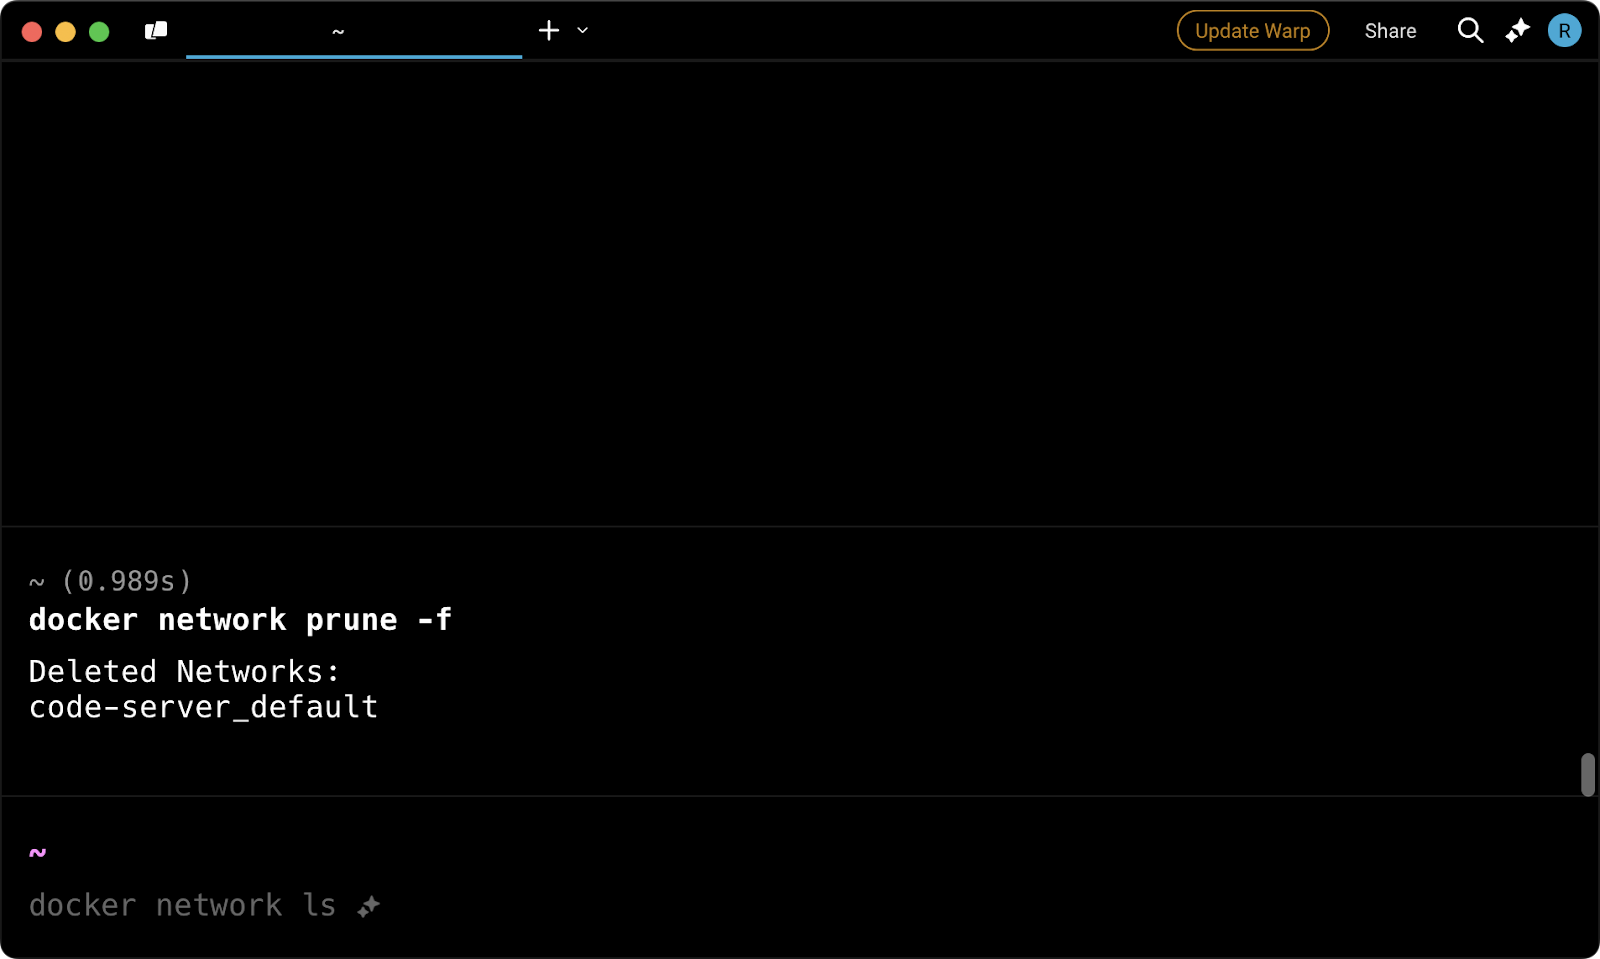
Image 13 - Network pruning output message
Any networks associated with previously running containers are now gone:
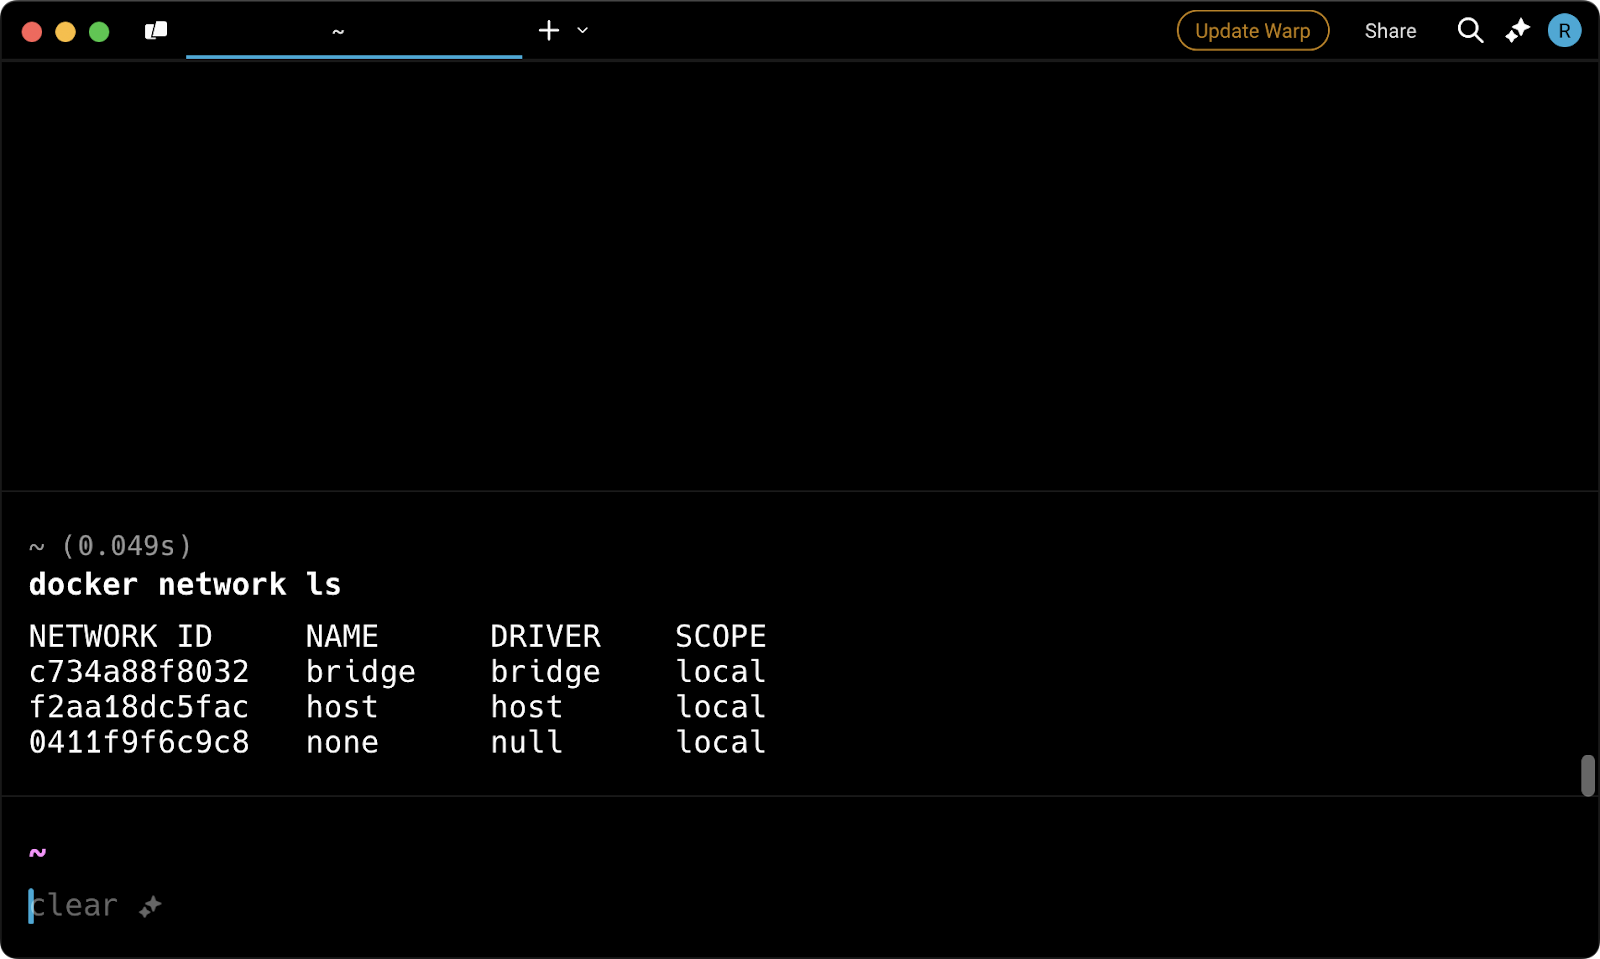
Image 14 - List of Docker networks
However, note that the three remaining networks are essential for Docker to function properly and cannot be removed.
And that’s it for the basic usage of docker prune commands! Up next, we’ll cover advanced topics such as using these commands safely and best practices for production and sensitive environments.
The docker prune commands help quickly reclaim disk space, but they must be used with caution, especially in production environments.
Accidentally deleting important containers, images, or volumes can result in data loss and disrupt critical workflows. To prevent this, it's best to understand what will be removed before executing any prune command.
This section explains key precautions to take when running docker prune safely.
The prune commands are designed to remove only resources that are not actively in use.
For example, docker image prune deletes only dangling images, and docker volume prune removes only volumes not attached to any containers. However, adding options like -a -f will remove all images or volumes without prompting for confirmation.
Additionally, in complex environments, dependencies can be easy to overlook, so double-checking before pruning is always a good practice.
Before running any prune command, you should inspect your system to see which resources are currently in use. There are several ways to do this, and we’ll explore the most common ones in this section.
Use this command to view all containers, including stopped ones:
docker ps -aYou should see an output similar to this:
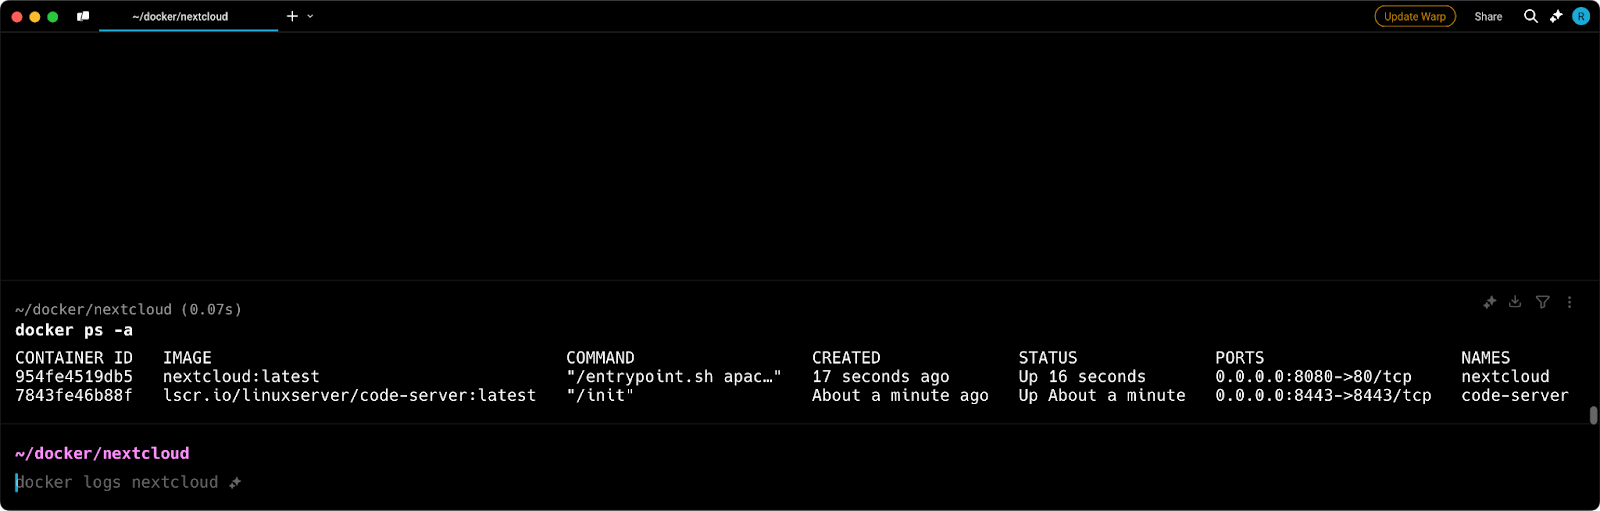
Image 15 - List of all Docker containers
Similarly, use this command to list all images, including unused ones:
docker imagesThe output will be structured similarly to the one above:
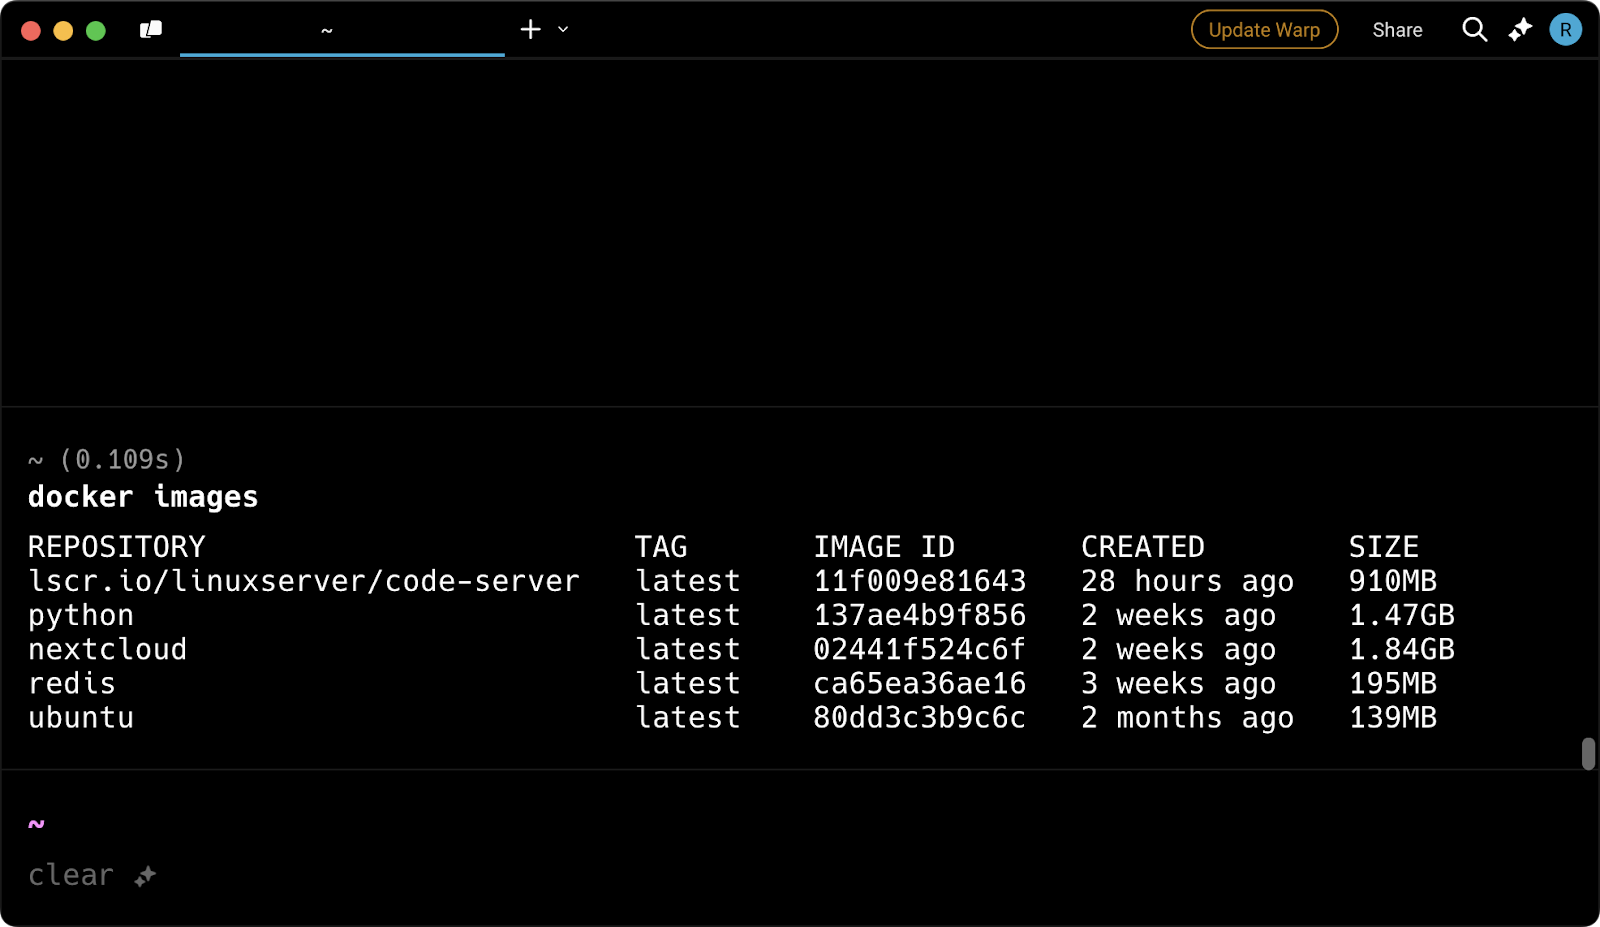
Image 16 - List of all Docker images
To check volumes, run this command to list all volumes:
docker volume ls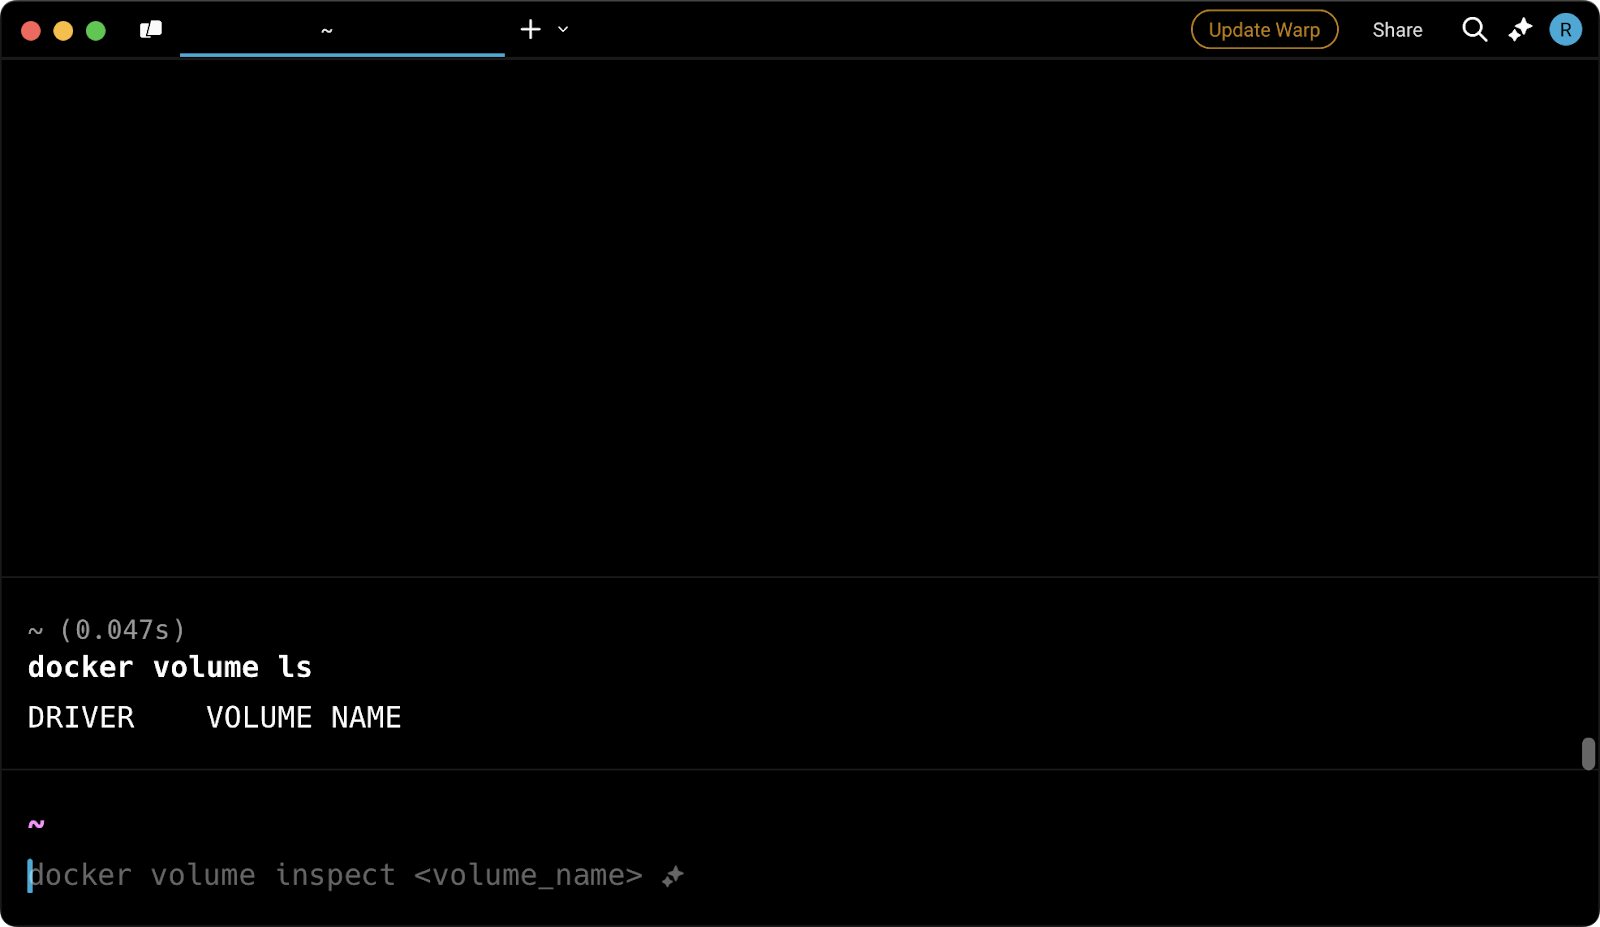
Image 17 - List of all Docker volumes
Review these outputs carefully to ensure no critical resources will be deleted by mistake.
Unfortunately, Docker still doesn’t have a built-in option for a dry run of pruning commands, even though it was requested years ago.
Because of this, you must manually inspect resources using the commands listed in the previous section before running a prune command.
If you're working in a sensitive environment where data persistence is critical, you should always create a backup before running prune commands that affect volumes.
Of course, these are just precautionary measures, but we hope to see a dry-run option implemented soon.
To keep your Docker environment free of unnecessary clutter, it's important to run prune commands regularly—perhaps even automate them.
This section walks you through best practices for running docker prune commands in production environments.
Over time, Docker accumulates unused images, stopped containers, and unnecessary volumes—all of which consume significant disk space.
Running pruning commands on a regular basis keeps your environment clean and prevents excessive disk usage. You should include them as part of your maintenance schedule.
Every few weeks is a good starting point, but if your setup involves frequent creation and removal of containers, consider a more frequent schedule.
Any work in a production environment requires extra caution, and Docker pruning is no exception.
A moment of inattention can lead to downtime or data loss, and you don’t want to be responsible for that. Before running docker prune commands in a production environment, always inspect system resources using docker ps -a, docker images, and docker volume ls, as explained in the previous section.
Additionally, it's a good idea to use specific pruning commands instead of the all-inclusive docker system prune, as it may be easier to recover from unintended deletions.
Another good practice is streamlining cleanup efforts by automating docker prune commands using scheduled tasks.
On Linux, you can set up a cron job to run the commands at regular intervals, while on Windows, you can use Task Scheduler for similar automation. This helps maintain a tidy system without the need for manual intervention. However, in a production environment, ensure that automated pruning does not interfere with critical workloads.
For example, this cron job on Linux runs an all-inclusive pruning command every Sunday at midnight:
0 0 * * 0 docker system prune -a -fThe docker prune commands are a go-to solution for reclaiming disk space, but they may not always be enough to ensure sufficient space for pulling new images or running new containers.
Additionally, you might accidentally remove important resources, so it's crucial to discuss recovery strategies.
Both topics will be covered in this section.
Docker images can be large—we recently had one over 13GB—and we're sure there are even larger ones out there. So, even after running docker prune, you might find that your system is still running low on disk space.
To see exactly how much space is being used by images, containers, and volumes, run this command:
docker system df
Image 18 - Space used by Docker
When reclaiming disk space with docker prune commands, add the -a flag to remove all images, volumes, or containers—not just dangling or anonymous ones. Of course, keep in mind the potential drawbacks of this approach.
If the disk space issue persists, your only option is to increase available disk space.
Recovery is easier said than done—that's why we recommend understanding what will be removed by pruning before running the actual command.
Still, if you find yourself in a situation where you've accidentally pruned important containers, images, or volumes, start by checking logs to identify what was removed.
On macOS, this can be done by running the following two commands (options for Windows and Linux):
pred='process matches ".*(ocker|vpnkit).*" || (process in {"taskgated-helper", "launchservicesd", "kernel"} && eventMessage contains[c] "docker")'
/usr/bin/log stream --style syslog --level=debug --color=always --predicate "$pred"

/usr/bin/log show --debug --info --style syslog --last 30m --predicate "$pred" >/tmp/logs.txt
Running these commands will save the last 30 minutes of Docker-related logs into /tmp/logs.txt. You should inspect these logs to determine which containers or images were deleted.
For deleted images, you can likely pull them again from a registry like Docker Hub. A command like this should do the trick:
docker pull <image_name>And for deleted containers, you can always recreate them if they were based on persistent images:
docker run --name <container_name> <image_name>Alternatively, you can restore from backups if they're available, which can be used to recover both volume and container data. In the future, consider using tools for volume snapshots to prevent data loss.
However, the best strategy is to inspect the resources that will be deleted before running a pruning command and only proceed if you're absolutely certain it won't impact your workflow.
To conclude, the docker prune family of commands is a powerful way to reclaim disk space, but it comes with the risk of accidentally deleting resources you need, leading to data loss. This risk is even greater when using the optional -a -f flags, which will remove everything forcefully.
Nevertheless, pruning remains a go-to method for keeping your system clean and organized.
You just have to be cautious, especially in production environments. Use commands like docker ps -a, docker images, and docker volume ls before pruning to list all containers, images, and volumes. Run the pruning command only after you're sure you're okay with deleting the listed resources (assuming they're not being used by a running container).
If you want to learn more about Docker, containerization, and container orchestration, check out these courses on DataCamp:
Learn more about Docker with these courses!
Track
Course
Course
blog
Joel Wembo
14 min
blog
Joel Wembo
9 min
cheat-sheet
Richie Cotton
Tutorial
François Aubry
Tutorial
Arunn Thevapalan
Tutorial
Dario Radečić