Track
Containerization and Virtualization with Docker and Kubernetes
13 hr
Setting up an MQTT broker from scratch shouldn't take hours of configuration and troubleshooting.
Eclipse Mosquitto is an open-source MQTT broker that implements MQTT v5, 3.1.1, and 3.1 protocols, making it perfect for IoT devices, home automation systems, cloud applications, and any message-driven architecture. But installing and configuring Mosquitto directly on your system often leads to dependency conflicts, permission issues, and platform-specific problems that eat up your development time. You end up spending more time fighting the setup than building your actual application.
Docker eliminates these headaches by providing a consistent, isolated environment for running Mosquitto across any platform. You can have a fully functional MQTT broker running in minutes, complete with custom configurations, authentication, and persistence.
In this guide, I'll walk you through deploying Eclipse Mosquitto using Docker and Docker Compose, configuring authentication and logging, setting up data persistence, and testing your broker with real MQTT clients.
Are you completely new to Docker? I recommend starting with our Introduction to Docker course to get a grasp of the fundamentals.
You don't need a heavy messaging system when all you want is fast, reliable communication between devices.
MQTT is a lightweight publish-subscribe protocol designed for situations where bandwidth is limited and reliability matters. Think IoT sensors, mobile apps, or any scenario where devices need to exchange small messages quickly without constant polling.
Mosquitto acts as the middleman - the broker - between publishers and subscribers.
Publishers send messages to specific topics. Subscribers listen to those topics. Mosquitto handles the routing, ensuring messages get delivered to the right places without publishers and subscribers needing to know about each other.
Here's why Docker makes Mosquitto Docker setups even better:
Mosquitto comes in two flavors: the open-source version (which handles most use cases) and Cedalo's commercial Pro Edition with advanced features like clustering and enhanced security. For most projects, the open-source version does everything you need.
Next, I'll go over the prerequisites and then we'll dive into installing Mosquitto.
You need Docker running on your system before you can deploy Mosquitto.
Docker Desktop works best for Windows and macOS users since it includes everything you need in one package. Linux users can install the Docker CLI directly through their package manager or from Docker's official repository.
Docker Compose isn't required, but it makes managing multi-container setups much easier. Most Docker Desktop installations include Compose by default. If you're on Linux, you might need to install it separately.
You'll also need basic command-line skills. Nothing fancy, just the ability to run commands, navigate directories, and edit text files.
Getting mosquitto docker running takes three steps: create directories, run the container, and optionally set up Docker Compose for easier management.
Mosquitto needs organized storage for its configuration, data, and logs.
Create them to get started:
mkdir mosquitto-docker
cd mosquitto-docker
mkdir config data logs
This gives you organized folders for Mosquitto's configuration files, persistent data, and log output.
Here's what each directory does:
/mosquitto/config stores mosquitto.conf and any additional configuration files/mosquitto/data holds persistent message data and subscription information/mosquitto/log contains Mosquitto's log files for debugging and monitoringThese directories get mounted as volumes inside the Docker container, so your settings and data survive container restarts.
The basic Docker command gets Mosquitto running with proper port mapping and volume mounts.
docker run -d \
  --name mosquitto \
  -p 1883:1883 \
  -v $(pwd)/mosquitto/config:/mosquitto/config \
  -v $(pwd)/mosquitto/data:/mosquitto/data \
  -v $(pwd)/mosquitto/log:/mosquitto/log \
  eclipse-mosquitto:latest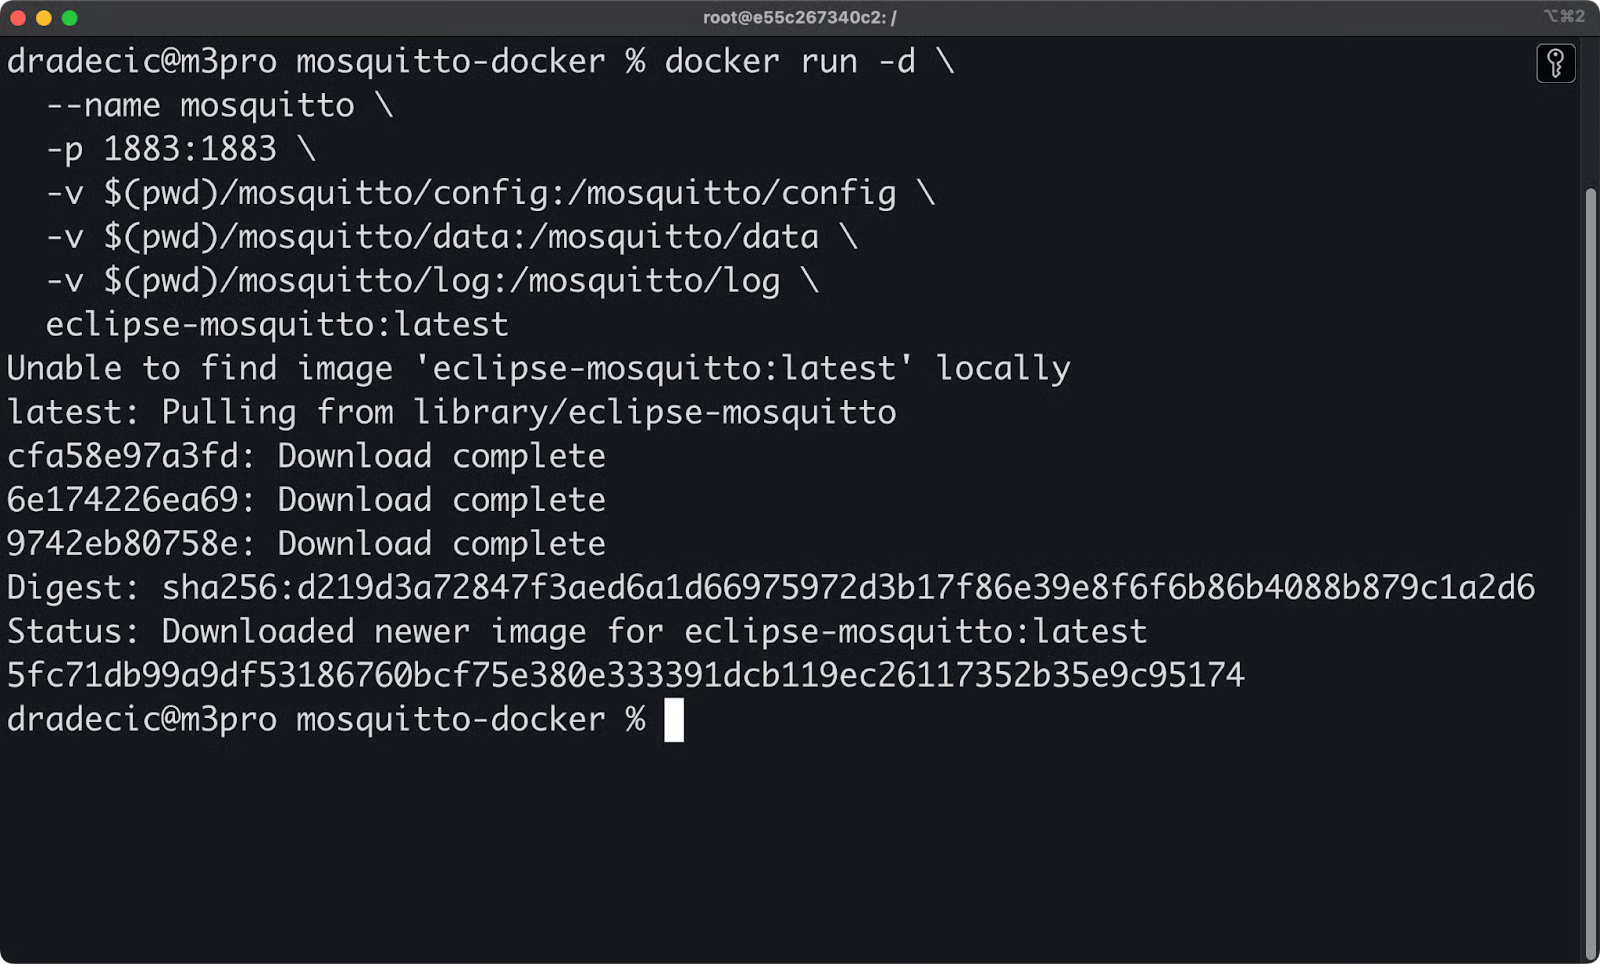
Image 1 - Running Mosquitto with Docker
Let me break down those flags:
-d runs the container in the background (detached mode)--name mosquitto gives the container a friendly name for easy reference-p 1883:1883 maps port 1883 on your host to port 1883 in the container-v mounts local directories as volumes inside the containerMosquitto 2.0+ runs in local-only mode by default. This means it only accepts connections from localhost unless you configure it otherwise. You'll need to create a configuration file to allow external connections.
Mosquitto docker compose makes managing installation much simpler, especially when you're running multiple services.
Create a docker-compose.yml file and paste the following contents:
services:
  mosquitto:
    image: eclipse-mosquitto:latest
    container_name: mosquitto
    restart: unless-stopped
    ports:
      - "1883:1883"    # MQTT
      - "8883:8883"    # MQTTS (secure)
      - "9001:9001"    # WebSockets
    volumes:
      - ./mosquitto/config:/mosquitto/config
      - ./mosquitto/data:/mosquitto/data
      - ./mosquitto/log:/mosquitto/log
Start it with:
docker-compose up -d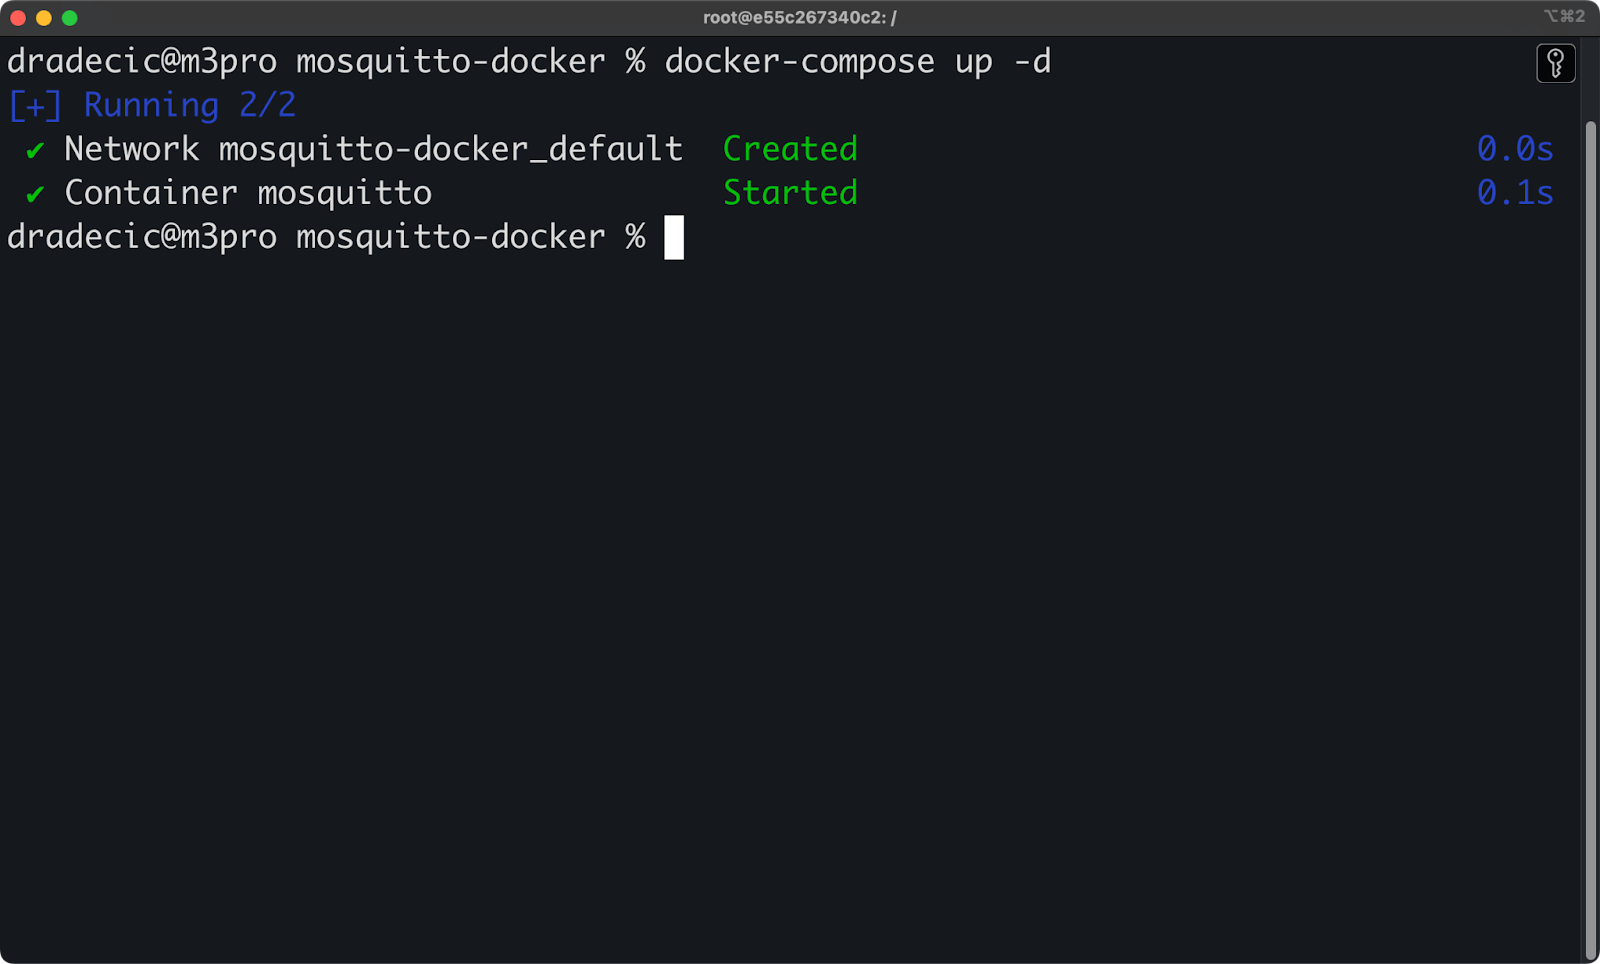
Image 2 - Running Mosquitto with Docker Compose
The volume mappings work the same way as the Docker command, but Compose handles the complexity. The port configuration covers all common MQTT protocols: standard MQTT (1883), secure MQTTS (8883), and WebSocket connections (9001).
Compose really shines with multi-service setups. For example, if you're running Home Assistant, Node-RED, or other IoT tools alongside Mosquitto, you can define everything in one file and start all services together.
Let's dig deeper into the configuration next.
Do you find more advanced Docker concepts confusing? Our Intermediate Docker course goes above and beyond the fundamentals.
Mosquitto won't accept external connections out of the box, you need a configuration file to do that.
Create a mosquitto.conf file in your mosquitto/config directory and add the following:
# Basic listener configuration
listener 1883
allow_anonymous true

# WebSocket listener
listener 9001
protocol websockets
allow_anonymous true

# Persistence
persistence true
persistence_location /mosquitto/data/

# Logging
log_dest file /mosquitto/log/mosquitto.log
log_type error
log_type warning
log_type notice
log_type information
The allow_anonymous true setting lets clients connect without credentials. This works fine for development or internal networks, but you'll want to disable it for production environments. When you set allow_anonymous false, every client must authenticate with a username and password.
The WebSocket listener on port 9001 enables browser-based MQTT clients. Web applications can connect directly to your broker using JavaScript libraries like Paho MQTT.
Authentication requires creating a password file and updating your configuration.
Generate a password file inside the container:
docker exec -it mosquitto mosquitto_passwd -c /mosquitto/config/passwd username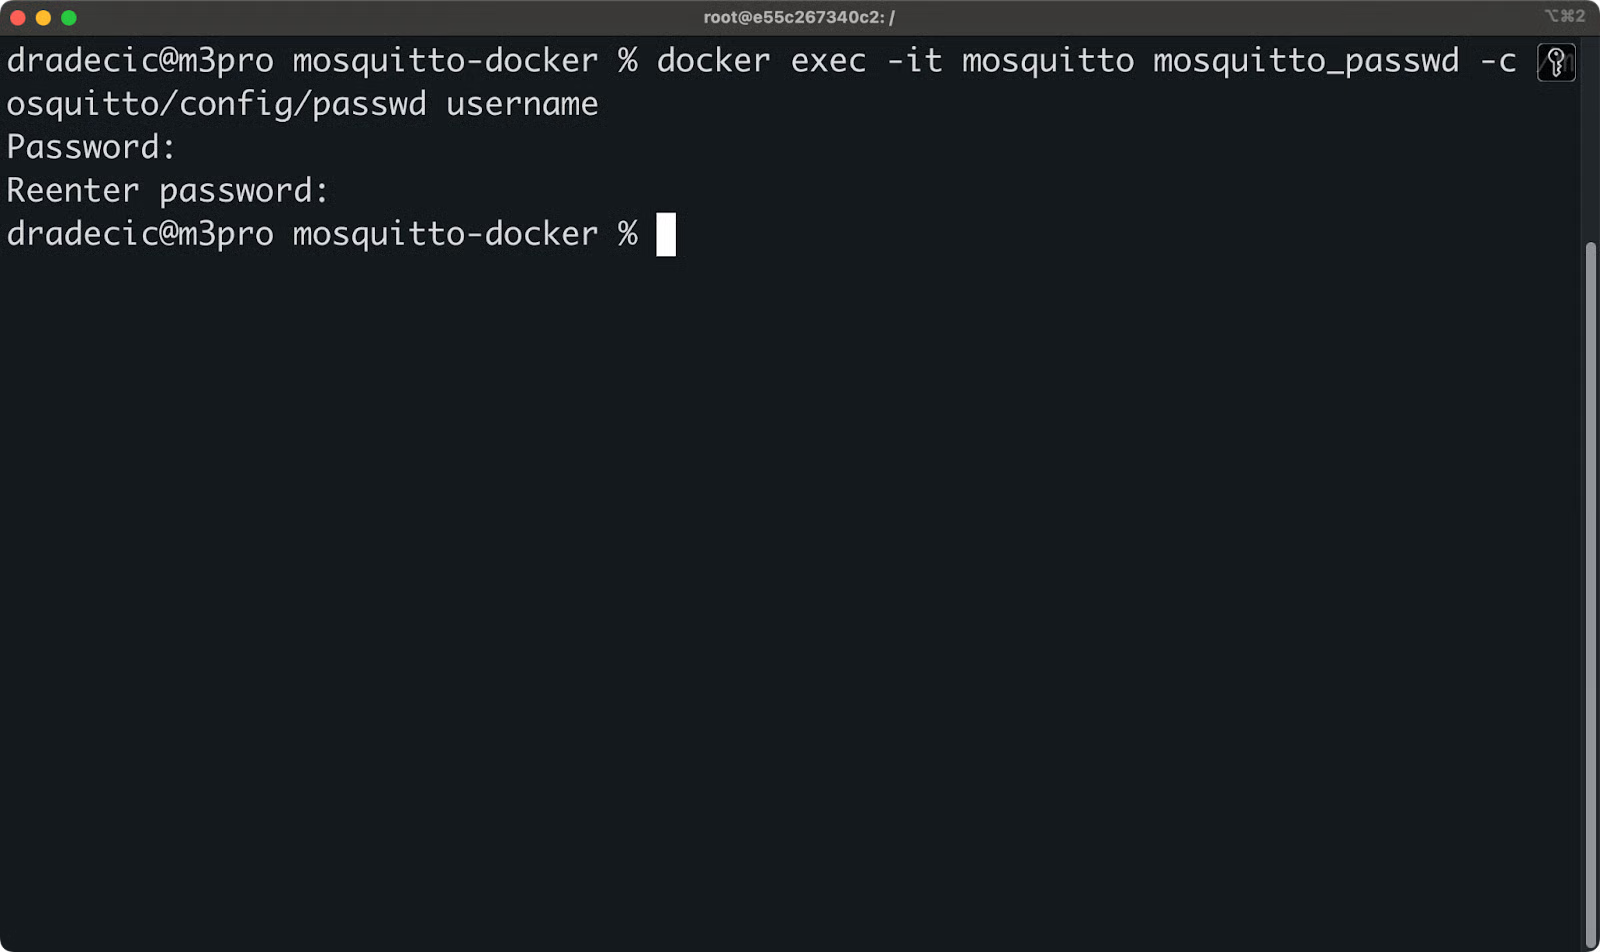
Image 3 - Mosquitto authentication
This creates a new password file and prompts you to enter a password. For additional users, drop the -c flag:
docker exec -it mosquitto mosquitto_passwd /mosquitto/config/passwd another_userNow, update your mosquitto.conf to force authentication:
# Disable anonymous access
allow_anonymous false

# Point to password file
password_file /mosquitto/config/passwd

# Basic MQTT listener
listener 1883

# WebSocket listener
listener 9001
protocol websockets

# Persistence
persistence true
persistence_location /mosquitto/data/

# Logging
log_dest file /mosquitto/log/mosquitto.log
log_type error
log_type warning
log_type notice
log_type information
The password file gets stored in your mounted config volume, so it persists between container restarts.
TLS encryption protects your MQTT traffic from eavesdropping and tampering.
Add these lines to your mosquitto.conf:
# Secure MQTT listener
listener 8883
cafile /mosquitto/config/ca.crt
certfile /mosquitto/config/server.crt
keyfile /mosquitto/config/server.key

# Secure WebSocket listener
listener 9002
protocol websockets
cafile /mosquitto/config/ca.crt
certfile /mosquitto/config/server.crt
keyfile /mosquitto/config/server.key
You'll need to obtain SSL certificates for your domain. Let's Encrypt provides free certificates, or you can use reverse proxies like Caddy Server that handle certificate generation automatically. Place your certificate files in the mosquitto/config directory so they're available inside the container.
Persistence saves messages and subscriptions to disk, while proper logging helps you debug connection issues.
You can configure persistence in mosquitto.conf this way:
# Enable persistence
persistence true
persistence_location /mosquitto/data/

# Save to disk every 300 seconds
autosave_interval 300

# Keep messages for offline clients
persistent_client_expiration 1d
As for the logging, here's how you can set up detailed logging:
# Log to file and stdout
log_dest file /mosquitto/log/mosquitto.log
log_dest stdout

# Choose what to log
log_type error
log_type warning
log_type notice
log_type information
log_type debug

# Log connection details
connection_messages true
log_timestamp true
The log_type options let you filter what gets logged:
error and warning for production monitoringnotice and information for general operational insightsdebug for troubleshooting connection problemsYour volume mounts ensure both persistence data and logs survive container restarts. The data directory stores all persistent messages and subscription information, while the log directory keeps your debugging information accessible from the host system.
Configuration files give you complete control over Mosquitto's behavior without rebuilding containers.
Your broker isn't useful until you verify that clients can connect and exchange messages.
The mosquitto_pub and mosquitto_sub command-line tools provide the quickest way to test your broker.
Start by installing Mosquitto, depending on your platform:
sudo apt-get install mosquitto-clientsbrew install mosquittoLet's start testing it without authentication. You'll need two terminal windows or tabs. Run these commands in separate sessions:
# Subscribe to a topic (run this first)
mosquitto_sub -h localhost -p 1883 -t test/topic

# Publish a message (run in another terminal)
mosquitto_pub -h localhost -p 1883 -t test/topic -m "Hello MQTT"
In the publishing tab, you'll see this:
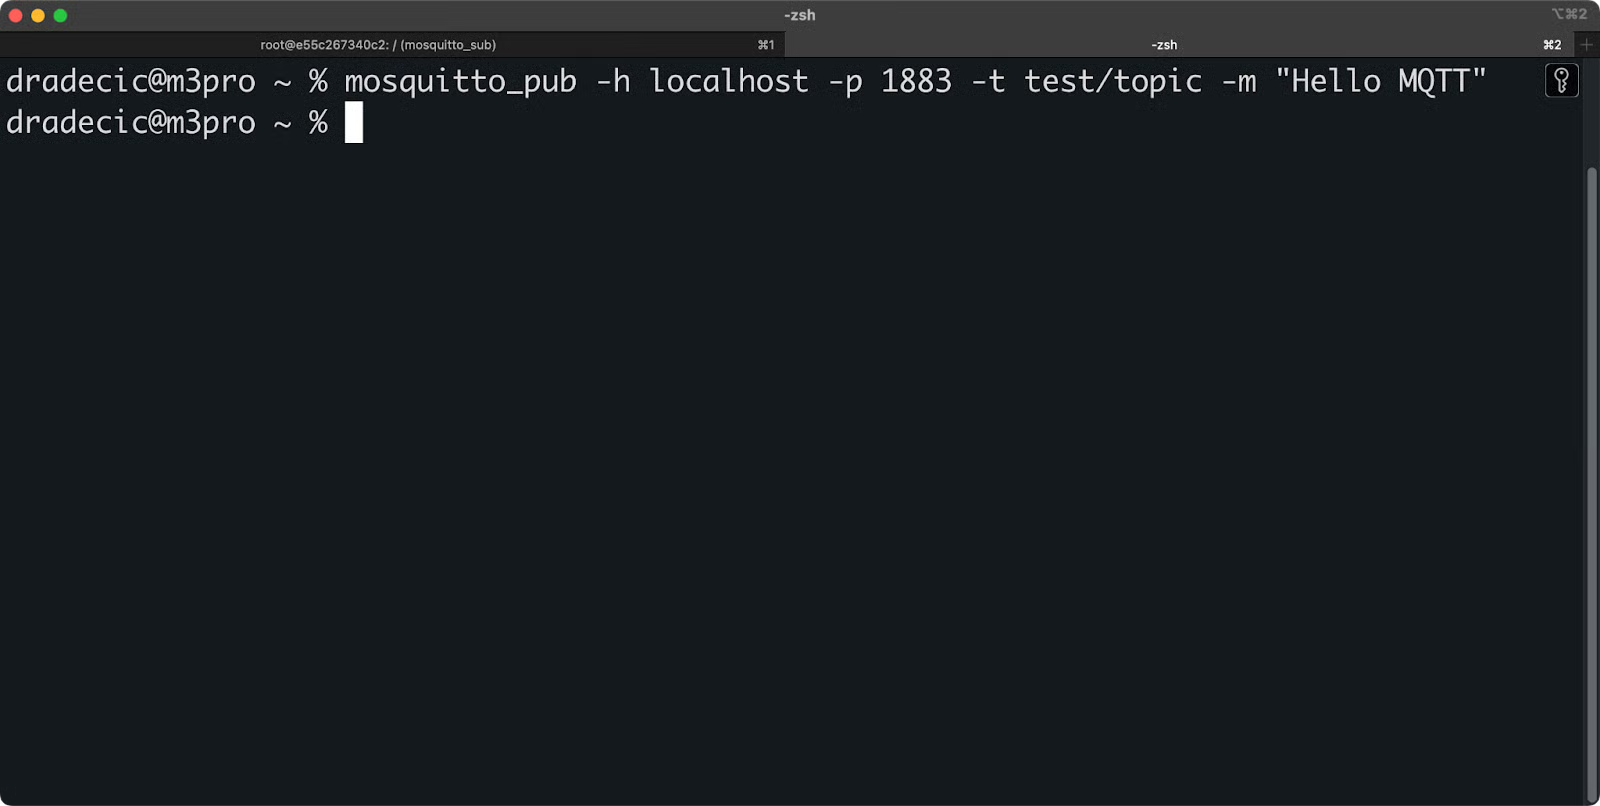
Image 4 - Publishing a message
And in the subscribe tab, you'll immediately see the message:
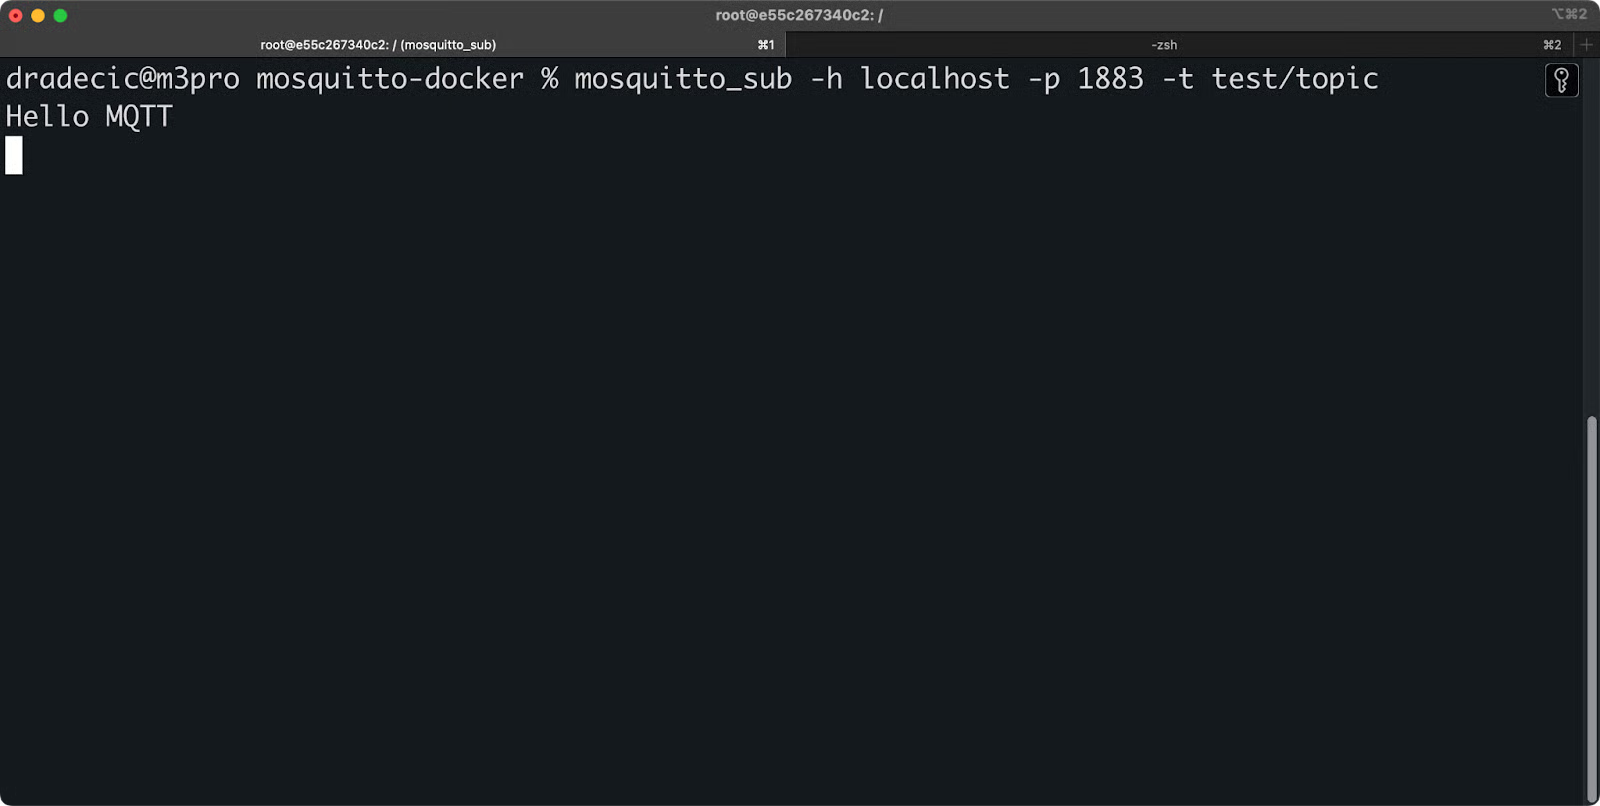
Image 5 - Subscribing to a Mosquitto topic
If you require authentication, the commands are quite similar - you'll just have to pass username and password:
# Subscribe with username and password
mosquitto_sub -h localhost -p 1883 -t test/topic -u username -P password

# Publish with credentials
mosquitto_pub -h localhost -p 1883 -t test/topic -m "Authenticated message" -u username -P password
If you don't want to install the Mosquitto clients locally, run them inside your Docker container:
# Subscribe using the container
docker exec -it mosquitto mosquitto_sub -h localhost -t test/topic

# Publish using the container
docker exec -it mosquitto mosquitto_pub -h localhost -t test/topic -m "Container message"
You'll see this in the publishing tab:
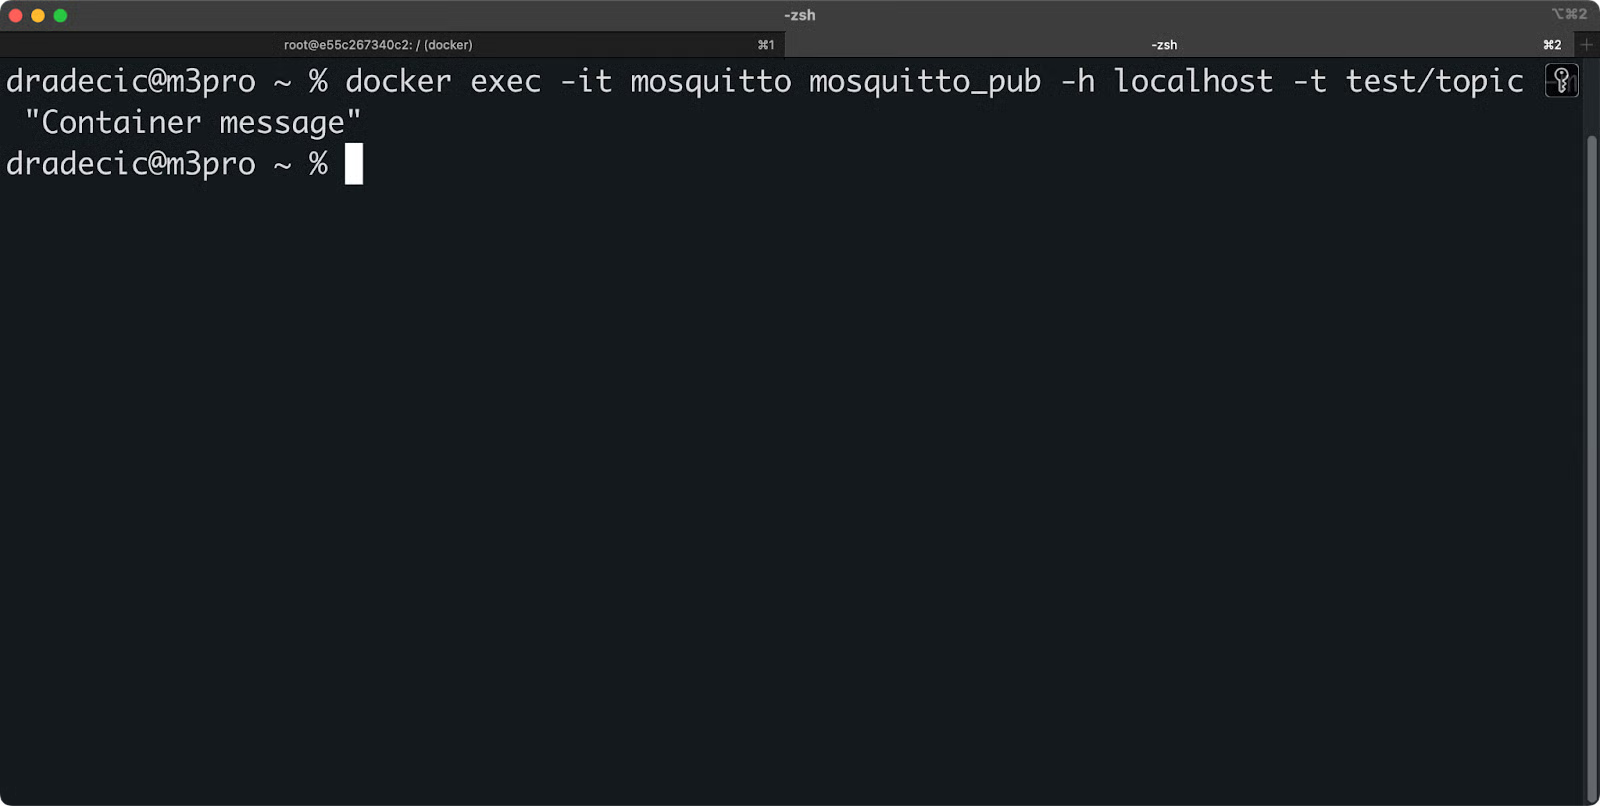
Image 6 - Publishing a message without auth
And in the subscribe tab, you'll see the message:
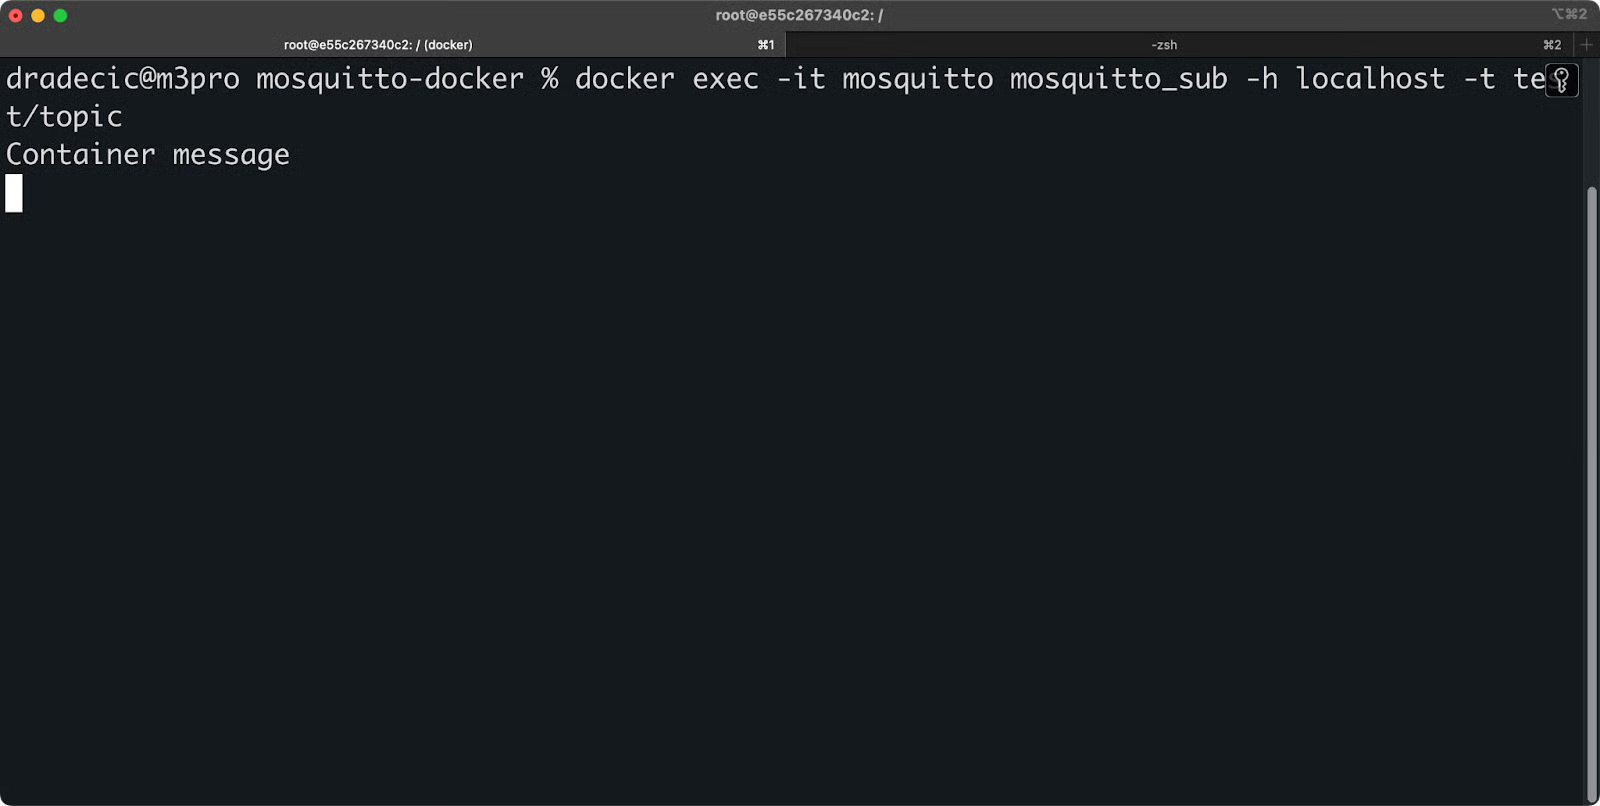
Image 7 - Subscribing to a Mosquitto topic without auth
GUI clients make it easier to test complex scenarios and monitor ongoing message traffic.
MQTT Explorer provides a clean interface for browsing topics and sending messages. Connect to localhost:1883 and you'll see a tree view of all active topics. It's perfect for debugging message flows and understanding your topic structure.
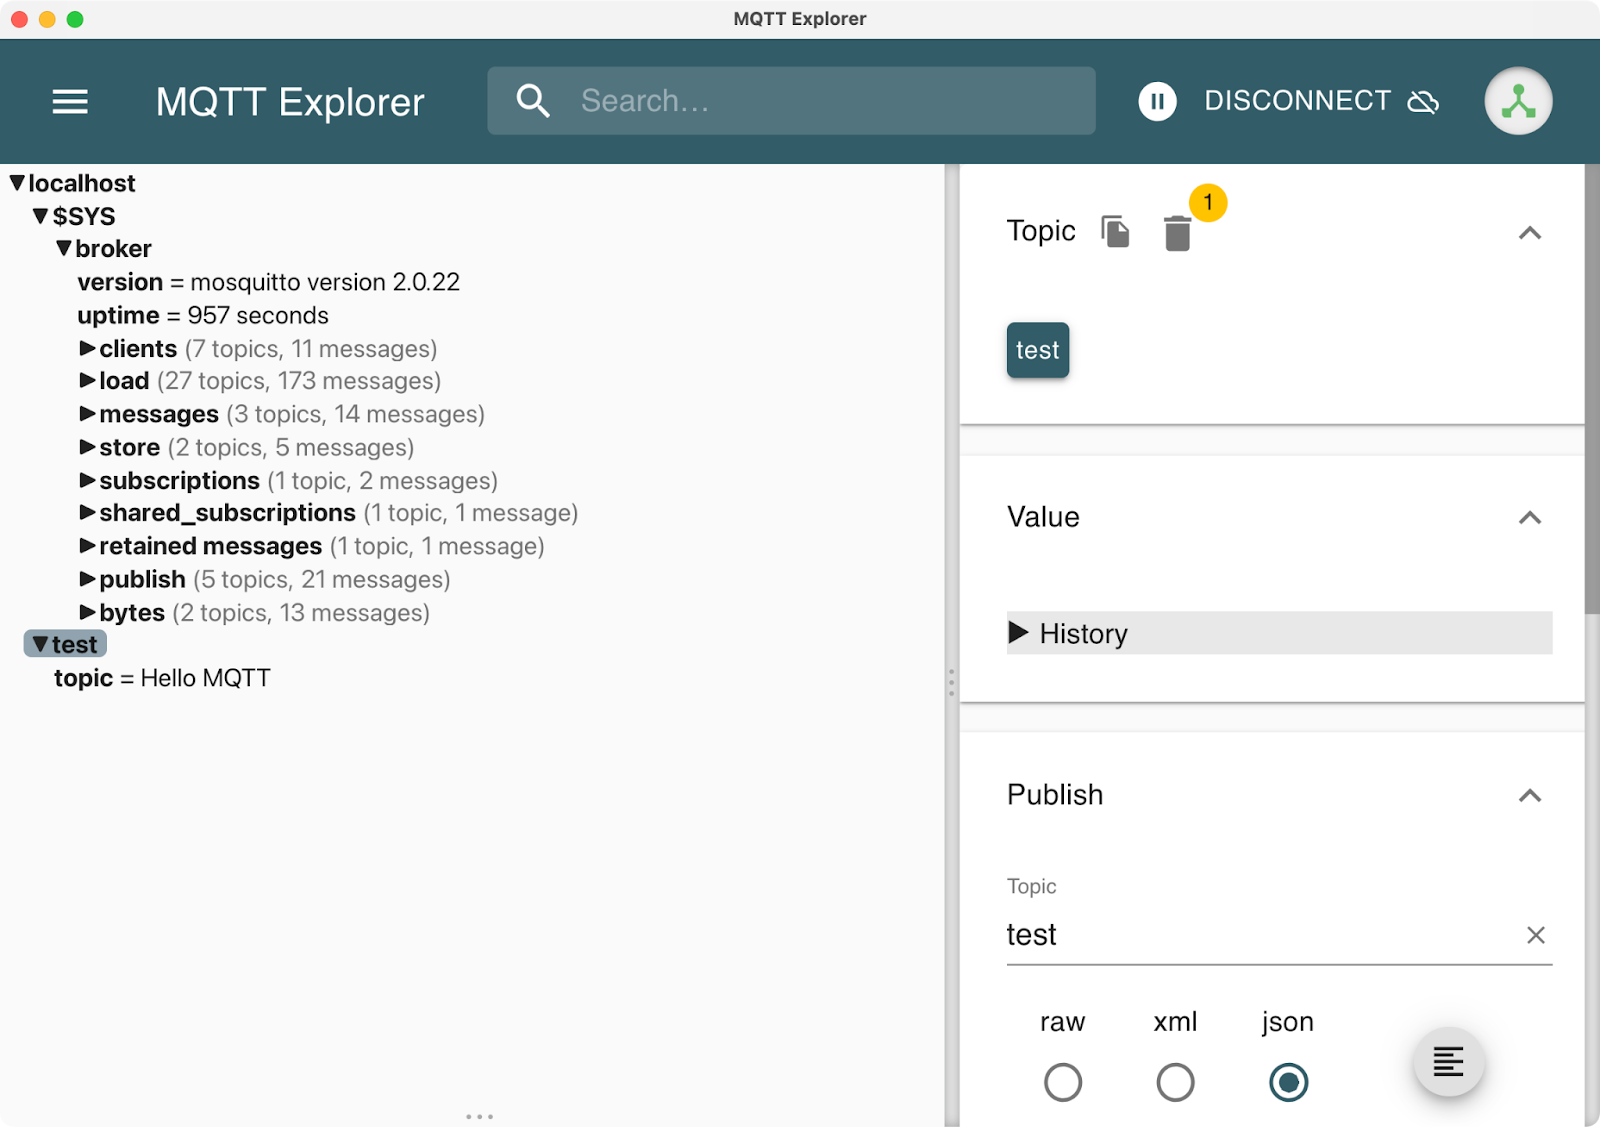
Image 8 - MQTT Explorer app
MQTTX offers more advanced features like scripting and bulk message sending. Both clients support authentication, TLS connections, and WebSocket protocols.
Home Assistant users can test the MQTT integration directly from the developer tools. Add your broker details to the MQTT integration and use the built-in publish/subscribe interface.
For programmatic testing, the Paho MQTT Python client works well:
import paho.mqtt.client as mqtt

def on_connect(client, userdata, flags, rc):
    print(f"Connected with result code {rc}")
    client.subscribe("test/topic")

def on_message(client, userdata, msg):
    print(f"Received: {msg.payload.decode()}")

client = mqtt.Client()
# client.username_pw_set("username", "password")  # If using auth
client.on_connect = on_connect
client.on_message = on_message

client.connect("localhost", 1883, 60)
client.loop_forever()
Run this script in one terminal, then publish messages from another terminal or GUI client. The script will print any messages it receives, confirming your broker is routing traffic correctly.
Here's what you need to do to publish a message:
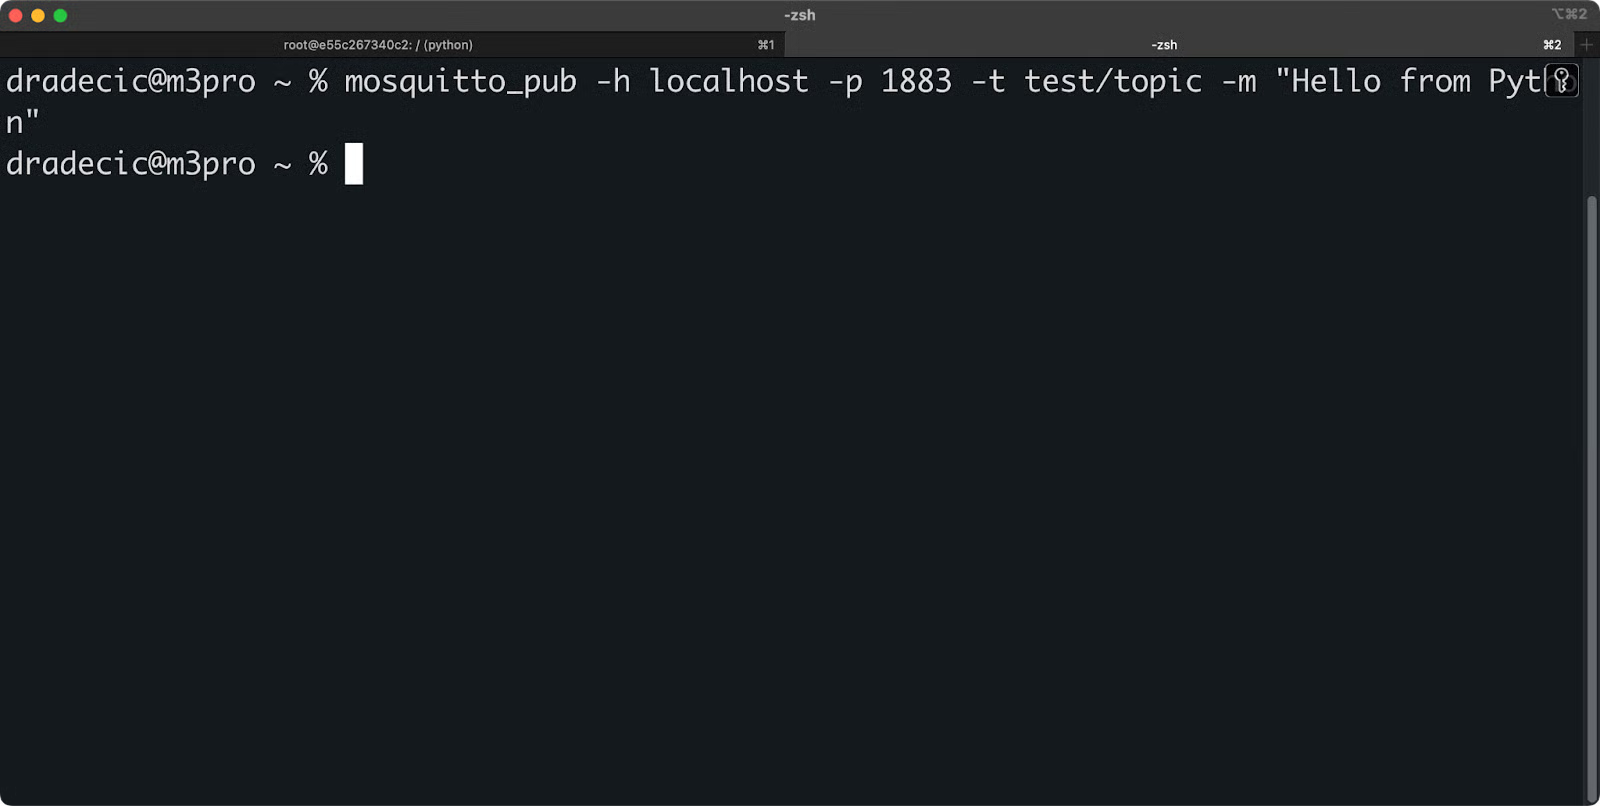
Image 9 - Publishing a message for the Python example
And you'll see this in the terminal session that has the Python script running:

Image 10 - Receiving a message for the Python example
Working publish and subscribe operations mean your Mosquitto Docker setup is ready for real applications.
Running Mosquitto alongside Home Assistant in Docker creates a complete IoT messaging hub with zero network configuration hassles.
Docker Compose makes this simple. Both services can communicate through Docker's internal network without exposing additional ports or dealing with IP addresses.
Here's a complete docker-compose.yml that runs both services:
services:
  mosquitto:
    image: eclipse-mosquitto:latest
    container_name: mosquitto
    restart: unless-stopped
    ports:
      - "1883:1883"
      - "9001:9001"
    volumes:
      - ./mosquitto/config:/mosquitto/config
      - ./mosquitto/data:/mosquitto/data
      - ./mosquitto/log:/mosquitto/log
    networks:
      - homeassistant

  homeassistant:
    image: ghcr.io/home-assistant/home-assistant:stable
    container_name: homeassistant
    restart: unless-stopped
    ports:
      - "8123:8123"
    volumes:
      - ./homeassistant:/config
      - /etc/localtime:/etc/localtime:ro
    networks:
      - homeassistant
    depends_on:
      - mosquitto

networks:
  homeassistant:
    driver: bridge
The networks section creates a shared network where both containers can reach each other by name. Home Assistant can connect to mosquitto:1883 instead of using localhost or IP addresses.
Start both services with:
docker-compose up -dNext, configure the MQTT integration through Home Assistant's web interface. Navigate to Settings > Devices & Services > Add Integration, then search for "MQTT."
Enter these connection details:
mosquitto (the container name)1883Click Submit and Home Assistant will test the connection. If successful, you'll see MQTT appear in your integrations list.
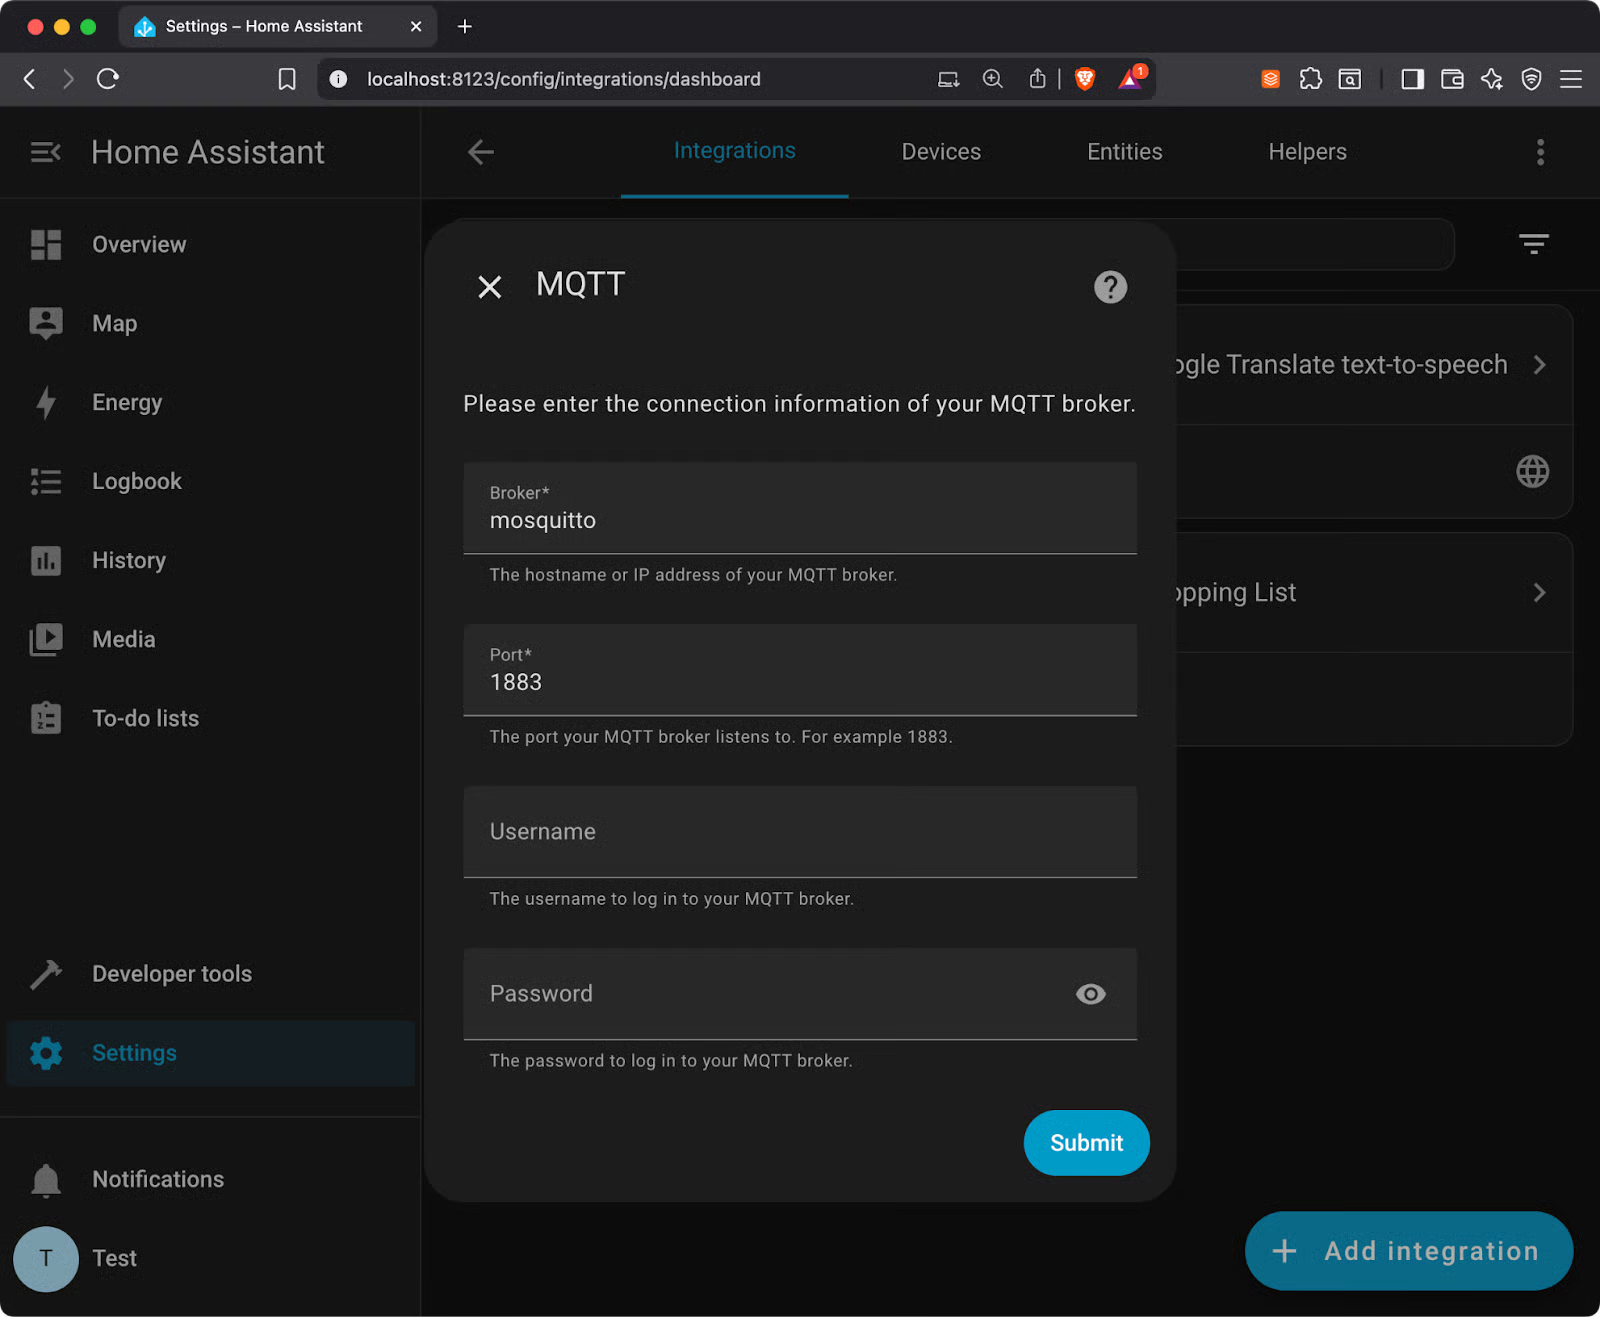
Image 11 - Mosquitto configuration with Homelab
You can now add MQTT devices, create automations that publish messages, and monitor sensor data through topics. Home Assistant's MQTT integration handles device discovery automatically for compatible devices.
Most docker mosquitto problems come down to permissions, ports, or configuration mistakes that block connections.
These happen when the container can't write to your host directories. You'll see error messages like "Permission denied" or "Cannot create directory" in the logs.
Fix this by setting proper ownership on your directories:
sudo chown -R 1883:1883 mosquitto/The Mosquitto container runs as user ID 1883, so your host directories need to match. On some systems, you might need to create the user first:
sudo useradd -u 1883 mosquitto
sudo chown -R mosquitto:mosquitto mosquitto/These occur when something else is using port 1883. Check what's running on that port:
# Linux/macOS
sudo lsof -i :1883

# Windows
netstat -an | findstr :1883
If another service is using the port, either stop it or map Mosquitto to a different port:
docker run -p 1884:1883 eclipse-mosquitto:latestThis happens even when your container is running. Mosquitto 2.0+ defaults to accepting connections only from localhost unless you configure it otherwise.
Create a basic mosquitto.conf file to allow external connections:
listener 1883
allow_anonymous true
Place this file in your mosquitto/config directory and restart the container.
These mean your volume mounts aren't working correctly. Check that your paths are absolute and the directories exist:
# Wrong - relative path might not work
-v ./mosquitto/config:/mosquitto/config

# Better - absolute path
-v $(pwd)/mosquitto/config:/mosquitto/config
Create the directories before starting the container:
mkdir -p mosquitto/{config,data,log}These will cause persistent permission problems. The container expects to run as user 1883, but your host system might have different ownership requirements.
Force the container to run as your user:
docker run --user $(id -u):$(id -g) eclipse-mosquitto:latestOr adjust your host directory permissions to match the container's expectations. The container approach works better for development, while fixing host permissions works better for production deployments.
Check the container logs when things aren't working - they usually tell you exactly what's wrong.
The open-source Mosquitto covers most use cases, but enterprise environments need features that only the Pro Edition delivers.
Role-based user management lets you define granular permissions for different user groups. Instead of managing individual user access, you create roles like "sensor-readers," "actuator-controllers," or "admin-users" and assign permissions to entire roles. Users inherit the permissions of their assigned roles, making it easier to manage access across hundreds or thousands of devices.
You can restrict access by topic patterns, IP ranges, or time windows. This beats manually configuring ACL files when you're managing complex IoT deployments with different security requirements.
Advanced authentication options go beyond simple username/password combinations. JWT token authentication integrates with existing identity providers like Auth0, Okta, or your company's SSO system. LDAP integration connects directly to Active Directory or other enterprise directory services.
Deep inspection and monitoring gives you real-time visibility into message flows, connection patterns, and broker performance. The Pro Edition includes built-in dashboards that show which clients are consuming the most bandwidth, which topics have the highest message rates, and where bottlenecks are forming.
You get detailed metrics on message latency, queue depths, and client behavior patterns. This data helps you optimize topic structures and identify problematic clients before they impact the entire system.
Database and cloud service integrations eliminate the need for custom bridge applications. The Pro Edition can automatically forward messages to PostgreSQL, MongoDB, InfluxDB, AWS IoT Core, Azure IoT Hub, or Google Cloud IoT. You define routing rules that determine which messages go where based on topic patterns, message content, or client metadata.
Persistent queues handle high-volume scenarios where the standard Mosquitto persistence isn't enough. The Pro Edition can buffer millions of messages for offline clients and distribute the load across multiple broker instances. It includes automatic queue management that prevents memory exhaustion and maintains message ordering guarantees.
Clustering support lets you run multiple broker instances that share the message load and provide failover protection. When one broker goes down, clients automatically reconnect to healthy instances without losing messages or subscriptions.
The Pro Edition makes sense when you need enterprise-grade reliability and management features that would take months to build yourself.
Docker makes deployment easier, but it's not the perfect solution for every scenario.
mosquitto directory to another machine, run the same Docker command, and you're back online. Moving between cloud providers or upgrading hardware becomes a simple file transfer.Docker isn't all upside.
Docker wins when you need consistent deployments and easy management across different environments.
Running Mosquitto in Docker gives you a reliable MQTT broker that works consistently across all environments. It doesn't matter if you're prototyping IoT devices, building home automation systems, or connecting sensors in development, Docker eliminates setup complexity and lets you focus on your actual project.
If you plan to take Mosquitto to production, remember this:
mosquitto_passwd, configure TLS encryption with proper certificatesAn unsecured MQTT broker becomes an open door for attackers to monitor device communications or inject malicious commands.
For enterprise deployments that need advanced features like role-based access control, clustering, or LDAP integration, Mosquitto Pro Edition provides the management tools and scalability that go beyond the open-source version.
Ready to up your Docker and Kubernetes game? Enroll in our Containerization and Virtualization with Docker and Kubernetes skill track to build relevant skills and get hired.
Top DataCamp Courses
Track
Course
Course
Tutorial
Derrick Mwiti
Tutorial
Bex Tuychiev
Tutorial
Derrick Mwiti
Tutorial
Dario Radečić
Tutorial
Abid Ali Awan
Tutorial
Dario Radečić