Course
Introduction to Docker
4 hr
46.9K
Do you have Docker running and know your way around basic commands, but are tired of starting containers one by one?
Docker Compose is a tool that lets you define and run multi-container applications from a single YAML file. The confusing part is that there are two versions floating around: the old standalone binary (v1) and the newer CLI plugin (v2). Most installation articles don't tell you which one they're using, so you end up following steps that don't match your setup.
Docker Compose v2 is a plugin bundled with modern Docker installs, which really simplifies how you install, run, and verify it. The process isn’t as manual as it used to be.
In this article, I'll walk you through how to install Docker Compose on Linux, macOS, and Windows - the right way, using v2.
Are you new to the virtualization and containerization concepts? Read our recent Docker for Beginners article to get hands-on experience.
Before anything else, you need Docker Engine on your machine. Docker Compose doesn't run standalone - it needs Docker to function.
Run this command to check your Docker version:
docker --version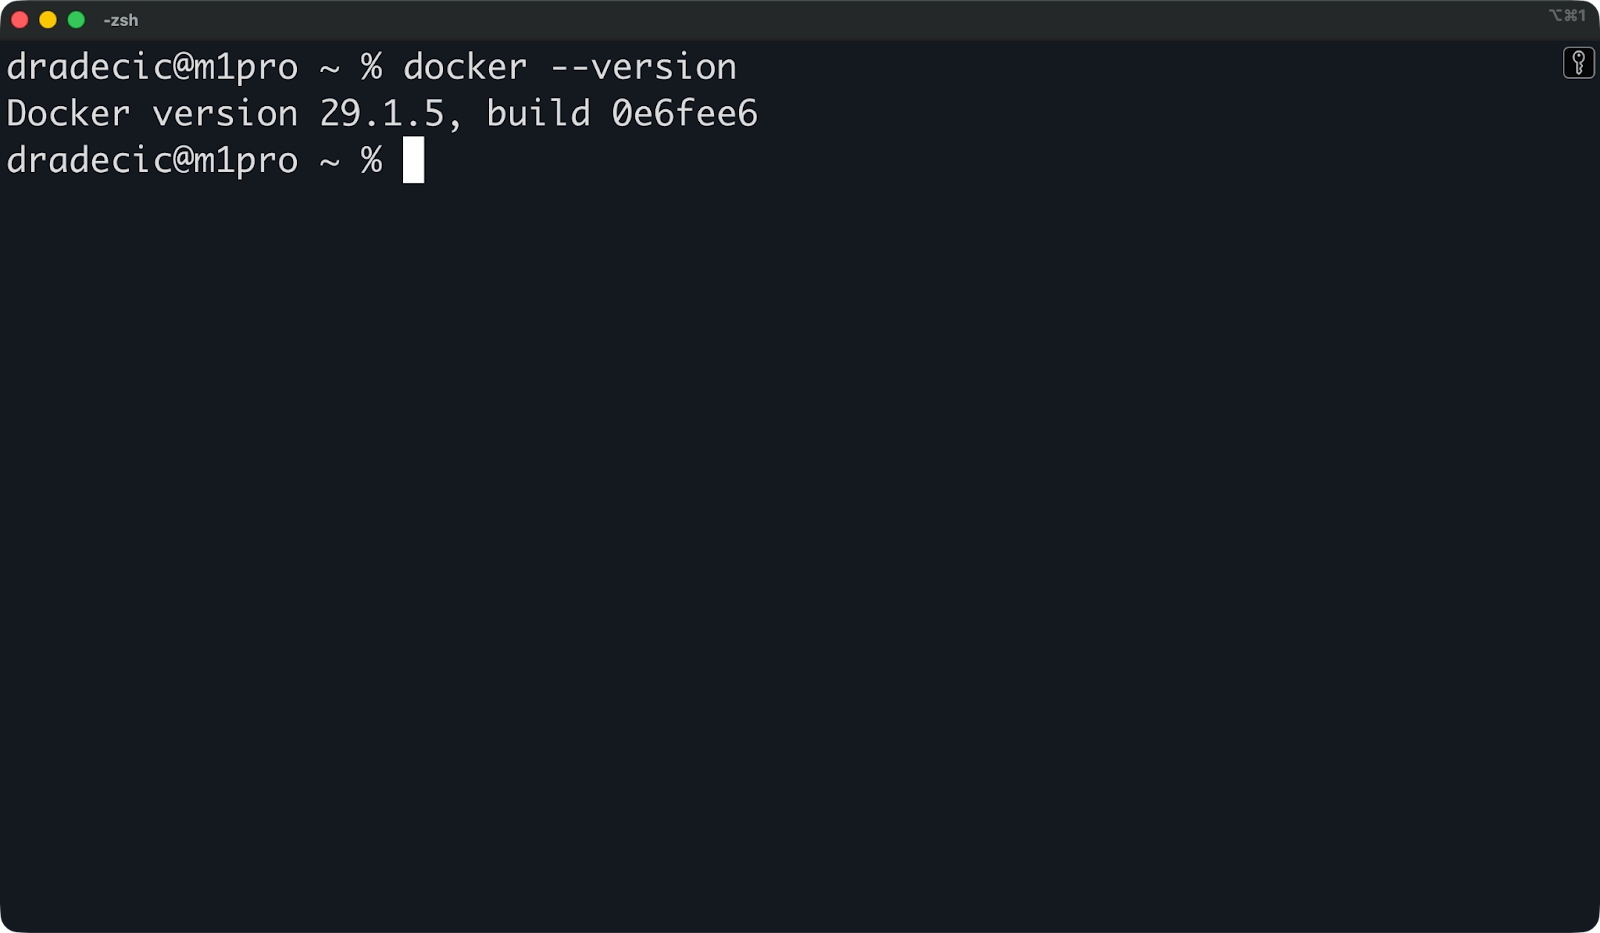
Installed Docker version
If Docker isn't installed, stop here and install it first. If it is installed, you can check whether Compose is already available:
docker compose version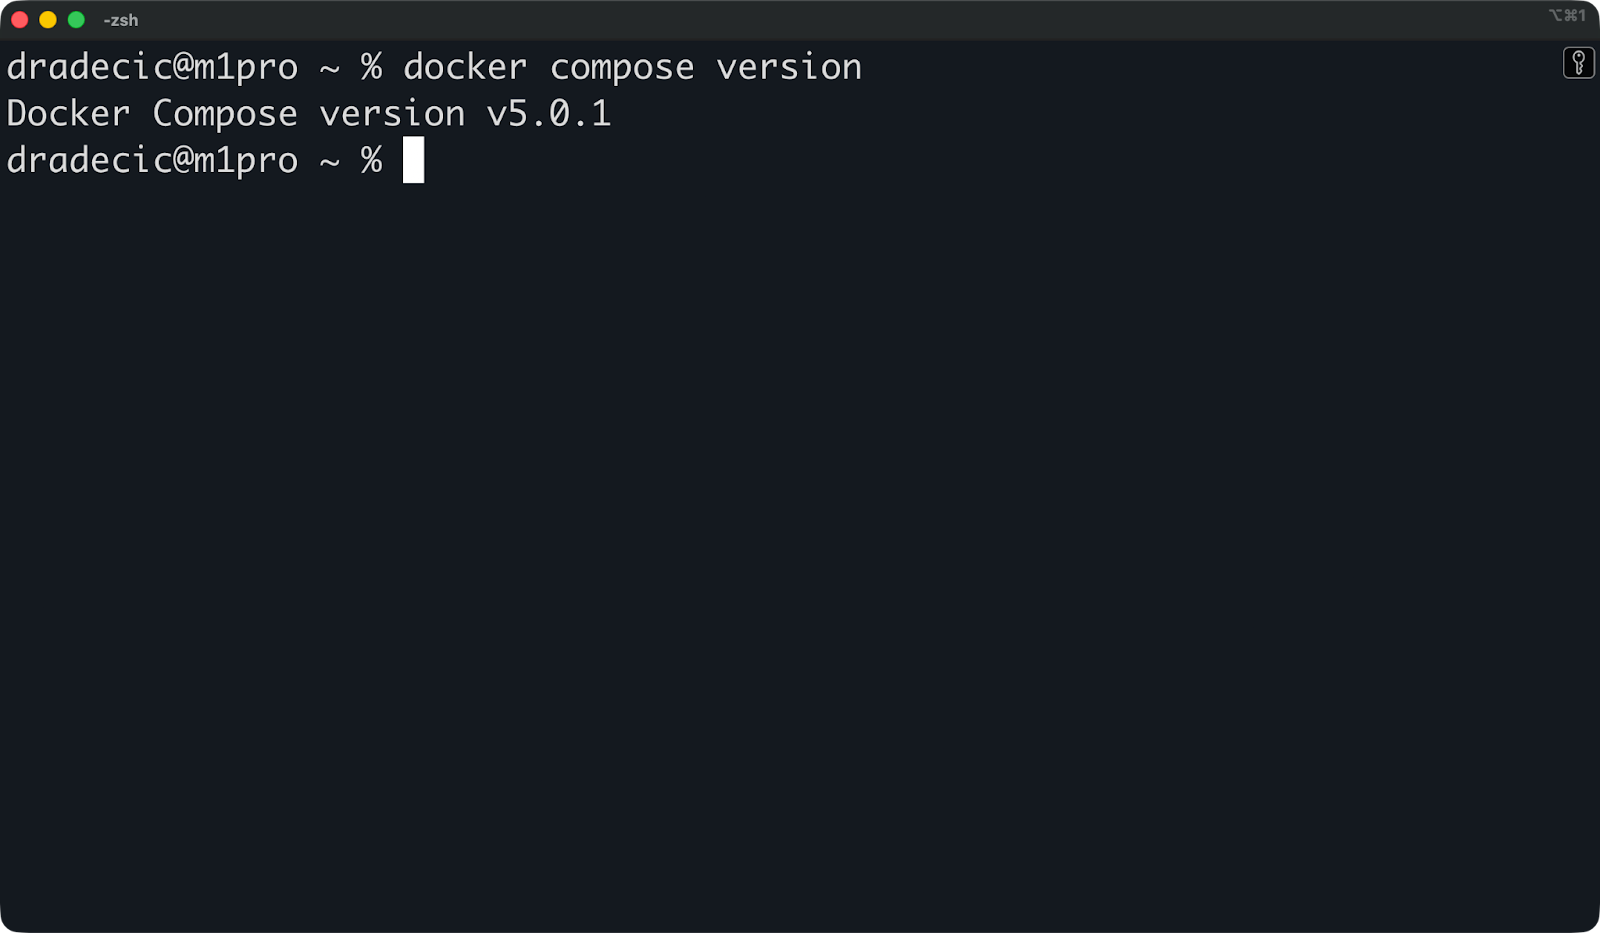
Installed Docker Compose version
If that returns a version number, you're done - Compose v2 is already bundled with your Docker install. You can skip straight to the verification section.
If it instead returns a generic command not found message, continue reading.
Here's the key distinction you need to know:
Docker Compose v1 is the legacy standalone binary. You'd call it with docker-compose (with a hyphen). It's deprecated and no longer maintained.
Docker Compose v2 is a CLI plugin that ships with modern Docker. You call it with docker compose (no hyphen).
If you're on a recent Docker install, you almost certainly have v2 already. The rest of this article assumes v2.
On Linux, you have two ways to get Docker Compose. The first uses Docker's official repository - it's the recommended path. The second is a manual install which can be useful when you can't use a package manager or need a specific version.
This method keeps Compose tied to your Docker install, so updates stay in sync.
If you don't have Docker Engine installed yet, set up Docker's official apt repository first:
# Add Docker's GPG key
sudo apt-get update
sudo apt-get install ca-certificates curl
sudo install -m 0755 -d /etc/apt/keyrings
sudo curl -fsSL https://download.docker.com/linux/ubuntu/gpg -o /etc/apt/keyrings/docker.asc
sudo chmod a+r /etc/apt/keyrings/docker.asc

# Add the repository
echo \
  "deb [arch=$(dpkg --print-architecture) signed-by=/etc/apt/keyrings/docker.asc] https://download.docker.com/linux/ubuntu \
  $(. /etc/os-release && echo "$VERSION_CODENAME") stable" | \
  sudo tee /etc/apt/sources.list.d/docker.list > /dev/null

sudo apt-get update
Now install Docker Engine and the Compose plugin together:
sudo apt-get install docker-ce docker-ce-cli containerd.io docker-buildx-plugin docker-compose-pluginThe docker-compose-plugin package is what gives you docker compose as a CLI command. Verify it's working:
docker compose version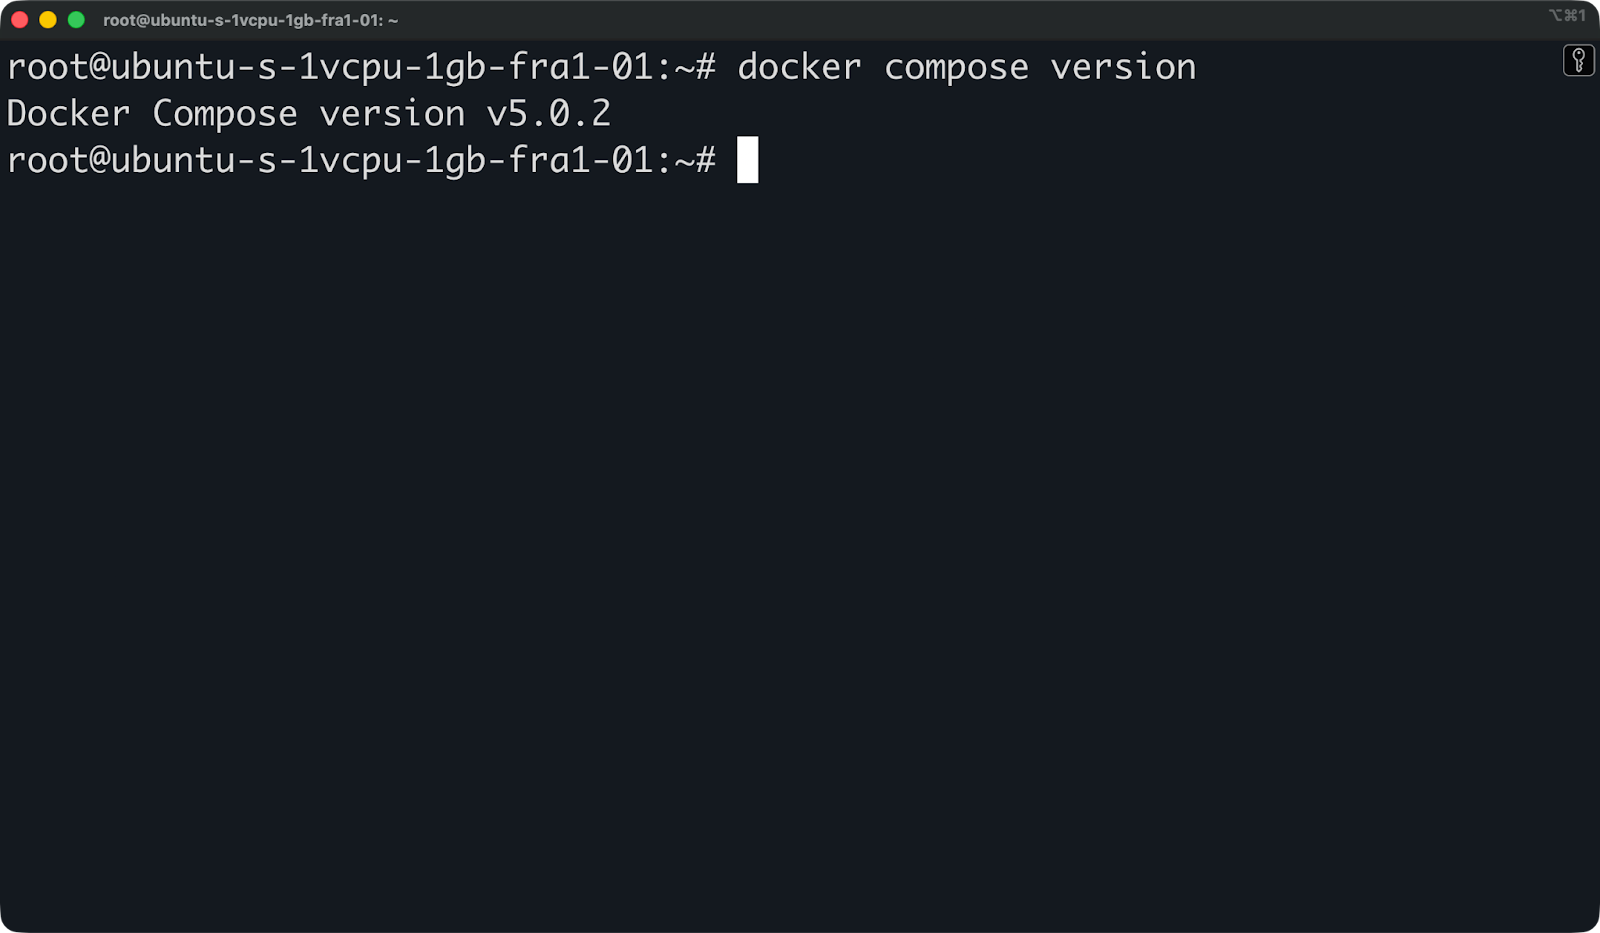
Docker Compose version on Ubuntu VM
That's it.
Use this method when you need a specific version of Compose, or when your environment doesn't support Docker's repository.
Start by downloading the latest release directly from GitHub. Replace v5.0.1 with the version you need:
DOCKER_CONFIG=${DOCKER_CONFIG:-$HOME/.docker}
mkdir -p $DOCKER_CONFIG/cli-plugins
curl -SL https://github.com/docker/compose/releases/download/v5.0.1/docker-compose-linux-x86_64 -o $DOCKER_CONFIG/cli-plugins/docker-compose
Make the binary executable:
chmod +x $DOCKER_CONFIG/cli-plugins/docker-composeAnd finally, verify the installation:
docker compose version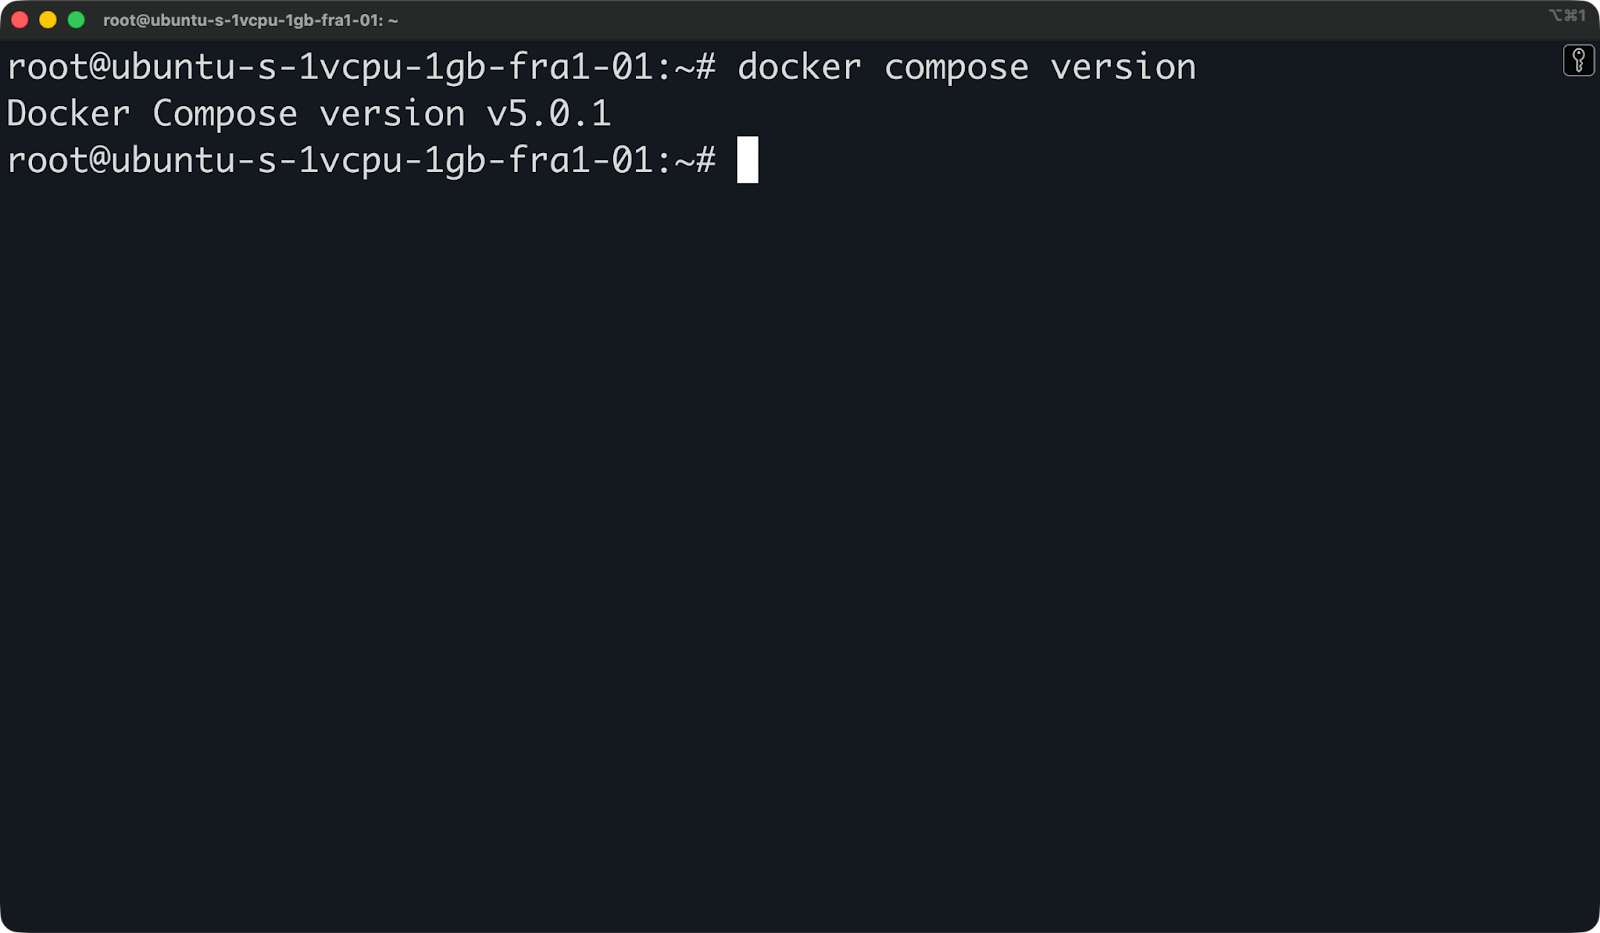
Docker Compose version on Ubuntu VM
The only thing to remember here is that manual installs don't update automatically. If you install a binary and forget about it, you could end up running an outdated version with known bugs or security issues. If you go this route, make a habit of checking the Docker Compose releases page from time to time.
On macOS, you don't need to install Docker Compose separately - it comes bundled with Docker Desktop.
Download Docker Desktop from Docker's official site. Make sure to pick the right version for your chip - Apple Silicon (M1-M5) or Intel.
Once installed, open Docker Desktop and let it finish starting up. Then verify Compose is available by running this command:
docker compose version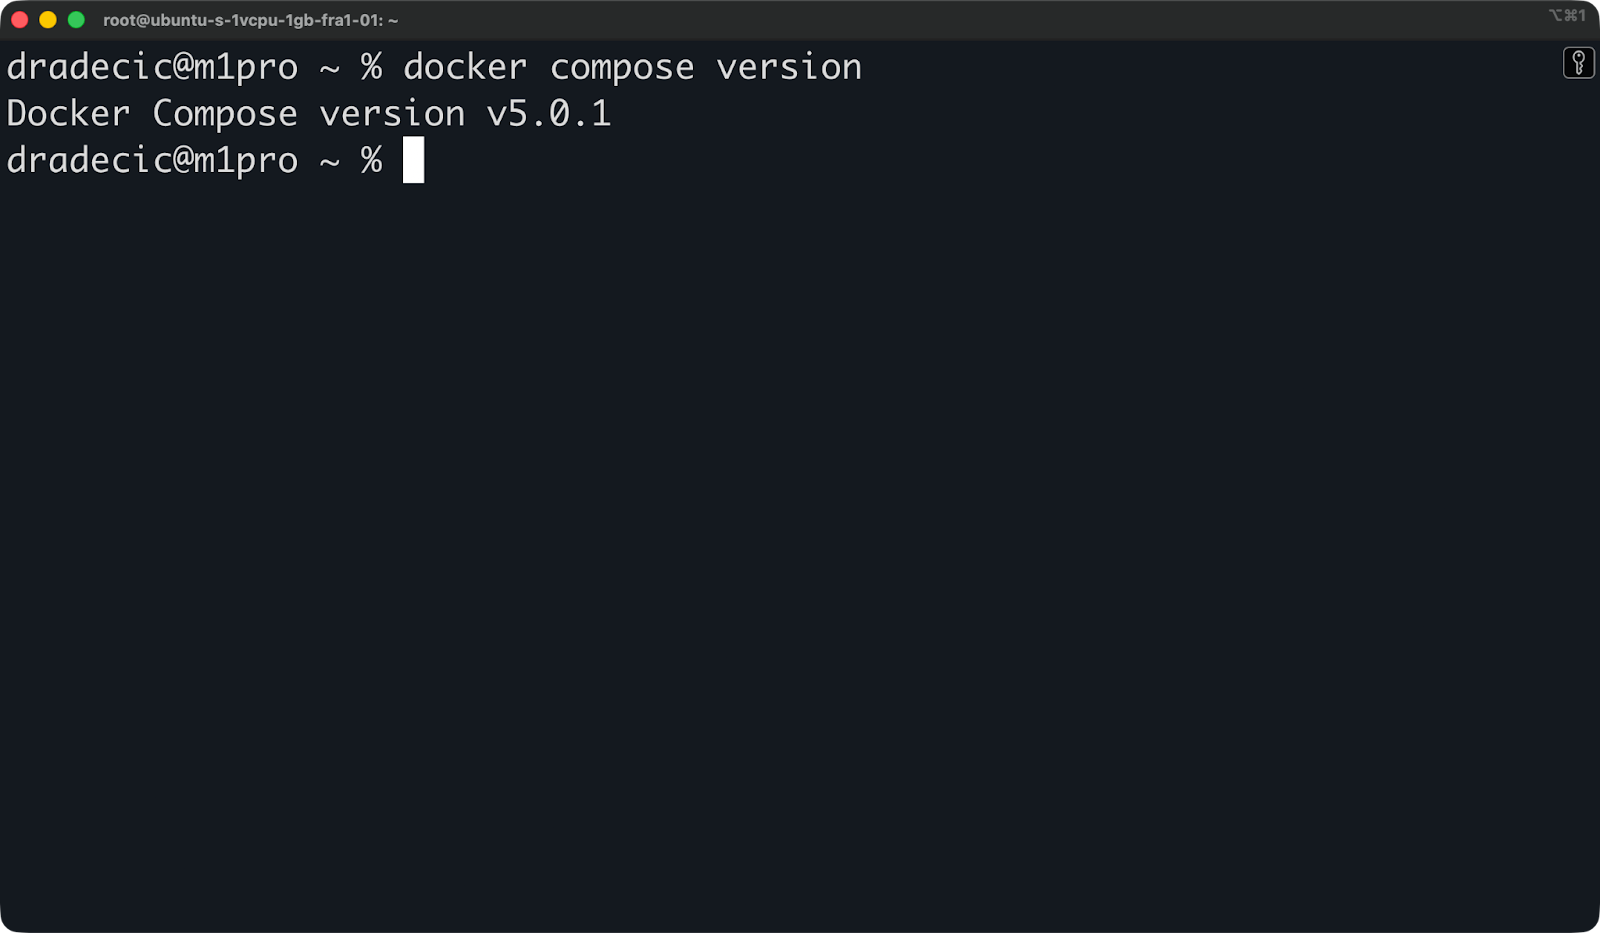
Docker Compose version on macOS
That's it. Compose v2 is ready to use.
If you prefer managing tools with Homebrew and don't want the full Docker Desktop GUI, you can install Docker and Compose through it:
brew install docker
brew install docker-compose
If you go this route, remember that Homebrew installs Docker Engine without the Desktop app. This works fine for CLI use, but you'll miss features like the Docker Dashboard and automatic updates. For most macOS users, Docker Desktop is the easier path.
Like macOS, Windows gets Docker Compose automatically through Docker Desktop. There’s no separate install needed.
Before you install Docker Desktop, you need WSL2 (Windows Subsystem for Linux 2) enabled. WSL2 lets Docker run a real Linux kernel on Windows, which is how containers work on this platform. To enable it, open PowerShell as Administrator and run:
wsl --installRestart your machine when prompted. Then download and install Docker Desktop from Docker's official site.
During setup, make sure the "Use WSL2 instead of Hyper-V" option is checked. Once Docker Desktop is running, verify Compose is available - you can do this in either PowerShell or your WSL terminal:
docker compose versionIf you run into a "permission denied" error, it's usually one of two things:
docker commands will work.docker group inside WSL:sudo usermod -aG docker $USERNow just log out and back into WSL for the change to take effect.
Once you've installed Docker Compose, run this command to confirm everything is working:
docker compose versionYou should see output like this:

Installed Compose version
The exact version number will vary depending on the time of reading, but as long as you see v5.0.1 or newer, you're good to go.
If you see docker compose: command not found, Compose isn't installed or isn't on your PATH. Jump to the troubleshooting section below.
You might notice some articles online use docker-compose with a hyphen. Here's the difference:
docker-compose is the legacy v1 command. It was a standalone Python binary installed separately from Docker.
docker compose (no hyphen) is the v2 CLI plugin, built directly into the Docker CLI.
Docker dropped v1 support in 2023, so docker-compose is no longer maintained. If you still have it installed, you can check which version it points to:
docker-compose --versionIf that returns a 1.x.x version, you're running the old binary. Uninstall it and use docker compose in the future. The commands are nearly identical, but v2 is faster and actively maintained.
How you upgrade Compose depends on how you installed it.
On macOS and Windows, Docker Desktop handles everything for you, so just open the app, go to Settings > Software Updates, and let it update if needed. Compose upgrades automatically alongside Docker.
On Linux with the package manager, run the following:
sudo apt-get update
sudo apt-get upgrade docker-compose-plugin
That pulls the latest version from Docker's official repository.
If you installed manually, you'll need to repeat the download step with the new version number. Check the Docker Compose releases page for the latest version, then replace the binary:
curl -SL https://github.com/docker/compose/releases/download/v5.0.2/docker-compose-linux-x86_64 -o $DOCKER_CONFIG/cli-plugins/docker-compose
chmod +x $DOCKER_CONFIG/cli-plugins/docker-compose
After any upgrade, just verify the new version is active:
docker compose versionNothing more to it.
The uninstall steps depend on how you installed Compose in the first place.
If you installed via the package manager on Linux, remove the plugin with this command:
sudo apt-get remove docker-compose-pluginIf you installed manually, just delete the binary:
rm $DOCKER_CONFIG/cli-plugins/docker-composeIf you have the old v1 standalone binary still on your system, find and remove it with this command:
sudo rm /usr/local/bin/docker-composeAfter removing, just double check it's gone by running docker compose version. If the command returns an error, the uninstall worked.
Installing and uninstalling Docker Compose is easy, but there are still some things that might go wrong. Here’s how to fix possible issues you might run into.
This means either Compose isn't installed, or Docker can't find it. First, confirm Docker itself is running:
docker --versionIf Docker is fine but Compose is missing, just reinstall the plugin:
sudo apt-get install docker-compose-pluginIf you see a permission denied error when running docker compose, your user probably doesn't have access to the Docker socket. Add yourself to the docker group:
sudo usermod -aG docker $USERLog out and back in for the change to take effect. On Docker Desktop (macOS/Windows), make sure the app is actually running before you try any commands.
If Compose behaves unexpectedly, check what version you're actually running:
docker compose versionIf you're on an old version, follow the upgrade steps discussed in the earlier section. If you have both v1 and v2 installed, that's likely the source of confusion.
Having both docker-compose (v1) and docker compose (v2) on the same machine can cause conflicts. Check if v1 is still present with this command:
which docker-composeIf it returns a path, remove it:
sudo rm $(which docker-compose)Use docker compose (without the hyphen) going forward.
If Docker is installed but commands aren't found, the CLI plugin directory might not be on your PATH. Check where the Compose binary lives:
ls $DOCKER_CONFIG/cli-plugins/If it's there but not working, add the directory to your PATH in ~/.bashrc or ~/.zshrc:
export PATH=$PATH:$HOME/.docker/cli-pluginsThen reload your shell by running this:
source ~/.bashrcIf you've been using Docker for a while, you've probably seen both docker-compose and docker compose in online articles and videos. They're not the same thing.
Docker Compose v1 was a standalone Python binary you installed separately from Docker. It used the docker-compose command (with a hyphen). Docker deprecated it in 2023, and it's no longer maintained or updated.
Docker Compose v2 is a Go-based CLI plugin built directly into the Docker CLI. You call it with docker compose (no hyphen). It comes with Docker Engine and Docker Desktop, so there's nothing extra to install on modern setups.
The command syntax is nearly identical between the two versions - most docker-compose commands work the same way with docker compose. The main differences are under the hood: v2 is faster, better integrated with Docker's tooling, and actively maintained.
Here's a comparison:
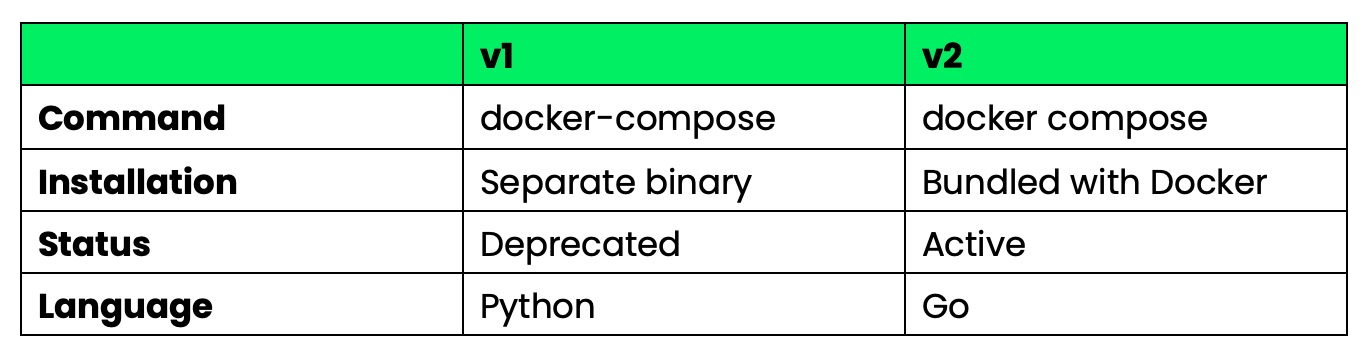
Compose v1 and v2 comparison table
In 2026, stick with v2. If your scripts or CI pipelines still use docker-compose, replace the hyphen with a space - that's the only change you'll need for most workflows.
If you're on a modern Docker install, you already have Compose v2 installed. There are no extra steps needed. On macOS and Windows, Docker Desktop application comes with Compose installed. If you’re using Linux, it’s handled by the docker-compose-plugin package.
Before you start writing or running Compose files, run docker compose version to confirm everything is in place.
If you're still running Compose v1, now's the time to switch. Drop the hyphen and remove the old binary - that’s all you have to do. All your existing Compose files will work as-is with v2.
Looking for more resources on Docker? Enroll in our Introduction to Docker course to learn about containers, images, and more.
Learn Docker with DataCamp
Course
Course
Course
blog
Derrick Mwiti
9 min
Tutorial
Derrick Mwiti
Tutorial
Dario Radečić
Tutorial
Dario Radečić
Tutorial
Moez Ali
Tutorial
Dario Radečić