
Track
Developing AI Applications
21 hr
DeepSeek-V3-0324 builds on its predecessor, DeepSeek-V3, with major improvements across reasoning, front-end generation, and tool-augmented capabilities.
If you asked me, I think they could have made much bigger waves if they named the new model 3.5 instead of 0324, which is hard to remember. Judging by the name, the new version suggests only an incremental improvement, but the benchmarks tell a different story:
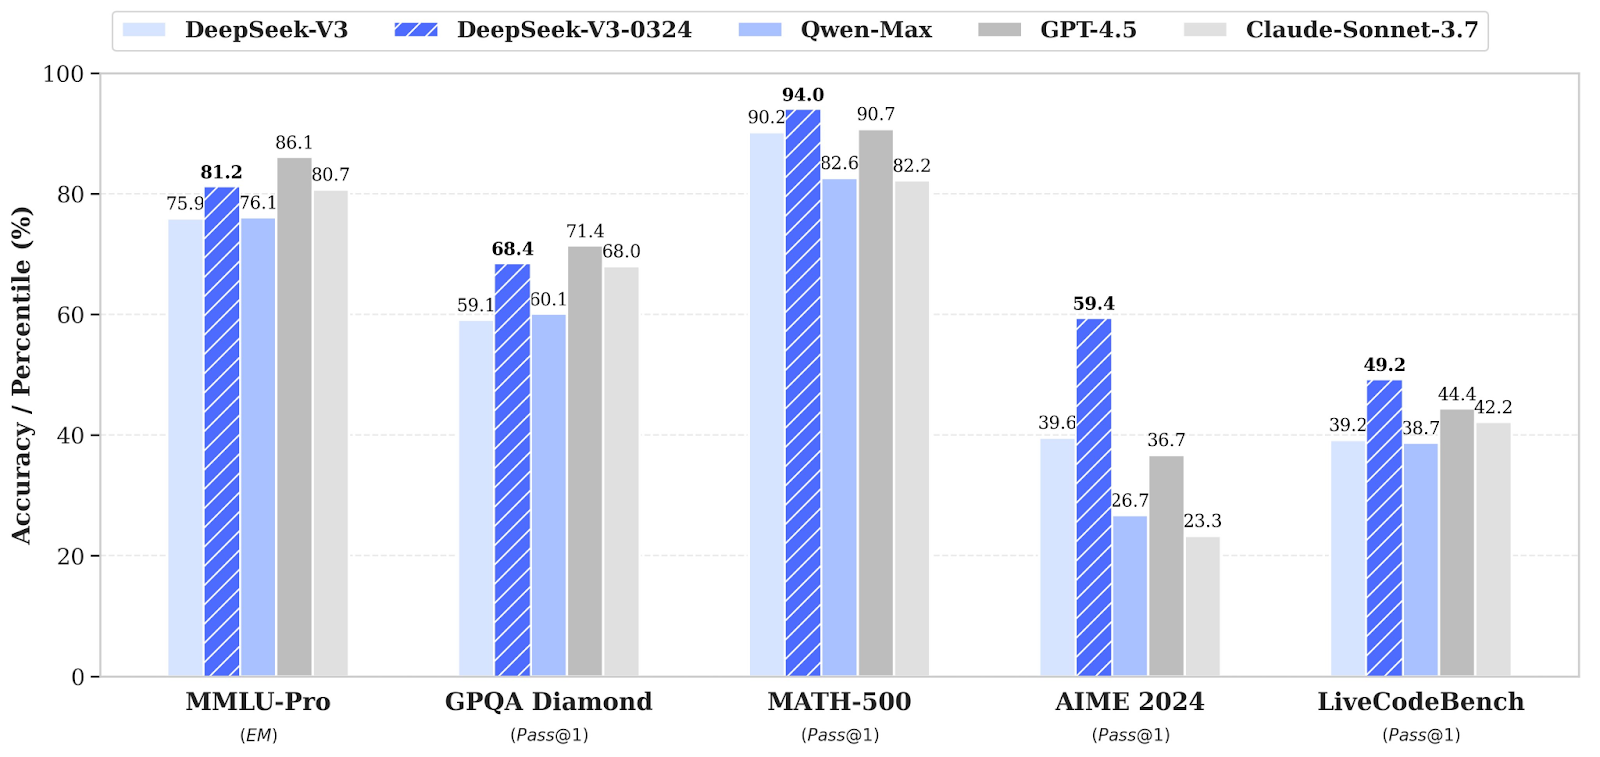
Source: DeepSeek
The results in the above bar chart reflect substantial improvements in logical reasoning, math problem-solving, and code generation.
DeepSeek-V3-0324 shows tangible improvements in generating usable HTML/CSS/JS, especially for tasks like:
The upgraded model comes with enhanced tool use features as well, including:
Just like DeepSeek-R1, V3-0324 is:
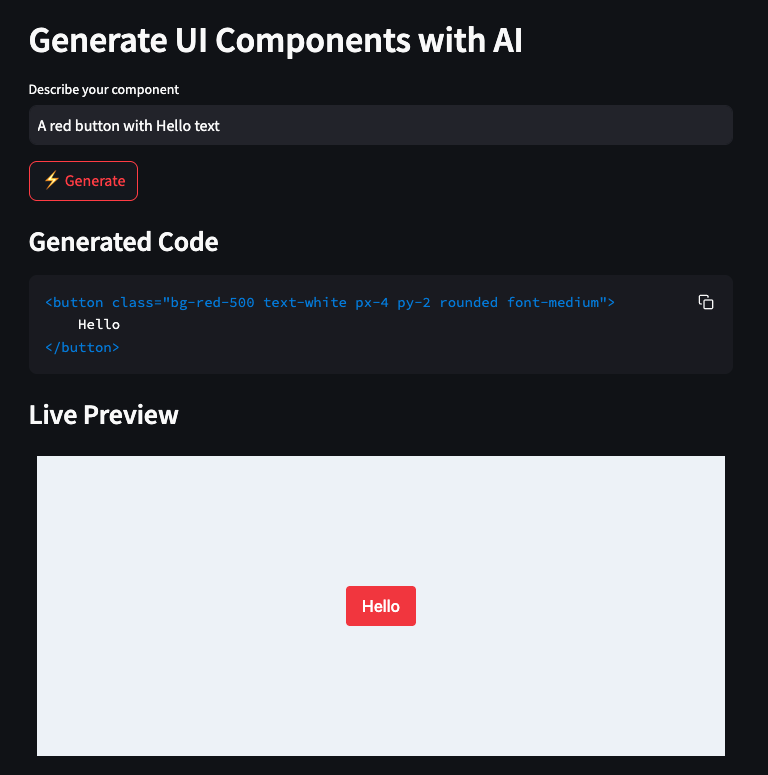
To put DeepSeek-V3-0324's frontend capabilities to the test, I built a small demo powered by Streamlit and Tailwind CSS. The project is a natural-language-to-UI component generator, and it works like this:
Before we start, let’s ensure that we have the following tools and libraries installed:
python3 --version  # Python 3.8+
pip install requests streamlit
Check the Python version, which should be at least 3.8 or more. Then, install all the other dependencies mentioned above.
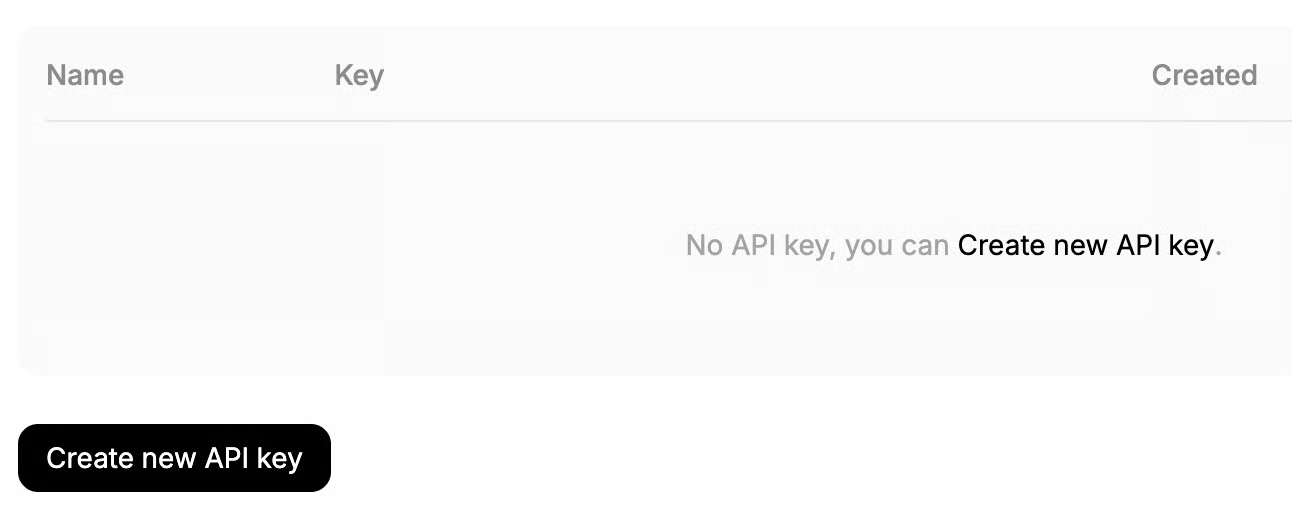
Next, we need to set up the DeepSeek API key as an environment variable using the terminal. To get your API key:
If you need to learn more aout using the API, this tutorial on DeepSeek API is great.
We now need to set up the DeepSeek API key as an environment variable using the terminal:
export DEEPSEEK_API_KEY=”Your_API_Key”We now have all the dependencies for our application, so let’s build the UI generator.
We start by creating a frontend_generator.py file, which acts as a backend wrapper for generating frontend component code using DeepSeek-V3-0324.
We start by setting up the imports for our dependencies.
import requests
import json
import os
The requests, json, and os libraries are imported to handle HTTP communication, JSON serialization, and environment variable access for the API key.
Next, we set up the DeepSeek API key and API URL for the application.
API_KEY = os.getenv("DEEPSEEK_API_KEY")
API_URL = "https://api.deepseek.com/chat/completions"
headers = {
    "Content-Type": "application/json",
    "Authorization": f"Bearer {API_KEY}"
}
The API_KEY and API_URL variables (already set before) are set to authenticate and point to the DeepSeek chat completion endpoint. The request headers specify the content type and include the Bearer token for authorization.
The SYSTEM_PROMPT defines the assistant’s behavior. It guides the model to generate readable, well-structured HTML using Tailwind CSS classes, ensuring elements are visually appealing and properly centered.
SYSTEM_PROMPT = """
Generate clean HTML with Tailwind CSS classes. Focus on:
1. Use appropriate Tailwind utility classes
2. Ensure text is centered
3. Use clear, visible colors
4. Make content readable
Example for "red button with white text":
<button class="bg-red-500 text-white px-4 py-2 rounded">Click me</button>
Prompt: "A gray box with the text "Hello World" centered inside"
Expected Output:
<div class="bg-gray-300 flex items-center justify-center p-6 rounded-lg">
    <p class="text-black text-xl">Hello World</p>
</div>
"""Finally, let’s build the payload (the structured data we’ll send to the DeepSeek API to request a response).
def get_component_code(user_prompt: str) -> str:
    payload = {
        "model": "deepseek-chat",
        "messages": [
            {"role": "system", "content": SYSTEM_PROMPT},
            {"role": "user", "content": user_prompt}
        ],
        "stream": False
    }
    response = requests.post(API_URL, headers=headers, data=json.dumps(payload))
    if response.status_code == 200:
        content = response.json()['choices'][0]['message']['content']
        # Remove markdown code block markers if present
        if "```"in content:
            content = content.split("```")[1].strip()
        return content.strip() or f"""
            <div class="bg-gray-300 flex items-center justify-center p-6 rounded-lg">
                <p class="text-black text-xl">{user_prompt}</p>
            </div>
        """
    else:
        raise Exception(f"DeepSeek API error {response.status_code}: {response.text}")
The get_component_code() function takes a user-defined prompt (for example: “A blue card with white text”) and builds a payload that is suitable to DeepSeek’s OpenAI-compatible message format. The payload includes:
stream=False to receive a full response in one goThe function sends a POST request to the DeepSeek API using requests.post() function. If the request is successful, then it extracts the model’s output from the choices[0].message.content field.
Note: ‘deepseek-chat’ by default uses the latest DeepSeek V3-0324 version (no need to specify the exact model).
Now that our frontend code generator is ready, let’s build the Streamlit UI that ties everything together.
We start by importing the application's dependencies. Streamlit builds the UI and handles user interactions, while html safely embeds HTML content in an iframe.
import streamlit as st
from frontend_generator import get_component_code
import htmlLet’s build the component preview feature of our application, which allows users to preview their components in the Streamlit window.
def create_component_preview(raw_code: str) -> str:
    clean_code = raw_code.strip()
    return f"""
    <!DOCTYPE html>
    <html>
    <head>
        <script src="https://cdn.tailwindcss.com"></script>
        <meta name="viewport" content="width=device-width, initial-scale=1.0">
        <style>
            html, body {{


                height: 100%;
                display: flex;
                justify-content: center;
                align-items: center;
                background-
            }}
            .preview-container {{
                width: 100%;
                height: 100%;
                display: flex;
                justify-content: center;
                align-items: center;

                box-sizing: border-box;
            }}
            .component-wrapper {{
                width: 100%;
                max-width: 300px;
                display: flex;
                justify-content: center;
                align-items: center;
            }}
        </style>
    </head>
    <body>
        <div class="preview-container">
            <div class="component-wrapper">
                {clean_code}
            </div>
        </div>
    </body>
    </html>
    """
The get_component_code() function is imported from the frontend_generator.py file we created previously. It connects to the DeepSeek API and generates a Tailwind CSS component based on a user prompt.
Then, the create_component_preview() function wraps the raw HTML code returned by the model in a complete, Tailwind-enabled HTML document. It applies basic styling to the center and contains the UI component inside a responsive layout.
Now that we have all our components, we need to stitch them together with our Streamlit application.
st.set_page_config(page_title="UI Generator", layout="centered")
st.markdown("## Generate UI Components with AI")
prompt = st.text_input("Describe your component", value="A red button with Hello text")
if st.button("⚡ Generate"):
    try:
        code = get_component_code(prompt)
        st.subheader("Generated Code")
        st.code(code, language="html")
        preview_html = create_component_preview(code)
        iframe_html = f'<iframe srcdoc="{html.escape(preview_html)}" width="100%" height="300" style="border:none;"></iframe>'
        st.subheader("Live Preview")
        st.components.v1.html(iframe_html, height=320)
    except Exception as e:
        st.error(f"Error generating component: {str(e)}")
The st.text_input() function uses a pre-filled with an example like "A red button with Hello text" to guide the user. When the user clicks the "Generate" button, the app does the following:
get_component_code(prompt) function to fetch the generated HTML.create_component_preview() function.st.components.v1.html() function for live rendering.The use of srcdoc inside the iframe allows the Tailwind script and styles to load within the isolated preview frame, solving the limitations of raw HTML rendering inside Streamlit.
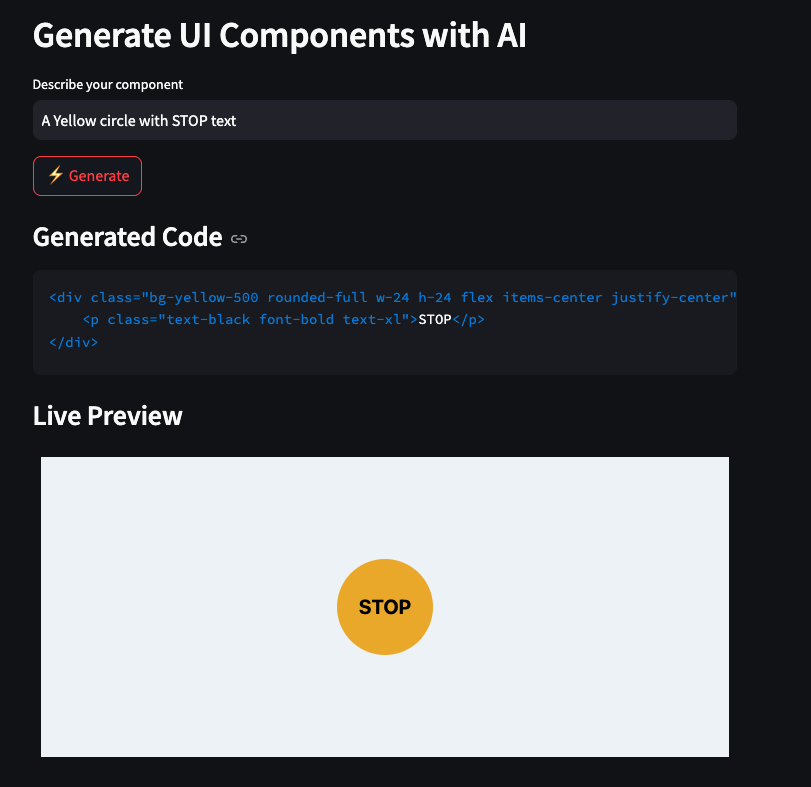
This setup enables a seamless prompt-to-preview flow where users can describe UI components in plain language and immediately see both the underlying code and the rendered result.
Now we have all the components in place, let’s run our Streamlit application. Let’s run the following command in the terminal:
streamlit run streamlit_app.py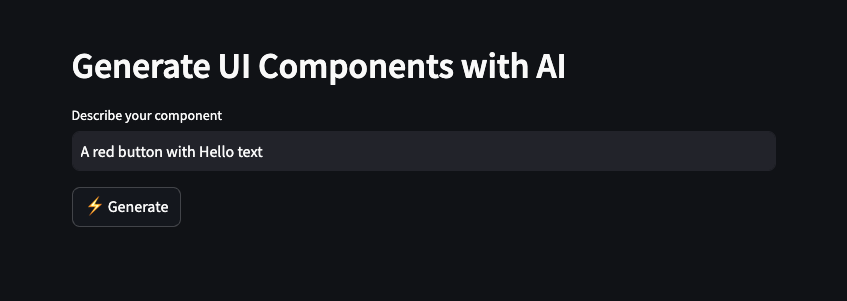
We can describe our component in words and click Generate. This will prompt DeepSeek V3-0324 to produce Tailwind-based HTML code, which is then rendered as a live visual preview.
DeepSeek V3-0324 takes real steps forward in practical reasoning, code execution, UI generation, and multi-modal prompt engineering. With its open-source nature and blazing speed, it's an excellent option for developers working on:
To explore more new AI tools and models, I recommend these blogs:
Learn AI with these courses!
Track
Course
Course
blog
François Aubry
8 min
Tutorial
Aashi Dutt
Tutorial
Aashi Dutt
Tutorial
Dr Ana Rojo-Echeburúa
Tutorial
Abid Ali Awan
Tutorial
Marie Fayard