Course
AI Security and Risk Management
2 hr
9.2K
DeepSeek has made a significant advancement with the introduction of DeepSeek-V3, a model that surpasses its predecessor in coding, mathematical reasoning, and natural language processing capabilities.
In this tutorial, I’ll guide you step-by-step on creating a code reviewer assistant with DeepSeek-V3. We’ll also learn to integrate it with Gradio to give the app a user-friendly interface.
DeepSeek V3 is a mixture-of-experts (MoE) language model with 671 billion parameters, 37 billion of which are activated per token.
It is trained on 14.8 trillion high-quality tokens and excels in various tasks, including code generation and analysis. The model architecture incorporates innovations like multi-head latent attention (MLA) and an auxiliary-loss-free strategy for load balancing, ensuring efficient inference and cost-effective training.
The multi-head latent attention (MLA) mechanism enables the model to focus on multiple aspects of input simultaneously, improving inference efficiency. The DeepSeekMoE architecture employs a mixture-of-experts approach to optimize training costs and performance.

Source: DeepSeek-AI
An auxiliary-loss-free load balancing strategy distributes computational load evenly without relying on auxiliary loss functions, enhancing training stability. Additionally, a multi-token prediction objective allows the model to predict multiple tokens simultaneously, boosting performance and enabling speculative decoding for faster inference.
Some of the reasons that make DeepSeek-V3 particularly exciting for me are:
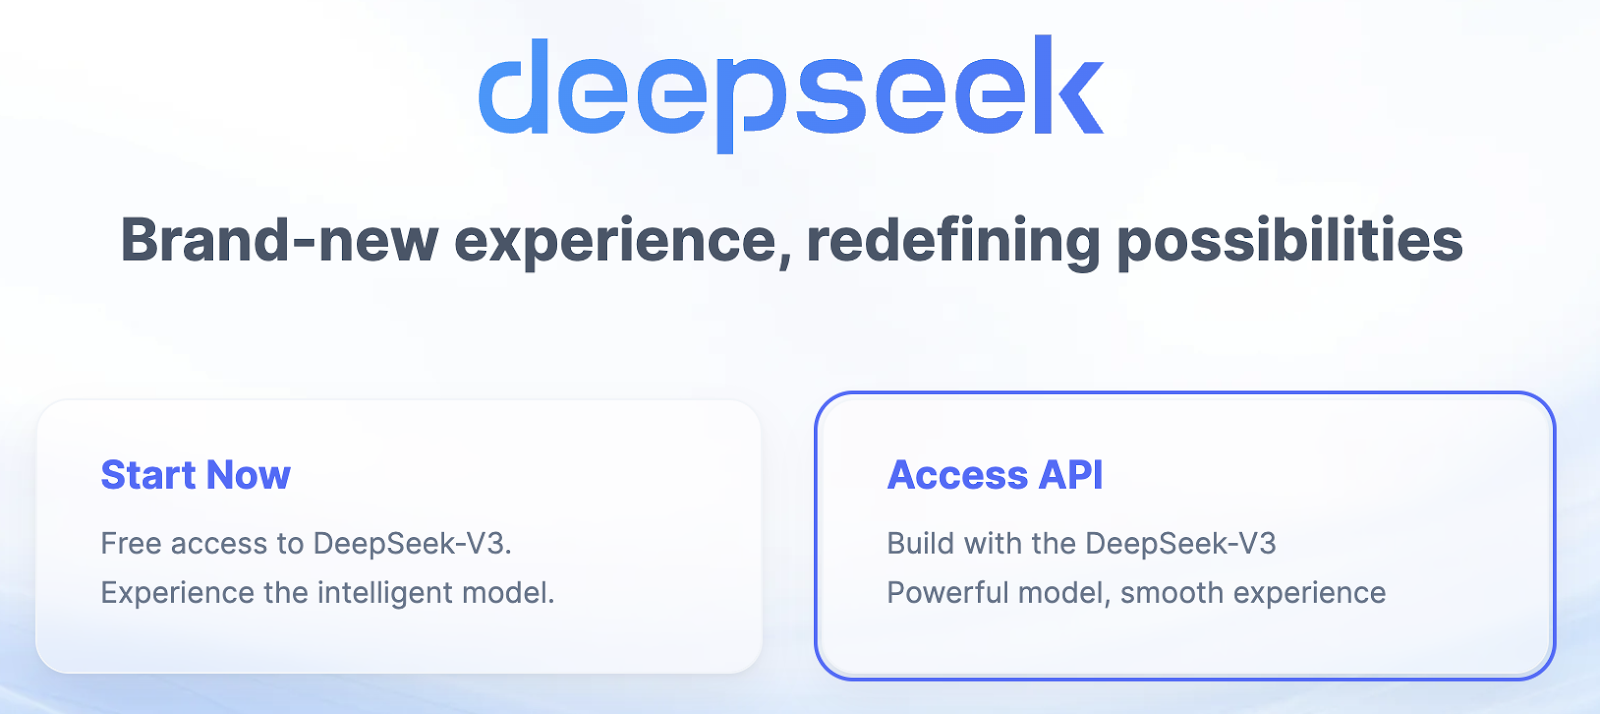
To integrate DeepSeek V3 into our application, we need to set up the API key. Follow the steps below to access your API key:
1. Go to DeepSeek.com and click on “Access API”.
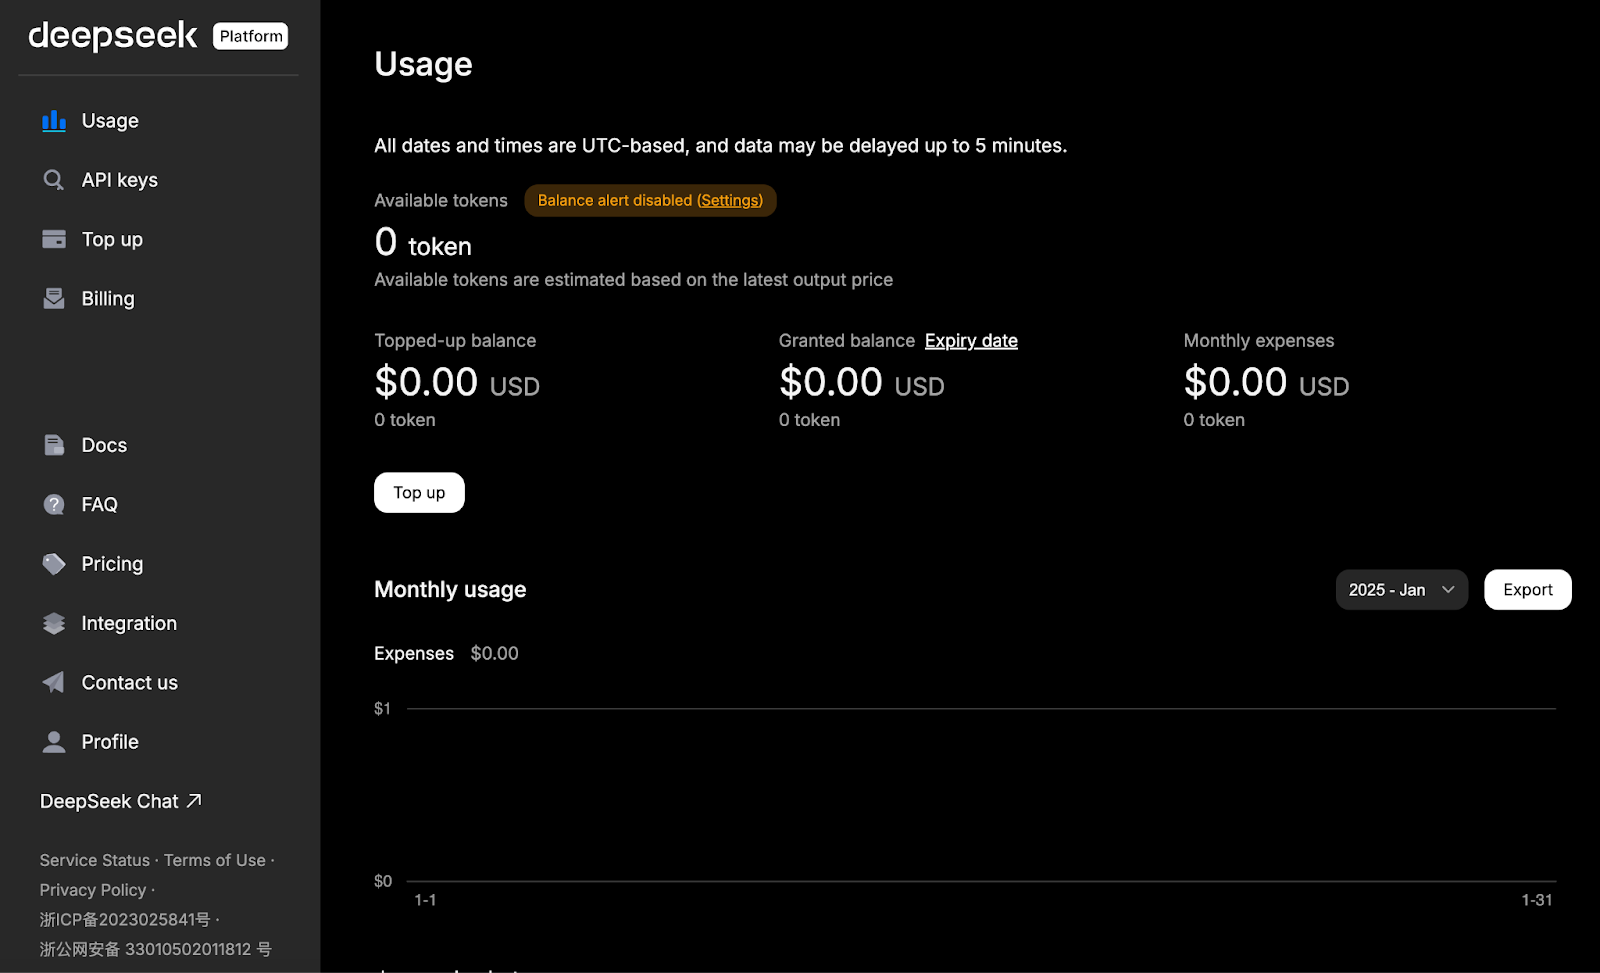
2. Sign up on DeepSeek’s API platform.
3. Click on “Top up” and add the required amount to your account. At the moment of writing this article, DeepSeek API pricing is:
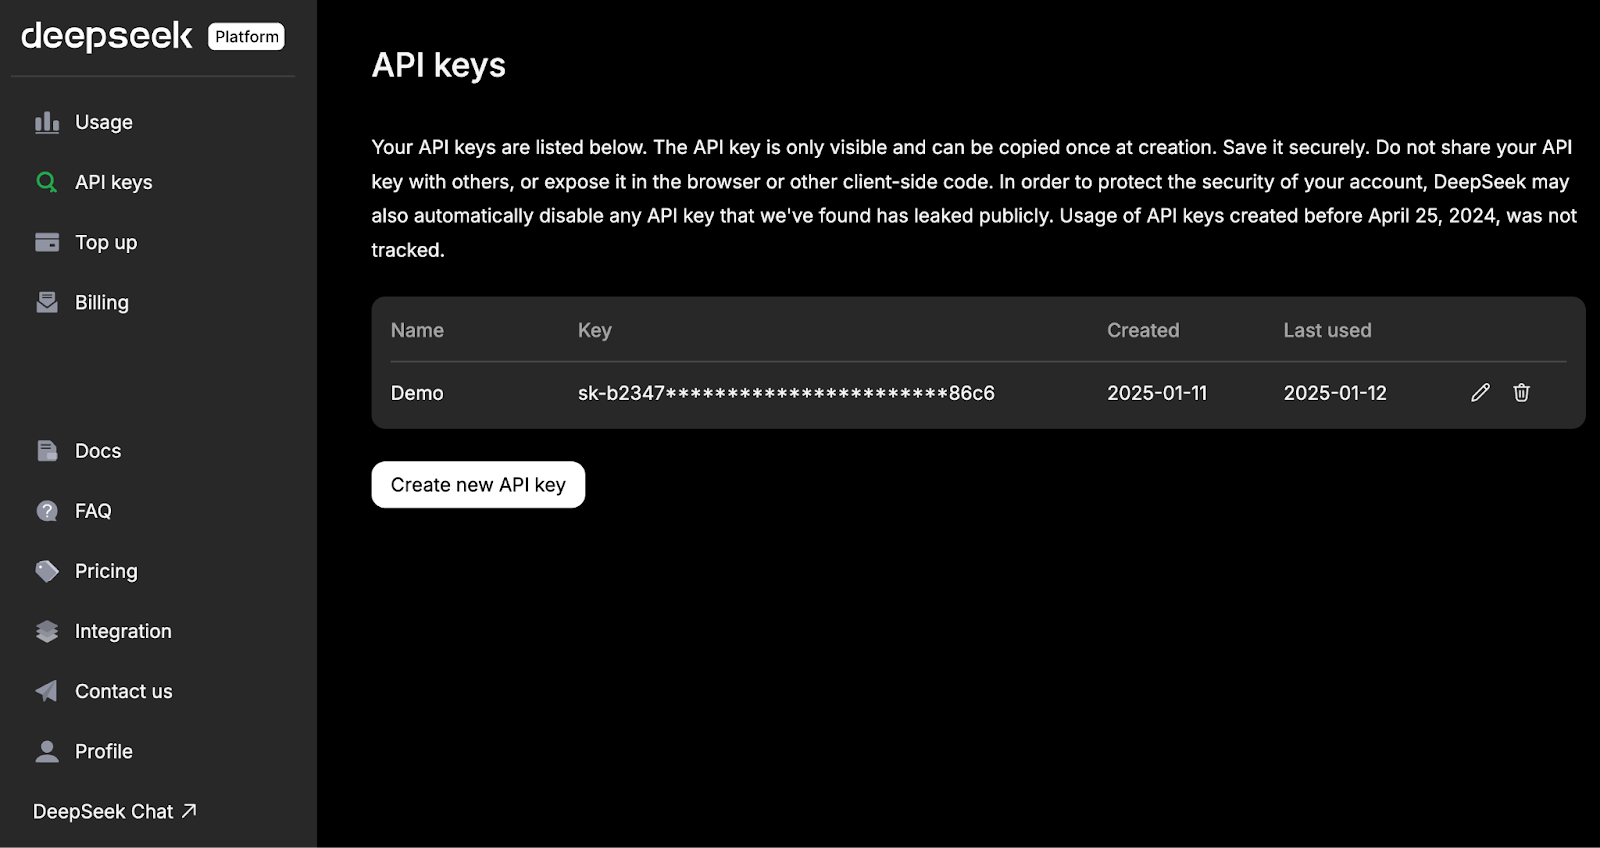
3. Navigate to the API Keys tab on the left side and click on “Create new API key.” Finally, set a name for the API key and copy it for future use.
The app that we’re going to build is an interactive assistant that use DeepSeek V3's capabilities to provide insightful code reviews through a user-friendly interface.
Before we begin, ensure you have the following installed:
pip install requests gradio Now that all the dependencies are installed, let’s set up the DeepSeek API.
The following script demonstrates how to interact with the DeepSeek API to obtain responses based on user prompts. Note that DeepSeek's API is compatible with OpenAI's format and uses a base URL for API requests.
import requests
import json

# Replace 'YOUR_API_KEY' with your actual DeepSeek API key
API_KEY = 'YOUR_API_KEY'
API_URL = 'https://api.deepseek.com/chat/completions'

HEADERS = {
    'Content-Type': 'application/json',
    'Authorization': f'Bearer {API_KEY}'
}

def get_deepseek_response(prompt):
    """Fetches a response from the DeepSeek API based on the given prompt."""
    data = {
        'model': 'deepseek-chat',  # Specifies the DeepSeek V3 model
        'messages': [
            {'role': 'system', 'content': 'You are a helpful code reviewer.'},
            {'role': 'user', 'content': prompt}
        ],
        'stream': False  # Set to True for streaming responses
    }

    response = requests.post(API_URL, headers=HEADERS, data=json.dumps(data))

    if response.status_code == 200:
        result = response.json()
        return result['choices'][0]['message']['content'].strip()
    else:
        raise Exception(f"Error {response.status_code}: {response.text}")
Let’s break down the code above in more detail:
requests and JSON libraries are imported to make HTTP POST requests to the DeepSeek API and handle the encoding of the request payload into JSON format, respectively.get_deepseek_response function sends a user prompt to the API and retrieves the response.Next, we design the app's core features.
We'll define a function that takes a code snippet as input and uses DeepSeek-V3 to analyze it, providing feedback and suggestions.
def review_code(code_snippet):
    prompt = f"""
    Code Snippet:
    {code_snippet}

    Task: Analyze the provided code snippet. Identify any errors or potential improvements, suggest optimizations, and provide alternative implementations if applicable.
    """
    return get_deepseek_response(prompt)
We have a code reviewer in place that takes in a code snippet, embeds it into a prompt along with a task prompt, and passes the final prompt to get a response from the model.
Next, we develop a simple Gradio web interface for our code reviewer application.
Gradio allows us to create an interactive web interface for our application. The following code snippet creates a user-friendly Gradio web interface for the review_code() function. The Gradio interface takes the user’s inputs and passes them to the model for validation.
import gradio as gr
def code_reviewer_ui(code):
return review_code(code)
interface = gr.Interface(
fn=code_reviewer_ui,
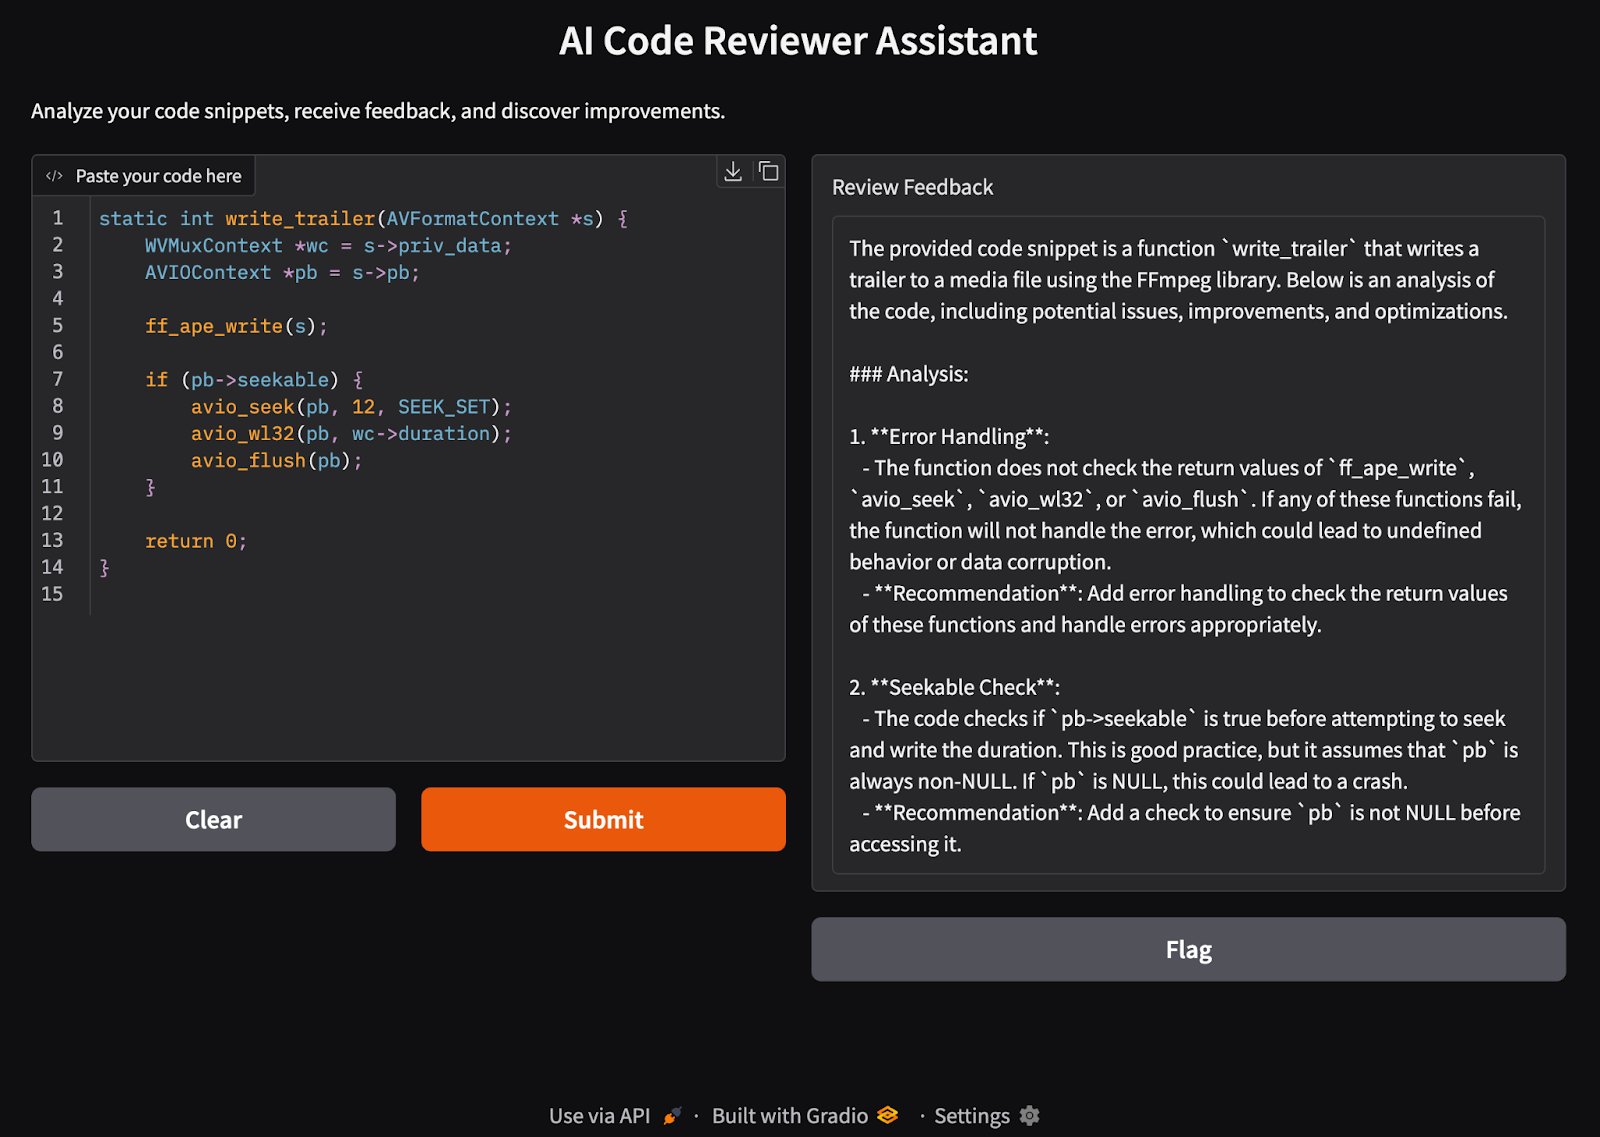
inputs=gr.Code(language='python', lines=20, label="Paste your code here"),
outputs=gr.Textbox(label="Review Feedback"),
title="AI Code Reviewer Assistant",
description="Analyze your code snippets, receive feedback, and discover improvements.",
)
interface.launch(share=True)The above setup includes three components:
gr.Code component where users can paste their code.gr.Textbox displaying the feedback from DeepSeek V3.gr.Interface ties the input and output together, launching a web app for user interaction.Let’s test our app through a simple example:
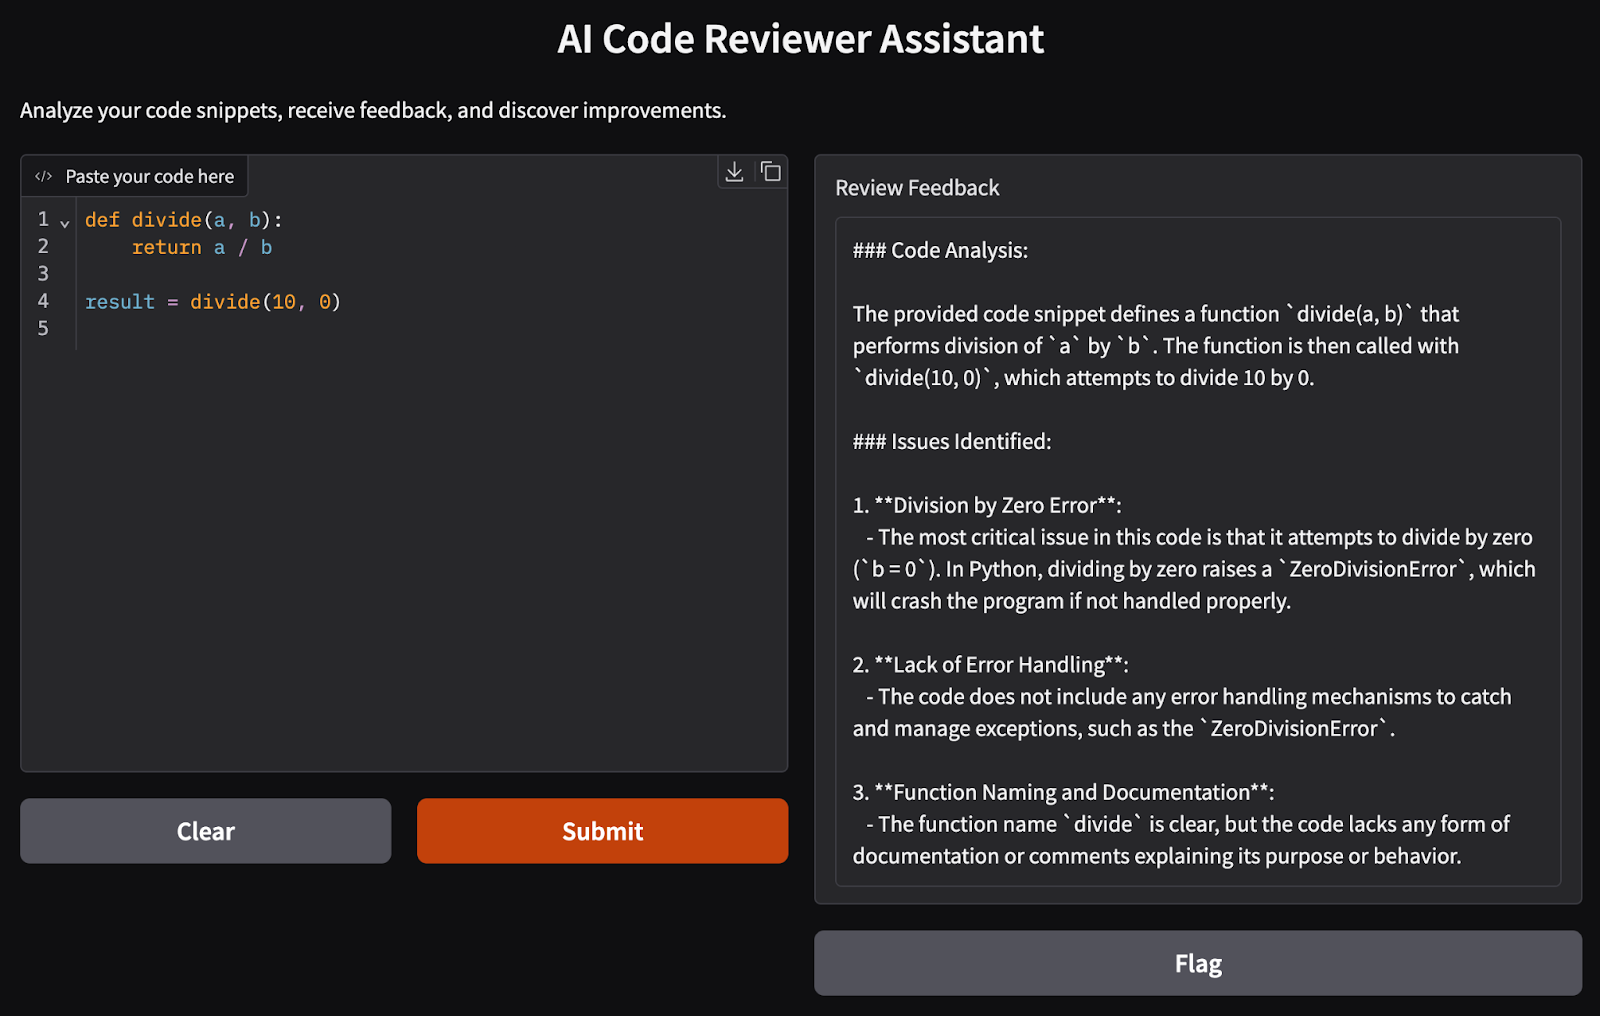
I tried multiple code examples to test this model and it provided the correct review each time.
In this tutorial, we built an AI-powered code reviewer assistant using DeepSeek V3 and Gradio. This tool can analyze code snippets, provide constructive feedback, and suggest improvements, enhancing your development process.
Feel free to expand its capabilities or integrate it into larger projects to further streamline your coding workflow.
To learn more about the DeepSeek ecosystem, I recommend these blogs:
Learn AI with these courses!
Course
Course
blog
François Aubry
8 min
blog
Alex Olteanu
8 min
blog
Dr Ana Rojo-Echeburúa
8 min
blog
Alex Olteanu
8 min
Tutorial
Aashi Dutt
Tutorial
Abid Ali Awan