
Course
Designing Agentic Systems with LangChain
3 hr
12.1K
Now that we have the prerequisite in place, we can set up Gemini CLI on our system.
Once Node.js and npm are installed and verified, install Gemini CLI by running the following command in your terminal:
npx https://github.com/google-gemini/gemini-cliOr use npm to run it:
npm install -g @google/gemini-cli
gemini
Once gemini-cli is installed, type gemini in your terminal to access it.
You can use your personal Google account to authenticate when prompted. This will grant you up to 60 model requests per minute and 1,000 model requests per day using Gemini.
In this tutorial, I authenticated using Login with Google, but you can also use the API Key (set as an environment variable) or Vertex AI for authentication. To generate a new API key, log in to AI Studio with your Google account and click Create API key. You can also use an existing key from a Google Cloud project to access specific models or request higher usage limits.
export GEMINI_API_KEY=”Your_API_Key”Or create a .env file
GEMINI_API_KEY=”Your_API_Key”You can use /auth in the textbox to switch the authentication as and when required.
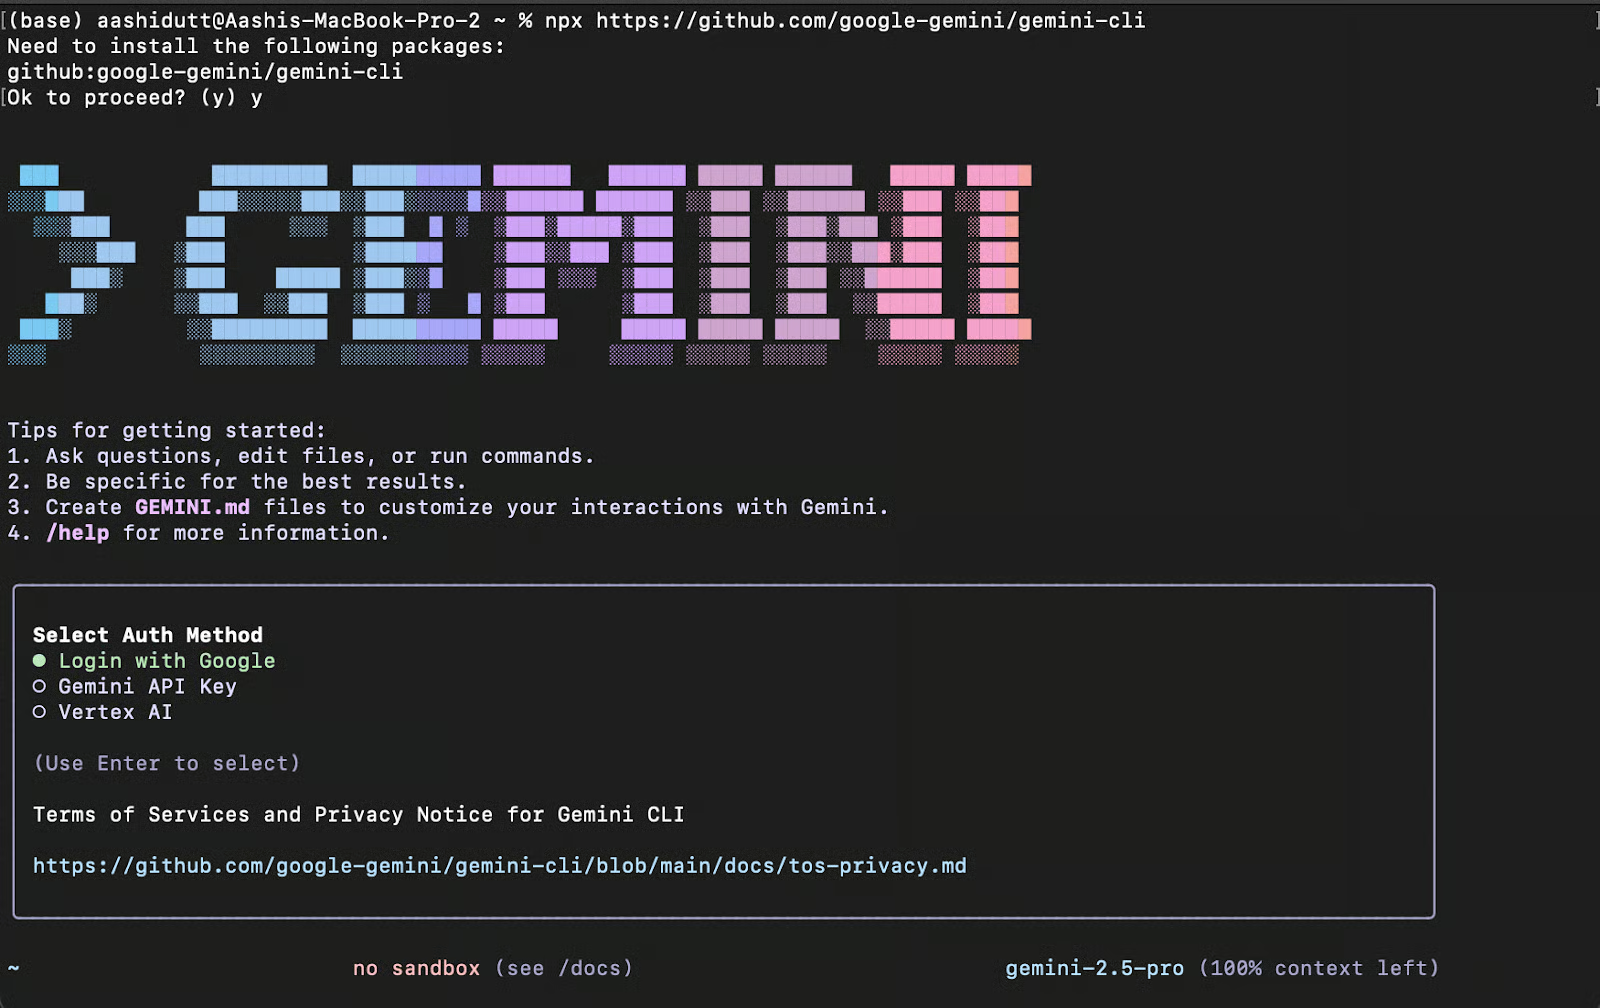
Once authenticated, you will find a textbox to interact with the CLI in your terminal for free.
Once the CLI is running, we can start interacting with Gemini from the terminal. There are two ways to work on a project with CLI.
To start a project from scratch, run the following commands:
cd new-project/
gemini
Inside CLI, use a prompt to solve a problem that interests you—for example:
> Write the encoder code for a transformer from scratch.This command will create a new project directory and initialize Gemini on the terminal. Then, you can ask Gemini to populate your new directory with code.
If you already have an existing codebase, then you can work with it using the following commands:
git clone https://github.com/AashiDutt/Google-Agent-Development-Kit-Demo
cd Google-Agent-Development-Kit-Demo
gemini
Inside CLI, use a prompt like:
> Give me a summary of all of the changes made to the codebase today.If you're working with an existing codebase, either cloned from GitHub or already present on your local machine, you can run Gemini CLI from within the project directory.
Alternatively, after launching Gemini, you can enter the full path to the code directory in the prompt textbox using the /path command to load the local project manually.
In this tutorial, we will work with an existing project that I used to write a tutorial on Google’s Agent Development Kit (ADK). The repository is stored on GitHub. Using Gemini CLI, we will:
Let’s begin by asking Gemini to explore and explain the codebase.
Prompt: Explore the current directory and describe the architecture of the project.
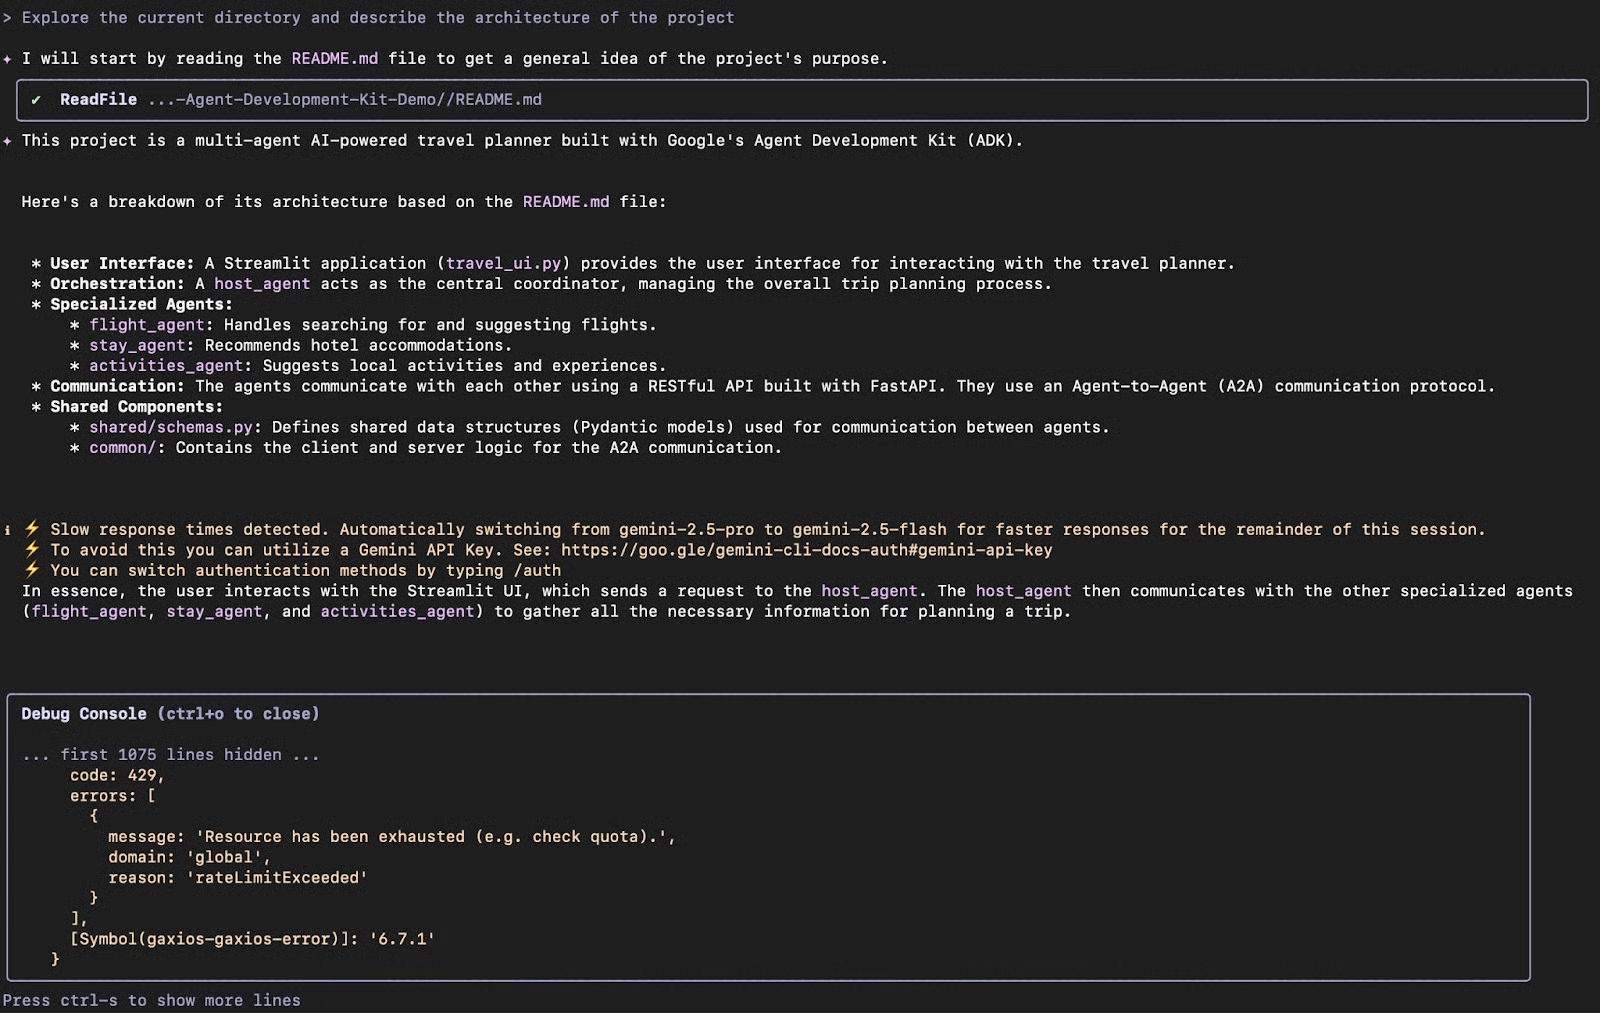
Gemini CLI returned a structured summary, explaining how:
agents/ contains individual agent implementationsshared/ defines common schemas used by all agentscommon/ includes reusable A2A utility functions for inter-agent messagingThis helped me get oriented without reading every file manually.
Let’s explore some open issues from the GitHub repository. You can use the /compress tool to compress the context by replacing it with a summary. This helps us to pass more information in a limited context length.
Note: Gemini will ask for acknowledgement before accessing the GitHub repository. In this case, the repo is open-sourced.
Prompt: Here's a GitHub issue: [@search https://github.com/AashiDutt/Google-Agent-Development-Kit-Demo/issues/1]. Analyze the codebase and suggest a 3-step fix plan. Which files/functions should I modify?
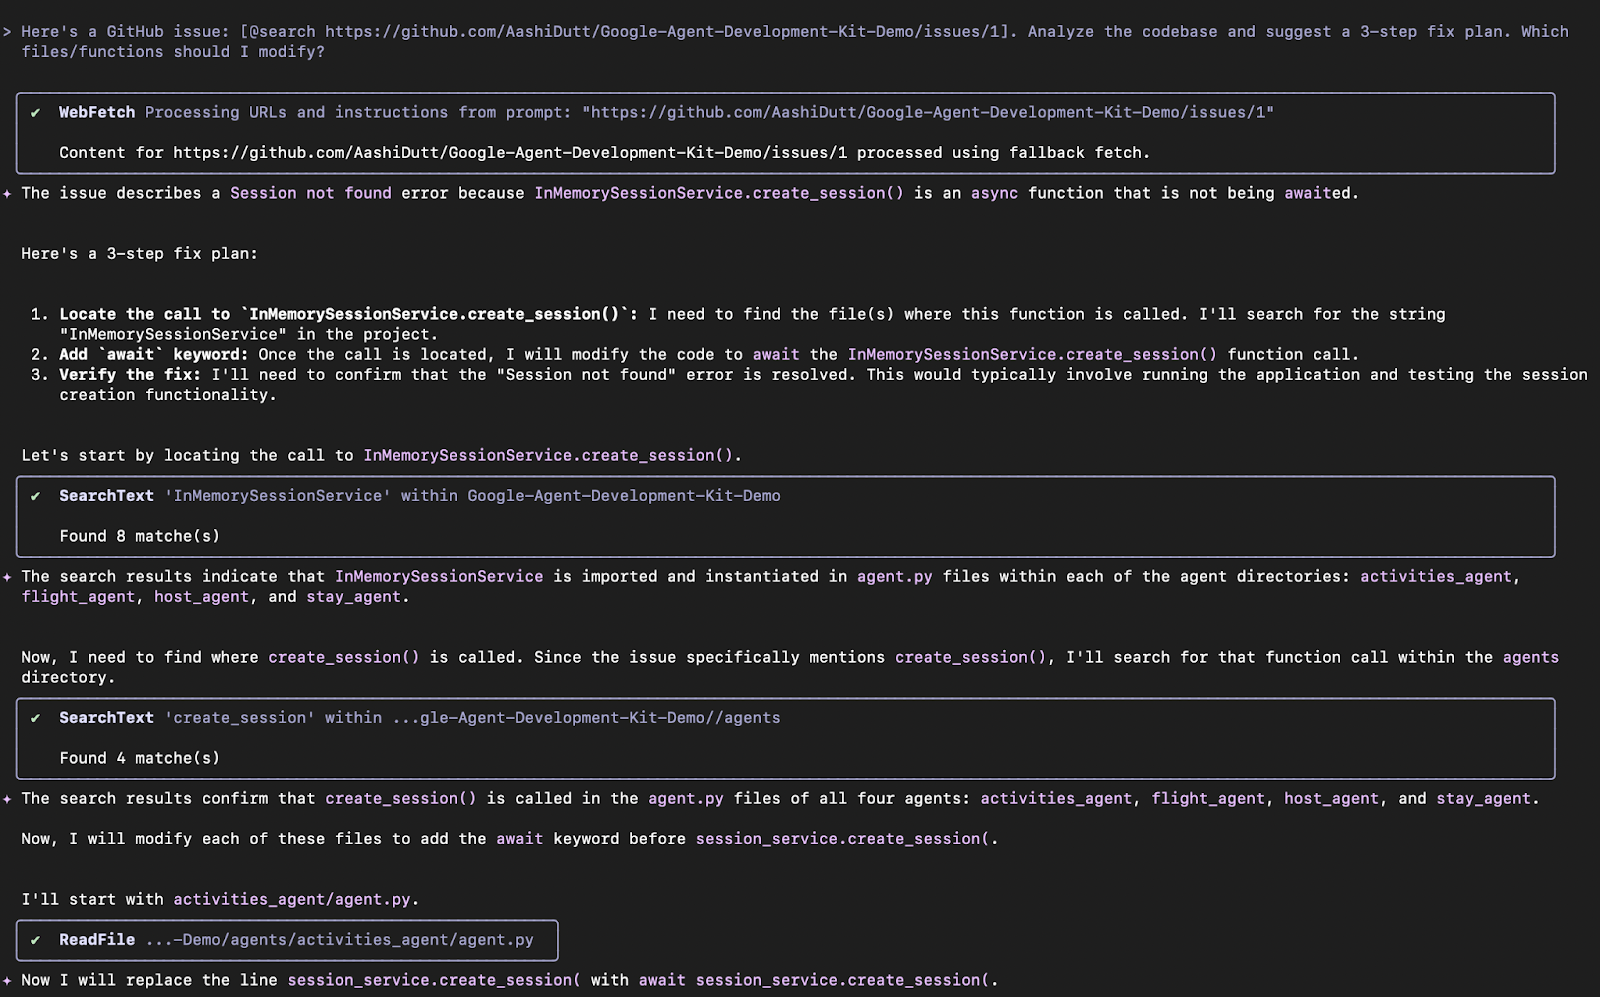
Gemini CLI explored the issue:
@search feature, and returned a 3-step fix plan for the GitHub issue.Next, the CLI awaits input from the user to evaluate the changes, and if the user agrees, then it will make the suggested changes. Choose the option to apply suggested changes by clicking Enter.
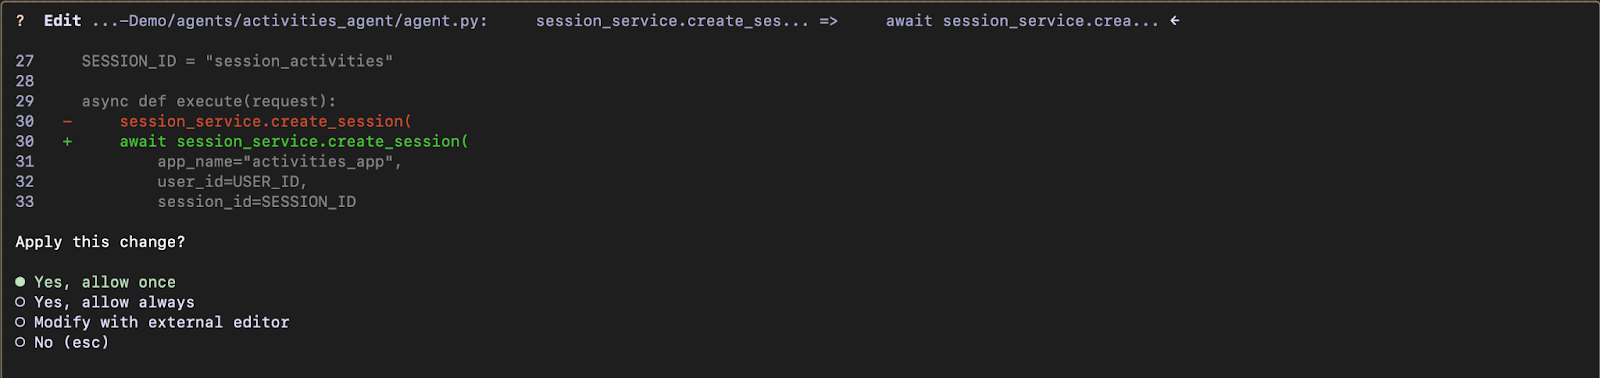
The CLI makes changes to every affected file. Once the changes have been made, it will return a summary of the changes made.
Let’s implement and test the suggested fixes by Gemini. For this, I used the following prompt and allowed execution.
Prompt: Write a pytest unit test for this change in test_shared.py.

Gemini CLI:
json.dumps() before sending task payloads in the previously suggested files. test_agents.py if missing to add unit tests.The CLI generates the test_agents.py file and runs it using multiple shell scripts. However, at one point, Gemini entered a loop repeating the same error. A refined prompt, a rerun, or simply using a different model via API would help resolve this.
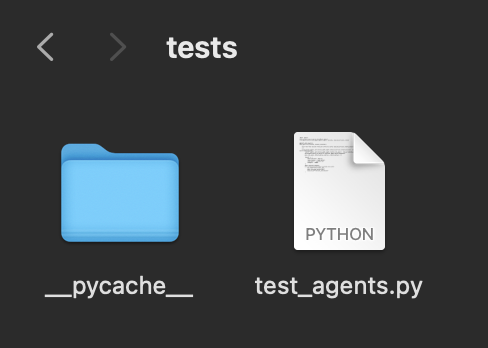
Here is the new file generated by Gemini in the project folder:
Now that we have made the fixes, let’s summarize the changes made and write them as Markdown in a .txt file.
For this, I used the following prompt:
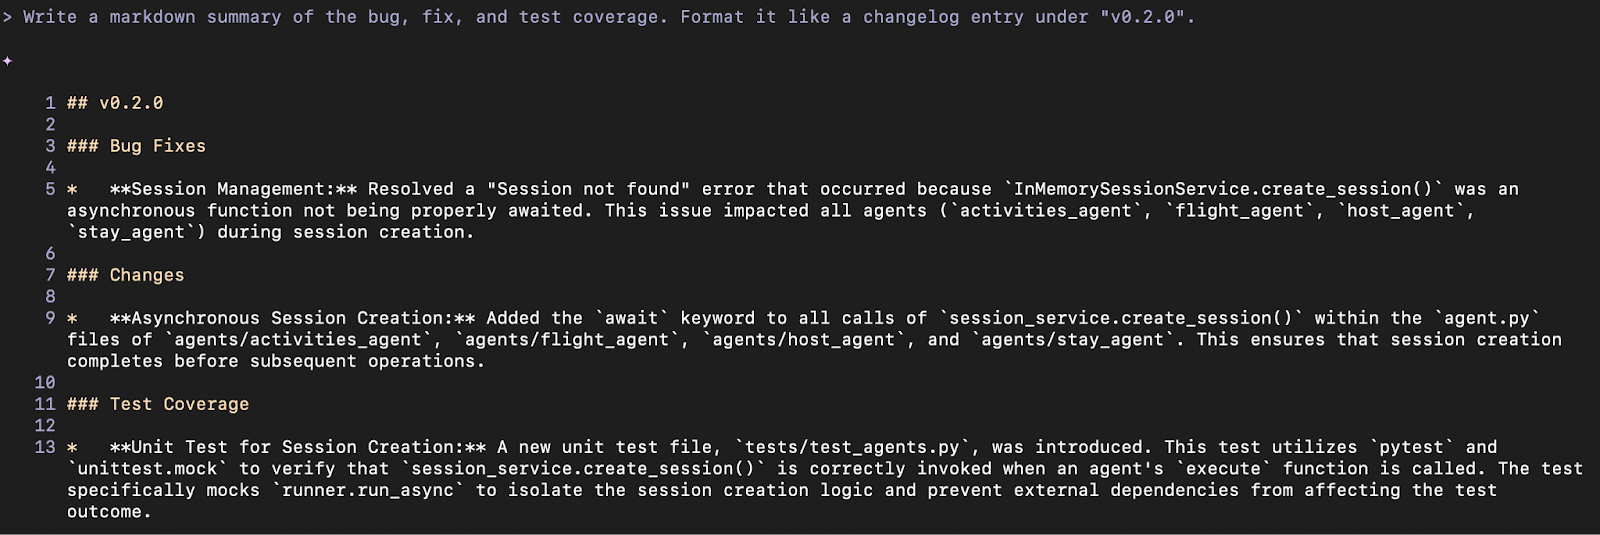
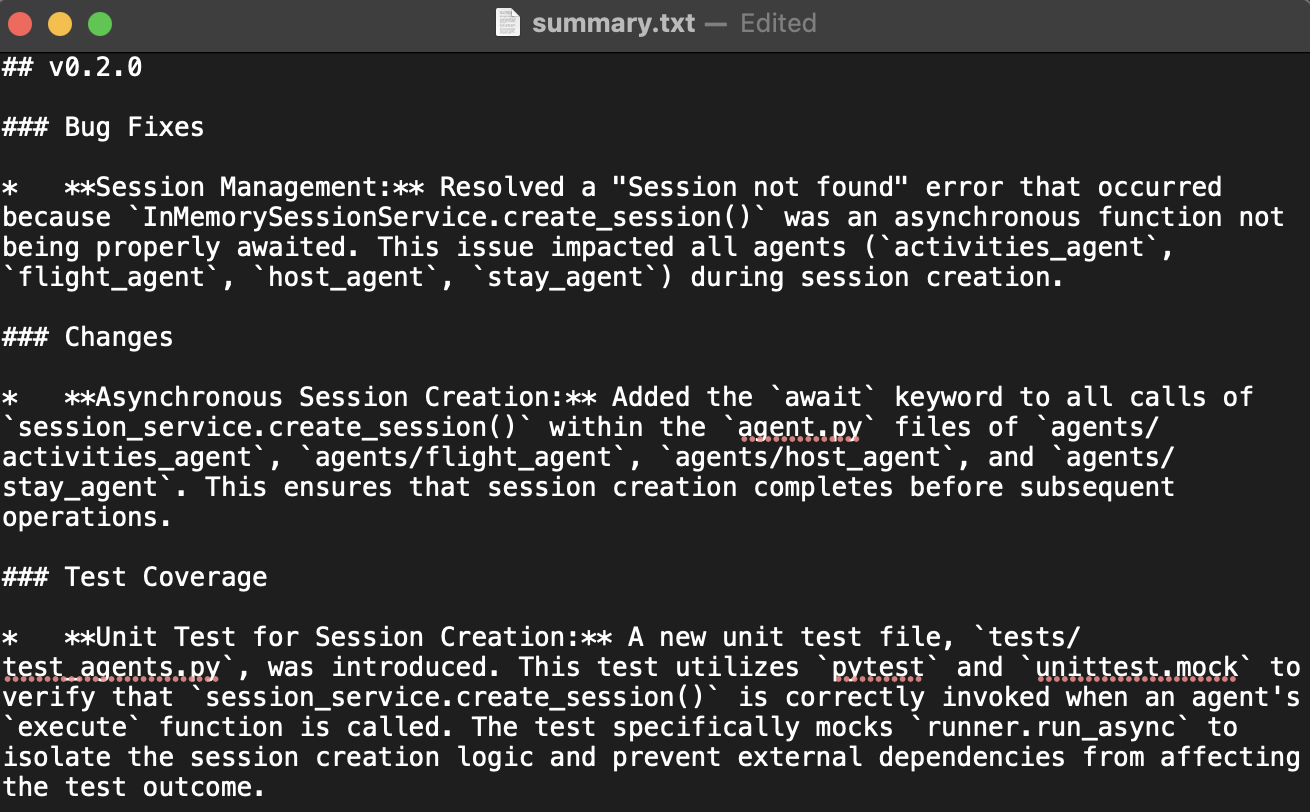
Prompt: Write a markdown summary of the bug, fix, and test coverage. Format it like a changelog entry under "v0.2.0".
To save the summary in a document, I used the following prompt:
Prompt: Save this summary in a .txt file and name it summary.txt
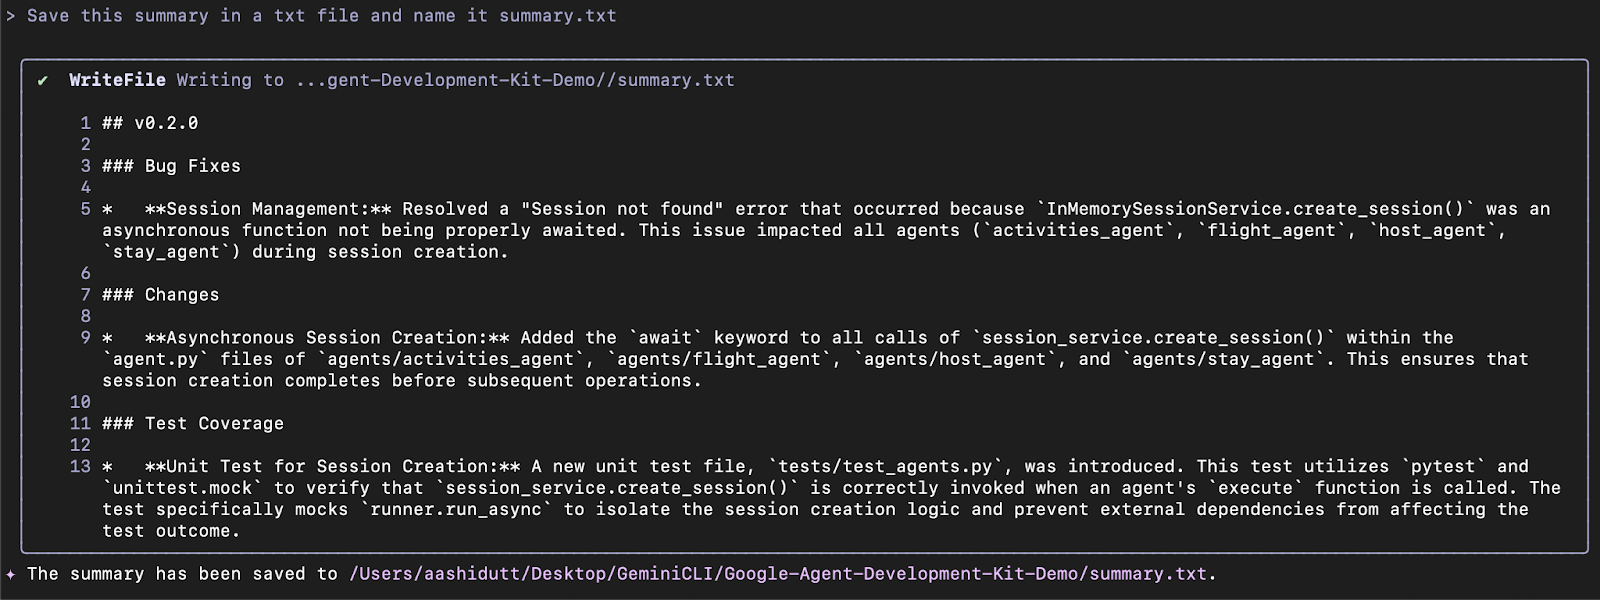
Gemini CLI uses the WriteFile tool to save the summary.txt file in the project directory.
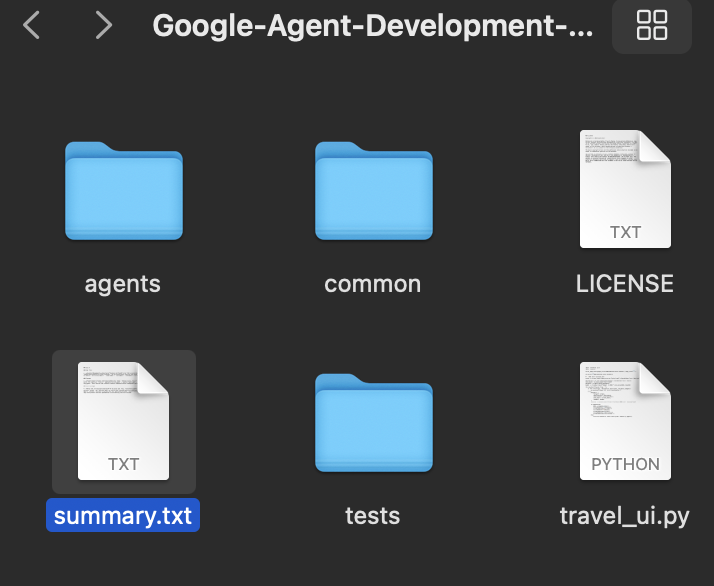
Here is the summary.txt file generated by Gemini for this project:
This section extends the previous experiments, where I explore how Gemini CLI uses Model Context Protocol (MCP) to maintain file-level summaries and task history across prompts. This gives Gemini a working memory within the session. Using this capability of Gemini, I asked Gemini to generate a project flowchart and convert it into an image.
Here is the prompt I used:
Prompt: Generate a flowchart that shows how agents communicate via A2A and how the main.py orchestrates the system. Highlight where the issue occurred and how it was fixed.
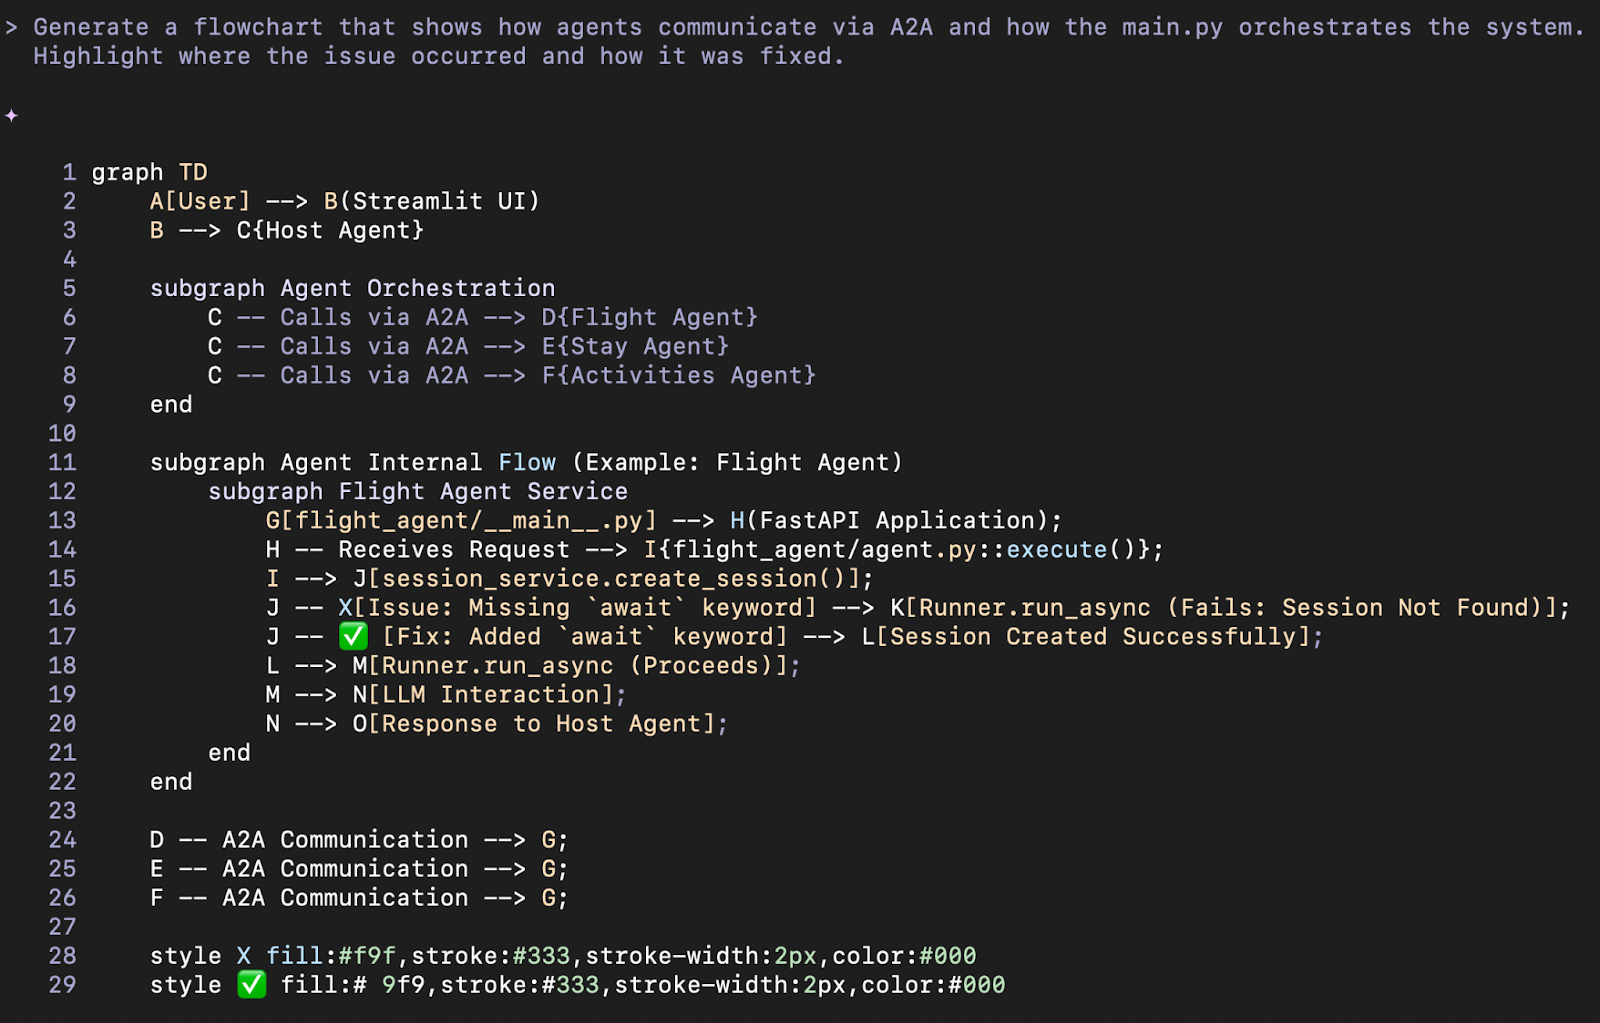
This visualization is powered by Gemini's persistent memory, which retained the full context of our earlier bug fix and agent structure without needing any re-upload or file hints.
Although image generation tools were not directly available within the CLI (they may be accessible via API), this visualization proved helpful in understanding agent routing.
Some tools Gemini CLI supports include:
These tools help you navigate, query, and modify large codebases efficiently.
To learn more about Gemini CLI, I recommend reading the official documentation and the GitHub page.
In summary, this tutorial demonstrated how Gemini CLI can be used to:
Gemini CLI reduced the time I’d normally spend parsing files and manually planning fixes. While Gemini CLI is still in its early stages and may occasionally feel slow when used via the API, it is already matching the capabilities of Claude Code.
If you are a developer looking to add AI agents to your workflow, check out this four-part tutorial series on Devin:
Build AI Agents with these courses:
Course
Course
Course
blog
Khalid Abdelaty
15 min
Tutorial
François Aubry
Tutorial
Abid Ali Awan
Tutorial
Aashi Dutt
Tutorial
Aashi Dutt
Tutorial
Abid Ali Awan