Track
AI Agent Fundamentals
6 hr
You have probably already heard of Unsloth. They are widely known for quickly releasing quantized versions of new open models, making them easier to download, load, and run across local inference setups. They have also built a strong reputation for practical guides on running and fine-tuning the latest open models without turning the setup into a headache.
More recently, Unsloth Studio brings a lot of that workflow into one place: a local web UI for running and training models, with support for GGUF and Safetensors, side-by-side model comparison, automatic inference parameter tuning, tool calling, and an OpenAI-compatible API.
In this tutorial, I will walk you through how to set up the environment needed for Unsloth Studio, install it locally, launch the interface, and test a model directly from the UI. No messy manual pipeline, no bouncing between five different tools, and no need to write extra inference code just to get started.
You can also check out our guide to Fine-Tuning with Unsloth Studio, and our original Unsloth guide to learn more.
Unsloth Studio is Unsloth’s new open-source local web interface for running, training, and exporting open models from one place. Instead of juggling separate tools for inference, fine-tuning, and testing, it brings everything into a single setup you can run on your own machine.
Unsloth Studio supports GGUF and Safetensors models, works across Mac, Windows, and Linux, and is designed to make local model experimentation much easier for people who want a visual workflow instead of stitching together scripts by hand.
There are several notable features that make this such an intriguing tool, including:
Before starting the installation, make sure your system has the basic tools needed to run Unsloth Studio locally. The setup is quite manageable, but if you want to fine-tune models instead of only using chat, you will need a more complete GPU-ready environment.
In simple terms, basic local chat is easier to get running on a CPU, but fine-tuning needs the right NVIDIA hardware and updated drivers alongside the standard setup tools.
For this tutorial, we will use a RunPod A40 machine. I could have run everything on my laptop, but I do not have enough storage space, and my internet is too slow for downloading large models and dependencies comfortably.
So, instead of dealing with long download times, slow builds, and the risk of cluttering my local system, I am using RunPod as a simple cloud option that is much faster to set up for this workflow.
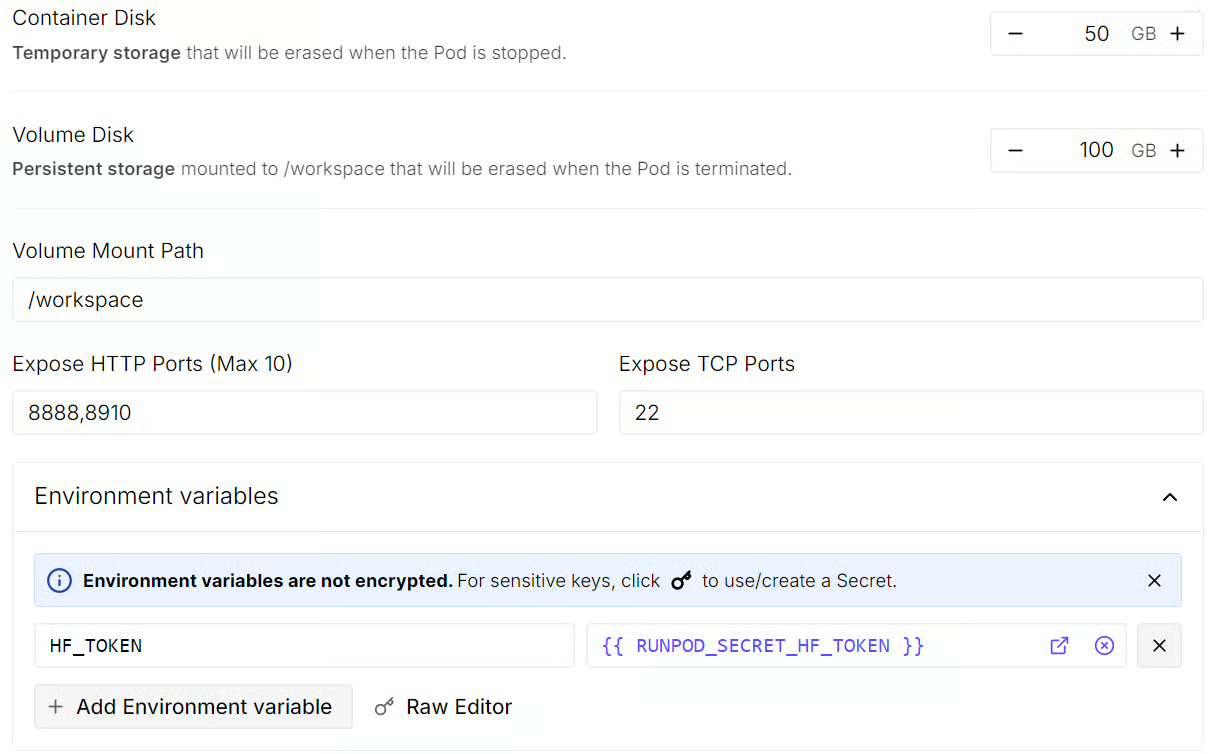
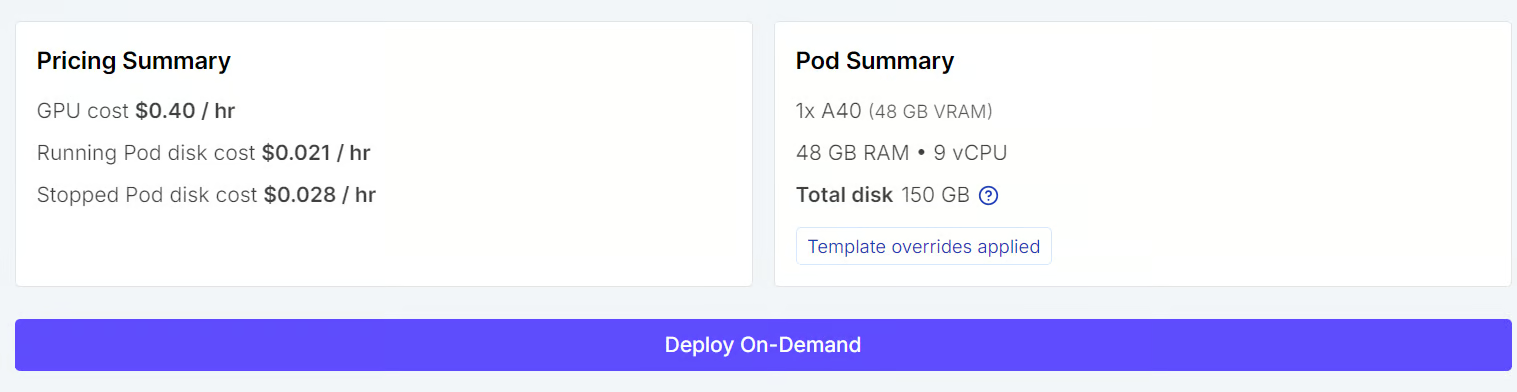
Once everything looks right, save the changes, review the pod summary, and deploy the pod.
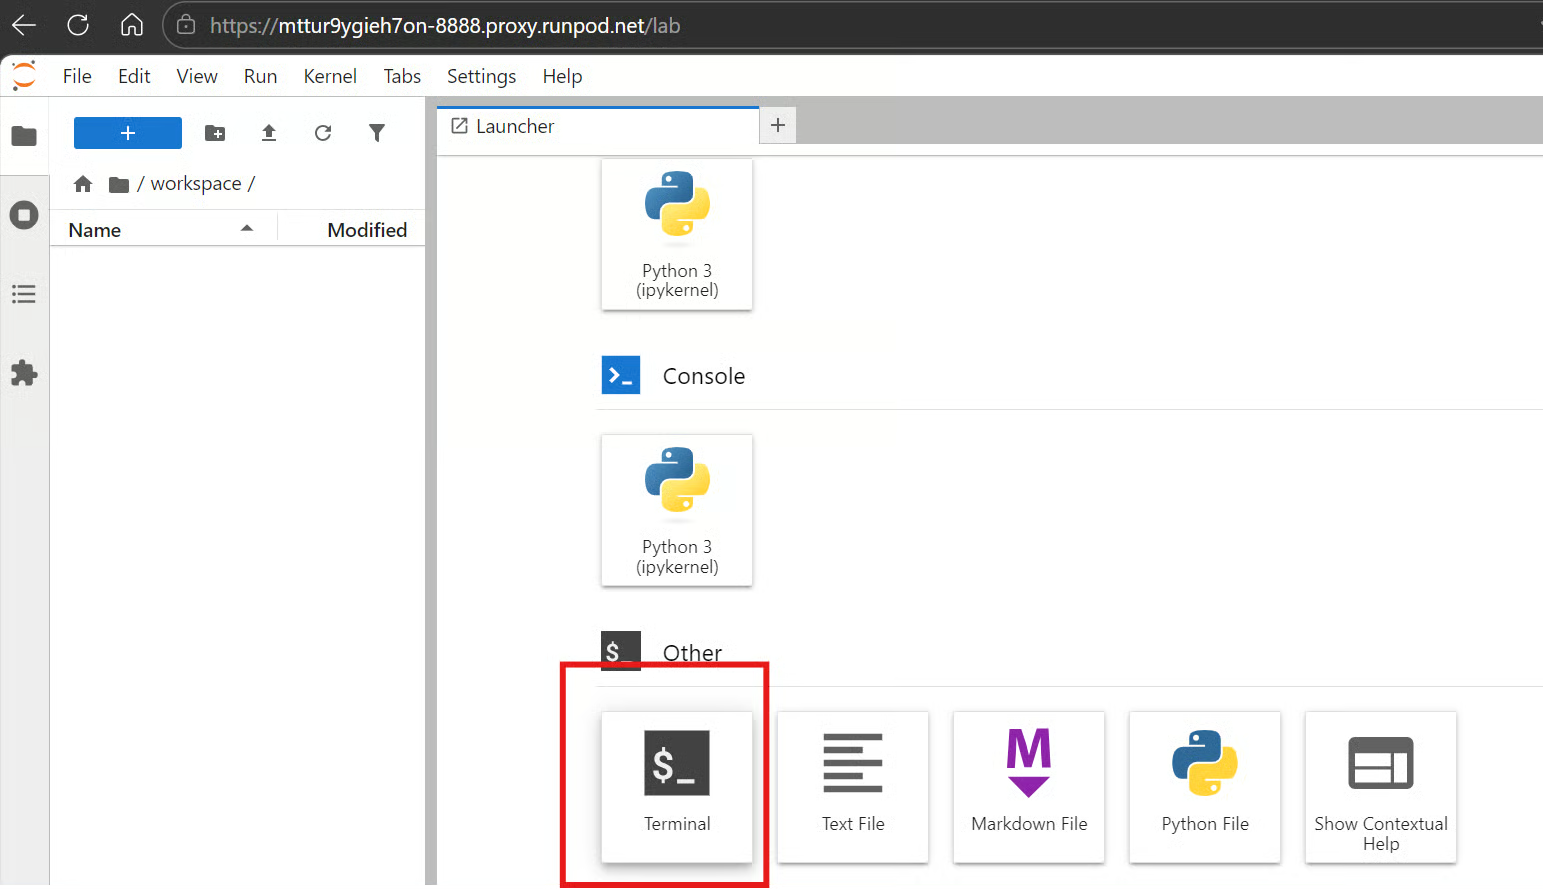
Within a minute or so, you will see a link in the RunPod dashboard to access JupyterLab. Open it, then launch a terminal. You can also use SSH and port things locally, or use the web terminal, but I find the JupyterLab terminal much easier for this kind of setup. It is quick to access, simple to manage, and lets you keep multiple terminals open at the same time without any issue.
First, upgrade pip and install uv.
pip install --upgrade pip && pip install uv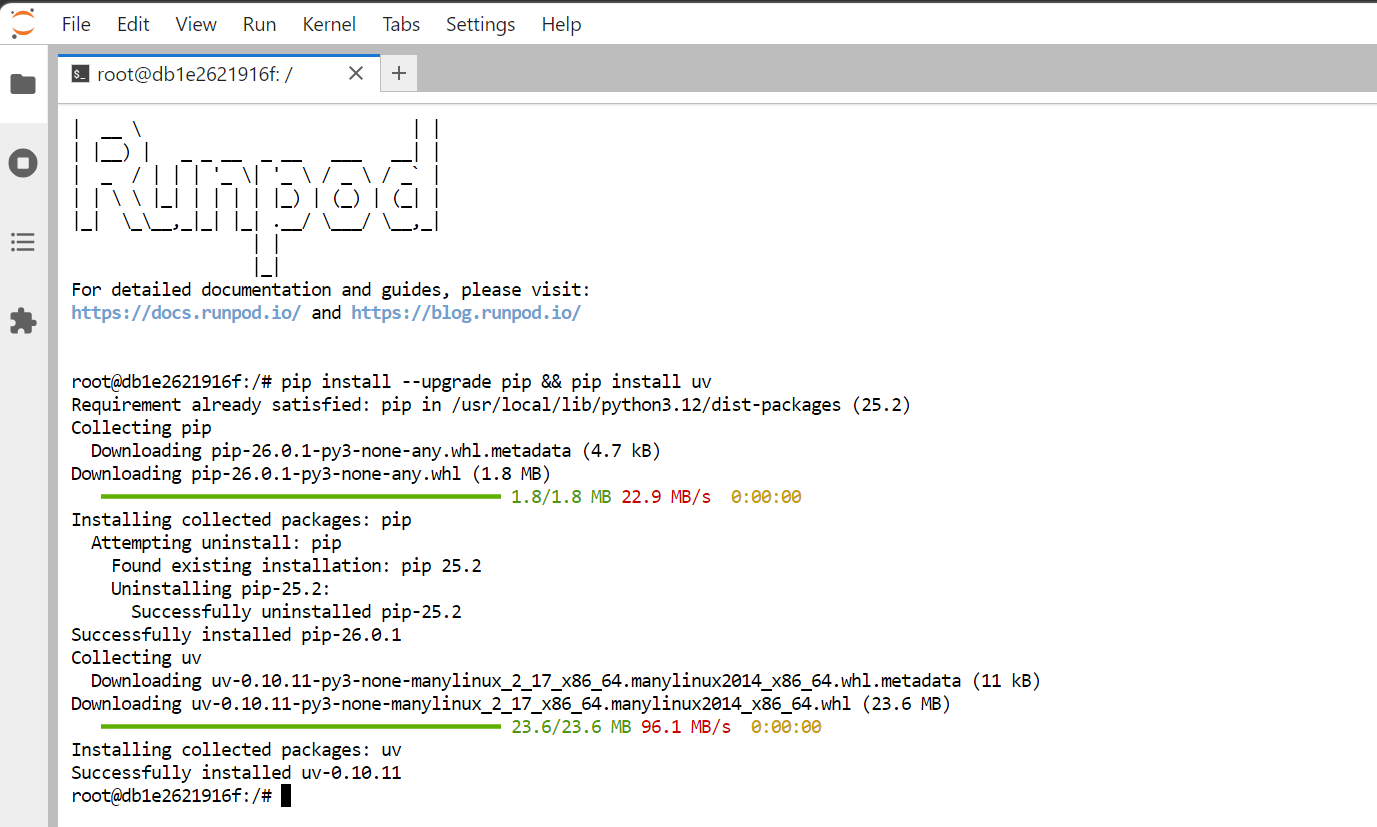
Next, create a new folder for the project and move into it.
mkdir Unsloth-Studio && cd Unsloth-StudioAfter that, create a virtual environment using uv.
uv venvYou should then see output similar to this, showing that the virtual environment has been created successfully.
Using CPython 3.12.3 interpreter at: /usr/local/bin/python
Creating virtual environment at: .venv
Activate with: source .venv/bin/activate
Now activate the virtual environment.
source .venv/bin/activateOnce the environment is active, install Unsloth using uv.
uv pip install unsloth --torch-backend=auto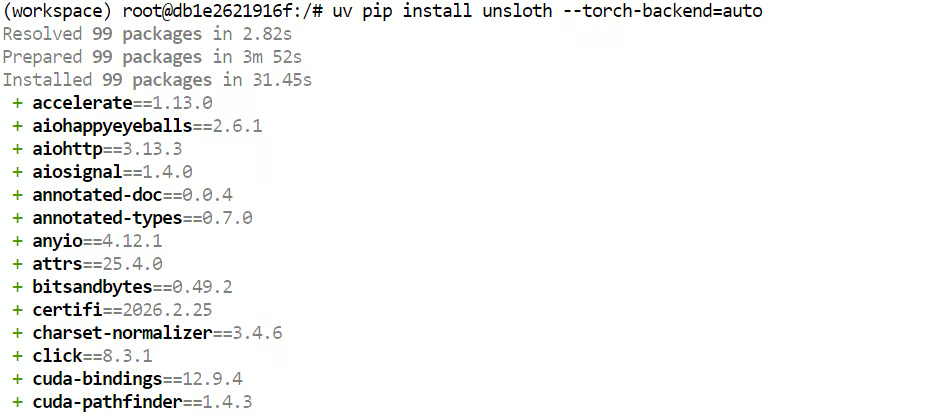
Finally, run the Studio setup command. This step handles the heavier setup for you, including installing Node.js, npm, building llama.cpp, and installing the extra Python packages needed for this run.
unsloth studio setup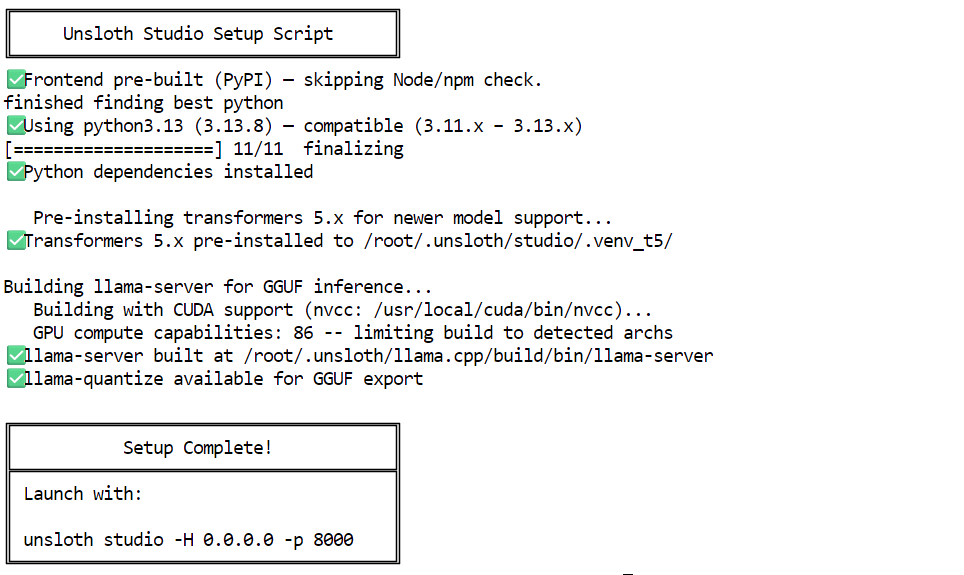
Once the setup is complete, you will see the command needed to launch Unsloth Studio locally.
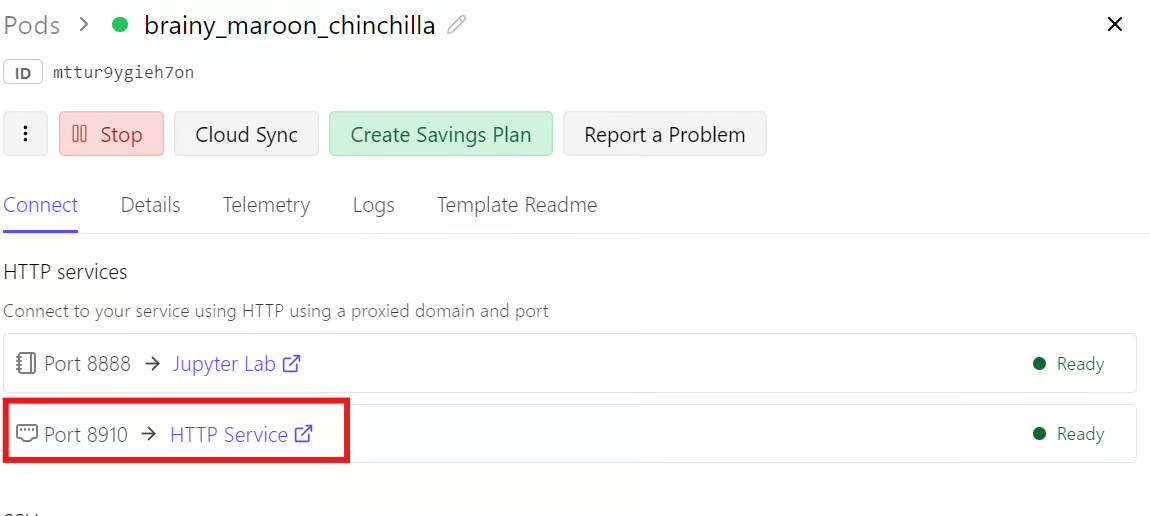
Remember that at the start, we exposed port 8910 while editing the RunPod template.
We will now launch Unsloth Studio on that port so we can access it directly through the RunPod link instead of only using localhost inside the machine.
Run the following command in the terminal to start Unsloth Studio web inference.
unsloth studio -H 0.0.0.0 -p 8910Once it starts, you should see that it has detected the A40 GPU, along with the default admin credentials and the default model that is already downloaded and ready to use. In most cases, a Qwen3.5 4B quantized model is available by default, so you can start testing the Studio right away without downloading another model first.

Instead of clicking the localhost link shown in the terminal, go back to the RunPod dashboard and open the Connect tab. From there, click the link for port 8910 to open the Unsloth Studio web interface.
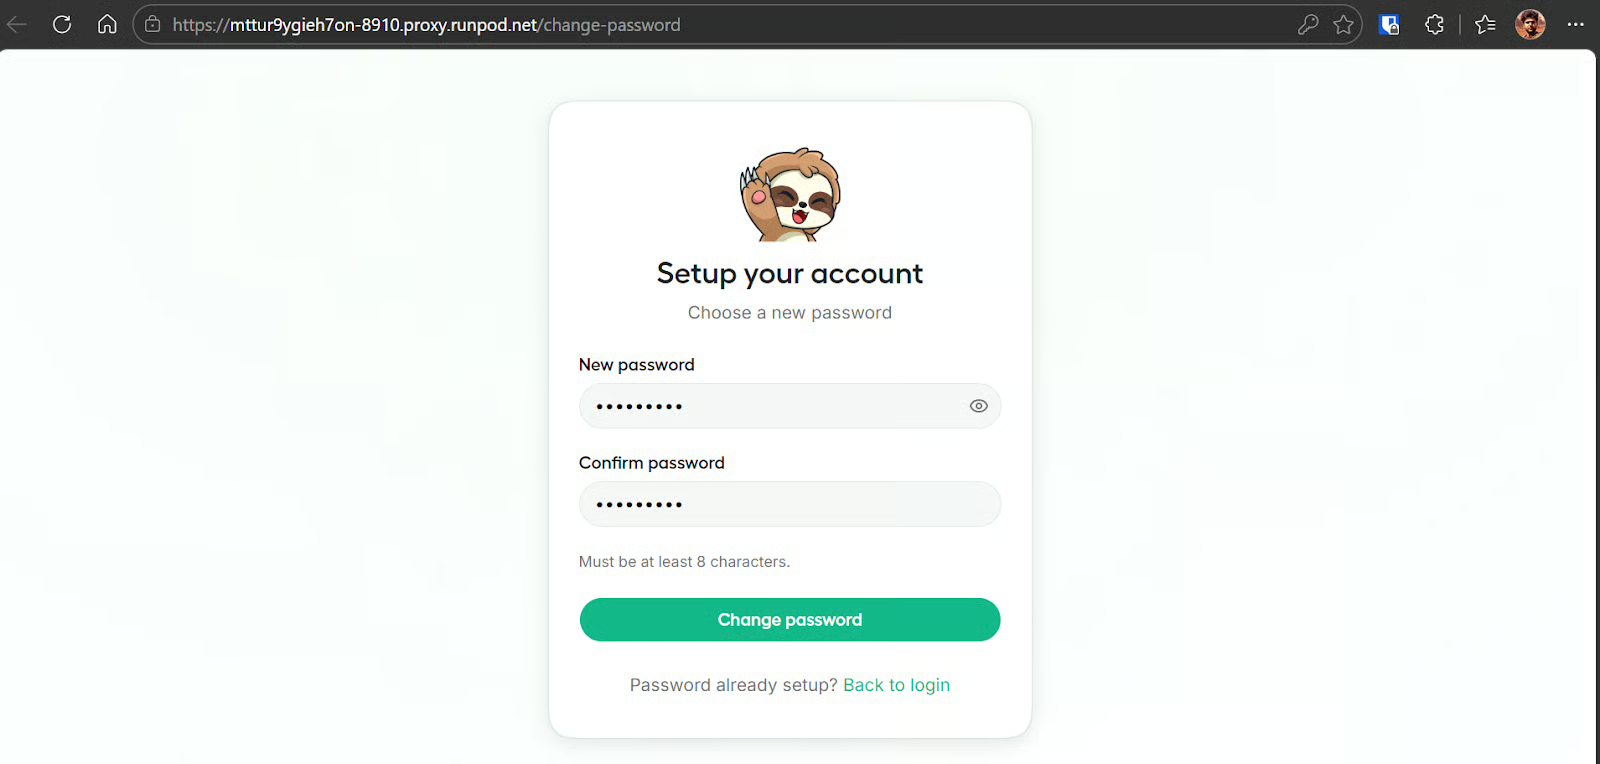
The first time you open it, Studio will ask you to create a new password. Set one so the instance is protected and not exposed to anyone else using that public link.
After that, you will be taken into the onboarding flow, which you can skip if you want. It is useful if you want a quick walkthrough of the interface, buttons, and main sections, but it is not required to get started.
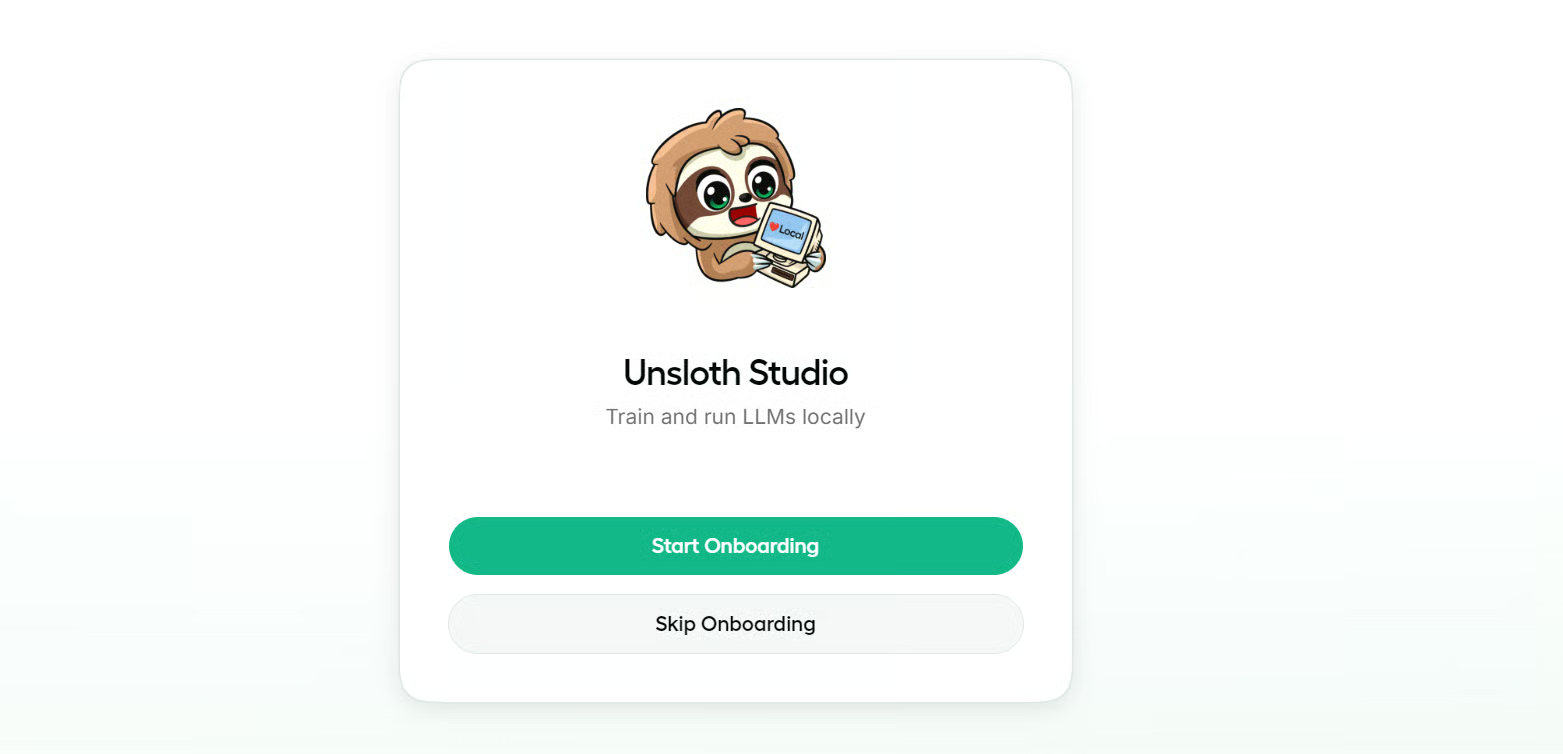
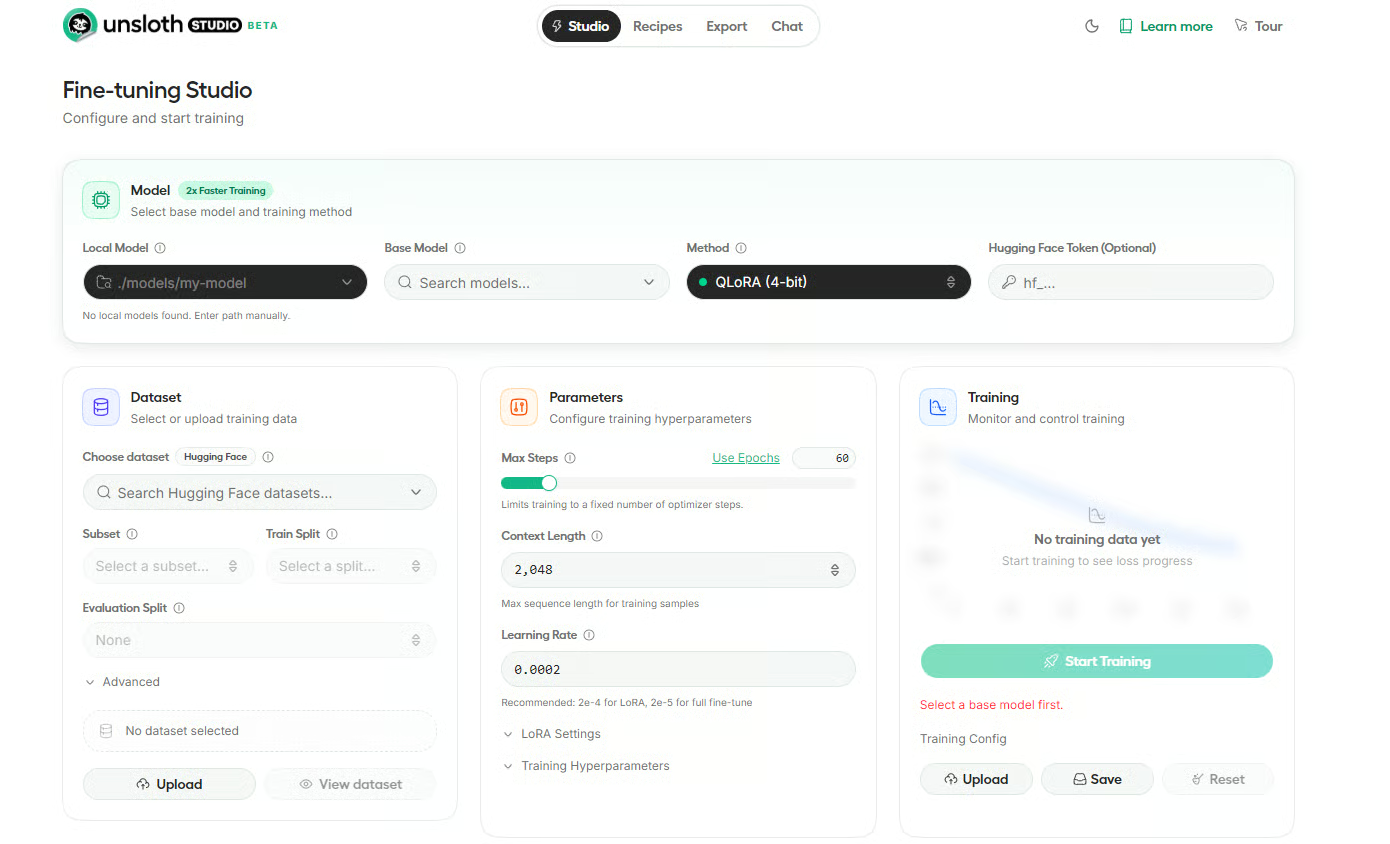
Once inside, you will land on the Unsloth Studio dashboard. The interface is organized into four main tabs.
Studio is where you handle fine-tuning, Recipes lets you create datasets from files like PDFs and CSVs, Export helps you save fine-tuned models in formats like GGUF or 16-bit Safetensors, and Chat is where you interact with the model directly.
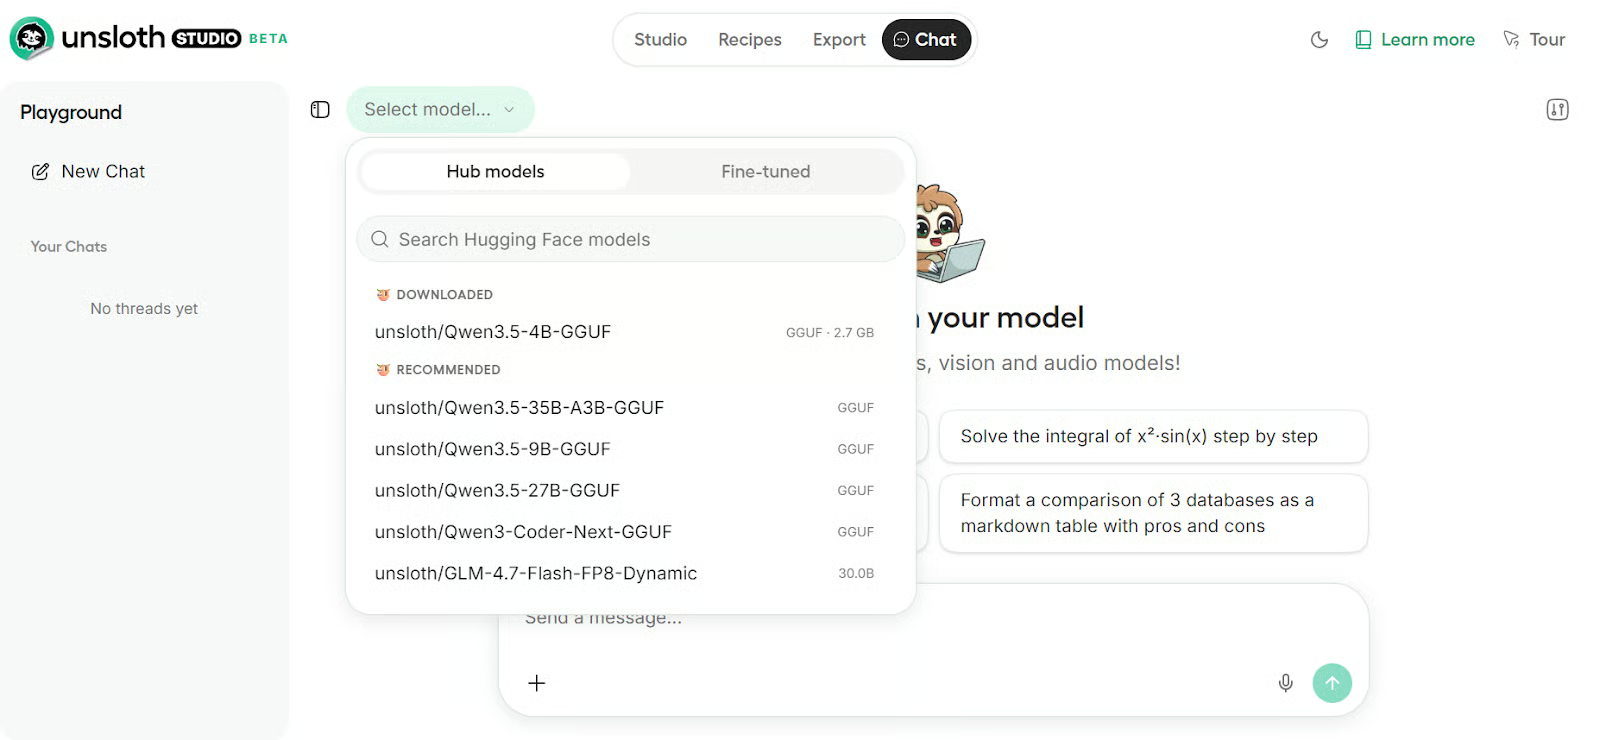
Click on the Chat tab, then click the Select model button in the top-left corner. As shown in the screenshot, the Qwen3.5 4B model is already downloaded. Click on it, then select the installed quantized version, and you are ready to use it. It will take a few seconds to load the model into GPU memory.
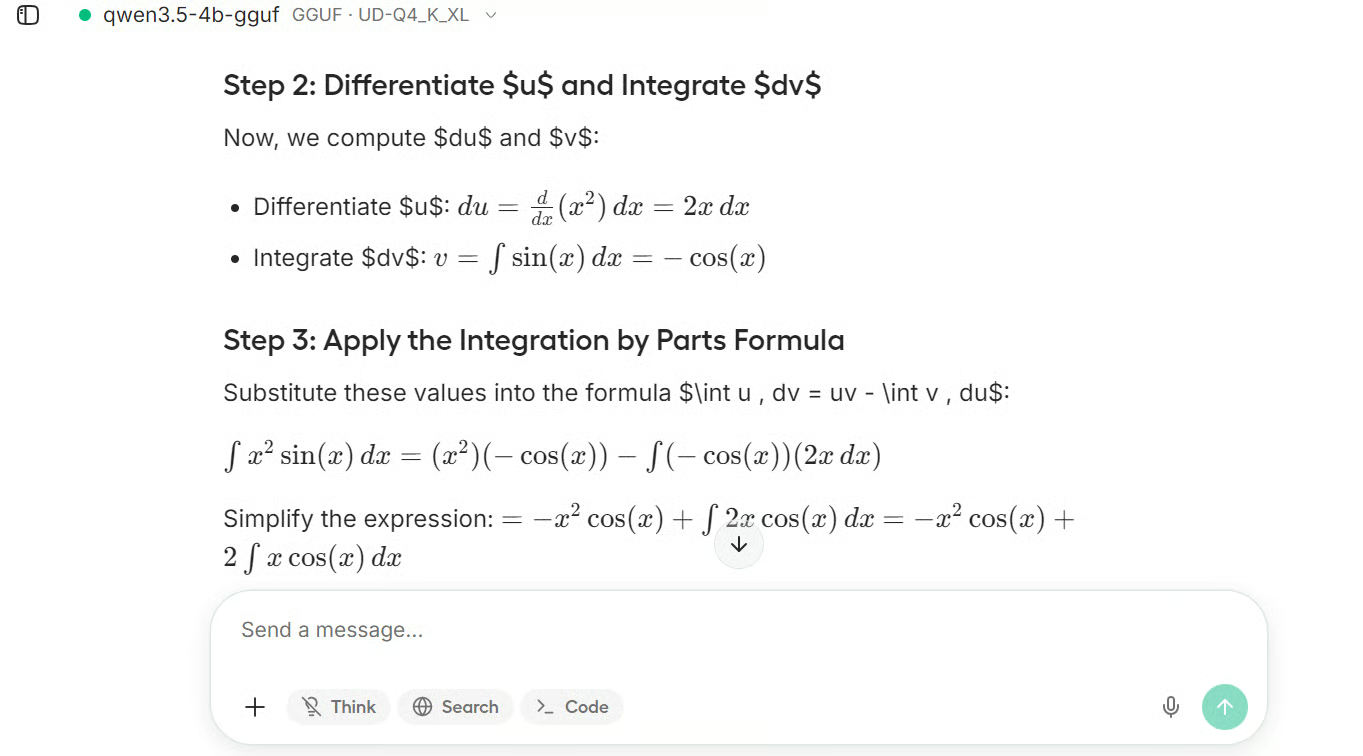
To test it, we gave it a math problem, and the response was impressively fast, smooth, and coherent.
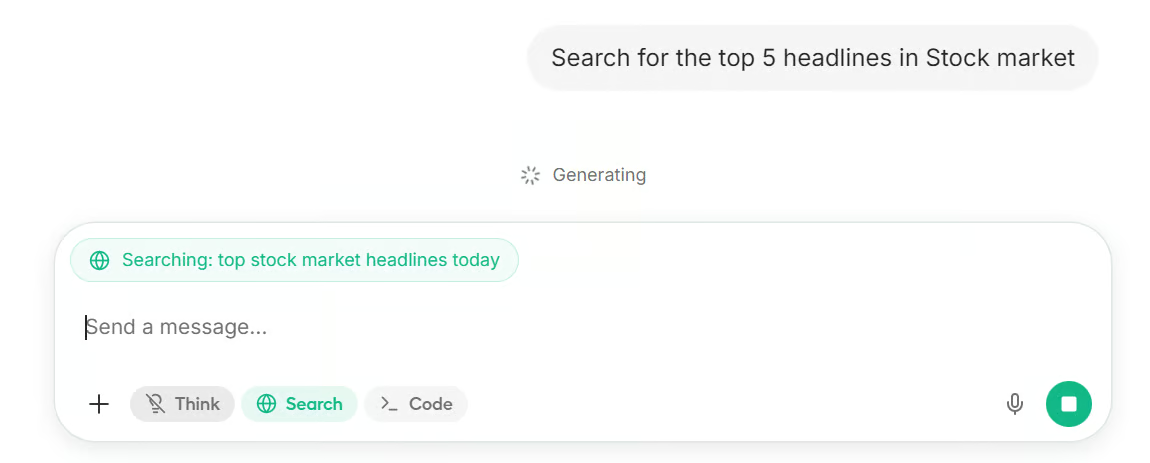
You can also enable web search and ask about recent topics. When this option is turned on, Unsloth Studio first performs a web search, then passes the retrieved information to the model so it can generate a more grounded response.
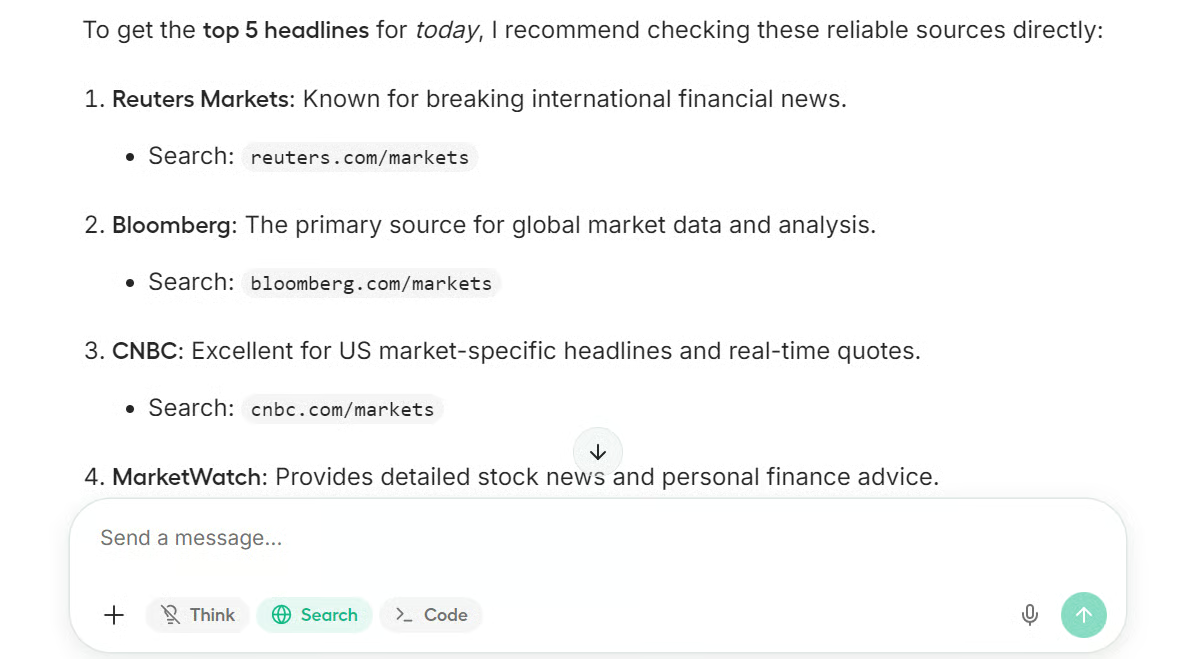
As you can see, it returned the top five news results from major publications about the stock market.
You can also search for any model you like from Hugging Face and download it directly inside the interface. In this example, we downloaded Qwen3.5 9B 4-bit quantized.
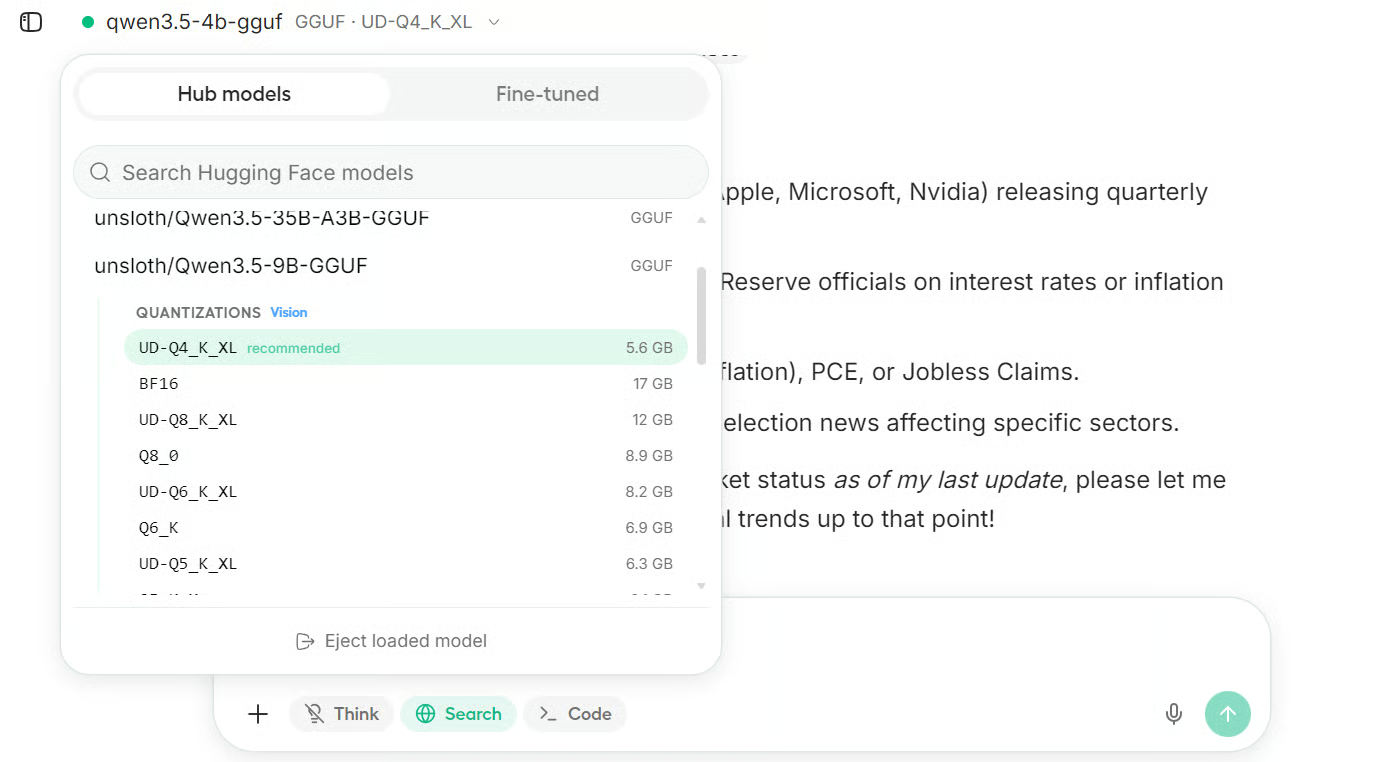
Once you click on the model, the download begins. Depending on the model size and your internet speed, this may take a while to complete.

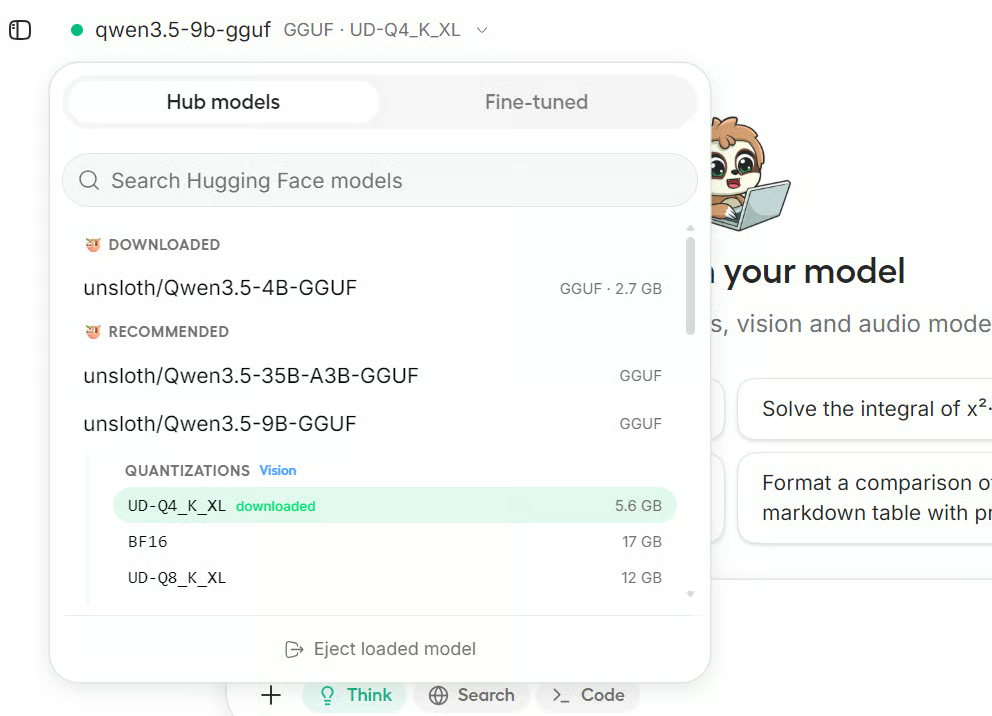
After the download finishes, you can load the newly downloaded model. Within seconds, Unsloth Studio switches from the earlier model to the new one, giving you access to a more capable model.
We then asked the new model to generate SVG art of a sloth.
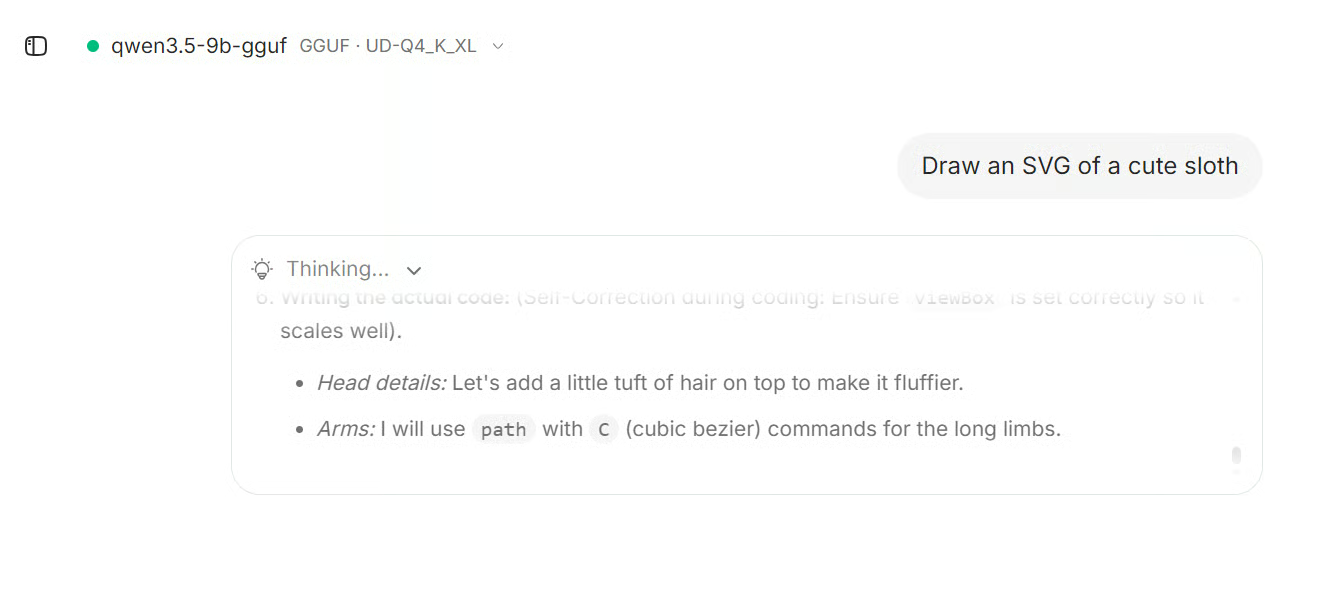
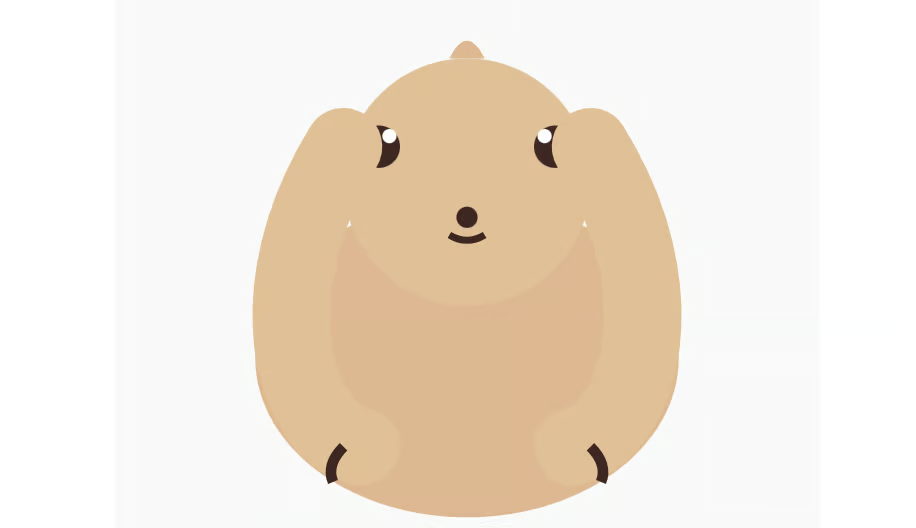
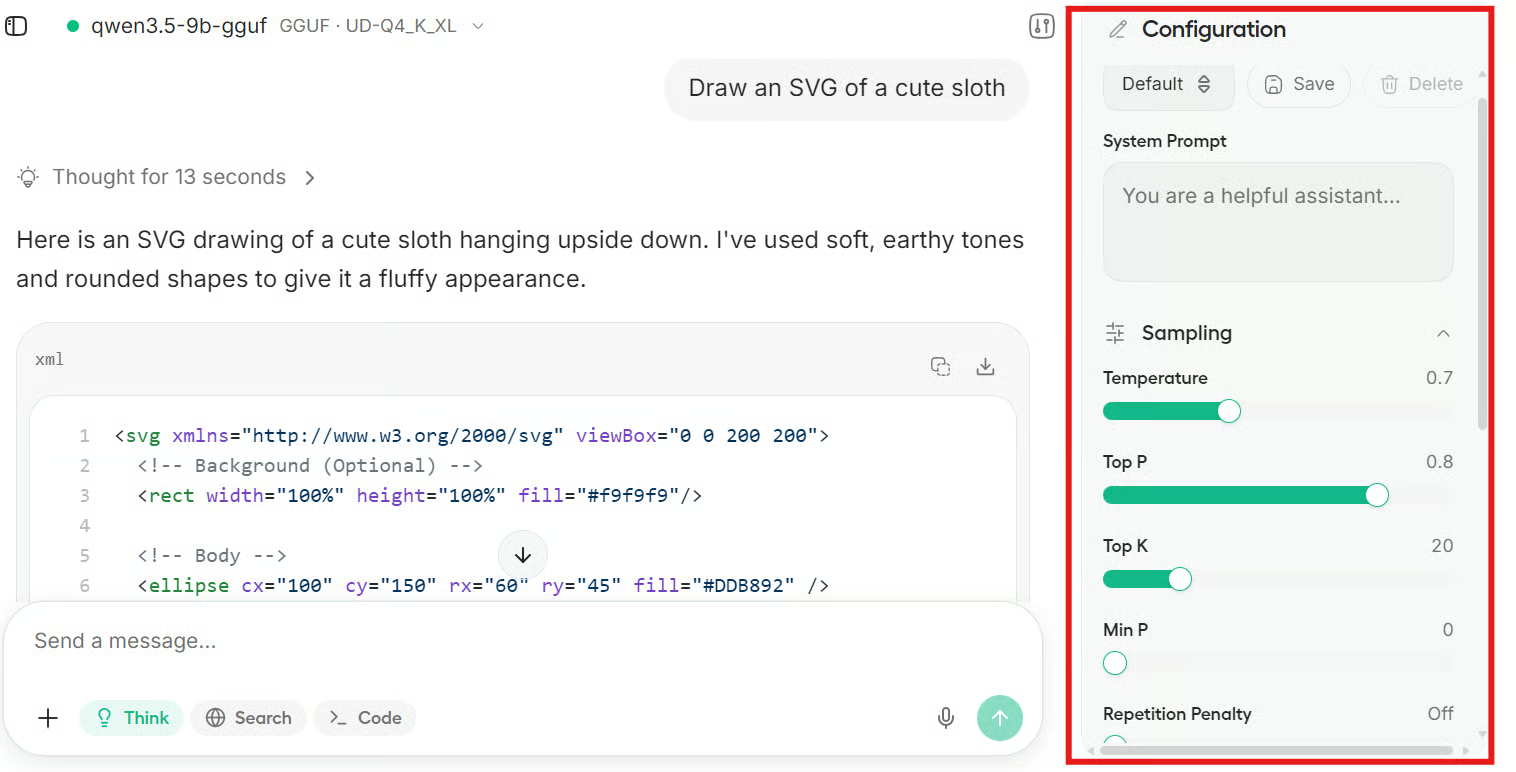
It first reasoned through the request, then generated the SVG code, and finally displayed the sloth art directly in the interface.

It definitely looked like a sloth, although not a particularly impressive one. With a larger and stronger model, you can usually get much better results, especially if your system has a more powerful GPU and enough RAM.
The Unsloth Studio chat interface also includes several configuration options. You can adjust generation parameters, add a system prompt, modify the chat template, and experiment more freely with how the model behaves.
Overall, I really enjoyed using Unsloth Studio. The setup was not as smooth as I expected, and there were definitely a couple of pain points along the way, but once everything was finally running, the experience completely changed for me.
The biggest issue was the unsloth studio setup step. On paper, it sounds simple, but in reality, it took almost 15 to 20 minutes just to install everything. I probably could have done some parts of the installation myself in much less time.
Even the docs mention something closer to 5 to 10 minutes, but in my case, it definitely took longer.
The second pain point was storage. I initially assumed I would only need a moderate amount of space, but the full setup ended up taking close to 100 GB, which was much more than I expected. I am not fully sure where all of that space went.
It could be because of the virtual environment, downloaded dependencies, model files, build artifacts, or some tools being installed more globally during setup. That part was not very transparent.
But despite those issues, once Unsloth Studio actually launched, I genuinely loved it. The interface feels polished, fast, and surprisingly easy to use.
Everything is in one place, the workflow feels smooth, and it makes local model experimentation much more approachable. So while the setup may test your patience a little, the actual product experience makes it feel worth it.
Top DataCamp Courses
Track
Course
Course
blog
Dario Radečić
13 min
Tutorial
Abid Ali Awan
Tutorial
François Aubry
Tutorial
Aashi Dutt
Tutorial
Abid Ali Awan
Tutorial
Aashi Dutt