Course
Deploying AI into Production with FastAPI
4 hr
4.5K
GPT-OSS is OpenAI’s first open-weight model series, and you can run it directly on your own computer. Designed for powerful reasoning, agentic tasks, and flexible developer use cases, GPT-OSS stands out for its configurable reasoning effort and transparent chain-of-thought capabilities.
In this tutorial, I'll walk you through setting up OpenAI's GPT-OSS models locally using Ollama and demonstrate how to build an interactive demo that showcases the model's unique reasoning capabilities. We'll explore the model's configurable chain-of-thought features and build a Streamlit application that visualizes the model's thinking process.
We keep our readers updated on the latest in AI by sending out The Median, our free Friday newsletter that breaks down the week’s key stories. Subscribe and stay sharp in just a few minutes a week:
OpenAI's GPT-OSS series marks their first open-weight release since GPT-2, allowing access to high-performance reasoning models under the Apache 2.0 license. These state-of-the-art language models deliver strong performance at low cost and outperform similarly sized open models on reasoning tasks.
There are two variants: gpt-oss-120b and gpt-oss-20b.
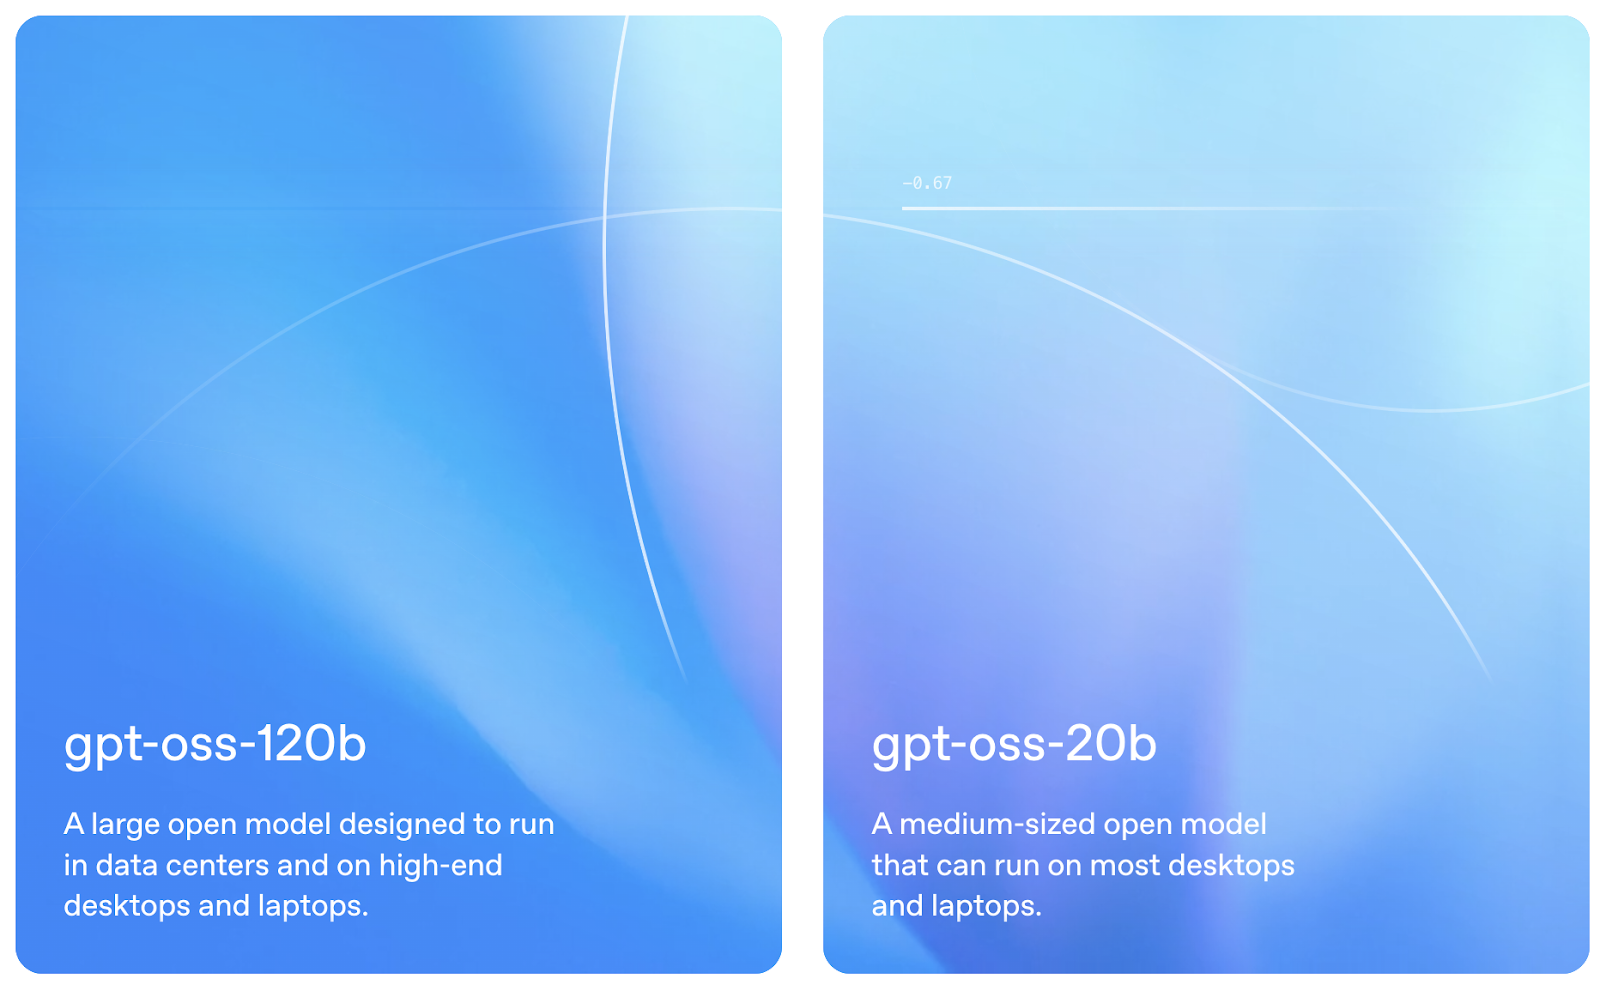
Source: OpenAI
gpt-oss-120b is OpenAI’s flagship open-weight model, with performance that rivals proprietary systems like o4‑mini on tough reasoning benchmarks. Despite its size of 117 billion parameters, it’s optimized to run on a single 80 GB GPU. This makes it a realistic option for research labs and enterprise teams looking to host powerful language models locally.
The model is designed to support complex workflows such as tool use, multi-step reasoning, and fine-grained control over how much “thinking” effort it puts into each task. Its open-weight nature and Apache 2.0 license make it a flexible choice for teams that want to deeply inspect, customize, or fine-tune the model.
gpt-oss-20b packs surprising reasoning strength into a footprint that fits on consumer laptops. With just 21 billion total parameters, it still outperforms OpenAI’s o3-mini on some benchmarks and runs efficiently on devices with 16 GB of memory. It’s quantized and prepped for rapid local deployment, and compatible with tools like Ollama, vLLM, and even Apple’s Metal platform.
This model is ideal for developers who want to build responsive, private AI apps without relying on cloud infrastructure. Like its larger sibling, it supports adjustable reasoning depth and clear intermediate steps—great for experiments, lightweight assistants, and edge device applications.
Running GPT-OSS locally offers several compelling advantages over cloud-based alternatives:
Ollama makes running large language models locally remarkably simple by handling downloads, quantization, and execution. I will guide you step-by-step through setting up GPT-OSS on your system. At the end, our app will look like this:
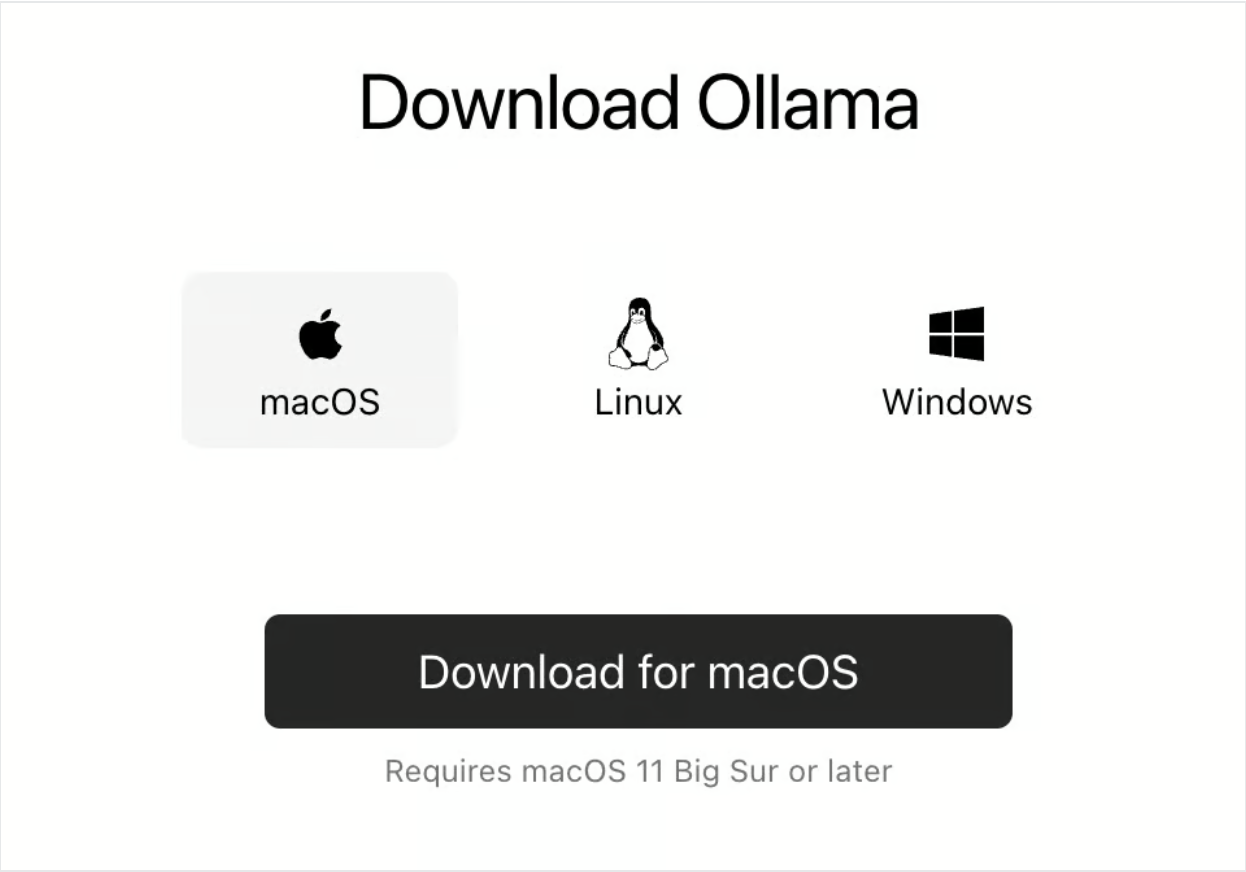
First, download and install Ollama from the official website.
Once installed, you can verify the installation by opening a terminal and typing:
ollama --versionThis will return the latest version of Ollama installed on your system.
OpenAI provides two GPT-OSS variants optimized for different use cases, but for the sake of this demo, we will pull only the gpt-oss-20b model variant:
# For production and high reasoning tasks
ollama pull gpt-oss:120b
# For lower latency and local deployment
ollama pull gpt-oss:20b
The 20B model is perfect for local development and can run on systems with 16GB+ memory, while the 120B model offers more capabilities but requires 80GB+ memory.
Let's verify everything works correctly:
ollama run gpt-oss:20bYou should see a prompt where you can interact with the model directly. Try asking: "Prove that √2 is irrational."
Now let's quickly build a simple app that showcases GPT-OSS's reasoning capabilities. Our application will feature:
Run the following commands to install the necessary dependencies:
pip install streamlit ollamaThe above code snippet installs Streamlit for building the web interface and the Ollama Python client for local GPT-OSS model interaction.
Before we dive into the core chat logic, we need to bring in all the tools and set up our user interface.
import streamlit as st
import json
import ollama
import time
from typing import Dict, Any, List
import re
from datetime import datetime

# Configure page
st.set_page_config(
    page_title="GPT-OSS Chat Demo",
    layout="wide",
    page_icon="💬"
)
# Custom CSS for UI
st.markdown("""
<style>
.reasoning-box {
    background-


    border-radius: 10px;
    border-left: 4px solid #00d4aa;

}
.answer-box {
    background-

    border-radius: 10px;
    border-left: 4px solid #007bff;

}
.metric-card {
    background-

    border-radius: 10px;
    box-shadow: 0 2px 4px rgba(0,0,0,0.1);
    text-align: center;

}
.chat-message {


    border-radius: 10px;
}
.user-message {
    background-
    border-left: 4px solid #2196f3;
}
.assistant-message {
    background-
    border-left: 4px solid #9c27b0;
}
</style>
""", unsafe_allow_html=True)
We import a few core packages like Streamlit for our web interface, Ollama to call the local GPT-OSS model, along with utility modules like json, time, typing, and re. We then use st.set_page_config() to give the page a title, a wide layout, and an icon, and inject lightweight CSS so that reasoning steps and answers appear in distinct panels.
With our UI scaffold in place, let’s build our core model integration call_model() function:
def call_model(messages: List[Dict], model_name: str = "gpt-oss:20b", temperature: float = 1.0) -> Dict[str, Any]:
    try:
        start_time = time.time()
        # Prepare options for Ollama
        options = {
            'temperature': temperature,
            'top_p': 1.0,
        }
        response = ollama.chat(
            model=model_name,
            messages=messages,
            options=options
        )
        end_time = time.time()
        if isinstance(response, dict) and 'message' in response:
            content = response['message'].get('content', '')
        elif hasattr(response, 'message'):
            content = getattr(response.message, 'content', '')
        else:
            content = str(response)
        return {
            'content': content,
            'response_time': end_time - start_time,
            'success': True
        }
    except Exception as e:
        return {
            'content': f"Error: {e}",
            'response_time': 0,
            'success': False
        }
The above code:
start_time and end_time around the ollama.chat() call to report response times back to the user.call_model() function wraps the entire call in a try/except block to catch errors.To make our demo truly transparent, we need to split the model’s “inner monologue” from its final verdict. The parse_reasoning_response() function does exactly that:
def parse_reasoning_response(content: str) -> Dict[str, str]:
    patterns = [
        r"<thinking>(.*?)</thinking>",
        r"Let me think.*?:(.*?)(?=\n\n|\nFinal|Answer:)",
        r"Reasoning:(.*?)(?=\n\n|\nAnswer:|\nConclusion:)",
    ]
    reasoning = ""
    answer = content
    for pat in patterns:
        m = re.search(pat, content, re.DOTALL | re.IGNORECASE)
        if m:
            reasoning = m.group(1).strip()
            answer = content.replace(m.group(0), "").strip()
            break
    if not reasoning and len(content.split('\n')) > 3:
        lines = content.split('\n')
        for i, l in enumerate(lines):
            if any(k in l.lower() for k in ['therefore', 'in conclusion', 'final answer', 'answer:']):
                reasoning = '\n'.join(lines[:i]).strip()
                answer = '\n'.join(lines[i:]).strip()
                break
    return {
        'reasoning': reasoning or "No explicit reasoning detected.",
        'answer': answer or content
    }
We separate the model’s hidden “thinking” from its final verdict so users can optionally inspect every reasoning step. Here is how the response is parsed:
<thinking>…</thinking> tags or phrases like “Reasoning:” and “Let me think through” with regular expressions.parse_reasoning_response() function always returns an answer.Now that we’ve built each building block, next we assemble them into an interactive chat app.
# Initialize history
if 'history' not in st.session_state:
    st.session_state.history = []
# Sidebar for settings
with st.sidebar:
    st.header("Configuration")
    model_choice = st.selectbox(
        "Model",
        ["gpt-oss:20b", "gpt-oss:120b"],
        help="Choose between 20B (faster) or 120B (more capable)"
    )
    effort = st.selectbox(
        "Reasoning Effort",
        ["low", "medium", "high"],
        index=1,
        help="Controls depth of reasoning shown"
    )
    temperature = st.slider(
        "Temperature",
        0.0, 2.0, 1.0, 0.1,
        help="Controls response randomness"
    )
    show_reasoning = st.checkbox(
        "Show Chain-of-Thought",
        True,
        help="Display model's thinking process"
    )
    show_metrics = st.checkbox(
        "Show Performance Metrics",
        True,
        help="Display response time and model info"
    )
    st.markdown("---")
    if st.button("Clear Conversation"):
        st.session_state.history = []
        st.rerun()
# Main Chat Interface
st.title("💬 GPT-OSS Interactive Chat")
examples = [
    "",
    "If a train travels 120km in 1.5 hours, then 80km in 45 minutes, what's its average speed?",
    "Prove that √2 is irrational.",
    "Write a function to find the longest palindromic substring.",
    "Explain quantum entanglement in simple terms.",
    "How would you design a recommendation system?",
]
selected_from_dropdown = st.selectbox("Choose from examples:", examples)
# Get the question text
question_value = ""
if hasattr(st.session_state, 'selected_example'):
    question_value = st.session_state.selected_example
    del st.session_state.selected_example
elif selected_from_dropdown:
    question_value = selected_from_dropdown
question = st.text_area(
    "Or Enter your question:",
    value=question_value,
    height=100,
    placeholder="Ask anything! Try different reasoning effort levels to see how the model's thinking changes..."
)
# Submit button
col1, col2 = st.columns([1, 4])
with col1:
    submit_button = st.button("Ask GPT-OSS", type="primary")
if submit_button and question.strip():
    # System prompts
    system_prompts = {
        'low': 'You are a helpful assistant. Provide concise, direct answers.',
        'medium': f'You are a helpful assistant. Show brief reasoning before your answer. Reasoning effort: {effort}',
        'high': f'You are a helpful assistant. Show complete chain-of-thought reasoning step by step. Think through the problem carefully before providing your final answer. Reasoning effort: {effort}'
    }
    # Message history
    msgs = [{'role': 'system', 'content': system_prompts[effort]}]
    msgs.extend(st.session_state.history[-6:])
    msgs.append({'role': 'user', 'content': question})
    with st.spinner(f"GPT-OSS thinking ({effort} effort)..."):
        res = call_model(msgs, model_choice, temperature)
    if res['success']:
        parsed = parse_reasoning_response(res['content'])
        st.session_state.history.append({'role': 'user', 'content': question})
        st.session_state.history.append({'role': 'assistant', 'content': res['content']})
        col1, col2 = st.columns([3, 1] if show_metrics else [1])
        with col1:
            if show_reasoning and parsed['reasoning'] != 'No explicit reasoning detected.':
                st.markdown("### Chain-of-Thought Reasoning")
                st.markdown(f"<div class='reasoning-box'>{parsed['reasoning']}</div>", unsafe_allow_html=True)
            st.markdown("### Answer")
            st.markdown(f"<div class='answer-box'>{parsed['answer']}</div>", unsafe_allow_html=True)
        if show_metrics:
            with col2:
                st.markdown(f"""
                <div class="metric-card">
                    <h4> Metrics</h4>
                    <p><strong>Time:</strong><br>{res['response_time']:.2f}s</p>
                    <p><strong>Model:</strong><br>{model_choice}</p>
                    <p><strong>Effort:</strong><br>{effort.title()}</p>
                </div>
                """, unsafe_allow_html=True)
    else:
        st.error(f"{res['content']}")
if st.session_state.history:
    st.markdown("---")
    st.subheader("Conversation History")
    recent_history = st.session_state.history[-8:]  # Last 8 messages (4 exchanges)
    for i, msg in enumerate(recent_history):
        if msg['role'] == 'user':
            st.markdown(f"""
            <div class="chat-message user-message">
                <strong>You:</strong> {msg['content']}
            </div>
            """, unsafe_allow_html=True)
        else:
            parsed_hist = parse_reasoning_response(msg['content'])
            with st.expander(f"GPT-OSS Response", expanded=False):
                if parsed_hist['reasoning'] != 'No explicit reasoning detected.':
                    st.markdown("**Reasoning Process:**")
                    st.code(parsed_hist['reasoning'], language='text')
                st.markdown("**Final Answer:**")
                st.markdown(parsed_hist['answer'])
# Footer
st.markdown("---")
st.markdown("""
<div style='text-align: center;'>
    <p><strong>Powered by GPT-OSS-20B via Ollama</strong></p>
</div>
""", unsafe_allow_html=True)
In this final step, we bring together all the pieces of our app, including session state, sidebar controls, example prompts, message assembly, model invocation, parsing, and display into a single loop:
st.session_state.history to remember every user–assistant exchange across reruns.call_model() function, which:parse_reasoning_response() function, we split the model’s output into a chain-of-thought response called “reasoning” and a cleaned-up response called “answer”.st.session_state.history list, so the next run includes them for context.To try it yourself, save the code as gpt_oss_demo.py and launch:
streamlit run gpt_oss_demo.pyLearn AI with these courses!
Course
Course
Course
Tutorial
Aashi Dutt
Tutorial
Aashi Dutt
Tutorial
François Aubry
Tutorial
Abid Ali Awan
Tutorial
Aashi Dutt
Tutorial
Bex Tuychiev