Courses
Fine-Tuning với Llama 3
2 giờ
3.8K
Qwen3.5 Small is a practical model for lightweight fine-tuning because it is designed for prototyping, task-specific adaptation, and research workflows. Paired with QLoRA, we can fine-tune it on top of a frozen 4-bit quantized base model, making the process much more memory-efficient and accessible on limited hardware.
In this tutorial, we will set up the environment, load the model and AG News dataset, evaluate the base model, and then fine-tune Qwen3.5 small for news classification. We will finish by comparing the results before and after training, then save and publish the LoRA adapter to Hugging Face for reuse.
I recommend taking the Hugging Face Fundamentals skill track if you’re not already familiar with how it works.
Before we dive into the code, it helps to understand the model we are working with. Qwen3.5 is a family of foundation models, and the "Small" series refers to their lightweight lineup, specifically models under 10 billion parameters. For this tutorial, we will use the 0.8B version.
Despite having only 800 million parameters, Qwen3.5-0.8B is highly capable and extremely efficient. When loaded in 4-bit precision, it requires less than 2GB of VRAM. This makes it a great fit for consumer laptops, free cloud environments like Kaggle, and lightweight edge deployments.
Additionally, the Qwen3.5 architecture supports a massive 262K context window and native multimodality. While we are focusing strictly on text classification in this guide, the foundational concepts we cover can easily be extended to vision tasks later. The model also features a hybrid reasoning mode, though we will keep that disabled to maximize inference speed for our straightforward labeling task.
Overall, Qwen3.5-0.8B is a highly practical option for prototyping. It gives us a fast, low-cost way to test fine-tuning workflows while still delivering strong downstream results.
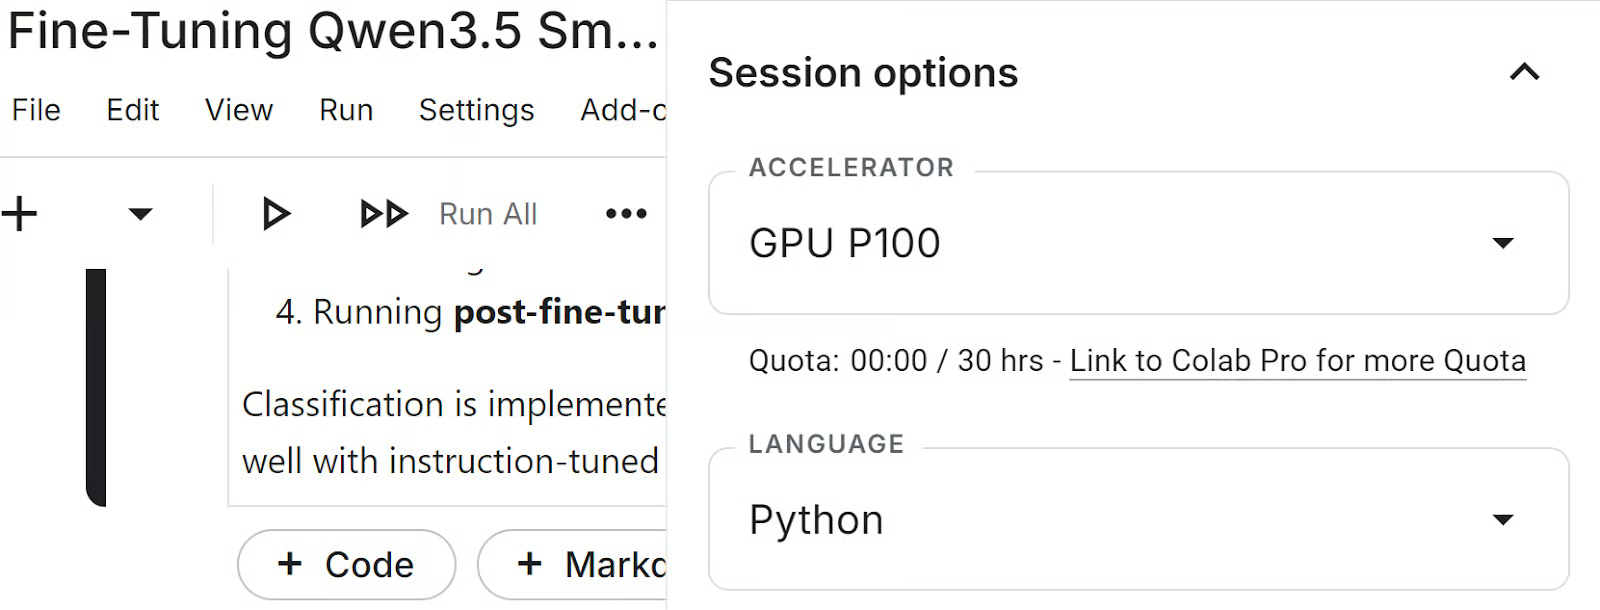
In this tutorial, we will use a Kaggle notebook as our training environment. Kaggle gives us access to GPUs, making it a convenient platform for training, fine-tuning, and evaluating our model. Before running the notebook, launch a new Kaggle notebook, open the Session settings, and select GPU P100 as the accelerator.
Next, we will set up the environment, add a Hugging Face token to Kaggle, and import the Python libraries used throughout the tutorial.
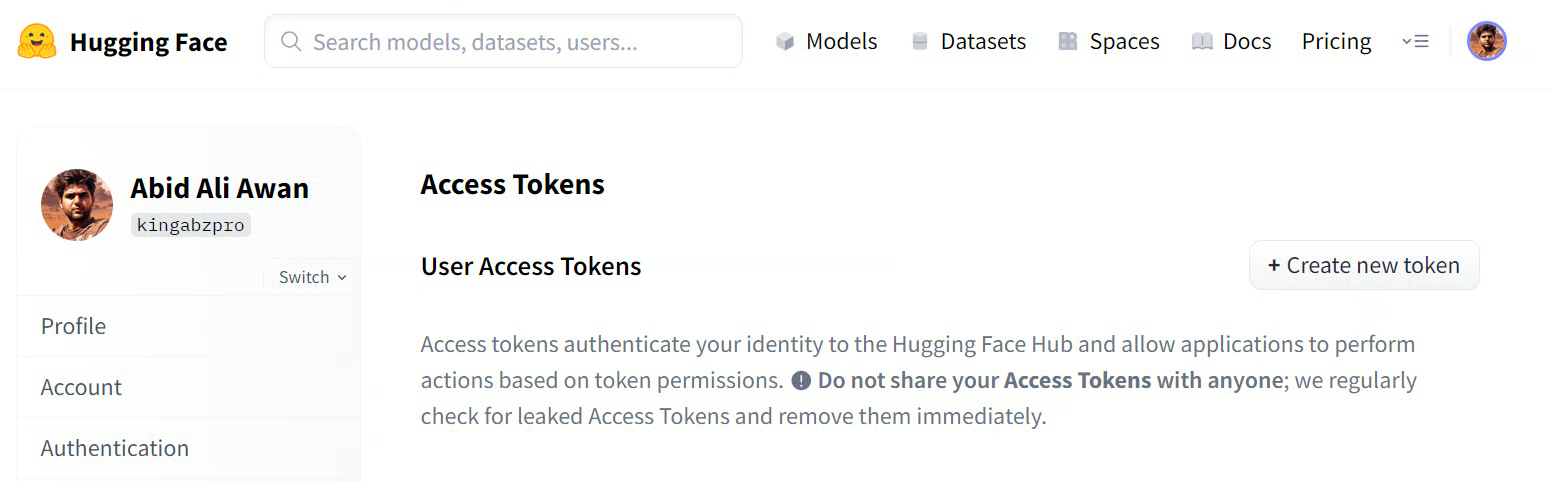
Before running the notebook, create a Hugging Face access token from your account settings. Go to Settings, open Access Tokens, and generate a new token. If you want to publish the fine-tuned LoRA adapter to the Hugging Face Hub at the end of the tutorial, make sure the token has write access.
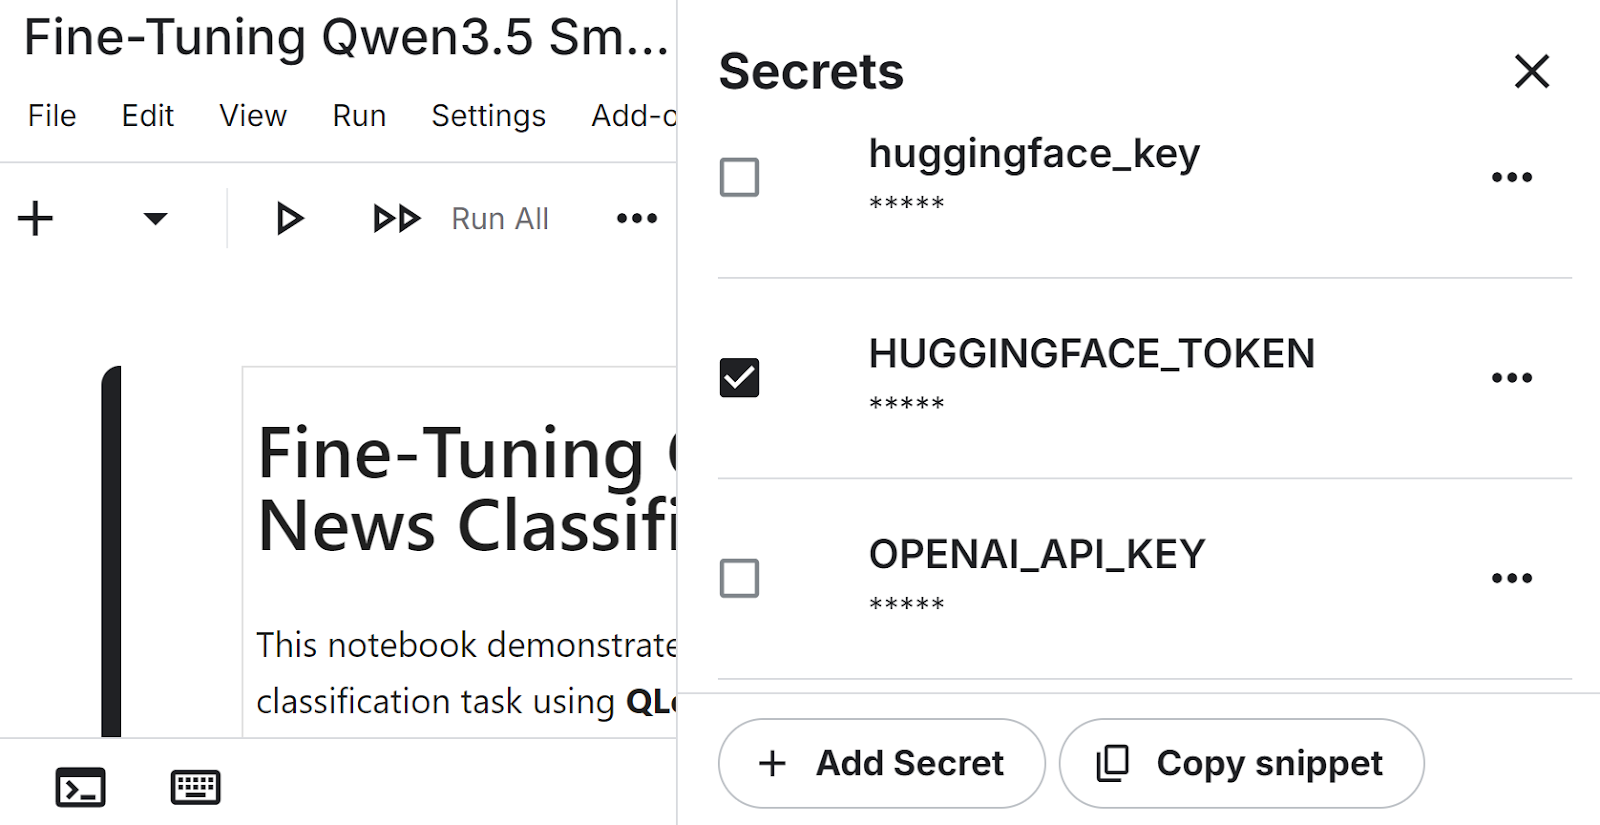
After generating the token, open your Kaggle notebook and add it as a secret. In the notebook editor, go to Add-ons, then Secrets, and create a new secret named HUGGINGFACE_TOKEN. Paste your token value there so the notebook can access it securely without exposing it in the code.
Now we can install the main libraries needed for this workflow. These packages cover model loading, quantization, parameter-efficient fine-tuning, dataset handling, and evaluation.
!pip install -q -U transformers accelerate
!pip install -q peft trl bitsandbytes datasets scikit-learnNext, we load the Hugging Face token from Kaggle secrets and use it to authenticate. This gives the notebook access to the model and lets us push the trained adapter later.
from huggingface_hub import login
from kaggle_secrets import UserSecretsClient

user_secrets = UserSecretsClient()
login(token=user_secrets.get_secret("HUGGINGFACE_TOKEN"))Finally, we import the Python libraries used throughout the tutorial for model loading, training, dataset processing, and evaluation.
import torch
from datasets import load_dataset
from transformers import AutoModelForCausalLM, AutoTokenizer, BitsAndBytesConfig
from peft import LoraConfig, get_peft_model
from trl import SFTTrainer, SFTConfig
from transformers import TrainingArguments
from sklearn.metrics import accuracy_score, f1_score
from tqdm.notebook import tqdmNow that the environment is ready, we can load the base model and prepare the dataset for fine-tuning.
In this section, we will load Qwen3.5-0.8B in 4-bit precision to make training more memory-efficient, set up the tokenizer, and load a small subset of the AG News dataset for training and evaluation.
We start by loading Qwen3.5-0.8B with 4-bit quantization using BitsAndBytes. This reduces memory usage and makes the model more practical to work with in a Kaggle notebook environment.
model_id = "Qwen/Qwen3.5-0.8B"

bnb_config = BitsAndBytesConfig(
  load_in_4bit=True,
  bnb_4bit_quant_type="nf4",
  bnb_4bit_compute_dtype=torch.bfloat16
)

model = AutoModelForCausalLM.from_pretrained(
  model_id,
  quantization_config=bnb_config,
  device_map="auto",
  dtype=torch.bfloat16
)Next, we load the tokenizer for the same model. We also set the padding token to the end-of-sequence token so the model can handle padded inputs correctly during training and generation.
tokenizer = AutoTokenizer.from_pretrained(model_id)
tokenizer.pad_token = tokenizer.eos_token

model.config.pad_token_id = tokenizer.eos_token_id
model.generation_config.pad_token_id = tokenizer.eos_token_idFinally, we load the AG News dataset and create smaller training and test splits for this tutorial. Using a subset keeps the workflow faster while still giving us enough data to evaluate the effect of fine-tuning.
dataset = load_dataset("ag_news")

train_dataset = dataset["train"].select(range(2500))
test_dataset = dataset["test"].select(range(200))Before fine-tuning, we need to define how the model will see the task and measure how well it performs in its original form.
In this section, we will create an instruction-style prompt for news classification, extract predictions from the model’s output, run a sample inference, and evaluate the base model on the test set before training.
We start by defining the label names and building a prompt that asks the model to classify a news article. The prompt is written so the model returns only the numeric label, which makes the output easier to parse during evaluation.
labels = ['World','Sports','Business','Sci/Tech']

def build_prompt(text):

    return f"""
Classify the news article.

Article:
{text}

Return ONLY the number of the correct label.

0 = World
1 = Sports
2 = Business
3 = Sci/Tech

Answer:
"""Next, we create a small helper function to extract the predicted label from the generated text. This function removes any extra reasoning tokens and returns the final class label as an integer.
import re

def extract_label(text):

   text = re.sub(r"<think>.*?</think>", "", text, flags=re.DOTALL)
   matches = re.findall(r"[0-3]", text)

   if matches:
       return int(matches[-1])

return -1Before evaluating the model on the full test set, we first try it on a single example. This helps us inspect the article, check the correct label, and see what the model predicts before fine-tuning.
sample = train_dataset[10]

sample_text = sample["text"]
sample_label = sample["label"]

print("Ground truth label:", sample_label)
print("Sample text:")
print(sample_text[:300])
The output shows that the true label is 2, which corresponds to Business.
Ground truth label: 2
Sample text:
Oil and Economy Cloud Stocks' Outlook  NEW YORK (Reuters) - Soaring crude prices plus worries  about the economy
and the outlook for earnings are expected to  hang over the stock market next week during the depth of the  summer doldrums.
Next, we format the prompt, pass it to the model, and generate a prediction.
prompt = build_prompt(sample_text)

inputs = tokenizer(prompt, return_tensors="pt").to("cuda")

with torch.inference_mode():
    outputs = model.generate(
        **inputs,
        max_new_tokens=5,
        do_sample=False,
        pad_token_id=tokenizer.eos_token_id
    )

prediction = tokenizer.decode(outputs[0], skip_special_tokens=True)

print("Model prediction (before training):")
print(extract_label(prediction))
The model also predicts 2, so it classifies this example correctly. This gives us a quick check that the prompt format and prediction pipeline are working as expected.
Model prediction (before training):
2Now we evaluate the base model on the test set to establish a baseline. This gives us a reference point for comparing performance before and after fine-tuning.
def evaluate_model(dataset):

    preds = []
    refs = []

    model.eval()

    for example in tqdm(dataset):

        text = example["text"]
        label = example["label"]

        prompt = build_prompt(text)

        inputs = tokenizer(prompt, return_tensors="pt", truncation=True)
        inputs = {k: v.to("cuda") for k, v in inputs.items()}

        with torch.inference_mode():

            outputs = model.generate(
                **inputs,
                max_new_tokens=5,
                do_sample=False,
                pad_token_id=tokenizer.eos_token_id
            )

        prediction = tokenizer.decode(outputs[0], skip_special_tokens=True)

        pred_label = extract_label(prediction)

        preds.append(pred_label)
        refs.append(label)

    acc = accuracy_score(refs, preds)
    f1 = f1_score(refs, preds, average="weighted")

    print("Accuracy:", acc)
    print("F1:", f1)


print('Pre-fine-tuning evaluation')
evaluate_model(test_dataset)
The output reports an accuracy of 0.52 and a weighted F1 score of 0.4589. These baseline results show that the model already has some ability to perform the task, while still leaving clear room for improvement through fine-tuning.
Pre-fine-tuning evaluation
Accuracy: 0.52
F1: 0.45889163289429247Now that we have established a baseline, we can fine-tune the model on the news classification task. In this section, we will format the training data, configure the LoRA adapters, define the training settings, train the model, and save the final adapter for later use.
First, we format each training example so it matches the same prompt structure used during inference. We append the correct label to the end of the prompt so the model can learn to generate the right answer during fine-tuning.
def format_train(example):
    prompt = build_prompt(example['text'])
    answer = str(example['label'])
    return {'text': prompt + ' ' + answer}

train_dataset = train_dataset.map(format_train)Next, we define the LoRA configuration. This tells the model which layers to adapt during fine-tuning, allowing us to train a small set of additional parameters instead of updating the full model.
lora_config = LoraConfig(
    r=16,
    lora_alpha=16,
    lora_dropout=0,
    bias='none',
    task_type='CAUSAL_LM',
    target_modules=[
        'q_proj','k_proj','v_proj','o_proj',
        'gate_proj','up_proj','down_proj'
    ]
)We then set the training arguments for supervised fine-tuning. These settings control how many examples are processed at a time, how gradients are accumulated, how long training runs, and where the output files are saved.
training_args = SFTConfig(
    output_dir="./qwen35-lora",
    per_device_train_batch_size=8,
    gradient_accumulation_steps=2,
    learning_rate=2e-4,
    num_train_epochs=1,
    logging_steps=10,
    bf16=True,
    dataset_text_field="text",
    packing=False,
)Now we initialize the trainer with the model, dataset, LoRA configuration, training settings, and tokenizer. We then start fine-tuning the model on the formatted AG News training set.
trainer = SFTTrainer(
    model=model,
    train_dataset=train_dataset,
    peft_config=lora_config,
    args=training_args,
    processing_class=tokenizer
)
trainer.train()
Output:
TrainOutput(global_step=157, training_loss=1.9094241804378047, metrics={'train_runtime': 616.477, 'train_samples_per_second': 4.055, 'train_steps_per_second': 0.255, 'total_flos': 1041693973114368.0, 'train_loss': 1.9094241804378047})After training finishes, we save the LoRA adapter and tokenizer. This lets us reload the fine-tuned adapter later for evaluation, sharing, or publishing to Hugging Face.
trainer.model.save_pretrained("qwen35-small-news-class")
tokenizer.save_pretrained("qwen35-small-news-class")After training, we reload the base model and attach the saved LoRA adapter. This lets us run the evaluation using the fine-tuned weights and compare the results with the baseline from earlier.
We first load the base Qwen3.5 model again, then attach the fine-tuned LoRA adapter saved in the Kaggle working directory. After that, we switch the model to evaluation mode and inspect the trainable parameter summary.
from transformers import AutoModelForCausalLM
base_model = AutoModelForCausalLM.from_pretrained(
    model_id,
    device_map="auto",
    dtype=torch.bfloat16
)


from peft import PeftModel

model = PeftModel.from_pretrained(
    base_model,
    "/kaggle/working/qwen35-small-news-class"
)

model.eval()
model.print_trainable_parameters()
The output shows that there are no trainable parameters at this stage because training is complete, and we are now using the saved adapter for inference and evaluation.
trainable params: 0 || all params: 758,782,784 || trainable%: 0.0000Next, we run the same evaluation function on the test set again. This allows us to measure how much the model improved after fine-tuning.
print('Post-fine-tuning evaluation')
evaluate_model(test_dataset)
The output reports an accuracy of 0.865 and a weighted F1 score of 0.8661. Compared with the baseline results, this shows a great improvement after fine-tuning.
Post-fine-tuning evaluation
Accuracy: 0.865
F1: 0.8660926258753361We can now compare the model’s performance before and after fine-tuning. Both accuracy and F1 score improve substantially, showing that QLoRA fine-tuning helps the model adapt well to the news classification task.
|
Metric |
Before Training |
After Training |
|
Accuracy |
0.52 |
0.865 |
|
F1 Score |
0.4589 |
0.866 |
As we can see, fine-tuning Qwen3.5 Small with QLoRA significantly improves classification performance.
Once the evaluation is complete, we can upload the fine-tuned adapter and tokenizer to Hugging Face. This makes the model easier to reuse, share, and load in future projects without repeating the full training process.
model.push_to_hub("kingabzpro/qwen35-small-news-class")
tokenizer.push_to_hub("kingabzpro/qwen35-small-news-class")
After the upload finishes, the model will be available at:
Model:
https://huggingface.co/kingabzpro/qwen35-small-news-class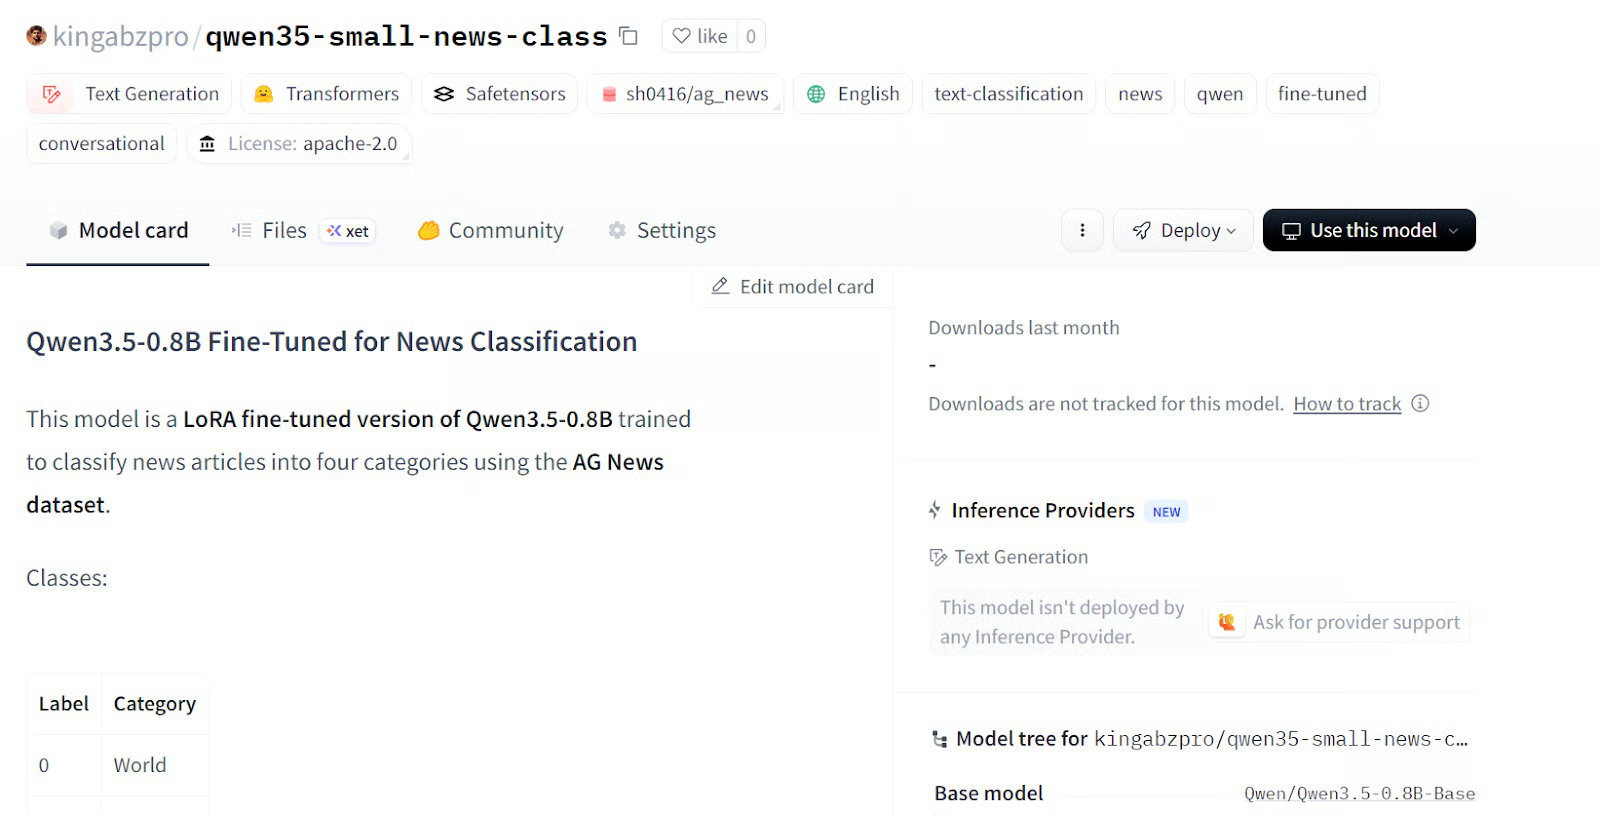
Source: kingabzpro/qwen35-small-news-class
The Kaggle notebook for this tutorial is also available. I recommend using it only if you run into issues while reproducing the steps above. You can also clone the notebook and run it on your own system, but remember to update the Hugging Face username and token to match your own account.
In this tutorial, we fine-tuned Qwen3.5-0.8B with QLoRA for news classification and got a strong result from a very lightweight setup. After just one epoch on a small subset of data, accuracy improved from 0.52 to 0.865, and weighted F1 increased from 0.4589 to 0.8661.
For a model this small, that is honestly the most surprising part: we do not need a huge model, a huge dataset, or a long training run to get strong downstream results.
What makes this even more useful is how practical the setup is. Qwen describes the 0.8B model as a good fit for prototyping and task-specific fine-tuning, and QLoRA keeps memory use low by training adapters on top of a frozen 4-bit base model. That means this is not just a cloud notebook workflow. It is also realistic for testing on smaller consumer and laptop GPUs.
Another reason I find this model exciting is that the Qwen3.5 family supports both text and vision fine-tuning. So while we used it here for text classification, the same idea can extend to image classification, image-to-text, and text-to-text tasks as well. That makes a small model like this a really practical option when you want to test ideas quickly, fine-tune cheaply, and still keep deployment lightweight.
I also recommend that you check out our other resources, including our guide to Qwen3.5 and our tutorial on how to run Qwen3.5 locally on a single GPU.
Top DataCamp Courses
Courses
Courses
Courses
blogs
Alex Olteanu
8 phút
Tutorials
Abid Ali Awan
Tutorials
Abid Ali Awan
Tutorials
Bex Tuychiev
Tutorials
Dr Ana Rojo-Echeburúa
Tutorials
Abid Ali Awan