
Course
Python Toolbox
4 hr
318.9K
Virtual Studio Code (VSCode) is a perfect Integrated Development Environment for Python. It is simple and comes with built-in features that enhance the development experience. VSCode Python extensions come with powerful features like syntax autocomplete, linting, debugging, unit testing, GitOps, virtual environments, notebooks, editing tools, and the ability to customize the editor.
Key Features:
In this tutorial, we will start by installing Python and VSCode, then run a Python script in VSCode. After that, we will customize the editor to enhance the Python development experience by installing essential extensions and learning about built-in features. In the end, we will learn about Python productivity hacks.
In this part, we will learn to install Python and VSCode and run a simple Python code.
Downloading and installing the latest version of Python is straightforward. Go to Python.org and download the latest version for Windows. The installer is also available for Linux/Unix, macOS, and other platforms. After downloading the installer, install Python with default settings.
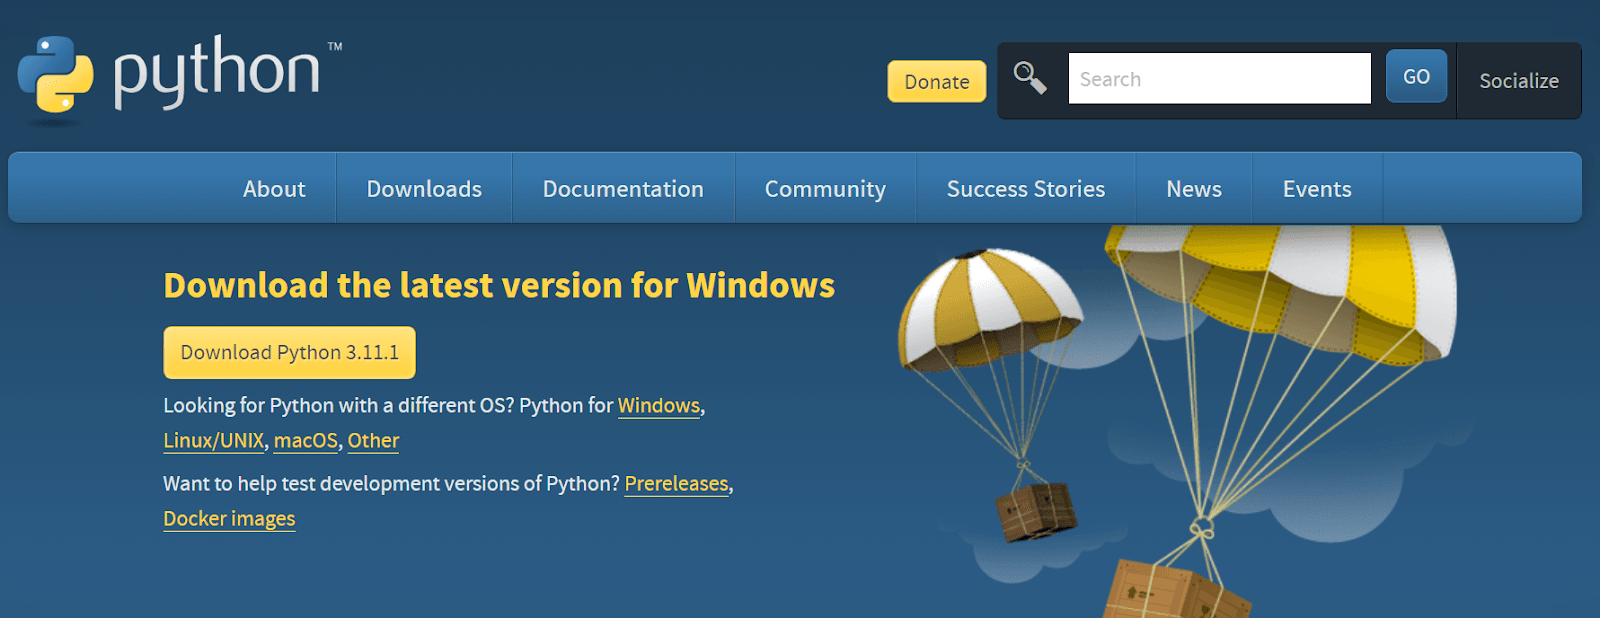
Image from Python.org
The most popular way of installing Python is through Anaconda Distribution. It comes with a pre-installed package and software for us to start coding without hiccups. It is available for Windows, macOS, and Linux operating systems.

Image from Anaconda
After installing Python on our operating system, check whether it is properly working by typing the following command in CLI / Terminal.
python --versionOutput:
Python 3.9.13We can also install Python using various CLI tools or through the Windows store.
You can check out our full guide on how to install Python for more details. Similarly, our interactive Introduction to Python course helps you master the basics of Python syntax, lists, functions, packages, and Numpy.
Installing VSCode is super simple. Download and install the stable build from the official website. The installer is available for all kinds of operating systems, including web browsers.

Image from Visual Studio Code
We can install using Microsoft store, Snap Store, and multiple CLI tools for Windows, Linux, and macOS.
After installing Python and VSCode, it is time to write a simple code and run the Python file within the IDE.
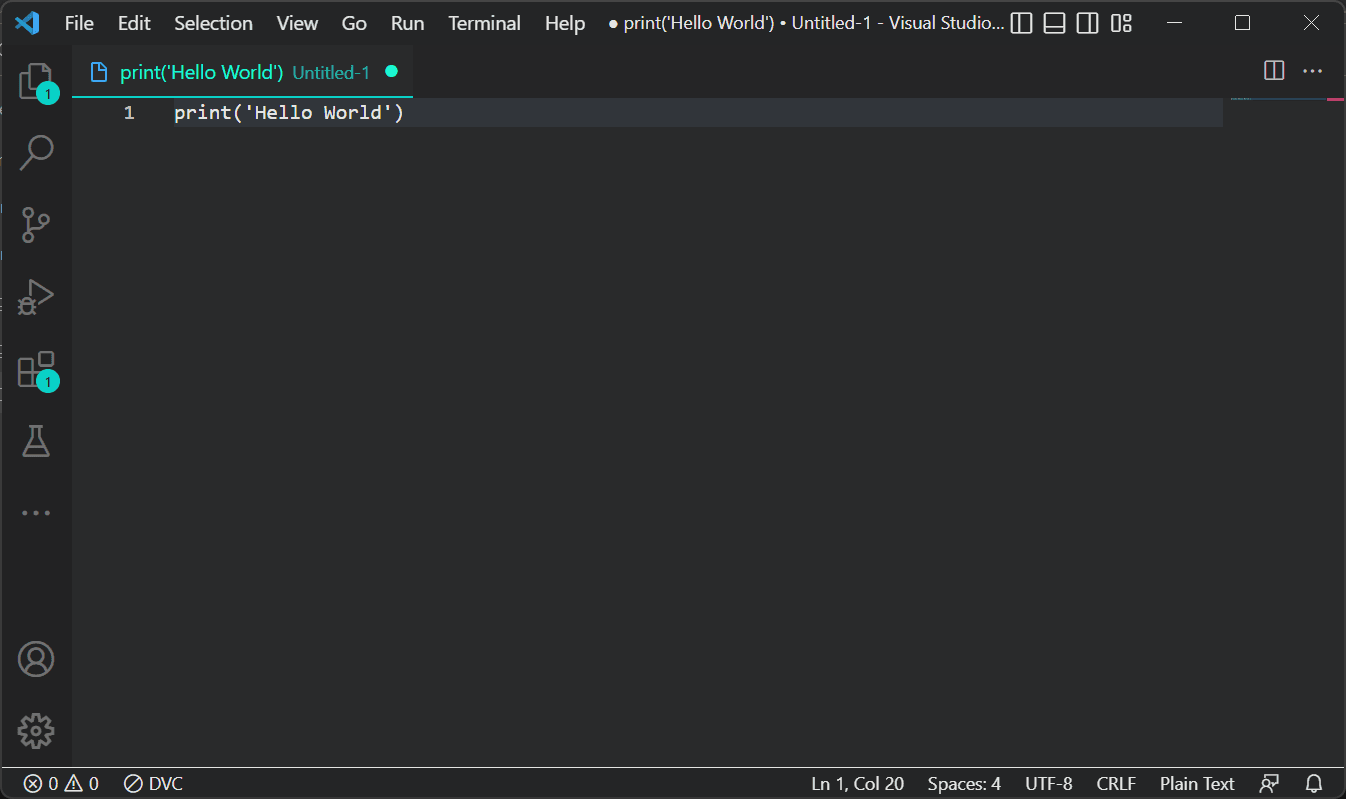
Create a new file
At start, you will see the welcome note. Ignore that and go to File > New Text File or use the keyboard shortcut Ctrl + N to create a new file. After that, write a simple print expression to display “Hello World.”
Save Python file
Save the file using Ctrl + S. Select the file directory and type the file name. Make sure to add `.py` at the end of the file name.
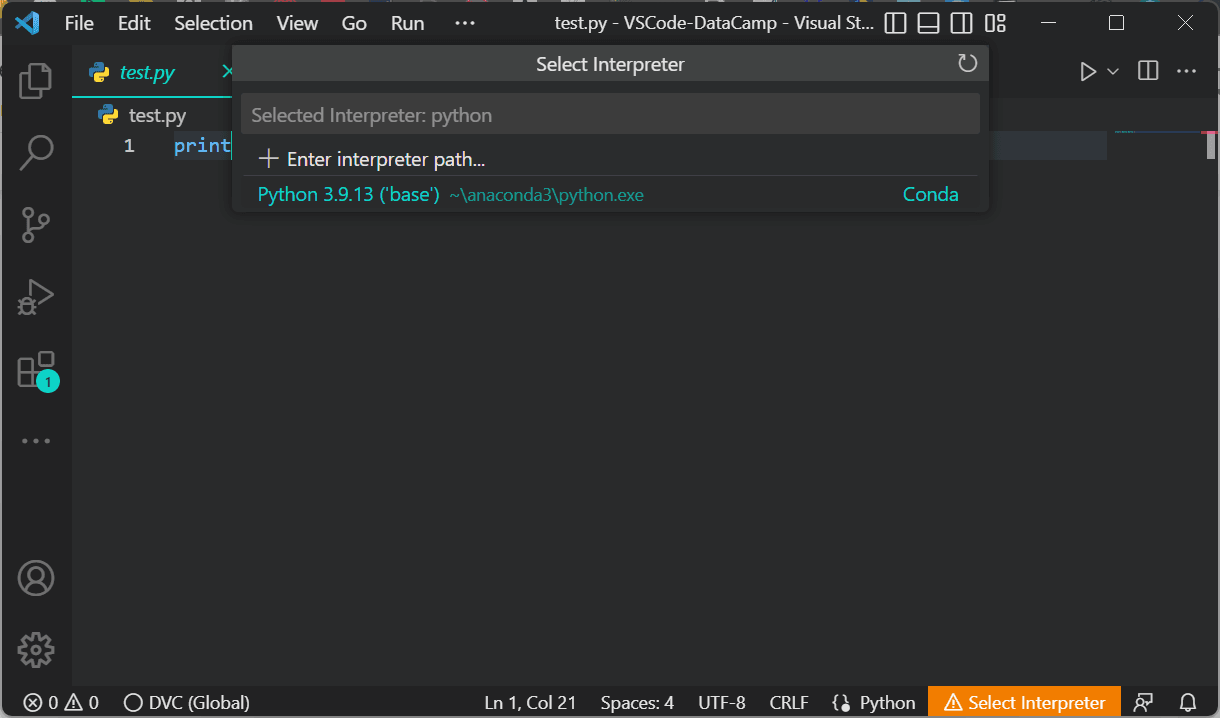
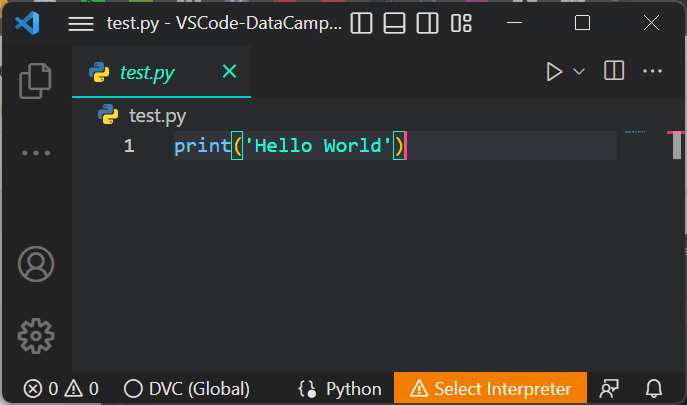
Select the interpreter
To run the Python file, we need to select the Python interpreter. By default, the Anaconda environment comes with Python version 3.9.13.
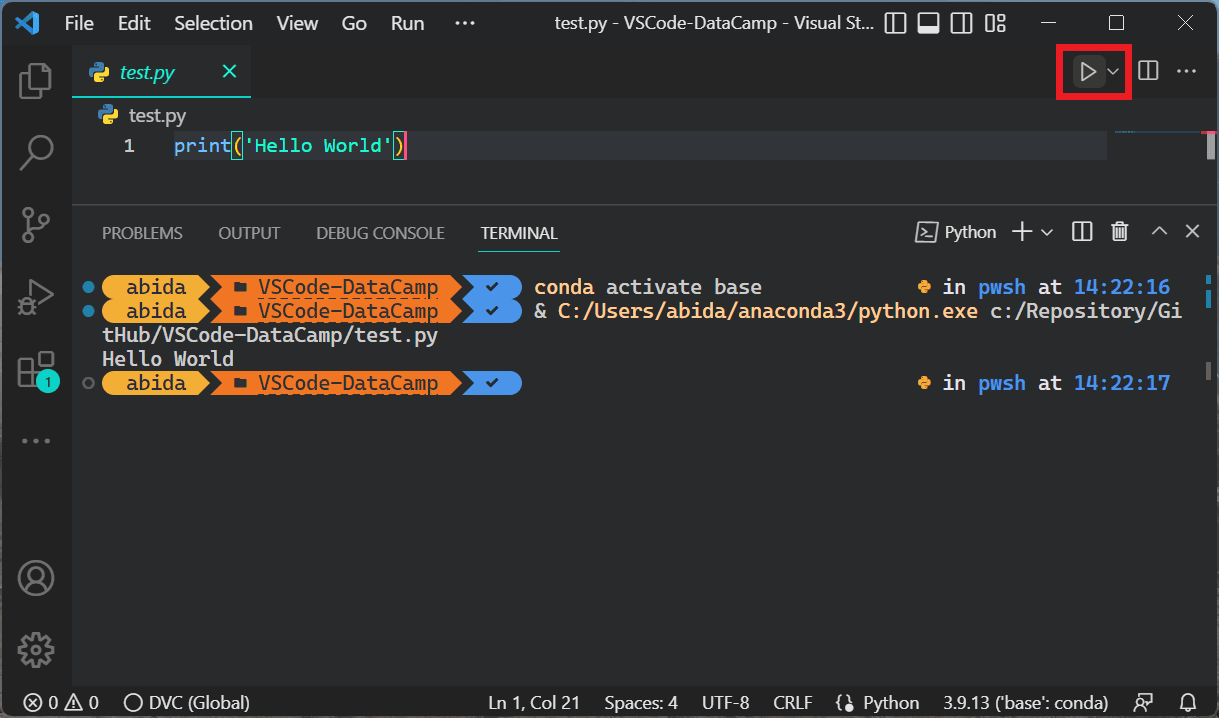
Run a Python file
To run the Python file, simply click on the Run button on the top left, as shown in the image. It will initialize the terminal and run the Python file to display the output.
You can also type python test.py in the terminal to run the file present in the current directory.
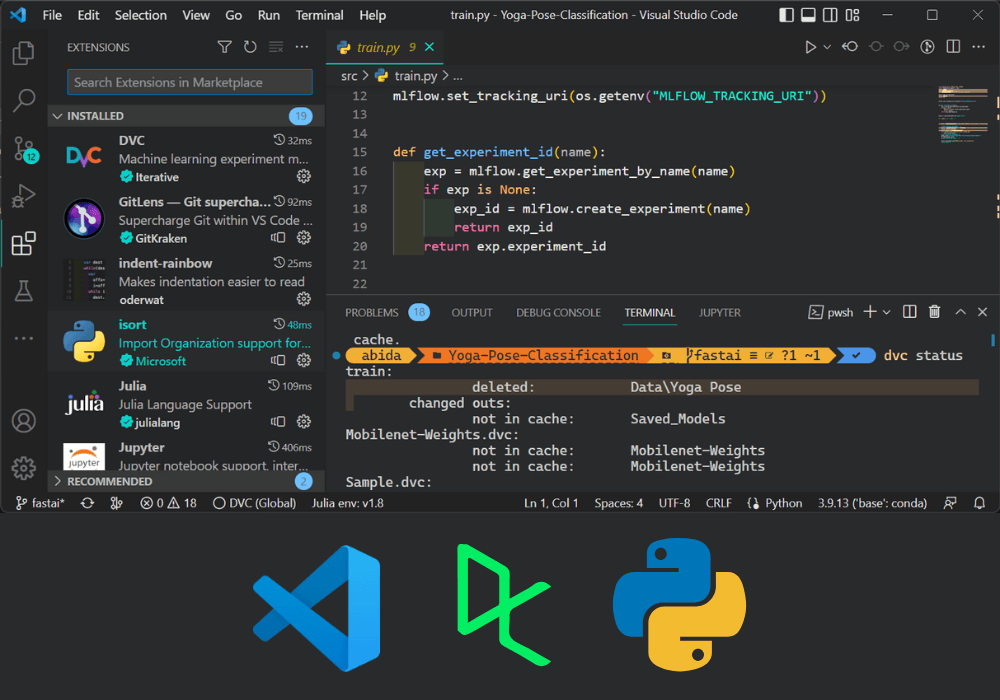
The VSCode’s Python extensions will provide us with the helping functionalities for code editing, docstrings, linting, formatting, debugging, testing, and environment selection.
Click on the box icon on the activity bar or use a keyboard shortcut: Ctrl + Shift + X to open the extension panel. Type any keyword in the search bar to explore all kinds of extensions.
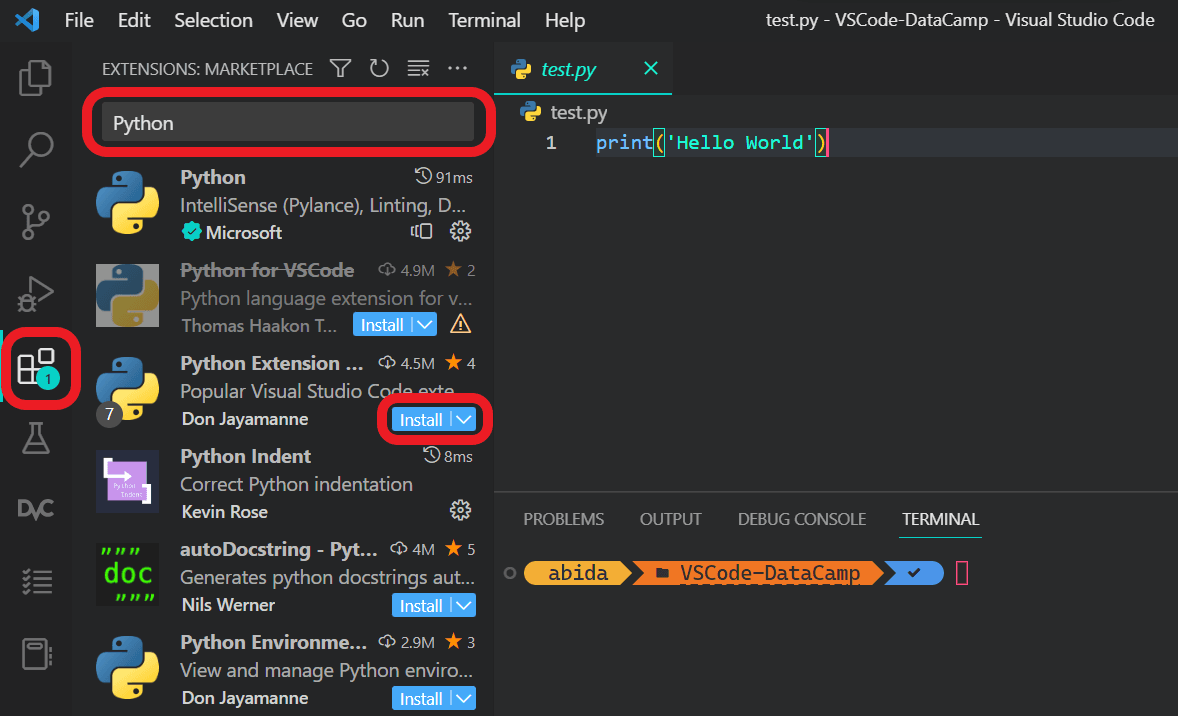
Install VSCode Python extension
In our case, we will type Python and install the Python extension by clicking on the install button, as shown above.
The Python extension automatically installs Pylance, Jupyter, and isort extensions. It comes with a complete collection of tools for Data Science, web development, and software engineering.
Key Features:
Python extension comes with IntelliSense, linting, debugging, code navigation, code formatting, refactoring, variable explorer, and test explorer.
Indent-rainbow extensions provide us with a multilevel colorized indentation for improved code readability. We get alternating colors on each step, and it helps us avoid common indentation errors.
Python Indent extension helps us with creating indentations. By pressing the Enter key, the extension will parse the Python file and determine how the next line should be indented. It is a time saver.
Jupyter Notebook Renderers is part of the Jupyter extension pack. It helps us render plotly, vega, gif, png, svg, and jpeg output.
The autoDocstring extension helps us quickly generate docstring for Python functions. By typing triple quotes """ or ''' within the function, we can generate and modify docstring. Learn more about doc strings by following our Python Docstrings tutorial.
Note: Most Python development extensions and features come with Python extensions.
Visual Studio Code allows users to simply run the data science code in Jupyter Notebook. We can run the cell and visualize the result within VSCode. It supports all kinds of programming languages and comes with built-in features to mimic the browser-based Jupyter notebook that we all love.
Learn more about Jupyter Notebooks by reading our How to use Jupyter Notebook tutorial.
To use the Jupyter notebook extension, we need to first install a Jupyter notebook.
pip install jupyterlabOr
pip install notebookNote: Jupyter Notebook and Jupyter Lab come with Anaconda Distribution, so we don't have to install anything.
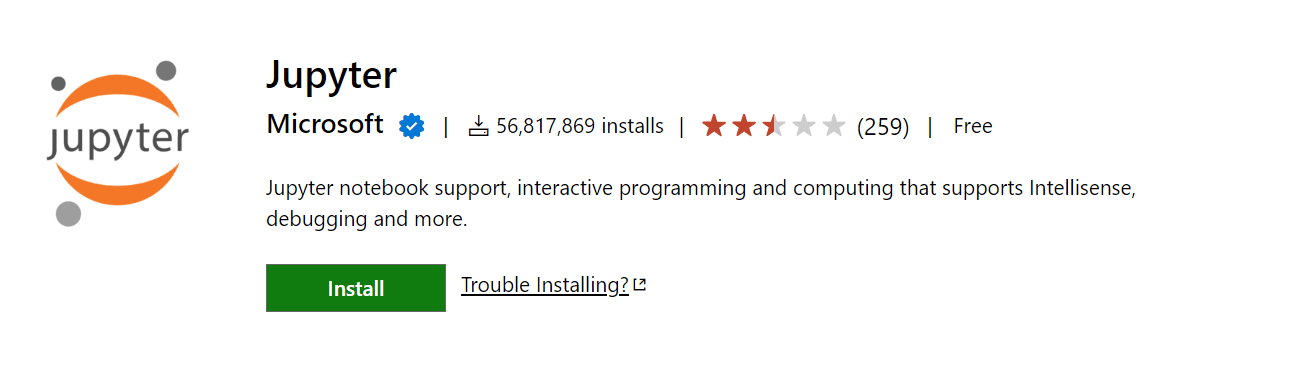
Install Jupyter Extension
After that, install the Jupyter extension from the Visual Studio marketplace.
To create a Jupyter notebook file, we can either create a new file with .ipynb extension or access the command palette (Ctrl+Shift+P) and select Jupyter: Create New Jupyter Notebook.
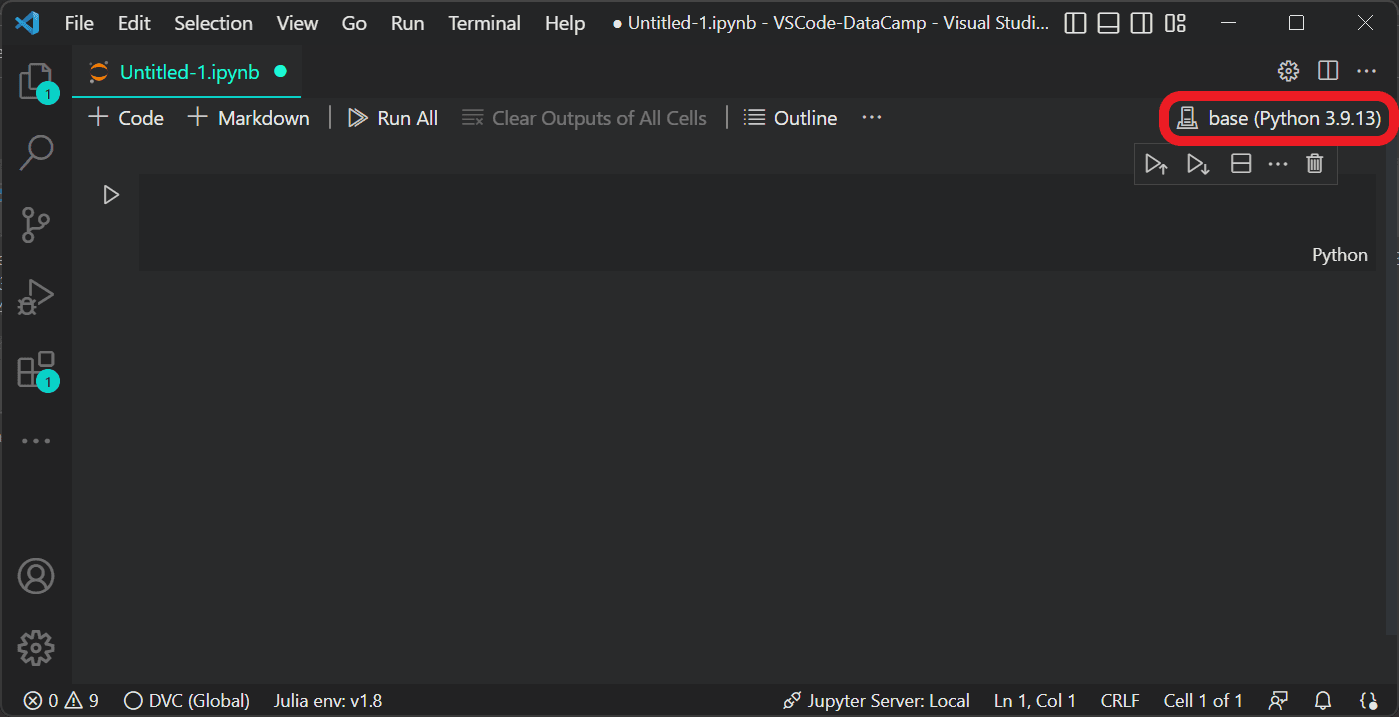
Pick the Ipython Kernel
To initialize the Jupyter server, we need to select the kernel by clicking on the kernel picker in the top right of the notebook, as shown in the image.
Note: By default, Anaconda comes with Python version 3.9.13. You can download the latest version of Python 3.11, but it won’t support all packages.
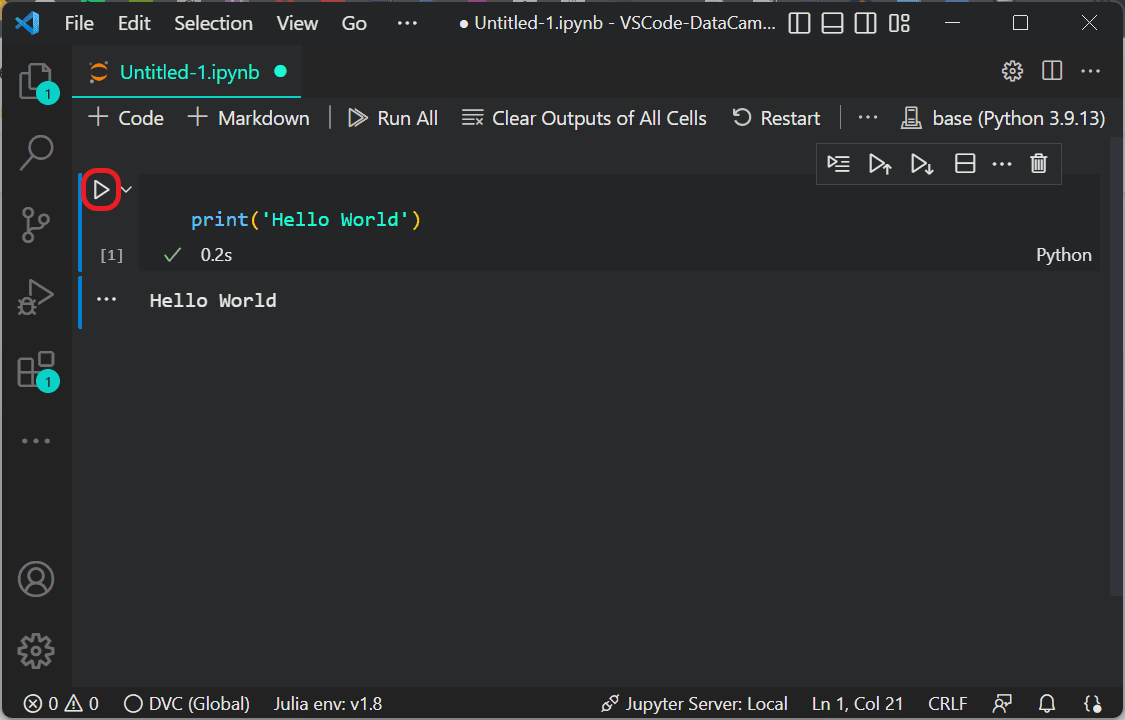
Run the Jupyter cell
Write a print expression to display “Hello World” and press the run button.
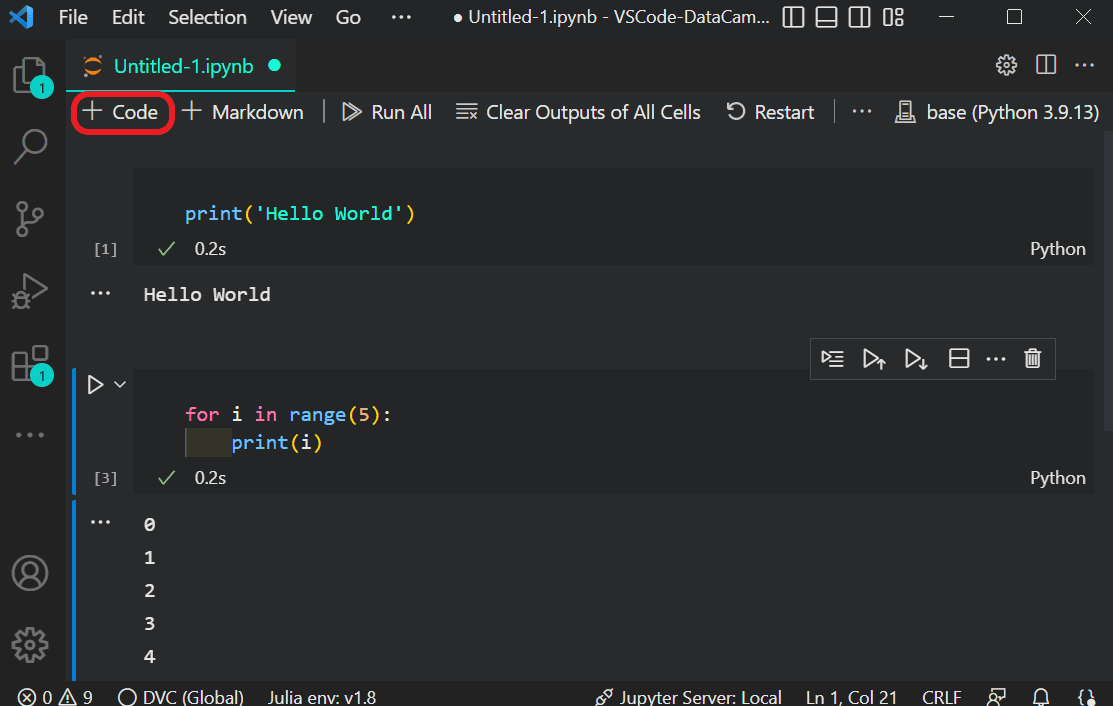
Add another cell
You can use the B key or click on + Code to add a new cell and run the cell with Ctrl + ⤶ Enter. You can learn about Jupyter keyboard shortcuts on defkey.
For R language users, we have got a Notebooks for R tutorial. You will learn to use R in a Jupyter Notebook and useful features.
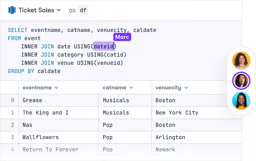
Note: if you are looking for a hassle-free way of using Jupyter Notebook, then try DataCamp's DataLab. It comes with essential Python libraries, a pre-build environment, and it supports various database integration.
Skip the installation process and experiment with data science code in your browser with DataLab, DataCamp's AI-powered notebook.
Linting highlights the problems in the Python source code and provides us with suggestions. It generally highlights syntactical and stylistic issues. Linting helps you identify and correct coding issues that can lead to errors.
You can select the linting method by selecting Python: Select Linter command in the command palette (Ctrl+Shift+P). You can also manually enable the linting method in settings.
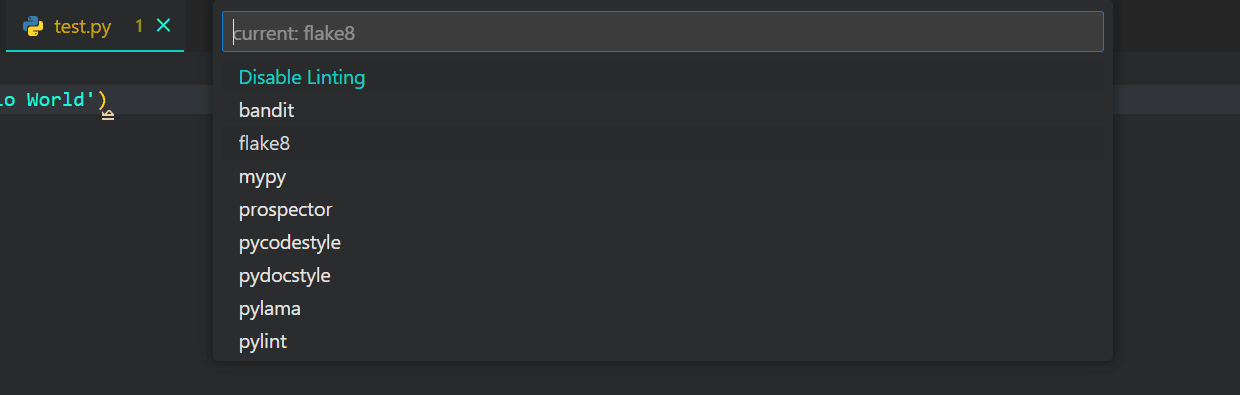
Select linting method
In our case, we have selected the flake8 method. You can also review the list of available linting methods.

Fixing the error
After running the Python linter, you will see the issues with the suggestions.
Note: Enabling a different linter will prompt you to install the required Python package.
Formatting makes code readable. It follows specific rules for line spacing, indents, spacing around operators, and closing brackets. The Python extension supports three Python formatting methods: autopep8, black, or yapf.
By reading about PEP-8: Python Naming Conventions & Code Standards, you can learn Python's style guide and formatting rules.
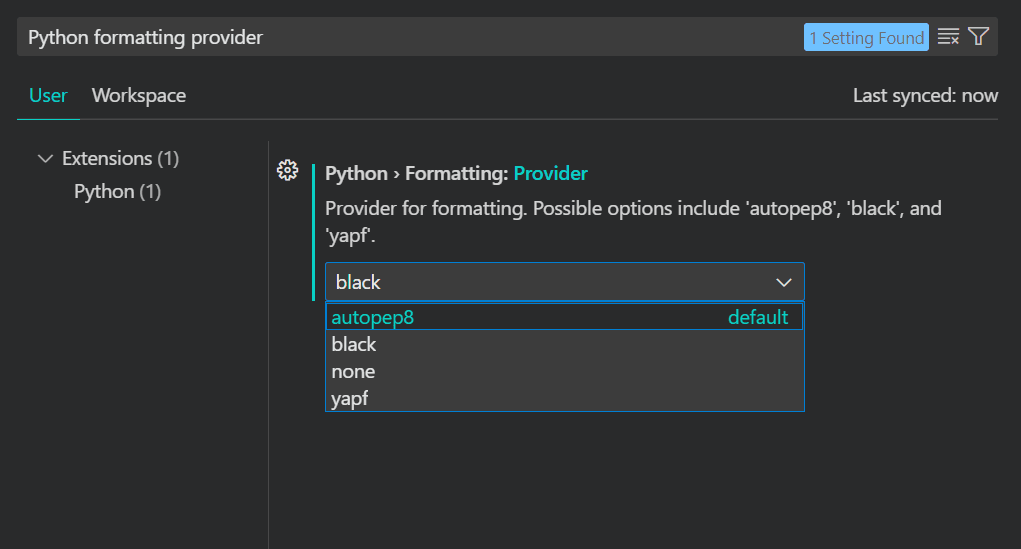
Select the Python formatter
To access the formatting option, we have to open the settings panel by going to Preferences -> Settings or using the keyboard shortcut: Ctrl +,. After that, type "python formatting provider" in the search bar and select "black" from the dropdown menu.
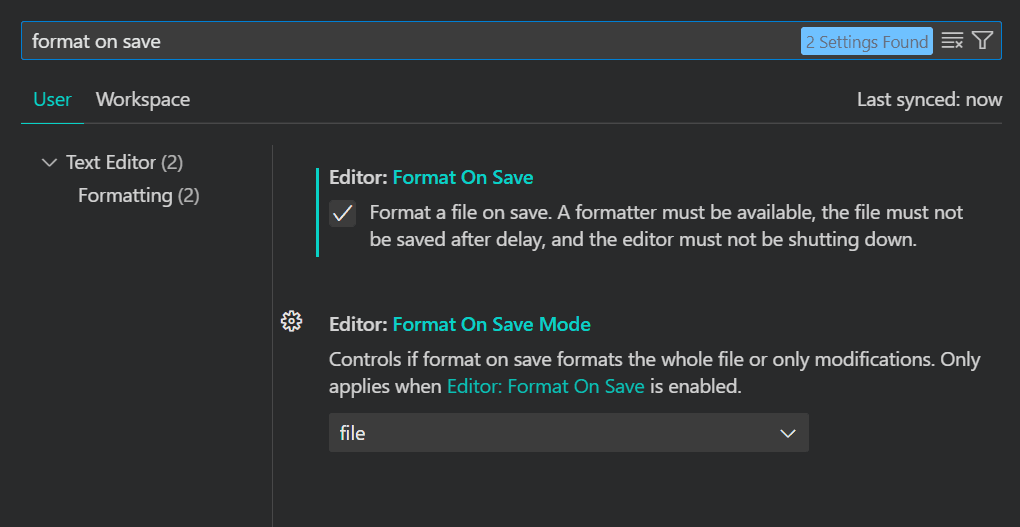
Configure Python formatter
For formatting the Python file on save, we have to search for format on save in the Settings and enable the Editor: Format on Save option.
Use this table as a reference to know which tools to install for your use case.
| Tool name | Features | Benefits |
|---|---|---|
| Pylint | Checks for errors, enforces coding standards, and detects code smells. | Helps maintain a high code quality by identifying errors early. |
| Flake8 | Combines PyFlakes, pycodestyle, and McCabe for comprehensive linting. | Ensures adherence to PEP 8 and improves code readability. |
| Black | Automatically formats Python code to be consistent and readable. | Saves time and effort with consistent formatting, adhering to PEP 8. |
| autopep8 | Automatically formats Python code to conform to the PEP 8 style guide. | Quick formatting tool that ensures code style compliance. |
| yapf | Formats Python code based on Google's style guide. | Offers a highly configurable formatting tool based on style preferences. |
The Python extension comes with Debugging for all kinds of applications like multi-threaded, web, and remote applications. We can set breakpoints, inspect data, and run programs step by step.
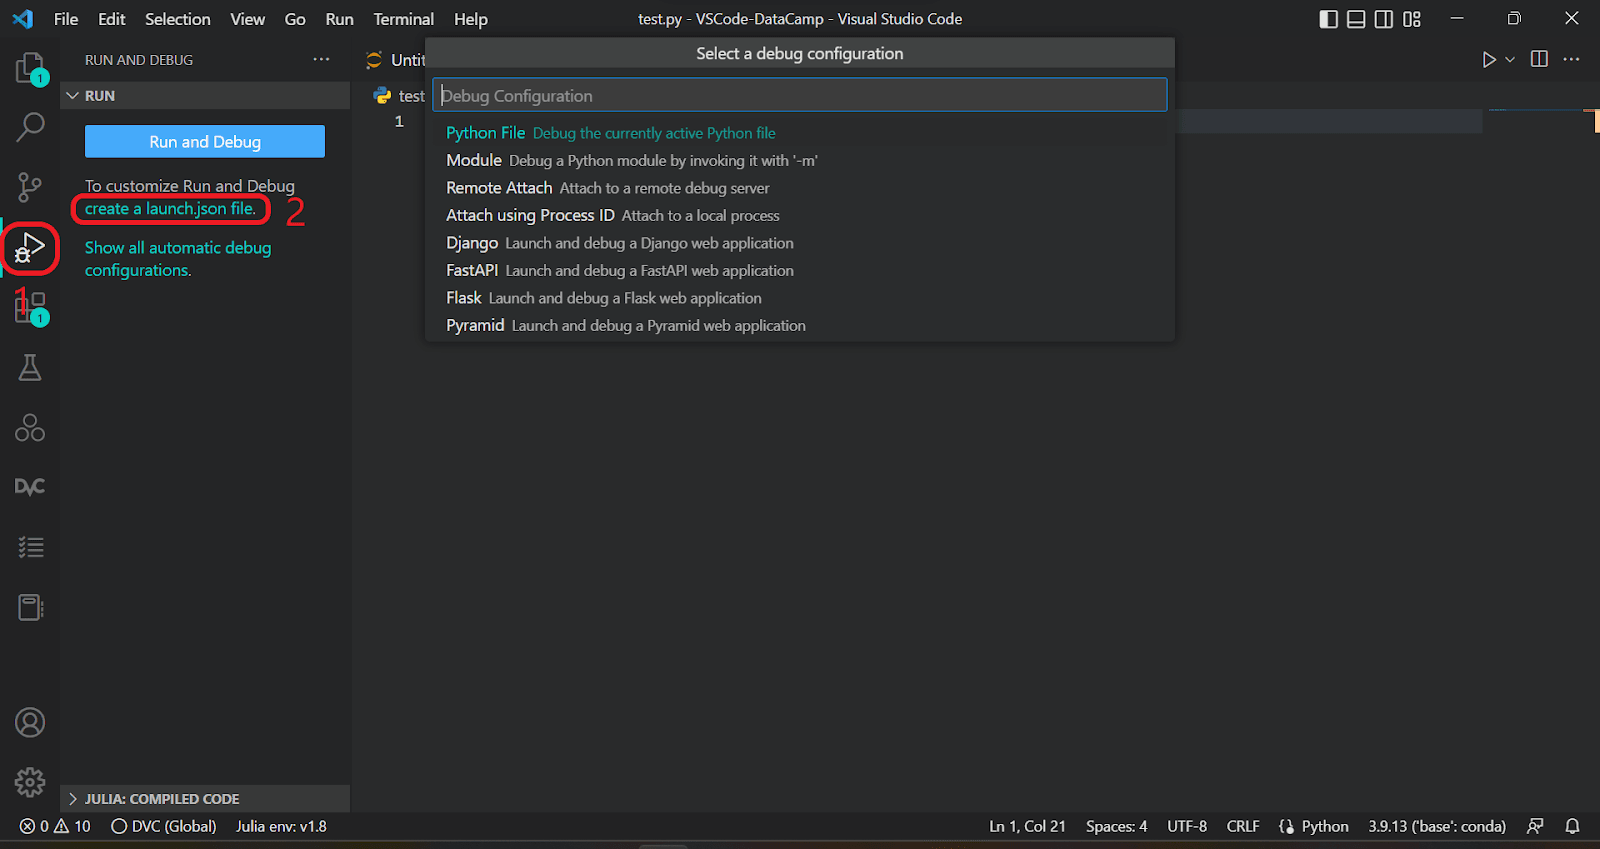
Select a debug configuration
Launch the debug tab by clicking on the debug icon on the action bar or by using the keyboard shortcut Ctrl + Shift +D. To customize Debug options, click on create a launch.json file and select Python File.
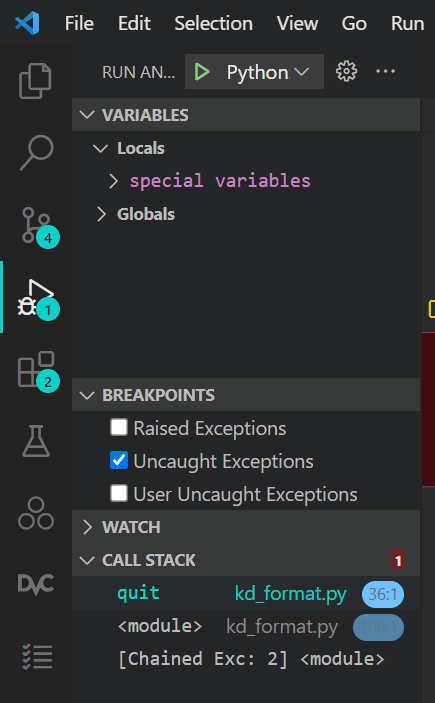
Debug Panel
Run the Debug by clicking on the blue button Run and Debug, and it will run the Python file and show us the Variables, Watch, Call Stack, and breakpoints.
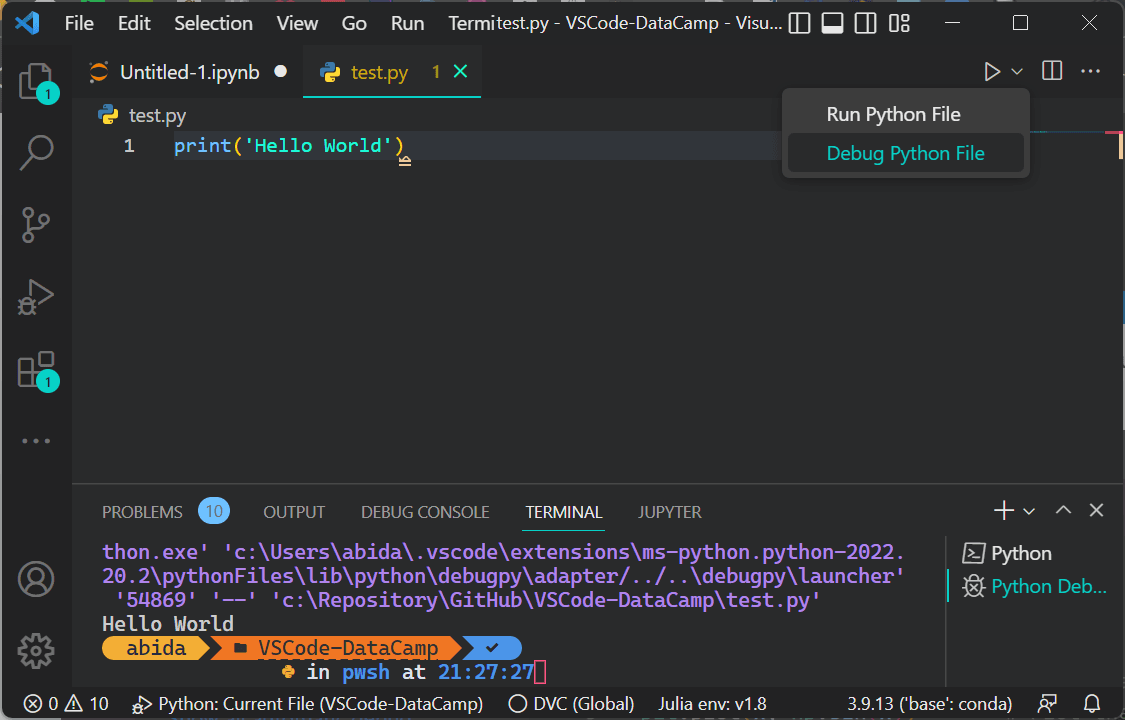
Quick debug
For quick debugging, you can always click on the down arrow beside the Run button and select Debug Python File.
The Python extension supports unittest and pytest testing frameworks. Instead of reading the test results in a terminal, you can review and resolve the issues within the Testing tab in an active bar.
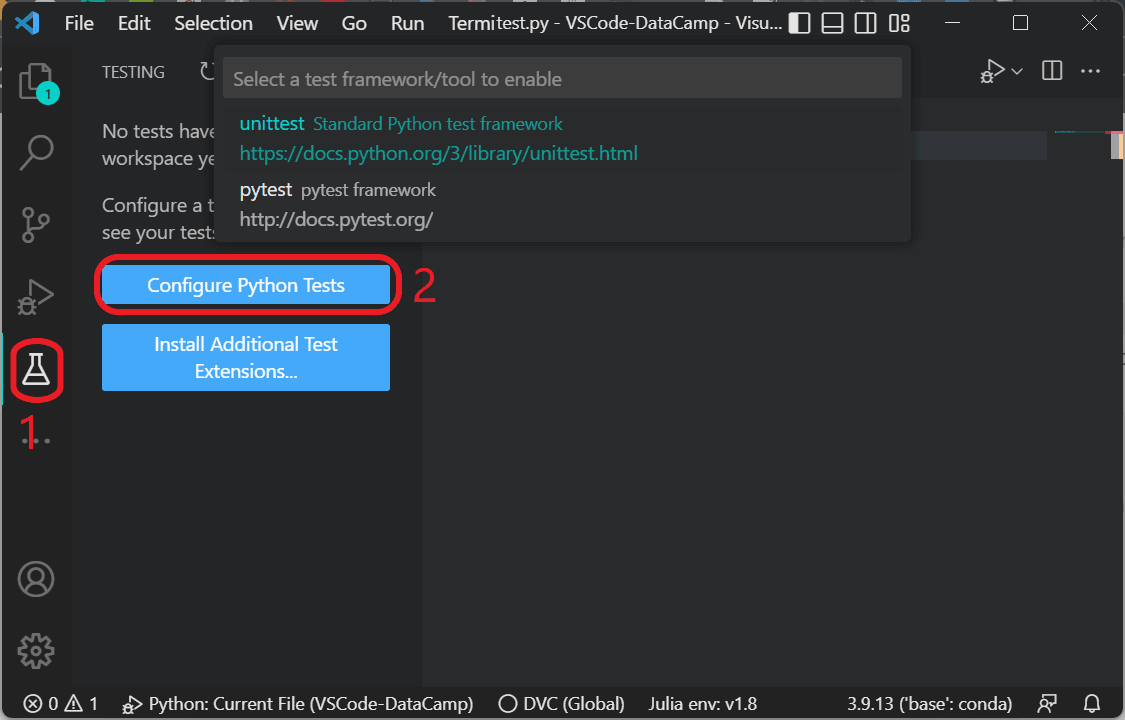
Configure Python tests
After clicking on the Testing button, we will click on the Configure Python Tests button and select the testing framework. Usually, VSCode automatically detects the framework and displays all the tests in a tree view.
Learn about Python unit testing, implementing Python's pytest testing framework by following our how to use pytest for unit testing tutorial.
Note: The testing example that we are using is from Visual Studio Code official documentation.
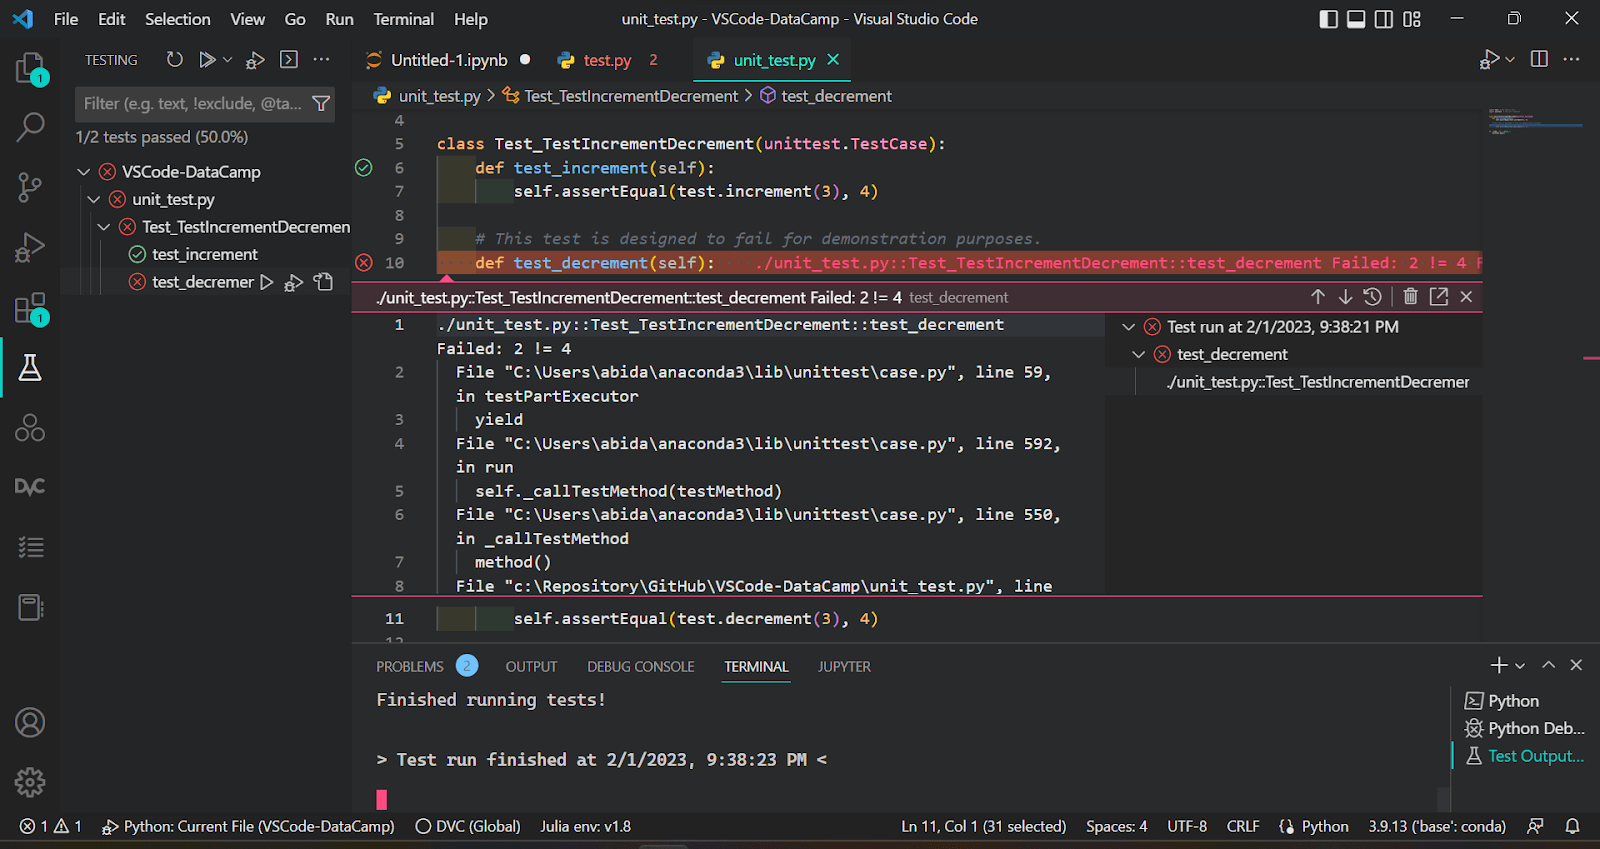
Run the unittest
We can run the Unit test by clicking on the Run Test button in the Testing tab and analyzing the results.
As we can observe, 1 of 2 tests have passed, and it has displayed the reasoning behind the failed result. VSCode testing is highly interactive and user-friendly.
VSCode comes with built-in Git integration. No more writing Git commands on terminals. Git integration provides a user-friendly GUI and helpful functions for diff, views, staging, branching, committing, merge, and more.
Check out our Git Cheat Sheet to learn about the various Git commands and functionalities.
Note: To enable Git integration, you need to install Git from official site.
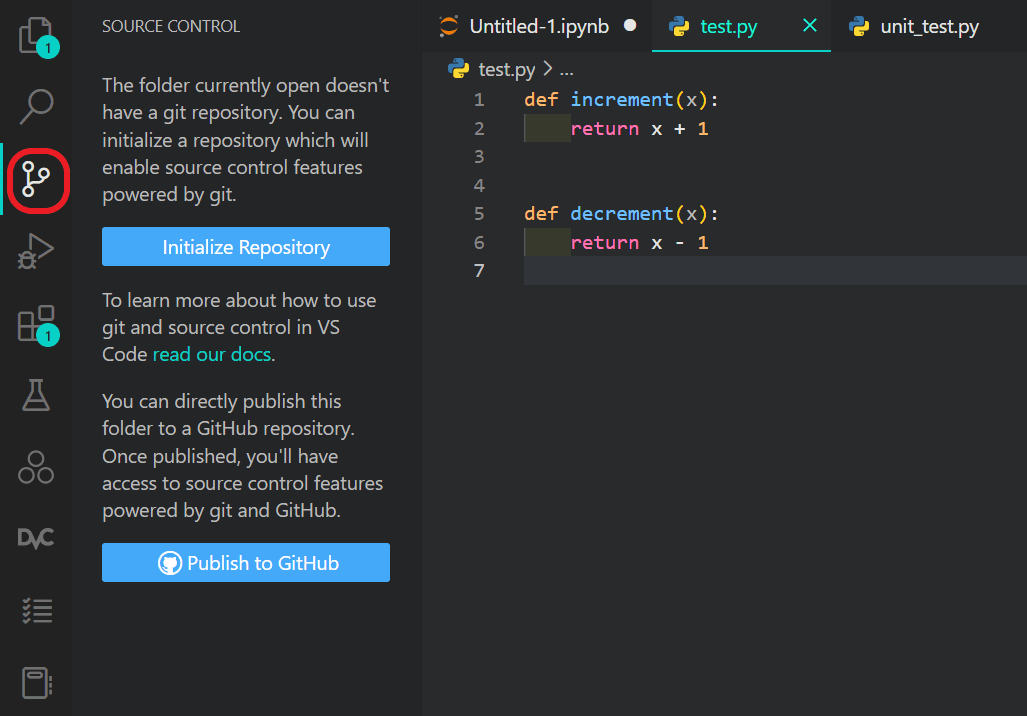
Initializing Git
We can access it through the action bar or by using the keyboard shortcut: Ctrl + Shift + G. Before we start committing, we need to initialize the repository.
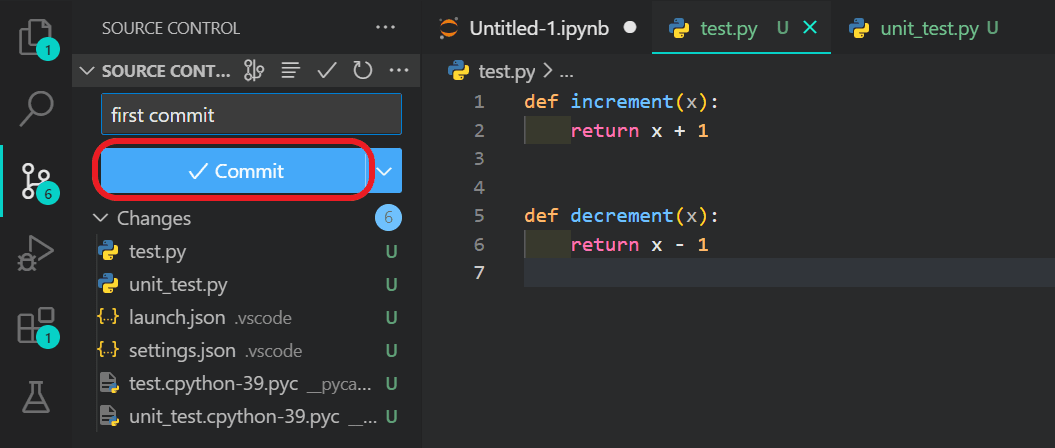
Git Commit
After that, add and commit the changes with the message. It is that simple.
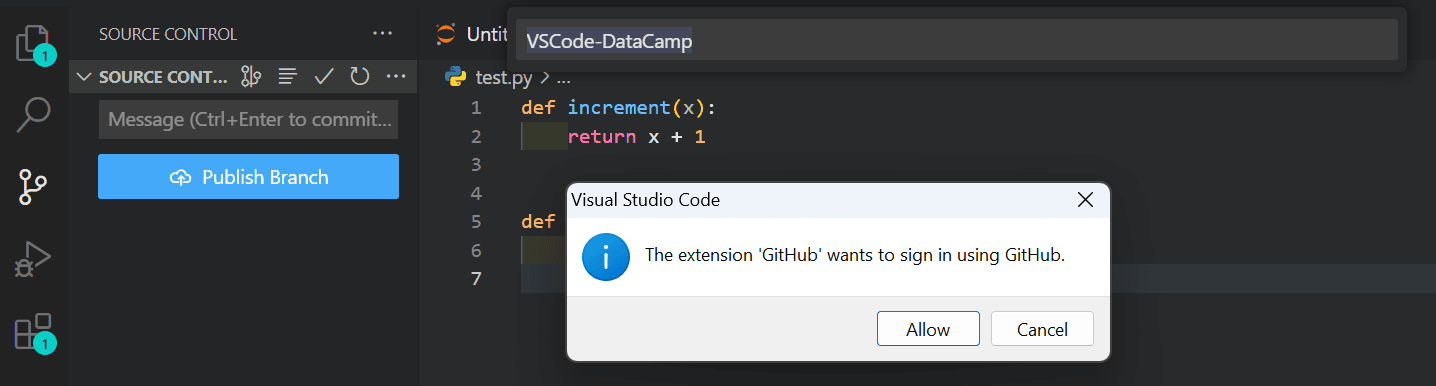
Create a GitHub repository and push the code
You can even create a GitHub repository and push your code to a remote server by logging into your GitHub account.
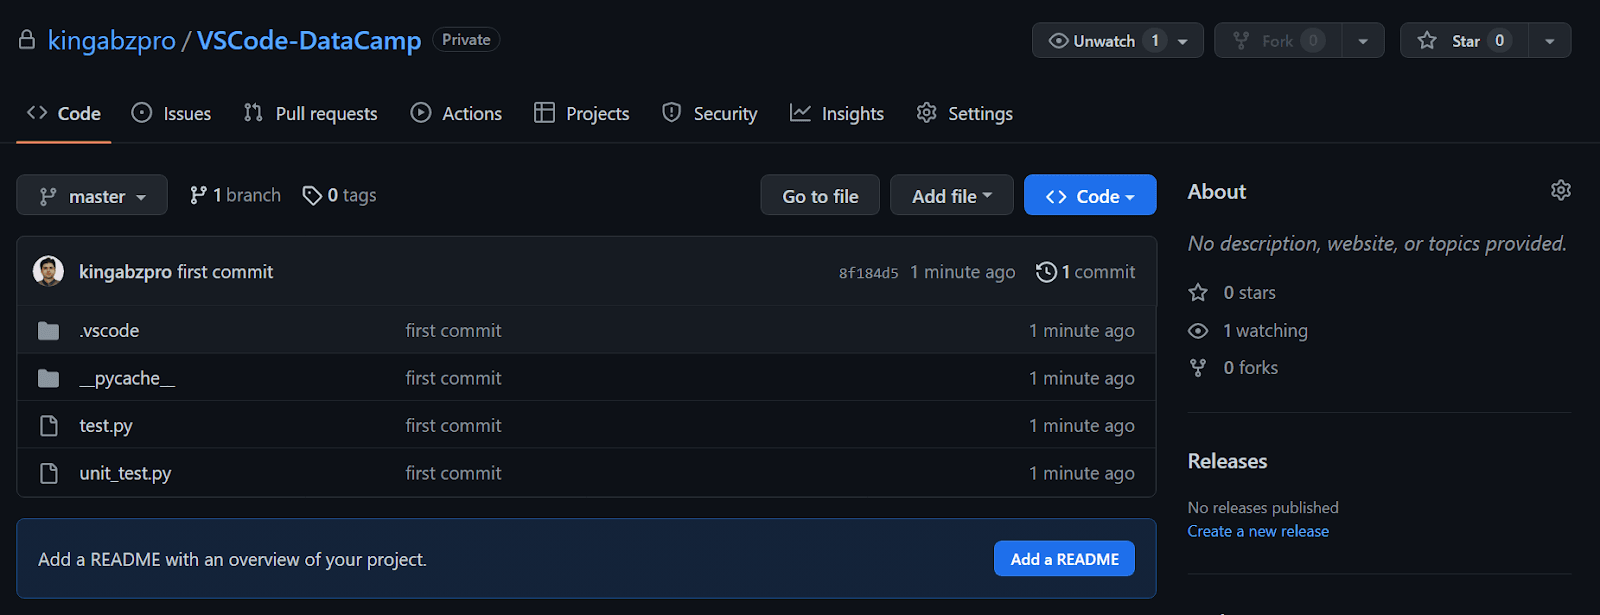
Private GitHub repository
We have created a GitHub private repository of Python files and folders.
You can now simply commit and push the changes to the remote server without leaving the VSCode.
Follow our Github and Git tutorial to learn everything about Git and GitHub.
To enhance your coding experience in VSCode, consider enabling AI-powered code completion features. One prominent tool is GitHub Copilot, an AI pair programmer that assists by suggesting code snippets and entire functions as you type.
To enable GitHub Copilot in VSCode:
VSCode comes with awesome Python development features and extensions. We can customize them to our needs and improve the productivity. In this section, we will learn about tips and tricks for efficient Python development.
Bonus: sync your settings by logging into your GitHub account. It will sync your settings across all of the machines.
VSCode is not just a code editor. It is a complete ecosystem for efficient Python development. It provides us with shortcuts, Commands Palette, IntelliSense, linting, formatting, debugging, formatting, Git integrations, Jupyter notebook, third-party extensions, and a fully customizable development experience.
VSCode is highly recommended to beginners who are learning the basics of Python and data science. Complete Associate Data Scientist with Python career track to become a master in Python and data science. The career track consists of 25 courses and six projects to prepare you to become a professional data scientist.
Learn more about Python with these courses!
Course
Course
Course
blog
Richie Cotton
14 min
Tutorial
J. Andrés Pizarro
Tutorial
Matthew Przybyla
Tutorial
Allan Ouko
Tutorial
Oluseye Jeremiah
Tutorial
Khalid Abdelaty