Track
Containerization and Virtualization with Docker and Kubernetes
13 hr
Now that you understand what Docker images are and why it's important to keep them in check, let's dive into the actual removal process.
Docker provides a couple of commands to help you manage your images, from listing what you have to removing what you don't need.
Before you start deleting images, you need to know what's actually taking up space on your system. The docker images command is your first step in this cleanup process.
docker imagesThis command lists all your Docker images along with valuable information like:
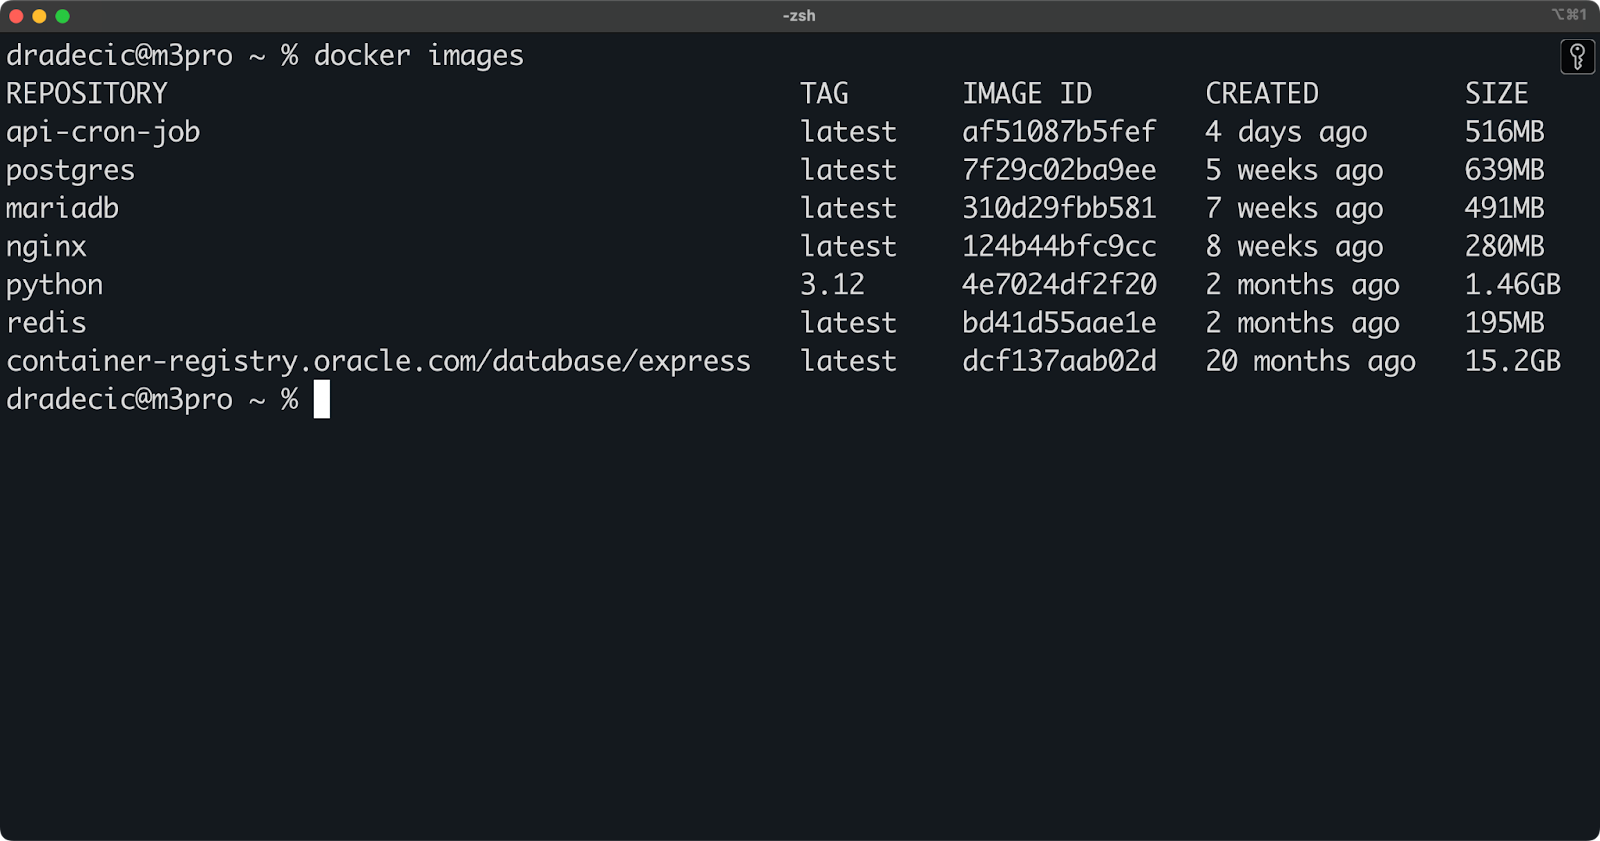
Image 1 - Available Docker images
Looking at the size column can be a good eye-opener. As you can see in Image 1, the Oracle database image takes more than 15GB!
If you want to sort your images by size to identify the biggest space hogs:
docker images --format "{{.Size}}\t{{.Repository}}:{{.Tag}}" | sort -h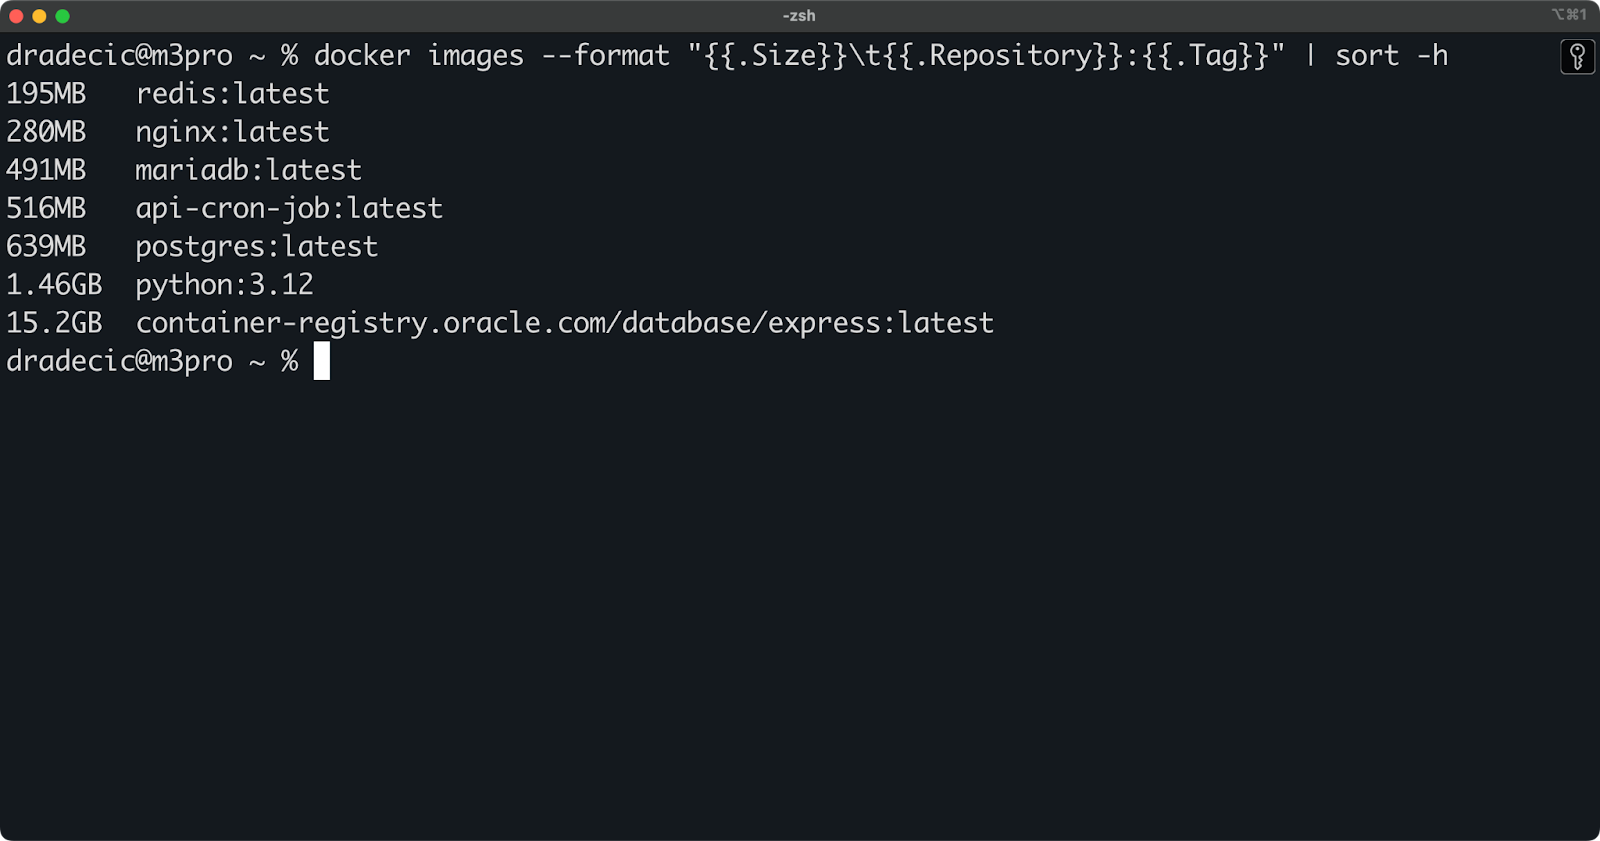
Image 2 - Available Docker images sorted by size
This is a more compact overview, as it doesn't include all of the image properties.
Once you've identified images you don't need, you can remove them one at a time using the docker rmi command (where rmi stands for "remove image").
You can remove an image either by its ID or by its repository:tag combination:
# Remove by image ID
docker rmi 4e7024df2f20

# Remove by repository:tag
docker rmi nginx:latest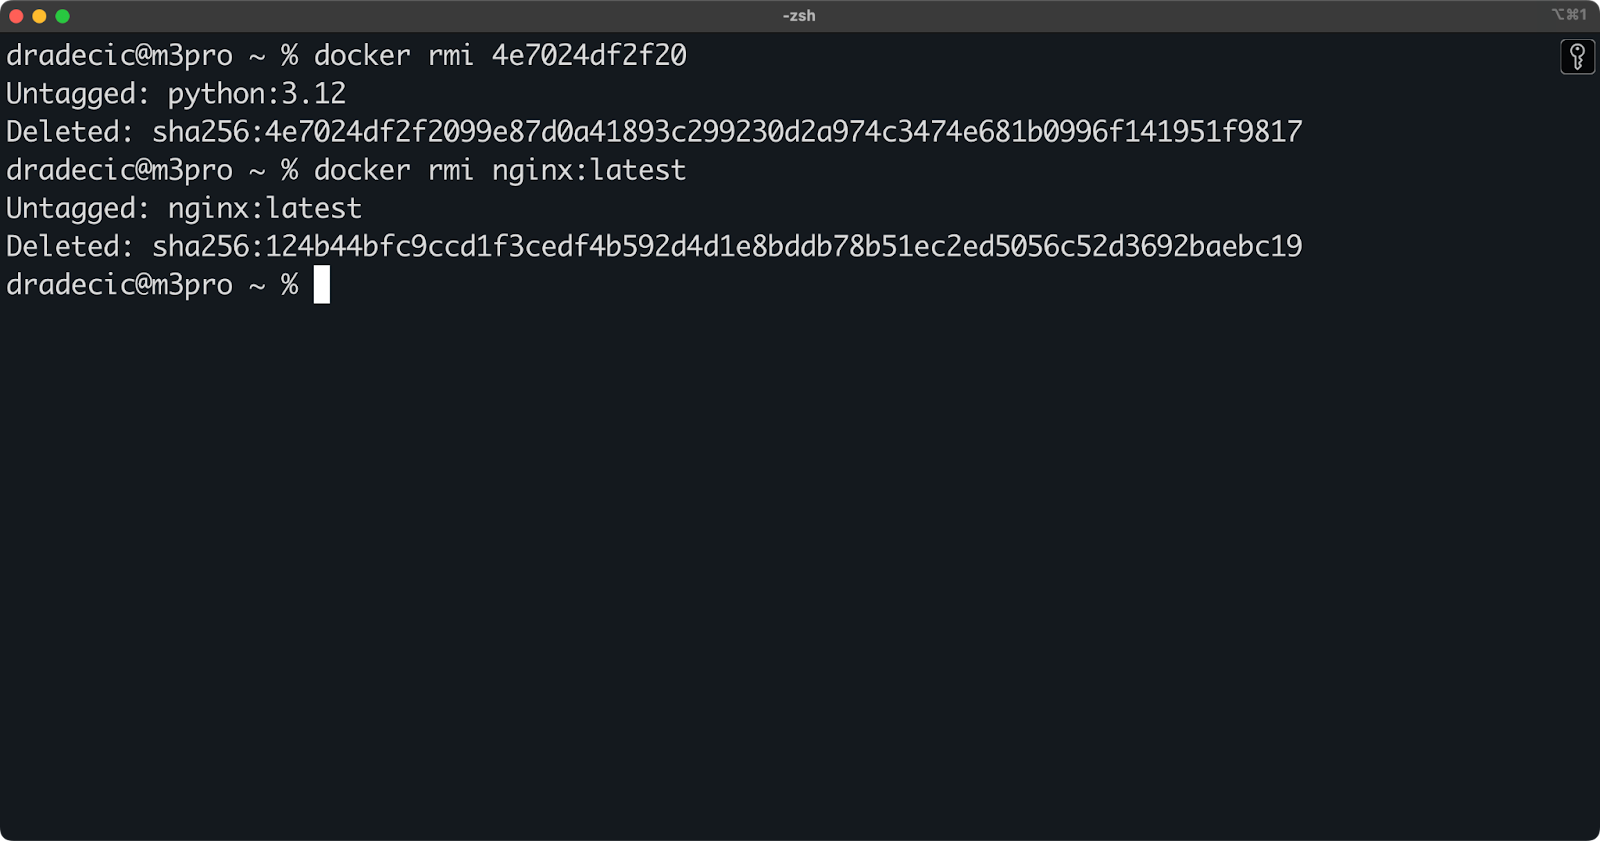
Image 3 - Two ways to remove individual Docker images
It's also worth mentioning that Docker won't let you remove images that are currently in use by containers. You'll encounter an error message like:
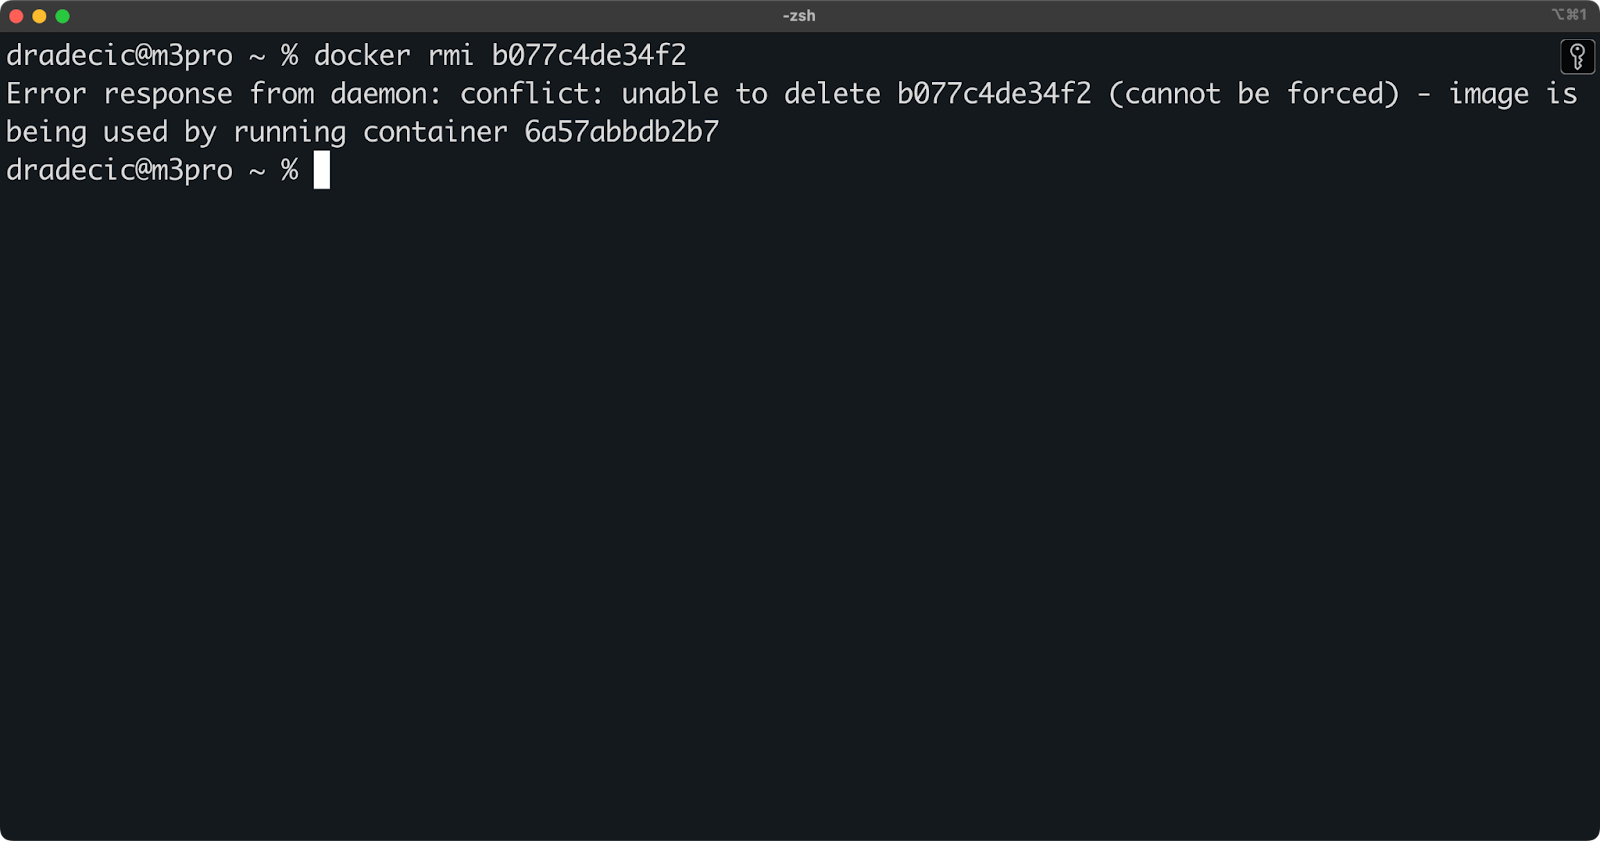
Image 4 - Attempting to remove Docker images that are in use
If you see this, you need to stop and remove any dependent containers before removing the image, or use the force option (which I'll cover later).
Removing images one by one can be tedious, especially during a major cleanup. Fortunately, Docker allows you to remove multiple images with a single command.
You can provide a space-separated list of image IDs:
docker rmi postgres:latest mariadb:latest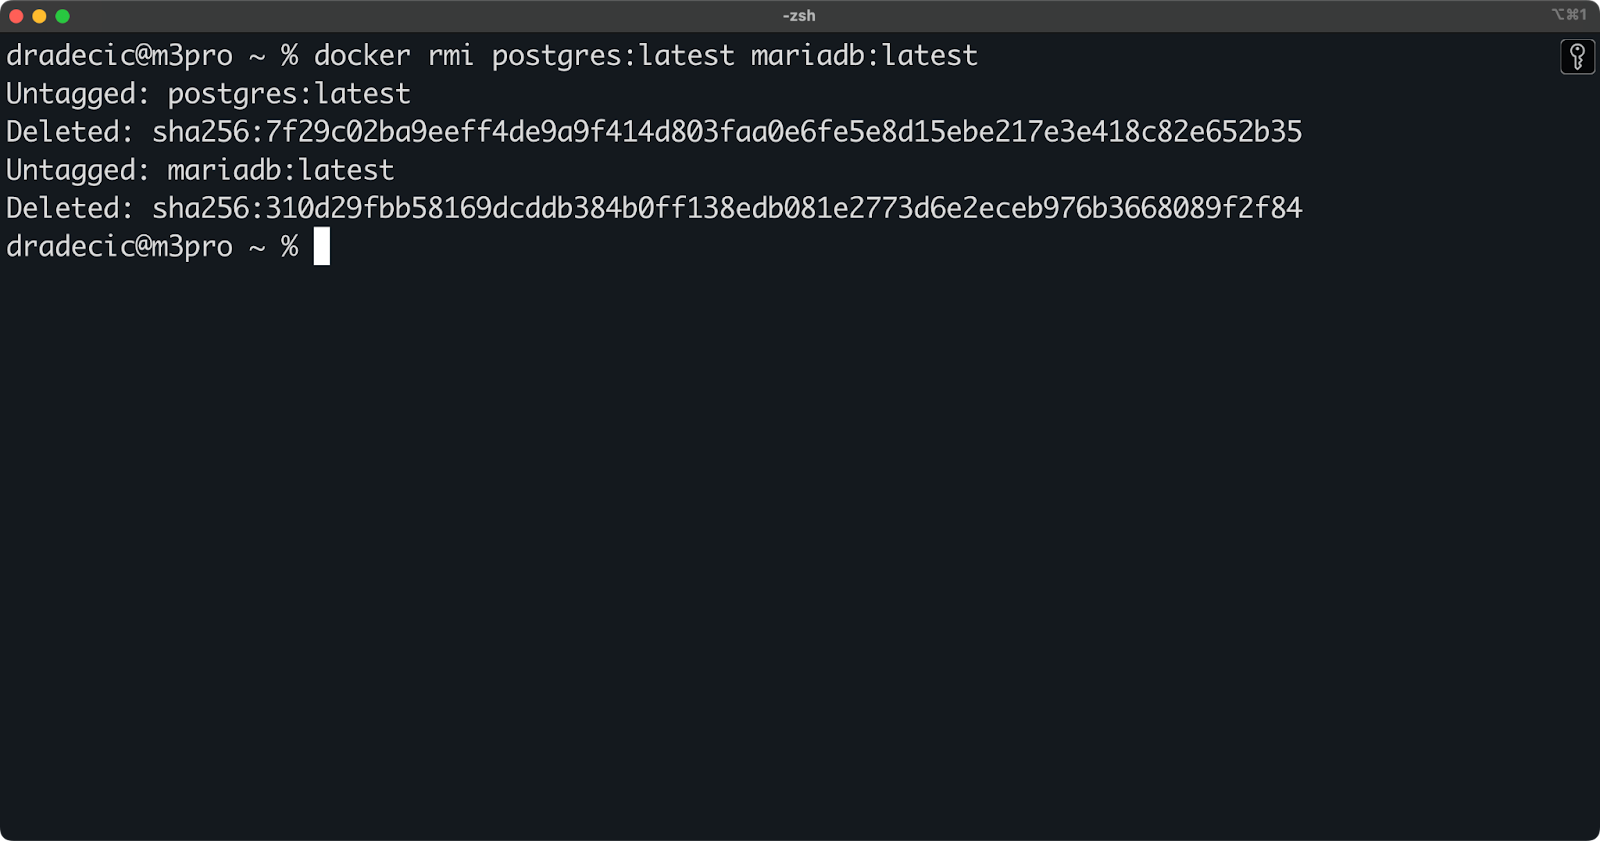
Image 5 - Removing multiple Docker images
Or, for more advanced scenarios, you combine docker images with filtering and piping. For example, this one will remove all images with the latest tag:
docker rmi $(docker images --filter=reference="*:latest" -q)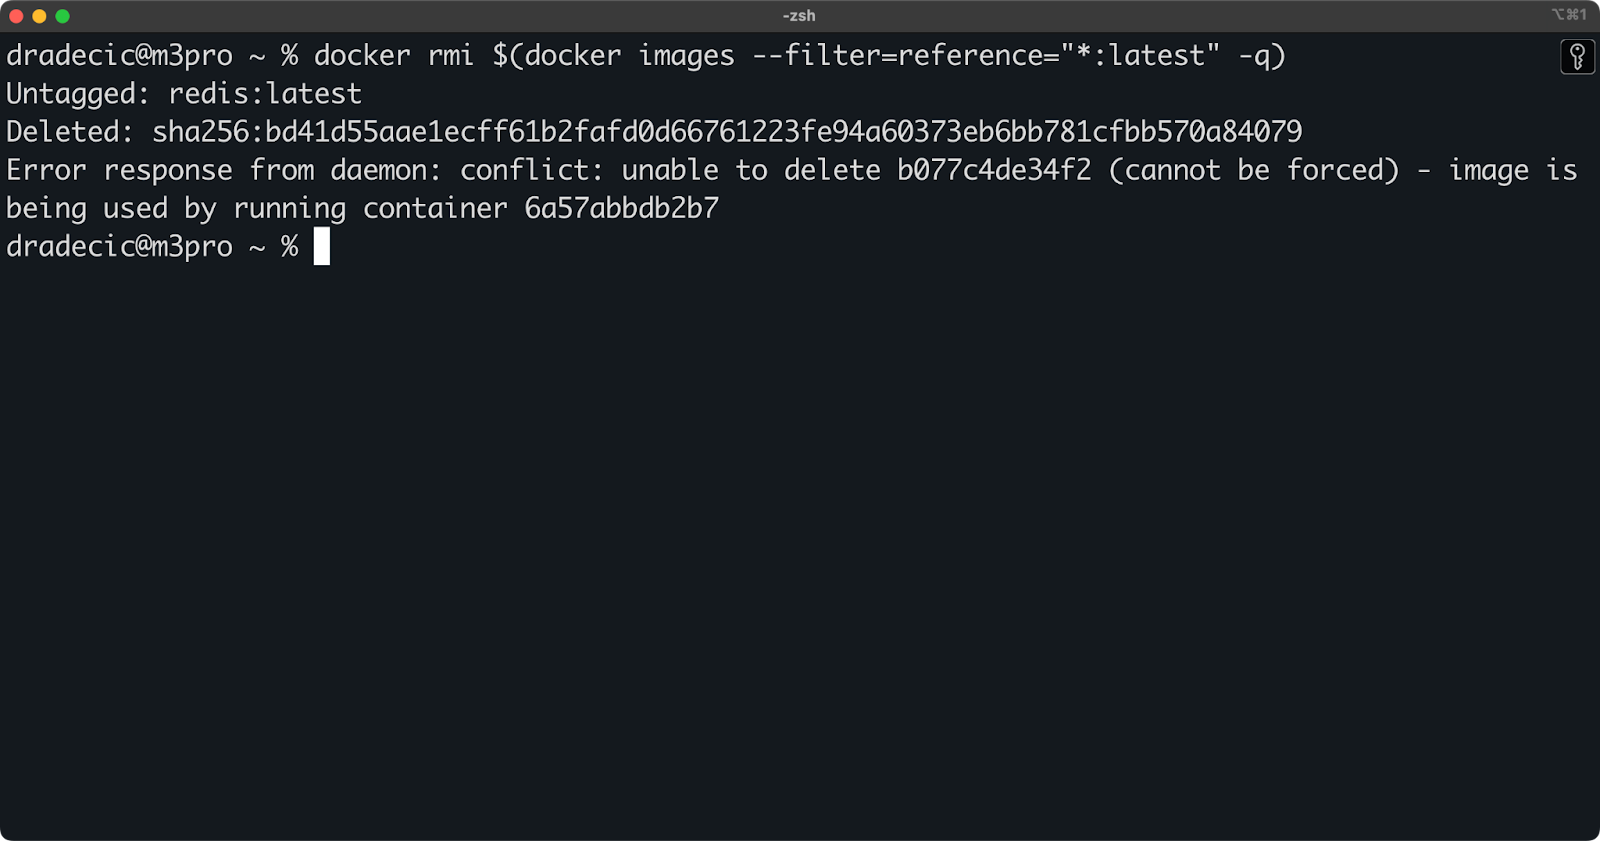
Image 6 - Removing all Docker images with a specific tag
Well, all besides the images currently in use by running containers.
Be careful with these bulk removal commands, as they don't ask for confirmation. You should always double-check your filter criteria before pressing Enter.
When you rebuild an image, Docker creates new layers for anything that changed and reuses cached layers for unchanged parts. The previous version's unique layers become "dangling” - they exist on disk but aren't part of any named image.
You can identify dangling images with:
docker images -f "dangling=true"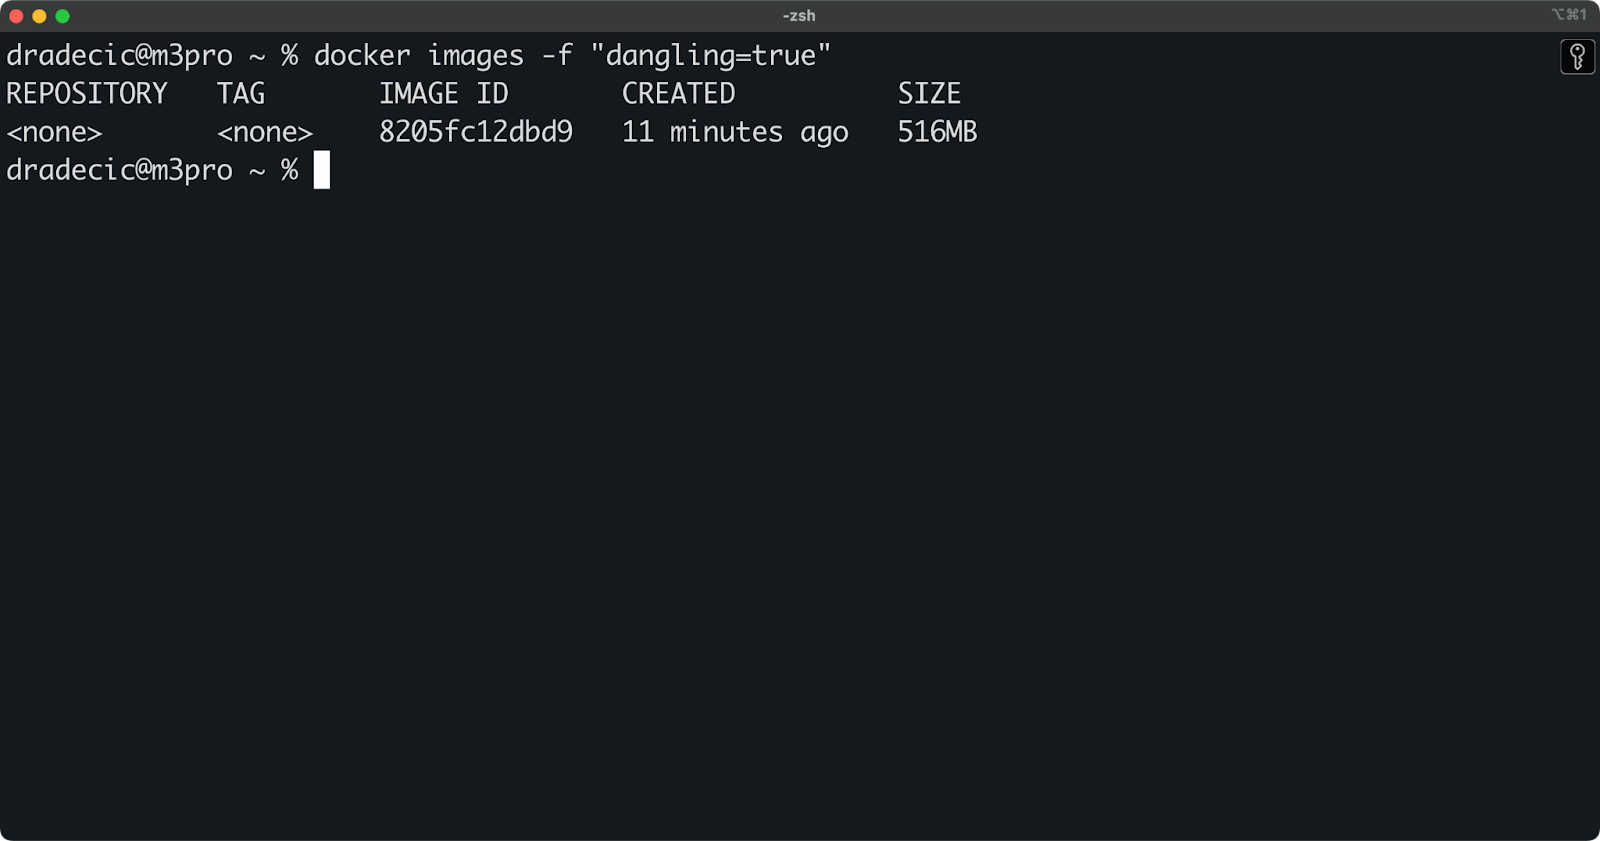
Image 7 - Listing dangling Docker images
Now, run the prune command to remove them all at once:
docker image prune
Image 8 - Docker image pruning
This command will prompt for confirmation before proceeding. If you're sure you want to remove them all:
docker image prune -fFor a more aggressive cleanup, you can remove both dangling images and unused images (those not used by any container):
docker image prune -a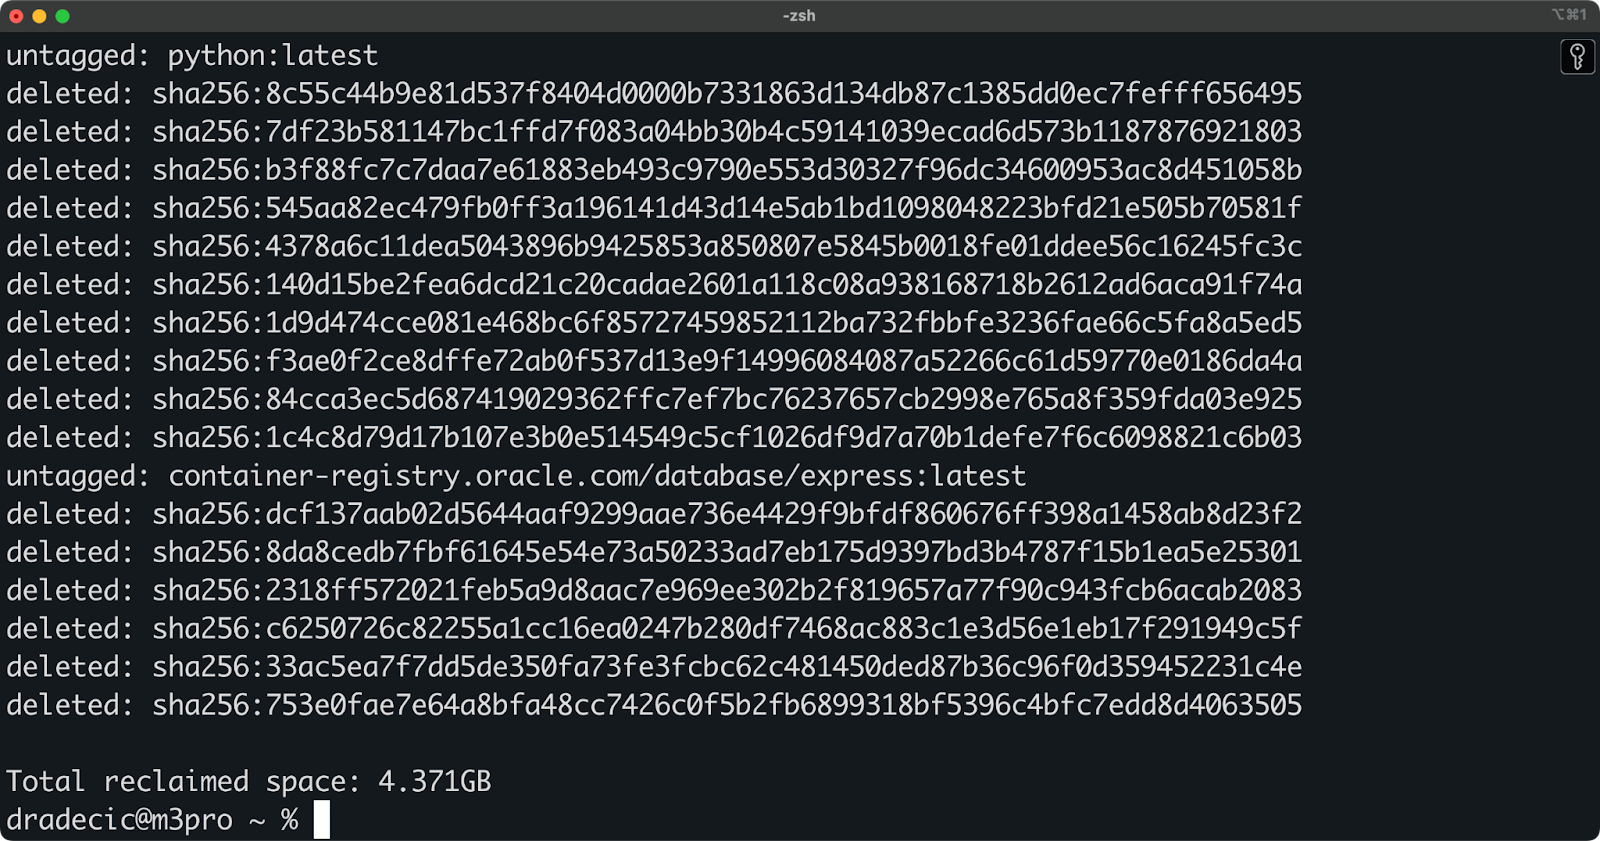
Image 9 - Removing all unused images
This last command can free up significant space, but use it with caution, as it will remove all images not referenced by running or stopped containers.
>What is the Docker Prune command exactly? We've dedicated an entire article to it - it's packed with examples.
Now that you know how to remove Docker images, let's look at some common errors you might encounter and how to handle them.
Like with everything in software development, you'll sometimes run into errors when trying to remove Docker images.
Most of these errors occur for good reasons - Docker's safeguards are designed to prevent you from accidentally breaking something important. Let's explore these common errors and how to address them.
The most common error you'll encounter when removing Docker images looks something like this:
Error response from daemon: conflict: unable to delete 64ba095c0f0e (cannot be forced) - image is being used by running container 0284660ca006This happens because Docker's architecture has a strict dependency relationship between containers and images. A container is essentially a running instance of an image with its own writeable layer on top.
Why does Docker prevent deletion? It's simple - if you removed an image while a container based on it was still running, that container would immediately crash. Even stopped containers maintain references to their parent images because they might be restarted later.
To remove such an image, first start by listing all containers (including stopped ones) using the image:
docker ps -a --filter ancestor=64ba095c0f0e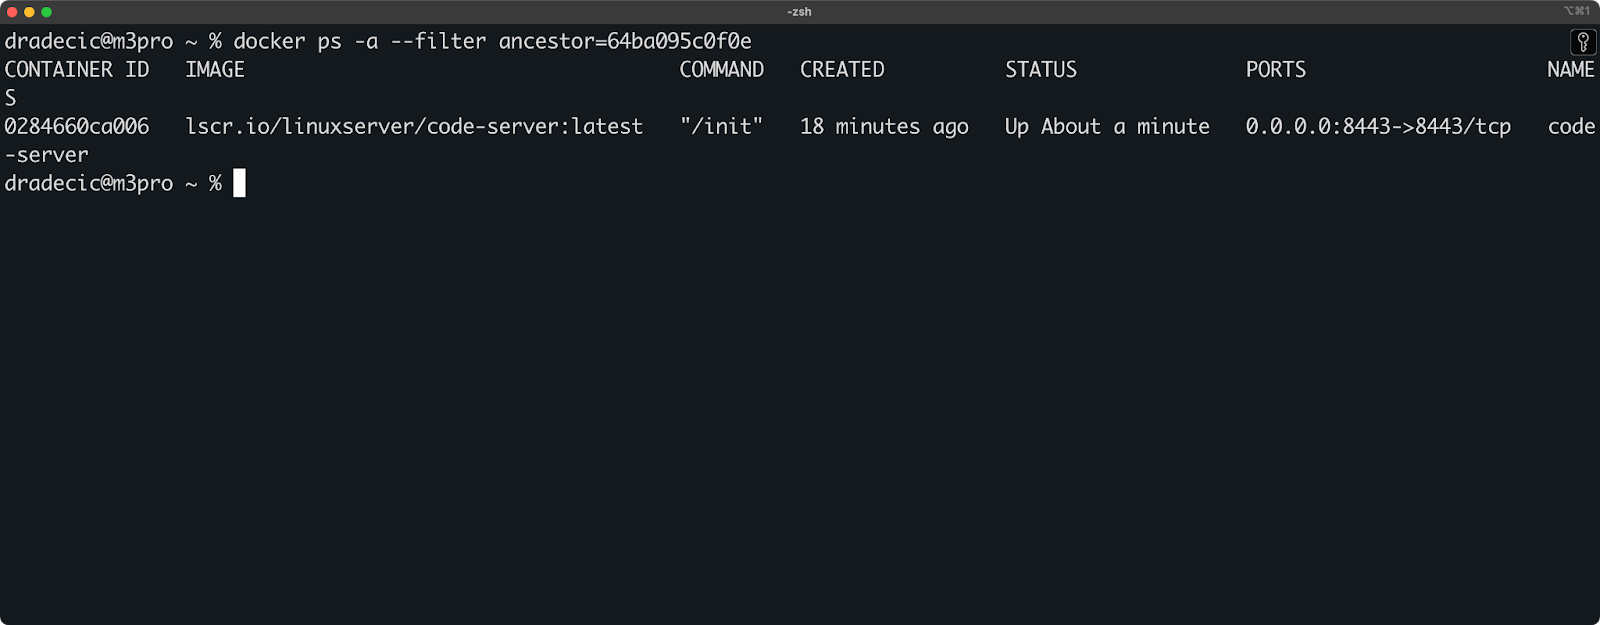
Image 10 - All containers using the image
You can then stop all of the containers:
docker stop 0284660ca006
Image 11 - Stopping containers
Up next, you can remove the stopped containers:
docker rm 0284660ca006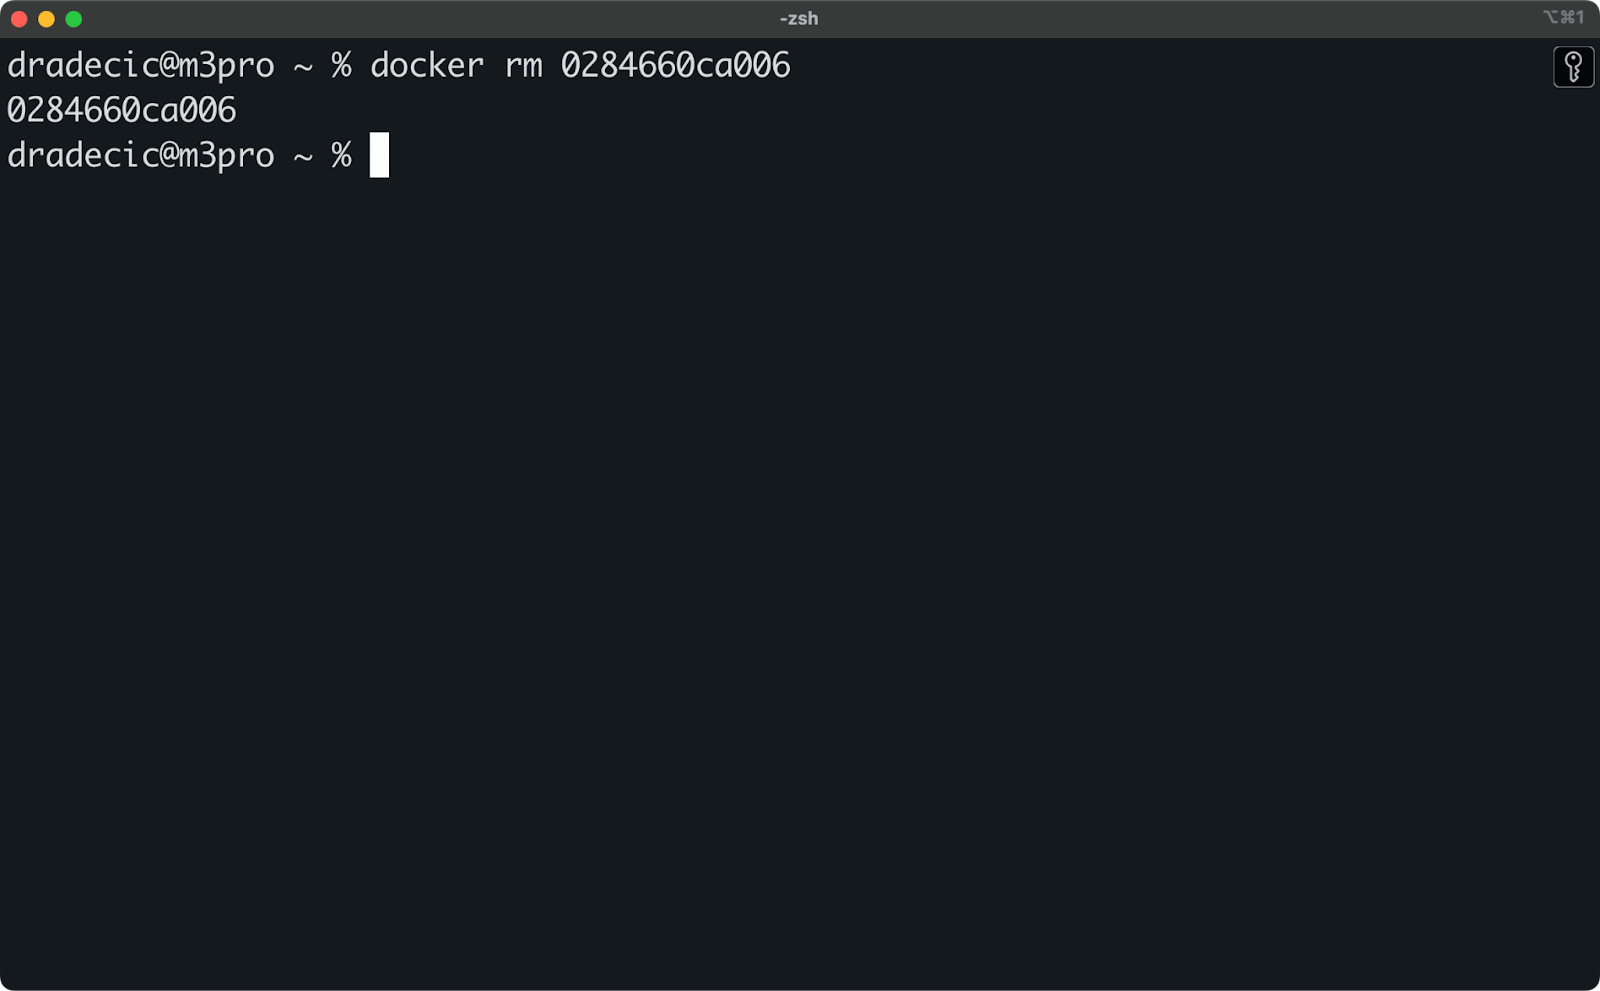
Image 12 - Removing containers
And finally, use the well-known rmi command to remove the image:
docker rmi 64ba095c0f0e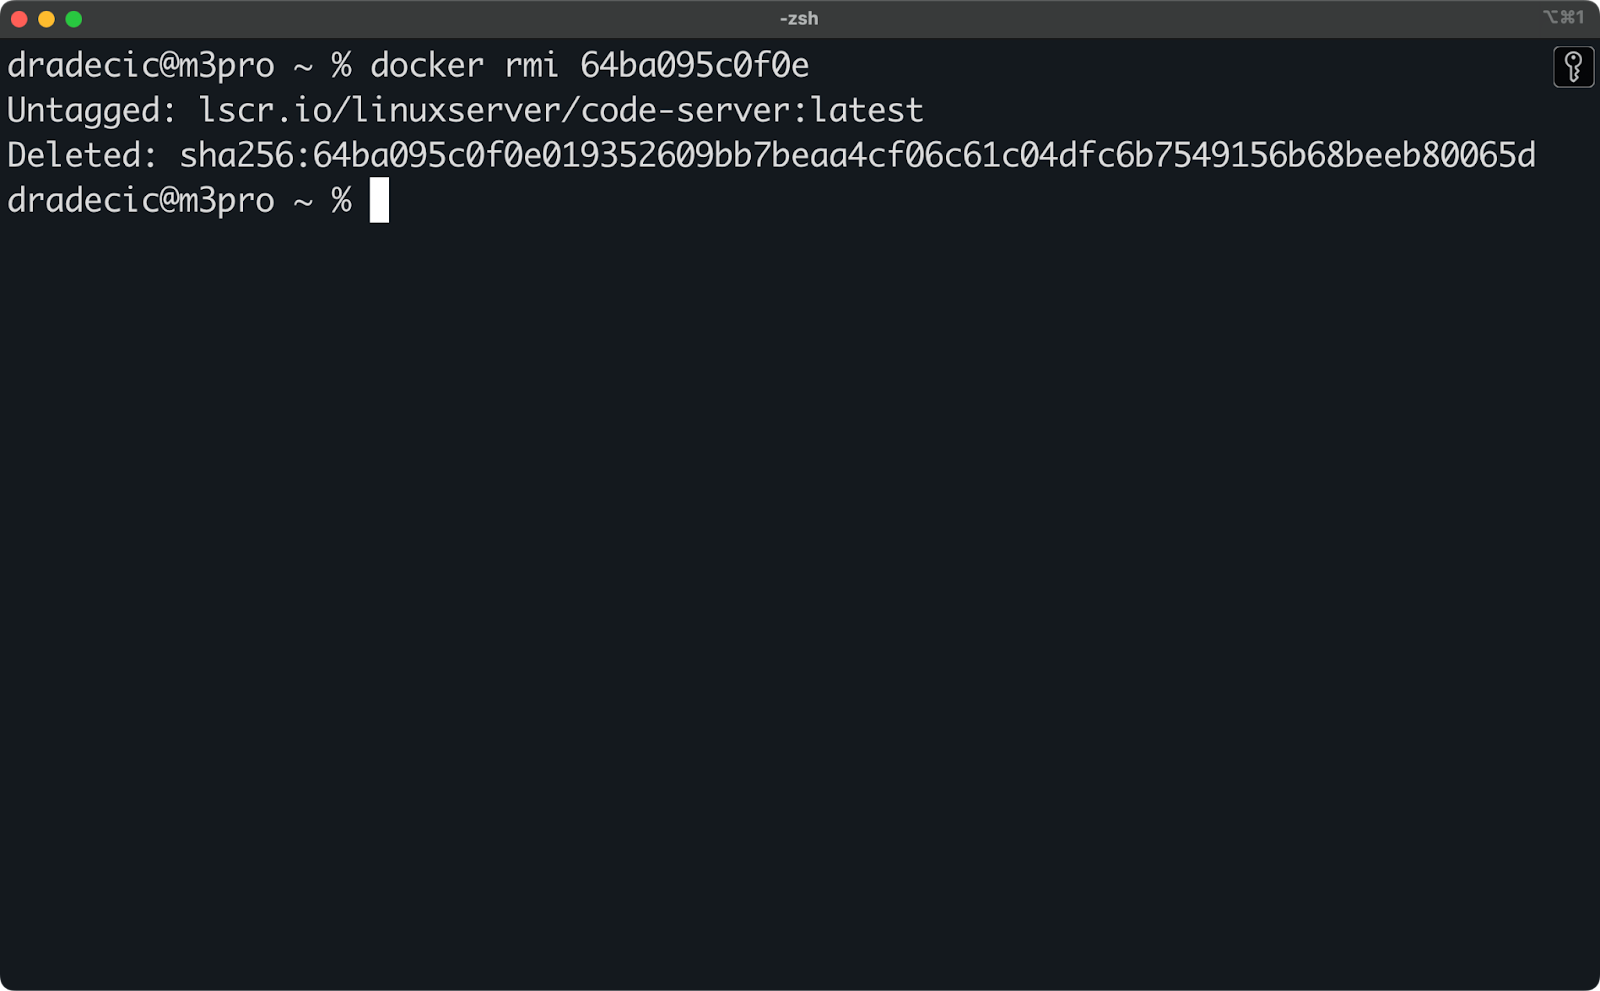
Image 13 - Removing the Docker image
Or, if you prefer a single shell command, use this one:
docker ps -a --filter ancestor=090040f97aa1 -q | xargs docker rm -f && docker rmi 090040f97aa1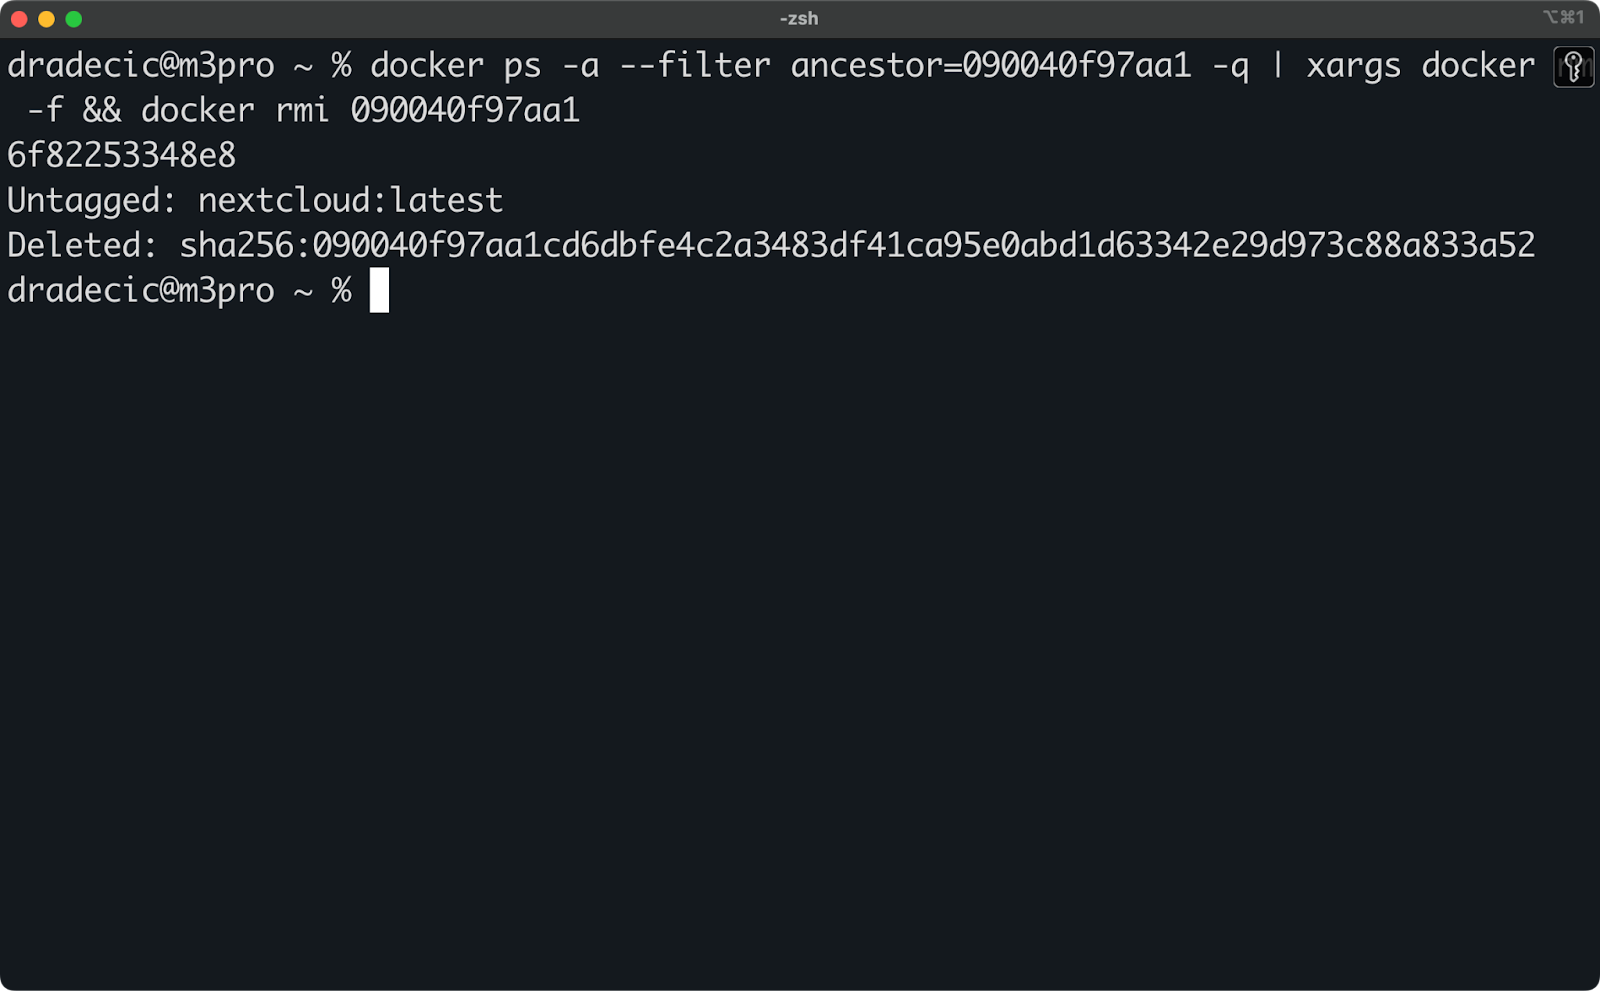
Image 14 - Doing everything in a single shell command
Much easier, isn't it?
If you're absolutely certain you want to remove an image regardless of dependencies, Docker provides the -f or --force flag:
docker rmi -f 64ba095c0f0e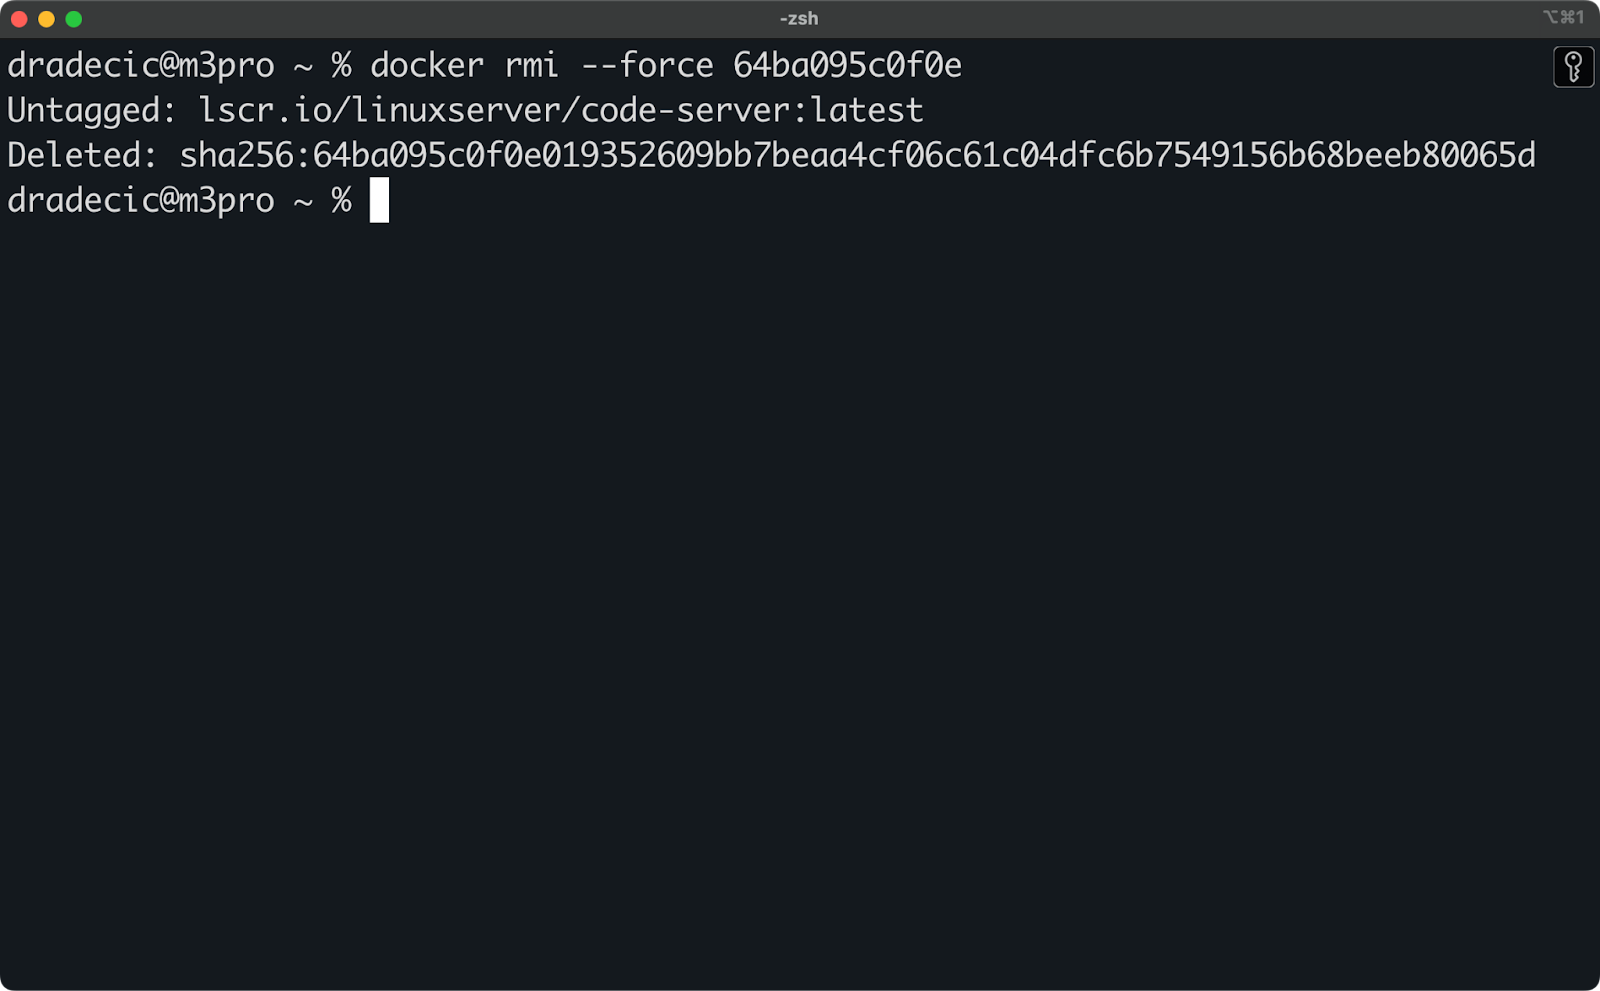
Image 15 - Force deleting Docker images
The force option tells Docker to remove the image even if it's referenced by containers or other images.
However, it won't remove images referenced by running containers.
Force removal should be your last resort, like when debugging Docker itself or when you're absolutely certain the dependencies can be safely broken. In production environments, it's almost never the right choice.
Remember, Docker's dependency controls exist for a reason. Working with them rather than against them will result in a more stable and predictable Docker experience.
Managing Docker images isn't a one-time task - it's an ongoing responsibility.
Establishing good habits and following best practices will save you from emergency cleanups when your disk space suddenly hits zero. In this section, I'll walk you through some strategies to help you maintain a clean Docker environment.
>Looking for a complete guide to learning Docker? Our guide for data professionals is a good starting point.
Just like you wouldn't let dishes pile up in your sink for weeks, you shouldn't let unused Docker images accumulate indefinitely on your system.
A regular maintenance schedule is the simplest way to prevent image bloat. Depending on how actively you use Docker, this might be weekly, monthly, or quarterly.
During these cleanup sessions, you should:
docker images and identify candidates for removal.Many development teams also incorporate image cleanup into their CI/CD pipelines. For example, you might configure Jenkins or GitHub Actions to automatically clean up build images older than a certain age.
This command will show only those images that are older than 30 days:
docker images --format "{{.ID}}\t{{.CreatedAt}}" | awk '$2 < "'$(date -d '30 days ago' +'%Y-%m-%d')'"' | cut -f1Docker provides built-in pruning commands that can automate much of the manual cleanup work.
The docker system prune command removes all stopped containers, dangling images, and unused networks in one go:
docker system pruneFor a more aggressive cleanup that also removes unused images:
docker system prune -aYou can even reclaim space from build caches:
docker builder pruneThese commands are perfect for scripting. Here's a simple example of a cleanup script you might run periodically:
#!/bin/bash
# Stop all containers
docker stop $(docker ps -q)

# Remove all stopped containers
docker container prune -f

# Remove all unused images
docker image prune -a -f

# Show remaining disk usage
docker system df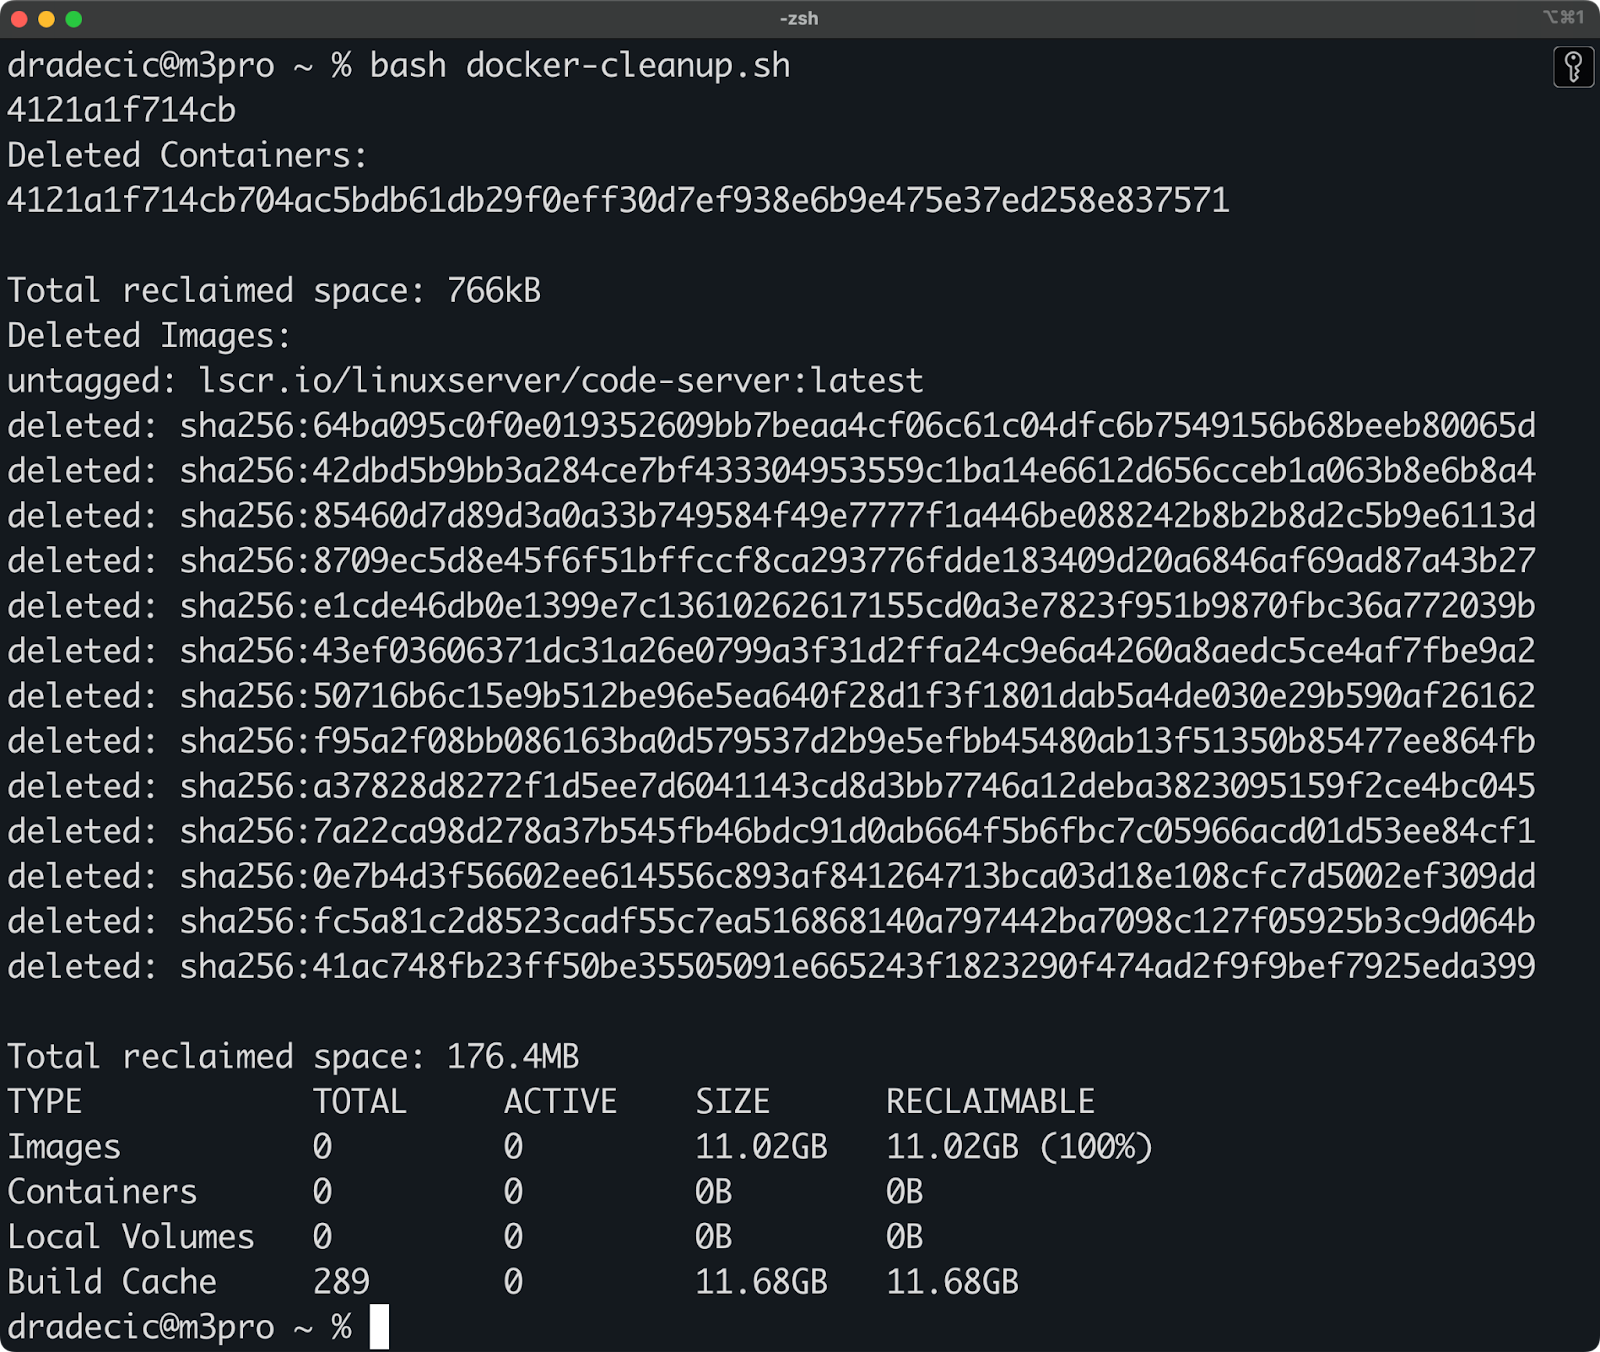
Image 16 - Automated script for Docker cleanup
Just remember to use the -f flag carefully in automated scripts, as it bypasses confirmation prompts.
A good tagging strategy will help you minimize the accumulation of unnecessary Docker images.
Instead of always using the latest tag (which can become ambiguous over time), consider these approaches:
myapp:1.0.0
myapp:1.0.1
myapp:1.1.0myapp:build-2025-04-06
myapp:commit-a7f3d9emyapp:1.0.0-dev
myapp:1.0.0-test
myapp:1.0.0-prodFor larger teams, consider implementing a Docker image registry policy that automatically garbage-collects old images after a certain period. Both Docker Hub and private registries like Harbor offer features to manage image lifecycles.
By combining these best practices – regular cleanup, automated pruning, and organized tagging – you'll maintain a much healthier Docker environment and avoid those dreaded "no space left on device" errors.
If you're a developer working with containers, proper Docker image management is a must-have skill.
Remember that Docker's power comes from its ability to isolate and package applications efficiently, but this benefit can quickly become a drawback without proper maintenance.
You've learned why Docker images can become problematic over time, consuming valuable disk space and creating clutter in your development environment. You've seen various commands for checking and removing images, from targeting specific images with docker rmi to bulk cleanup with pruning commands. You've also seen the common errors during the removal process and learned how to overcome them.
If you want to learn more about Docker and containerization, these courses should be your next stop:
Learn more about Docker with these courses!
Track
Course
Course
blog
Laiba Siddiqui
15 min
blog
Joel Wembo
14 min
cheat-sheet
Richie Cotton
Tutorial
Dario Radečić
Tutorial
Moez Ali
Tutorial
Arunn Thevapalan