
Track
Developing AI Applications
21 hr
Gemma 3n is Google AI’s latest family of multimodal, open-weight models designed to run efficiently on everyday devices like phones, tablets, and laptops. Built on a novel MatFormer architecture with support for Per-Layer Embedding (PLE) parameter caching, Gemma 3n delivers on-device performance while minimizing memory and compute costs.
While similar to traditional vision-language models (VLMs), Gemma 3n supports text, image, and audio modalities. Its "3n" variant is specifically optimized for edge deployment, with lightweight execution on CPUs, NPUs, or mobile GPUs via Google’s AI Edge SDK.
These are Gemma 3n’s main features:
Important note: while Gemma 3n supports audio inputs in its full architecture, audio capabilities are not yet available in public preview.
You can try out Gemma 3n using one of three methods:
.task file is published under Google’s ai-edge-litert format. You can request access to the Hugging Face models page and download the model locally for inference. A .task file is a compact, runtime-friendly package that contains a precompiled version of the model, its metadata, and all required configs, specifically designed for fast and secure on-device execution using Google’s AI Edge SDK.Next, I’ll walk you through building a working Android app that uses the Gemma 3n model to process image and text prompts. We’ll use Google’s official Gallery repository as the base and customize it to open directly into the Ask Image screen with no distractions.
Let’s start by setting up a new project and cloning the original repository from Google.
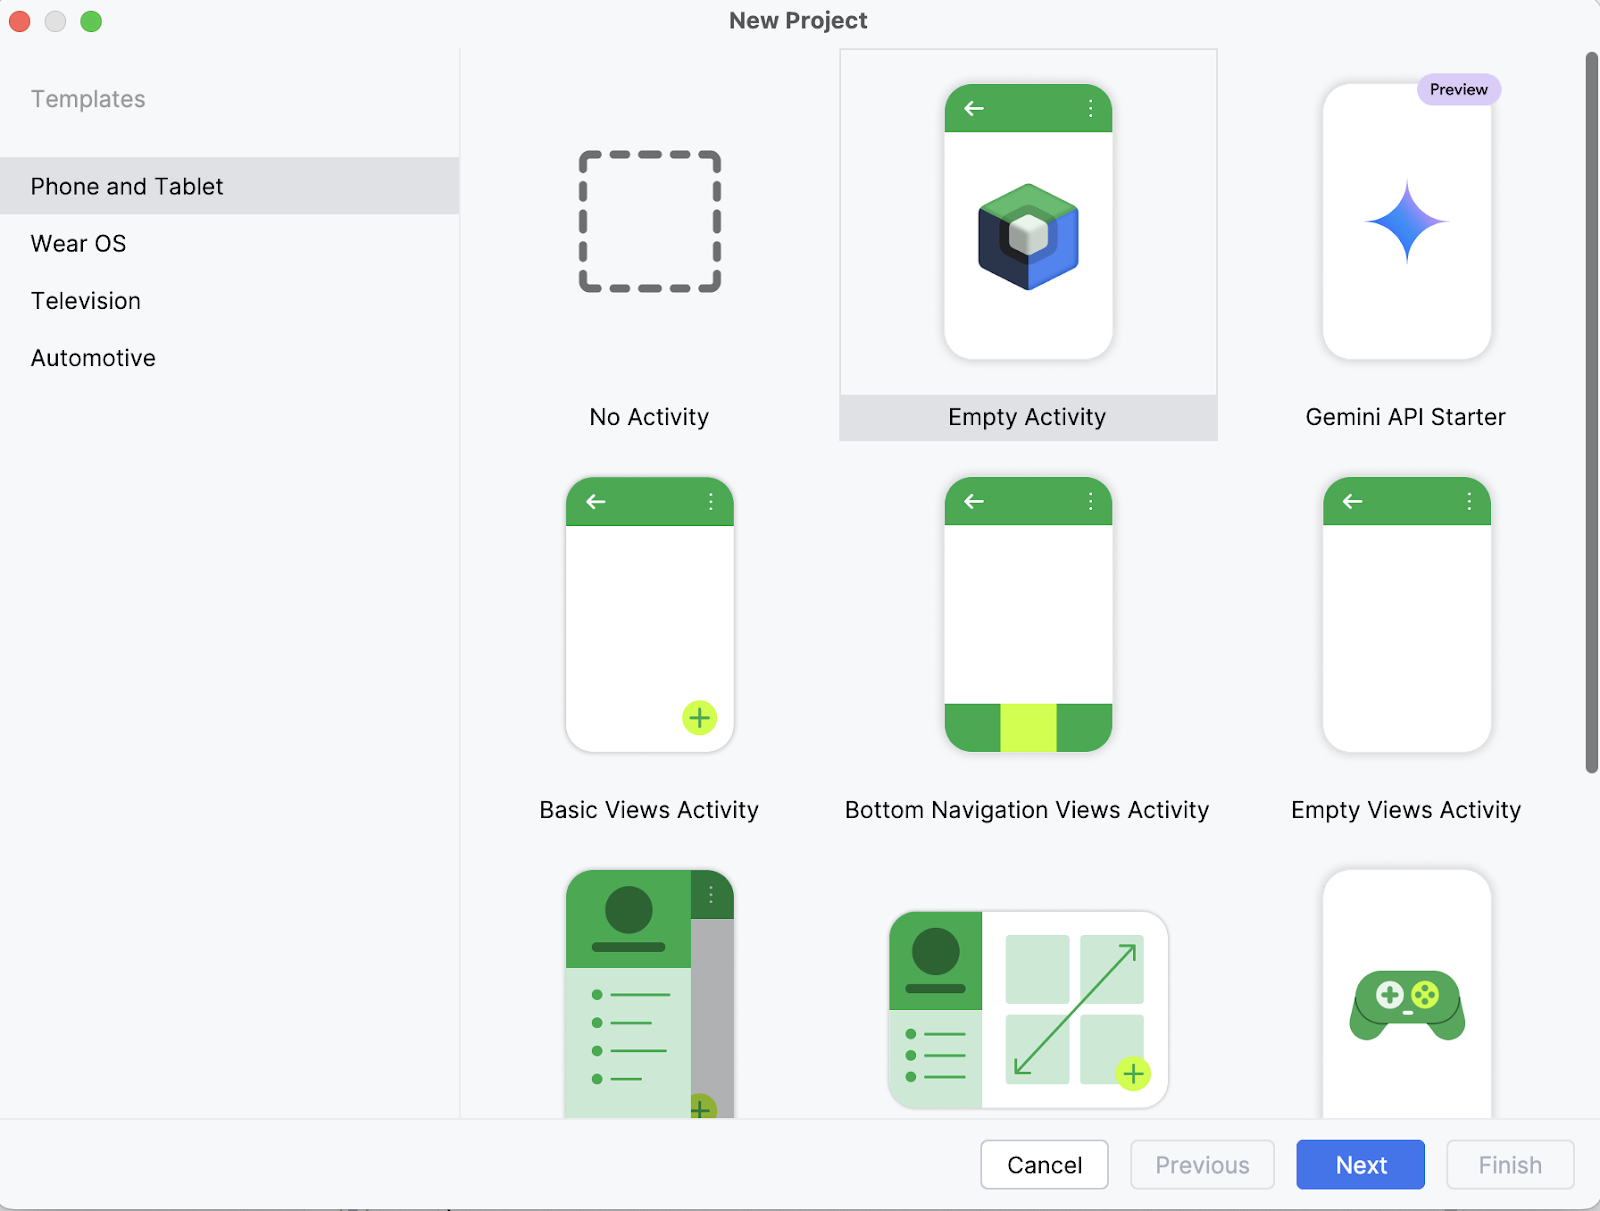
On your laptop, start by opening the project as a new project in Android Studio and select an Empty Activity.
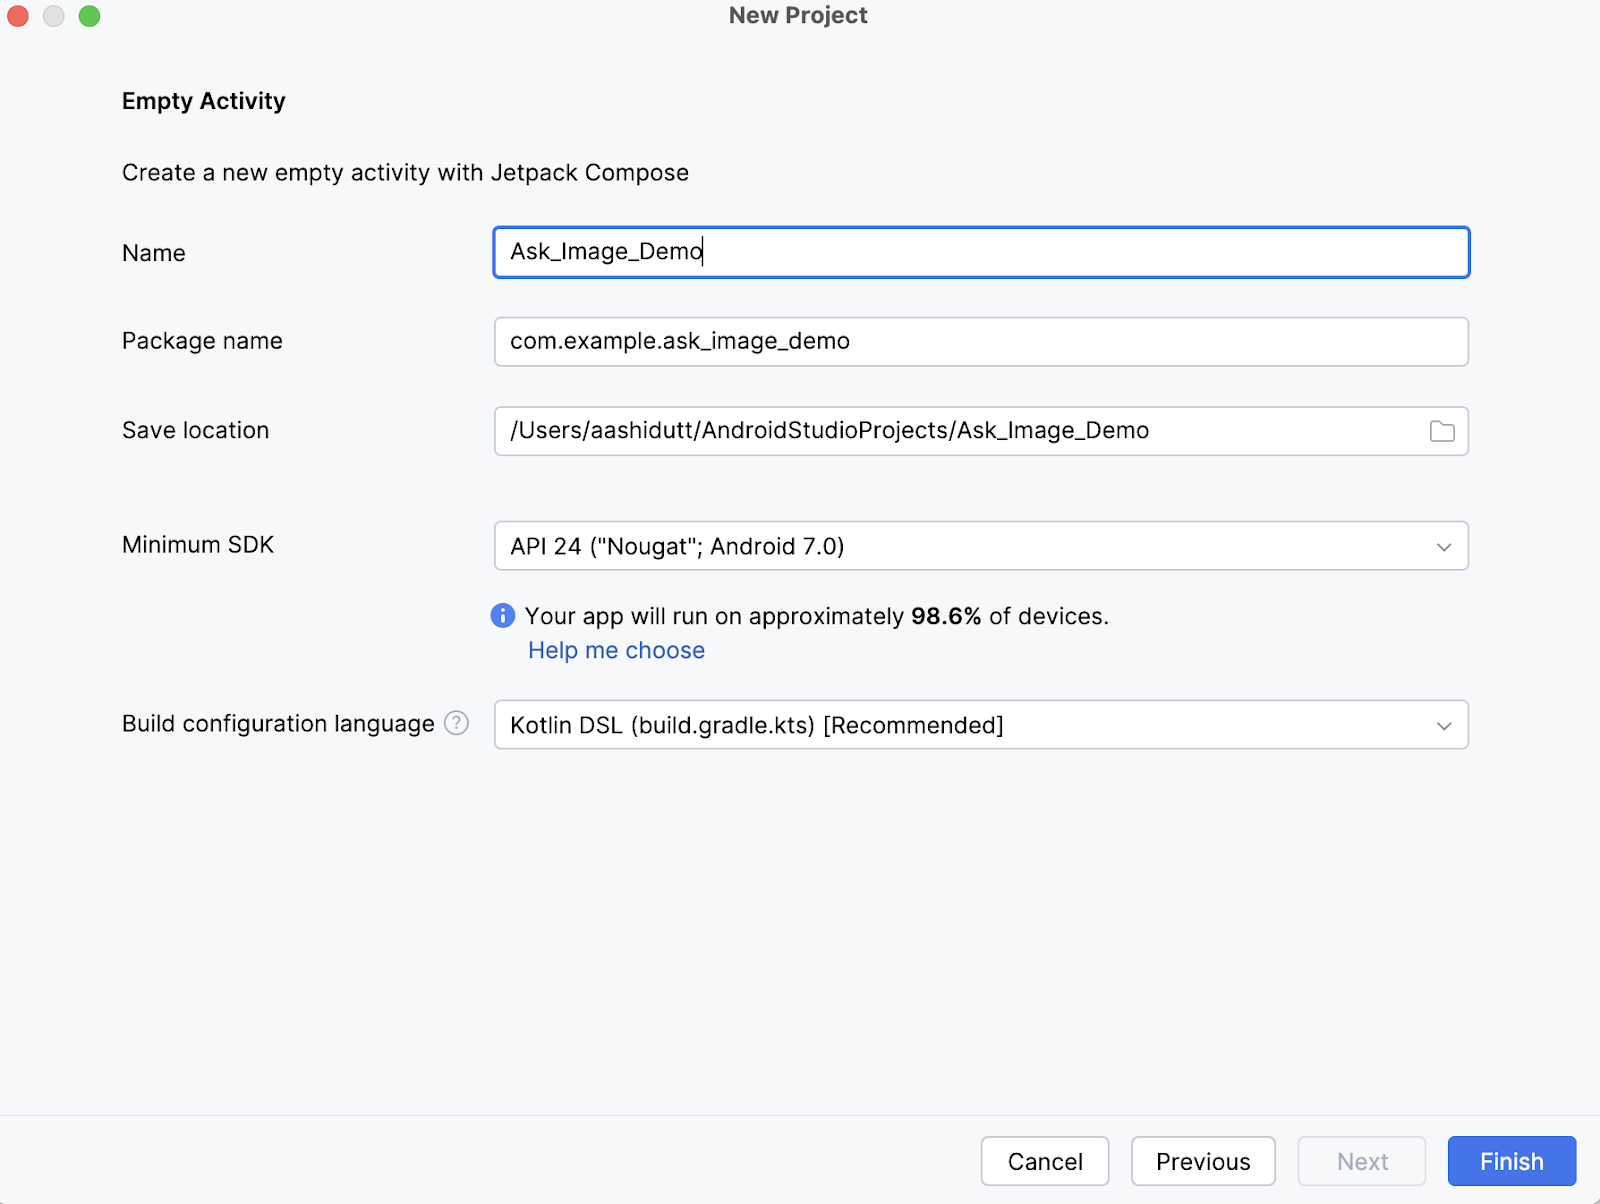
Next, fill in the name of your activity (for instance, “Ask_Image_Demo”) and keep the rest as it is. Then, click Finish.
Now, open the terminal within Android Studio (bottom left corner) and execute the following bash commands:
git clone https://github.com/google-ai-edge/gallery
cd gallery/android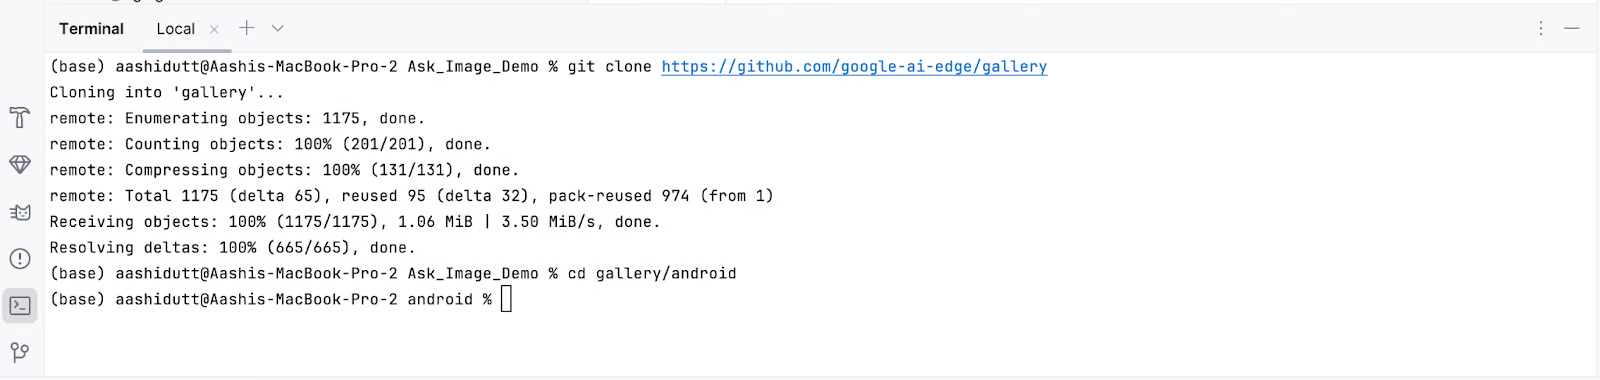
This will open your project. You can view all project files on the left side of the tab.
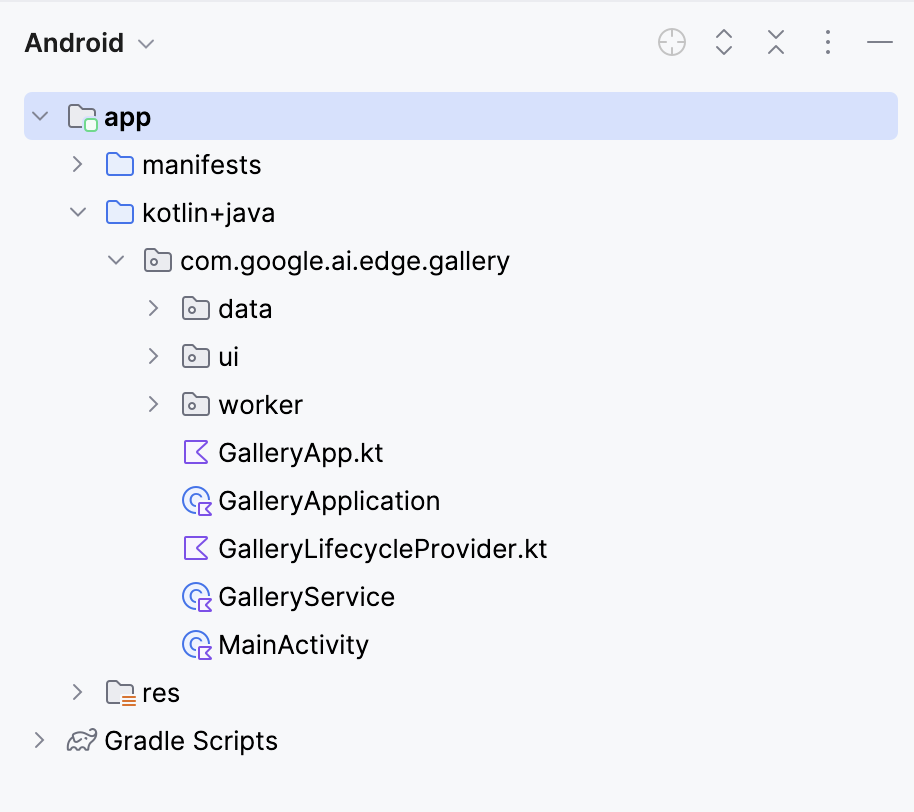
Next, we edit a few files so that opening our app leads directly to the Ask Image page. Then, we navigate to the Tasks.kt file at the following location: app/src/main/java/com/google/ai/edge/gallery/data/Tasks.kt. To limit the app's functionality to only the 'Ask Image' feature, we will make the following edits:
Before:
/** All tasks. */
val TASKS: List<Task> = listOf(
  TASK_LLM_ASK_IMAGE,
  TASK_LLM_PROMPT_LAB,
  TASK_LLM_CHAT,
)
After:
/** All tasks. */
val TASKS: List<Task> = listOf(
  TASK_LLM_ASK_IMAGE
)
This disables the other demos like Prompt Lab and Chat, ensuring only Ask Image shows up.
In GalleryApp.kt (located at // app/src/main/java/com/google/ai/edge/gallery/GalleryApp.kt), update the LaunchedEffect to automatically navigate to the image page. This change ensures the app opens the Ask Image interface directly, bypassing the default task selection screen.
Before:
@Composable
fun GalleryApp(navController: NavHostController = rememberNavController()) {
  GalleryNavHost(navController = navController)
}
After:
package com.google.ai.edge.gallery
import androidx.compose.runtime.Composable
import androidx.compose.runtime.LaunchedEffect
import androidx.navigation.NavHostController
import androidx.navigation.compose.rememberNavController
import com.google.ai.edge.gallery.data.TASK_LLM_ASK_IMAGE
import com.google.ai.edge.gallery.ui.llmchat.LlmAskImageDestination
import com.google.ai.edge.gallery.ui.navigation.GalleryNavHost
@Composable
fun GalleryApp(
  navController: NavHostController = rememberNavController()
) {
  // as soon as GalleryApp comes up, navigate to Ask-Image
  // and drop “home” off the back-stack:
  LaunchedEffect(Unit) {
    TASK_LLM_ASK_IMAGE.models
      .firstOrNull()    // safety: don’t crash if the models list is empty
      ?.name
      ?.let { modelName ->
        navController.navigate("${LlmAskImageDestination.route}/$modelName") {
          popUpTo("home") { inclusive = true }
        }
      }
  }
  GalleryNavHost(navController = navController)
}
Here’s a breakdown of what the updated GalleryApp function does in the new code:
LaunchedEffect: A Jetpack Compose side-effect that triggers once on composition. Here, it’s used to immediately perform navigation logic as soon as GalleryApp is rendered.TASK_LLM_ASK_IMAGE.models.firstOrNull() safely fetches the name of the first available image-text model (e.g., Gemma 3n) to be used in navigation. This avoids app crashes if the model list is empty.navController.navigate(): It dynamically routes the app to the Ask-Image screen using the selected model’s name. This replaces the usual Home screen as the entry point.popUpTo("home") method cleans up the navigation stack by removing the Home screen from history. This ensures the user cannot navigate back to it using the system's back button.Keep the rest of the code as it is. Together, these changes make the app launch directly into the Ask-Image interface with a valid model loaded, improving the user flow for your demo.
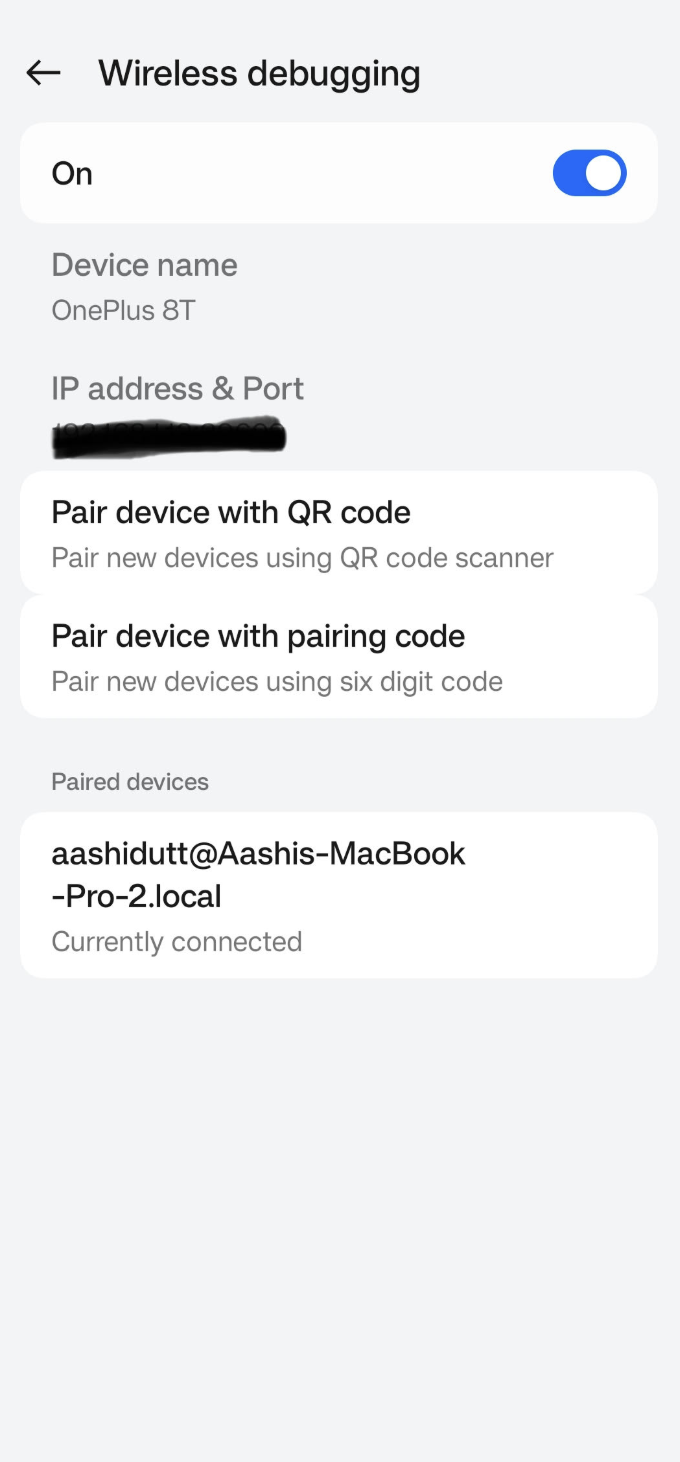
Once you have made all the necessary changes, we will run the app. To run your app on your local Android device, pair your Android device with Android Studio using wireless debugging with the following steps.
Go to the Settings app on your Android device and enable Developer options. Then turn on Wireless debugging. You should see a screen with two pairing options.
In Android Studio, open Device Manager (the icon resembles a phone with an Android logo) and click Pair using QR code.
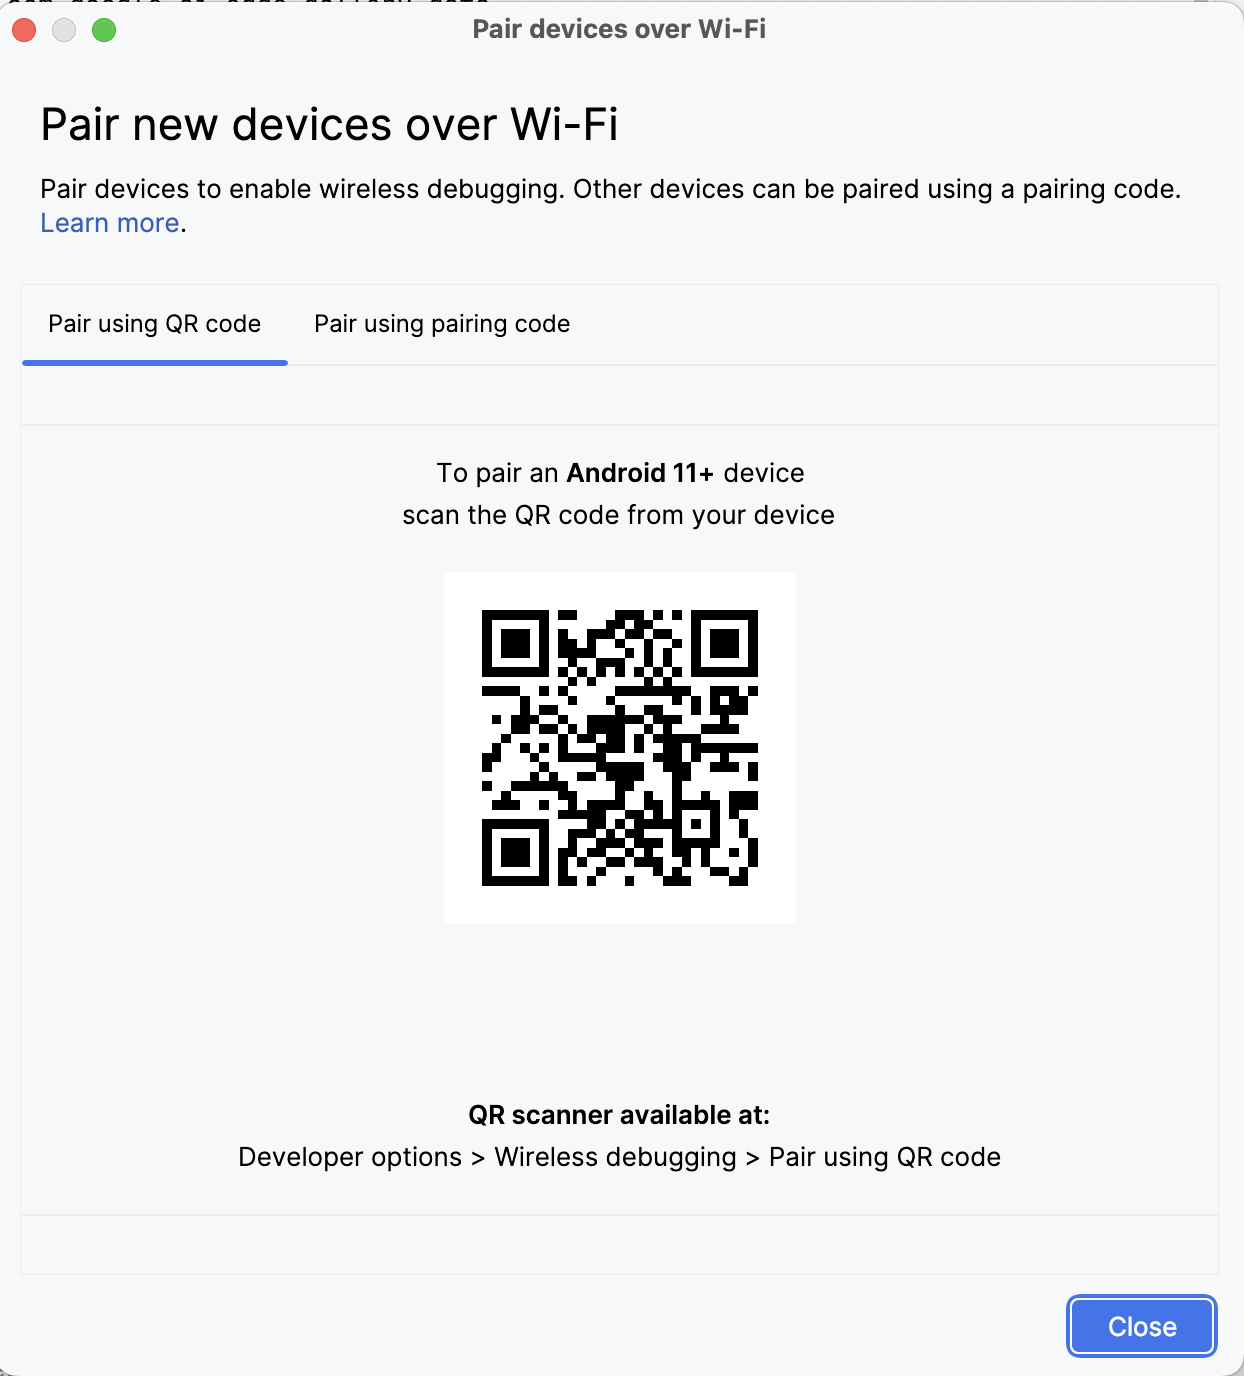
Scan the QR code using your device and complete the pairing setup. Once your device is connected, you will see your device name under Device Manager. Make sure your system and android device are both connected to the same WiFi network.
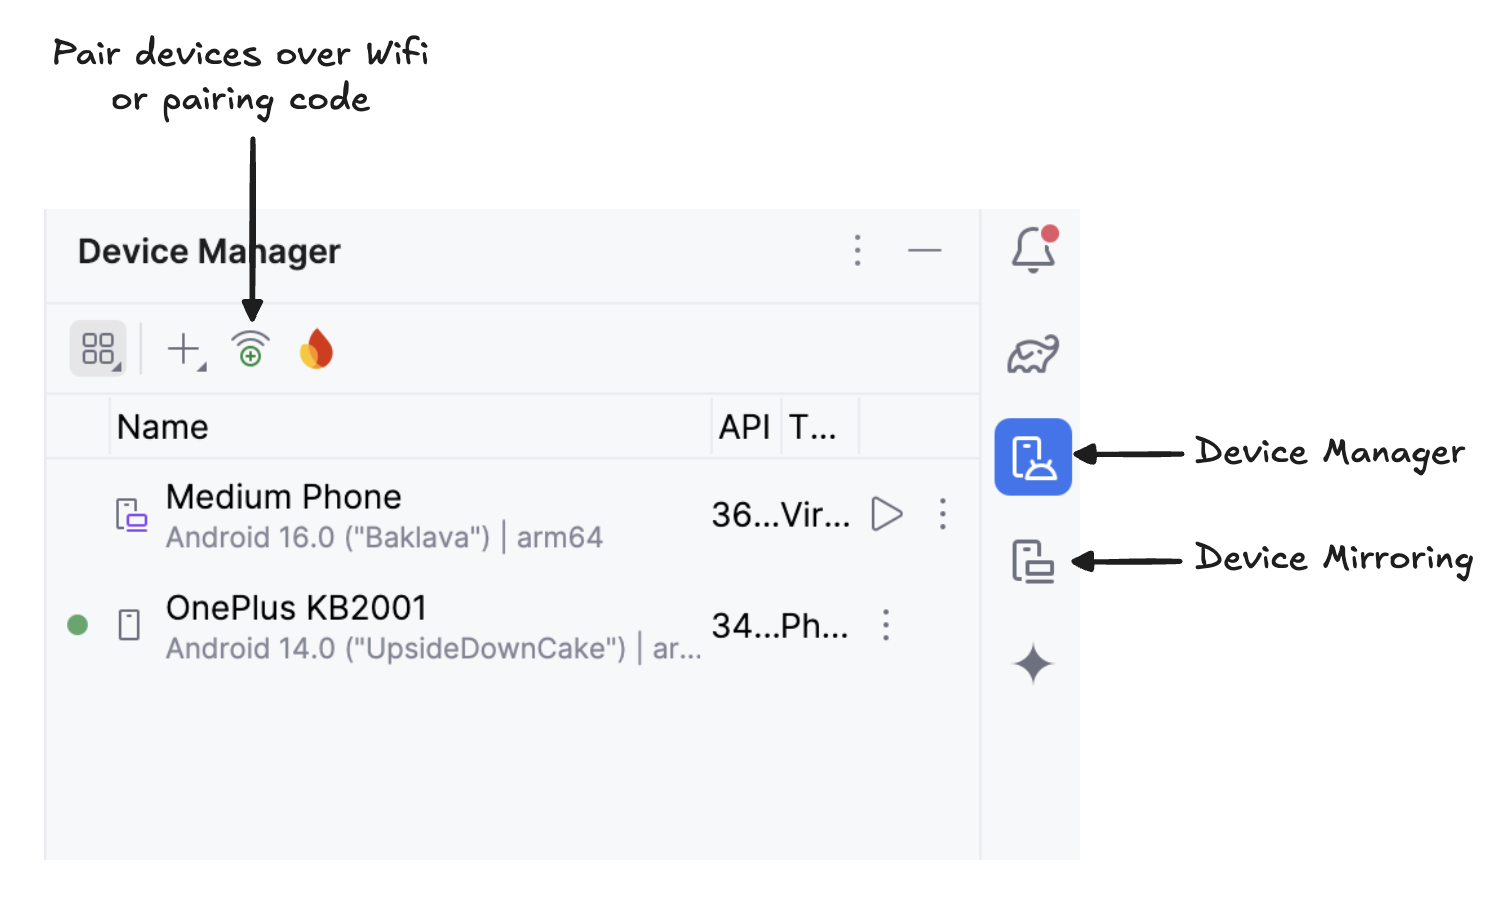
Start mirroring your Android device by clicking the Device Mirroring icon (which depicts a desktop screen and a phone screen). Once you see your device screen mirrored, click the green Run icon to deploy the app on your device.
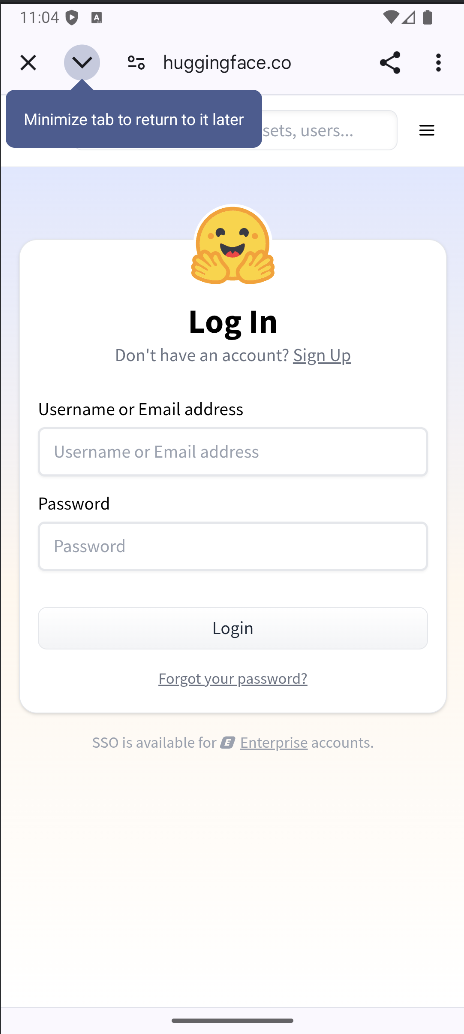
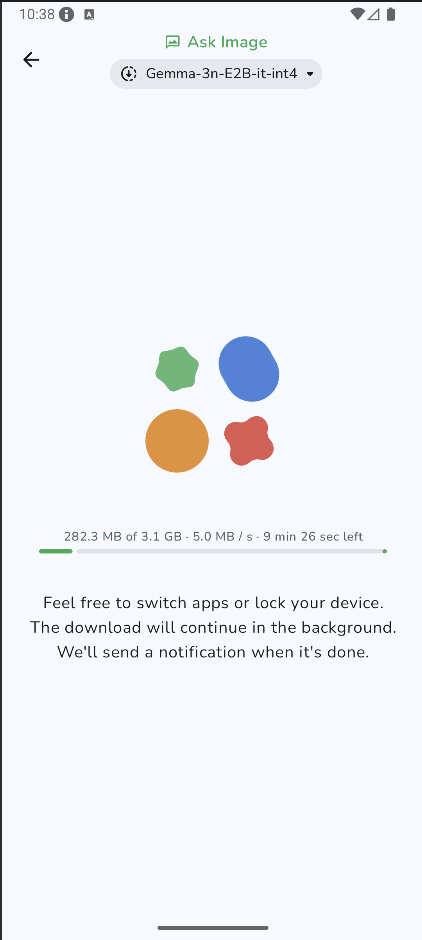
The app will launch, and a browser window will open, prompting you to log in to Hugging Face to securely download the model file.

Once you log in to HuggingFace, click start download on the model of choice, and your model will start downloading. For this example, I'm using the Gemma-3n-E2B-it-int4 model by default.
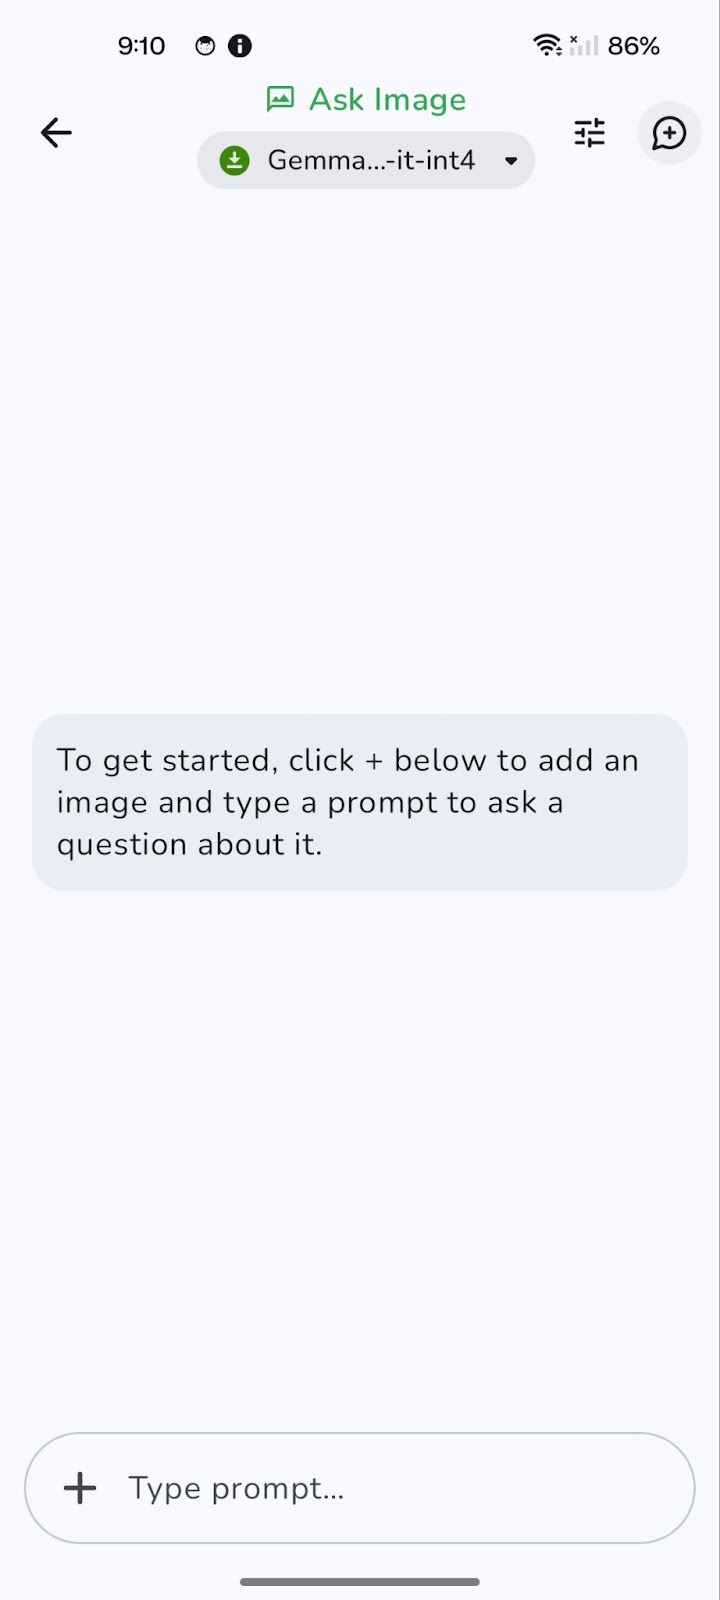
Once the download is complete, it will take you to the “Ask Image” page directly. Next, choose an existing image from your gallery or take a new photo with your device's camera. Then pass a prompt along with the image and send it to the model.
Here is an example I tested.
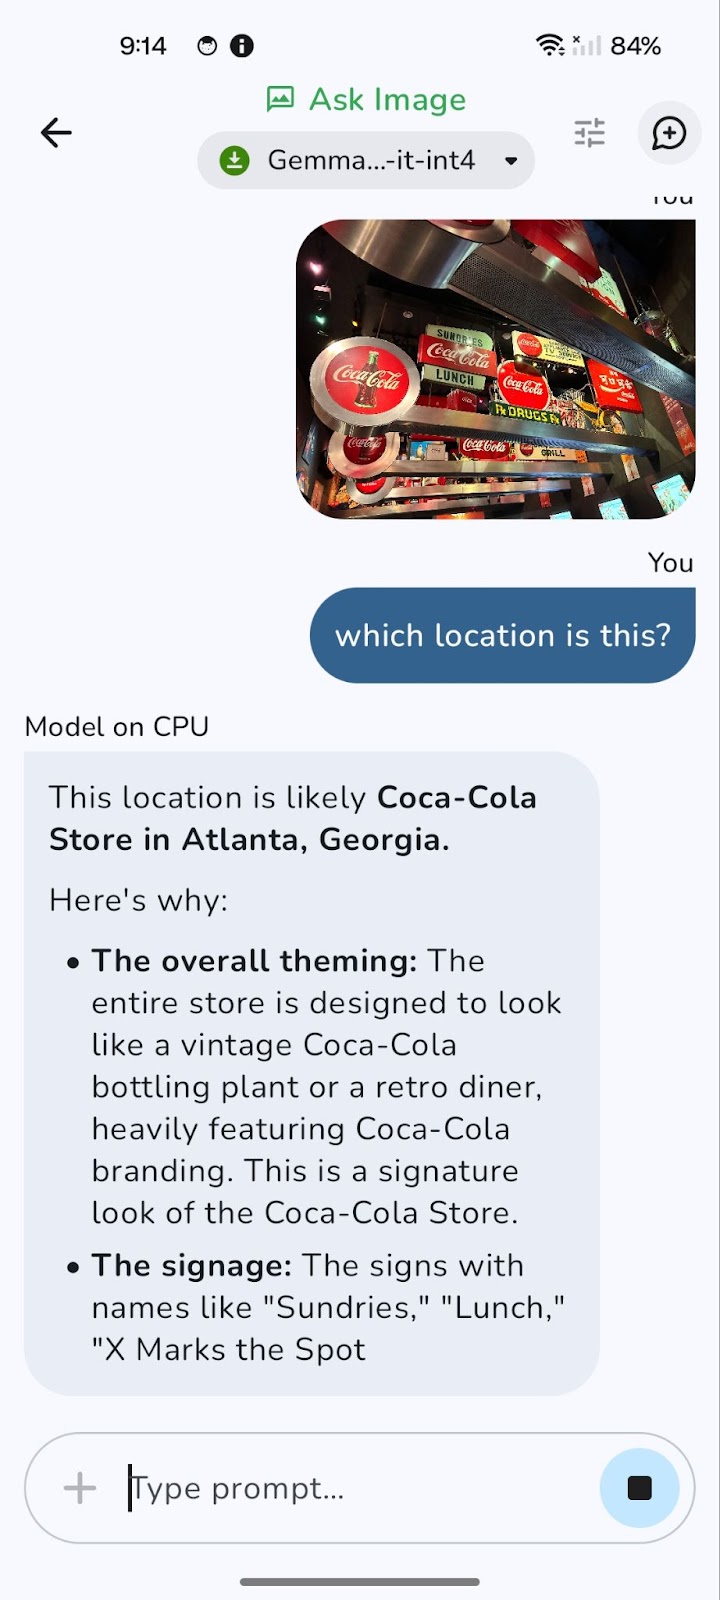

The model initially runs on the CPU. You can switch to GPU for potentially better performance using the 'Tune' icon (represented by three horizontal slider controls).
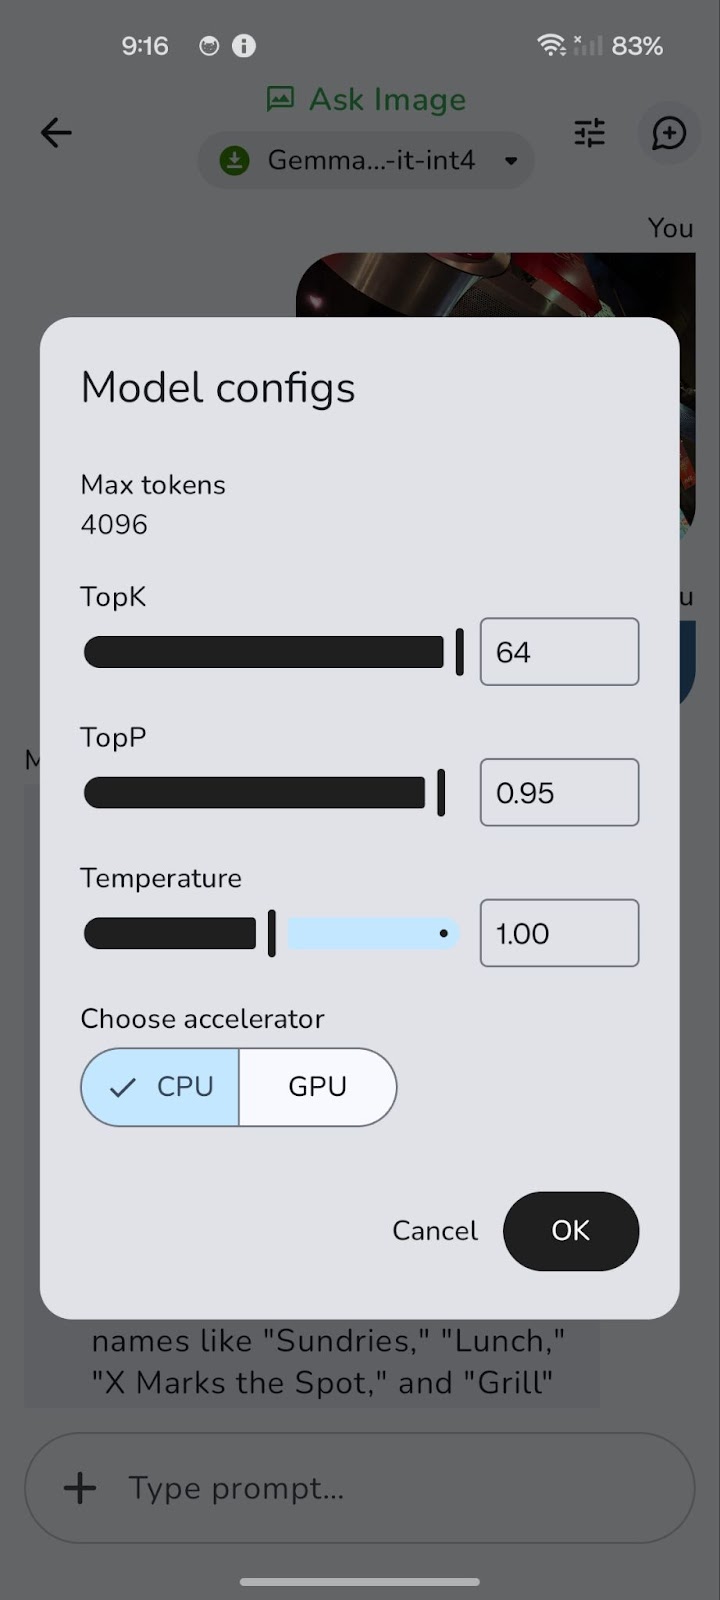

Switching to a GPU can significantly reduce overall latency, especially for processing larger images and more complex queries. While GPU processing generally offers faster decode speeds, resulting in quicker responses, it's worth noting that prefill speed might sometimes be marginally higher on the CPU.
This is because the initial loading and preparation of data (prefill) can be CPU-bound. However, the benefit of faster decode and overall reduced latency on the GPU usually outweighs this, providing a smoother and more responsive experience.
I’ve set up this GitHub repository if you want to explore the full project code.
We explored how Gemma 3n can enable image-question answering on edge devices, with no need for cloud inference. You've learned how to integrate a .task file into a lightweight Android app, prompt the model with natural language, and get accurate responses about any image, right from your phone.
This hands-on walkthrough shows how Gemma 3n democratizes multimodal AI, making it easier for developers and researchers to deploy strong models on-device. Whether you’re building offline assistants, educational tools, healthcare apps, or more, Gemma 3n can support many use cases.
As Google continues refining the Matformer architecture, I expect to see even more compact, multimodal models with higher accuracy and lower latency. To learn more about Gemma 3n, check out the official AI Edge release blog or dive into the open-source repository on GitHub.
If you want to explore more new AI tools, I recommend these blogs:
Learn AI with these courses!
Track
Course
Course
Tutorial
Abid Ali Awan
Tutorial
François Aubry
Tutorial
Aashi Dutt
Tutorial
Abid Ali Awan
Tutorial
Marie Fayard
Tutorial
François Aubry