
Track
Developing AI Applications
21 hr
Google DeepMind just released Gemma 3, the next iteration of their open-source models. Gemma 3 is designed to run directly on low-resource devices like phones and laptops. These models are optimized for quick performance on a single GPU or TPU and come in various sizes to suit different hardware needs.
In this tutorial, I’ll explain step by step how to set up and run Gemma 3 locally using Ollama. Once we do that, I’ll show you how you can use Gemma 3 and Python to build a file assistant.
Running a large language model (LLM) like Gemma 3 locally comes with several key benefits:
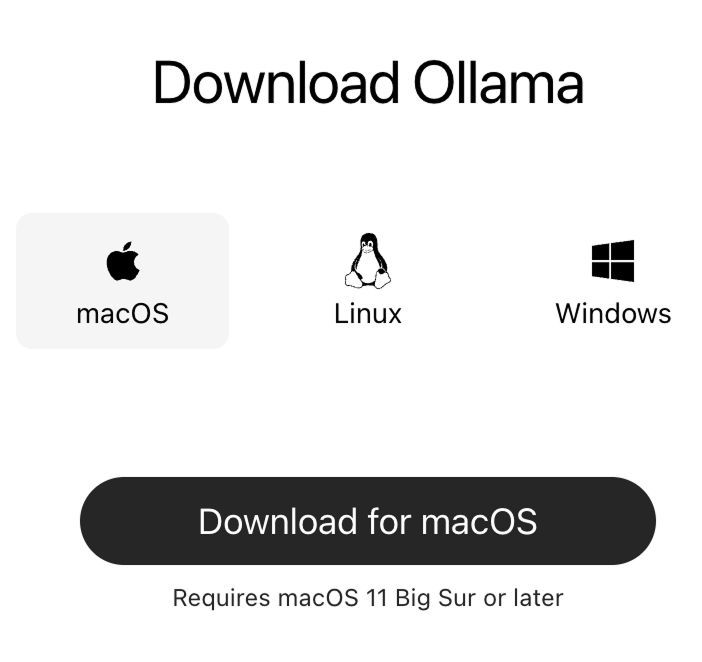
Ollama is a platform available for Windows, Mac, and Linux that supports running and distributing AI models, making it easier for developers to integrate these models into their projects. We'll use it to download and run Gemma 3 locally.
The first step is to download and install it from the official Ollama website.
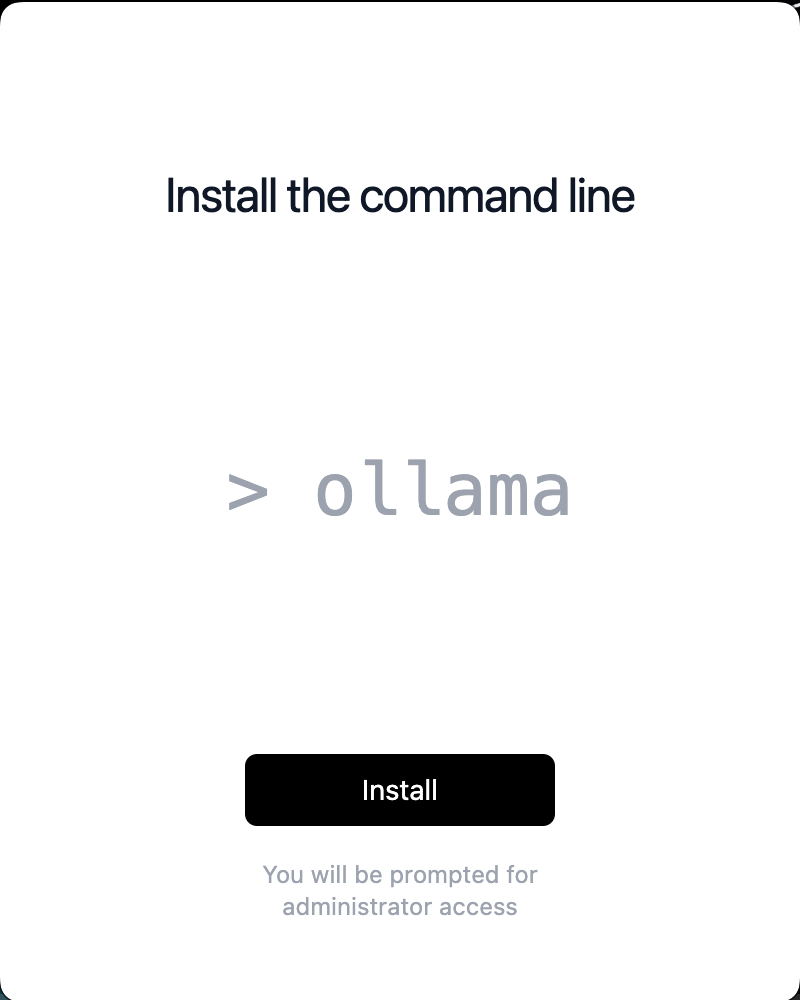
When installing it, make sure to install the command line:
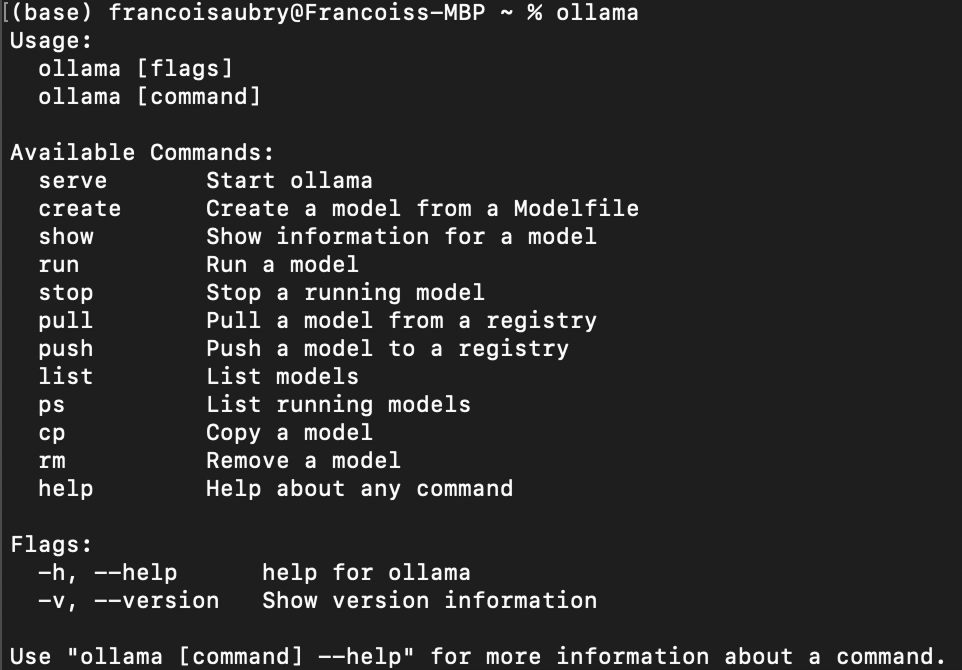
After completing the installation, we can check that it was correctly installed using the ollama command in the terminal. Here's what the result should be:
To download a model with Ollama, use the pull command:
ollama pull <model_name>:<model_version>The list of available models can be found in Ollama’s library.
Gemma 3, in particular, has four models available: 1b, 4b, 12b, and 27b, where b stands for billion, referring to the number of parameters in the model.
For example, to download gemma3 with 1b parameters, we use the command:
ollama pull gemma3:1bIf we don't specify the model version, the 4b model will be downloaded by default:
ollama pull gemma3We can list the models we have locally using the following command:
ollama listIn my case, the output shows that I have two models:
NAME             ID              SIZE      MODIFIED
gemma3:1b        2d27a774bc62    815 MB    38 seconds ago
gemma3:latest c0494fe00251 3.3 GB 22 minutes ago We can use Ollama to chat with a model using the run command:
ollama run gemma3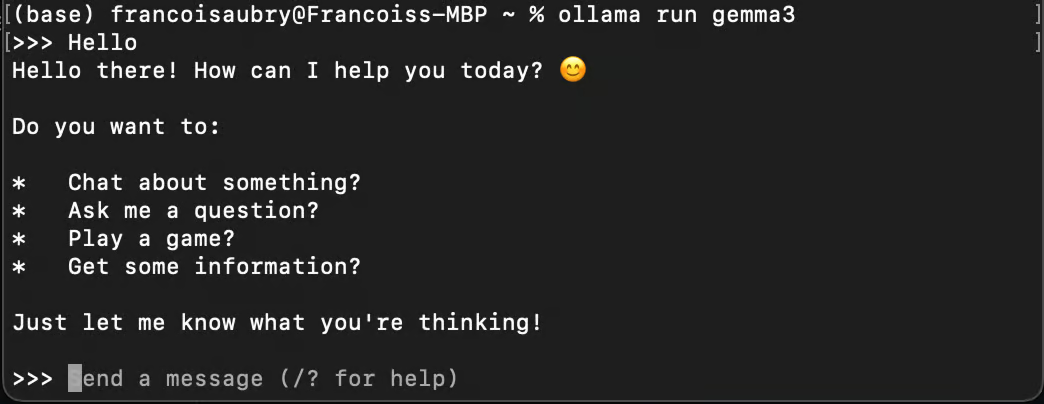
Note that if we use the run command with a model we didn't download, it will be downloaded automatically using pull.
To use Gemma 3 with Python we need to run it in the background. We can do that using the serve command:
ollama serveIf you get the following error when executing the command, it likely means that Ollama is already running:
Error: listen tcp 127.0.0.1:11434: bind: address already in useThis error can happen when Ollama keeps running in the background.
Ollama offers a Python package to easily connect with models running on our computer.
We'll use Anaconda to set up a Python environment and add the necessary dependencies. Doing it this way helps prevent possible issues with other Python packages we may already have.
Once Anaconda is installed, we can set up the environment by using the command:
conda create -n gemma3-demo -y python=3.9This command sets up an environment called gemma3-demo using Python version 3.9. The -y option makes sure that all questions during setup are automatically answered with yes.
Next, we activate the environment using:
conda activate gemma3-demoFinally, we install the ollama package using the command:
pip install ollamaHere's how we can send a message to Gemma 3 using Python:
from ollama import chat
response = chat(
    model="gemma3",
    messages=[
        {
            "role": "user",
            "content": "Why is the sky blue?",
        },
    ],
)
print(response.message.content)
Depending on your hardware, the model may take a while to answer, so be patient when executing the script.
We previously saw that gemma3 refers to the gemma3:4b by default. So when we specify model="gemma3" as the model, that’s the one that will be used.
To use another model—say the 1B model—we need to pass the argument model=”gemma3:1b” instead (provided we pulled it beforehand using the ollama pull gemma3:1b command). To list the available models, we can use the ollama list command.
If we want to stream the answer word by word, we can instead use stream=True and print the response chunk by chunk:
from ollama import chat
stream = chat(
    model="gemma3",
    messages=[{"role": "user", "content": "Why is the sky blue?"}],
    stream=True,
)
for chunk in stream:
    print(chunk["message"]["content"], end="", flush=True)
This provides a better user experience because the user doesn’t have to wait for the complete answer to be generated.
To learn more about the ollama package, check their documentation.
In this section, we learn how to build a Python script that allows us to ask questions about the content of a text file right from the terminal. This script will be handy for tasks like checking for bugs in a code file or querying information from any document.
Our goal is to create a command-line tool using Python that reads a text file and uses Gemma 3 to answer questions related to its content. Here's the step-by-step guide to achieving this:
First, we need to set up the Python script with the necessary imports and basic structure:
import sys
from ollama import chat
def ask_questions_from_file(file_path):
    # Read the content of the text file
    with open(file_path, "r") as file:
        content = file.read()
    # Loop to keep asking questions
    while True:
        question = input("> ")
        print()
        if question.lower() == "exit":
            break
        # Use Gemma 3 to get answers
        stream = chat(
            model="gemma3",
            messages=[
                {"role": "user", "content": content},
                {"role": "user", "content": question},
            ],
            stream=True,
        )
        for chunk in stream:
            print(chunk["message"]["content"], end="", flush=True)

if __name__ == "__main__":
    if len(sys.argv) != 2:
        print("Usage: python ask_file.py <path_to_text_file>")
    else:
        file_path = sys.argv[1]
        ask_questions_from_file(file_path)
The core functionality is encapsulated in the ask_questions_from_file() function. This function takes a file path as an argument and starts by opening and reading the content from the specified text file. This content will be used as background information to answer questions.
Once the file content is loaded, the script enters a loop where it continuously prompts us to input questions. When we type a question, the script sends the content of the file along with our question to the Gemma 3 model, which processes this information to generate an answer.
The interaction with the model takes place through a streaming mechanism, allowing answers to be displayed in real time as they are generated. If we type exit, the loop breaks, and the script stops running.
At the end of the script, there is a check to ensure that the script is being run correctly with one command-line argument, which should be the path to the text file. If the argument is not provided, it displays a usage message to guide us on the correct way to run the script. This setup allows us to direct the script effectively from the command line.
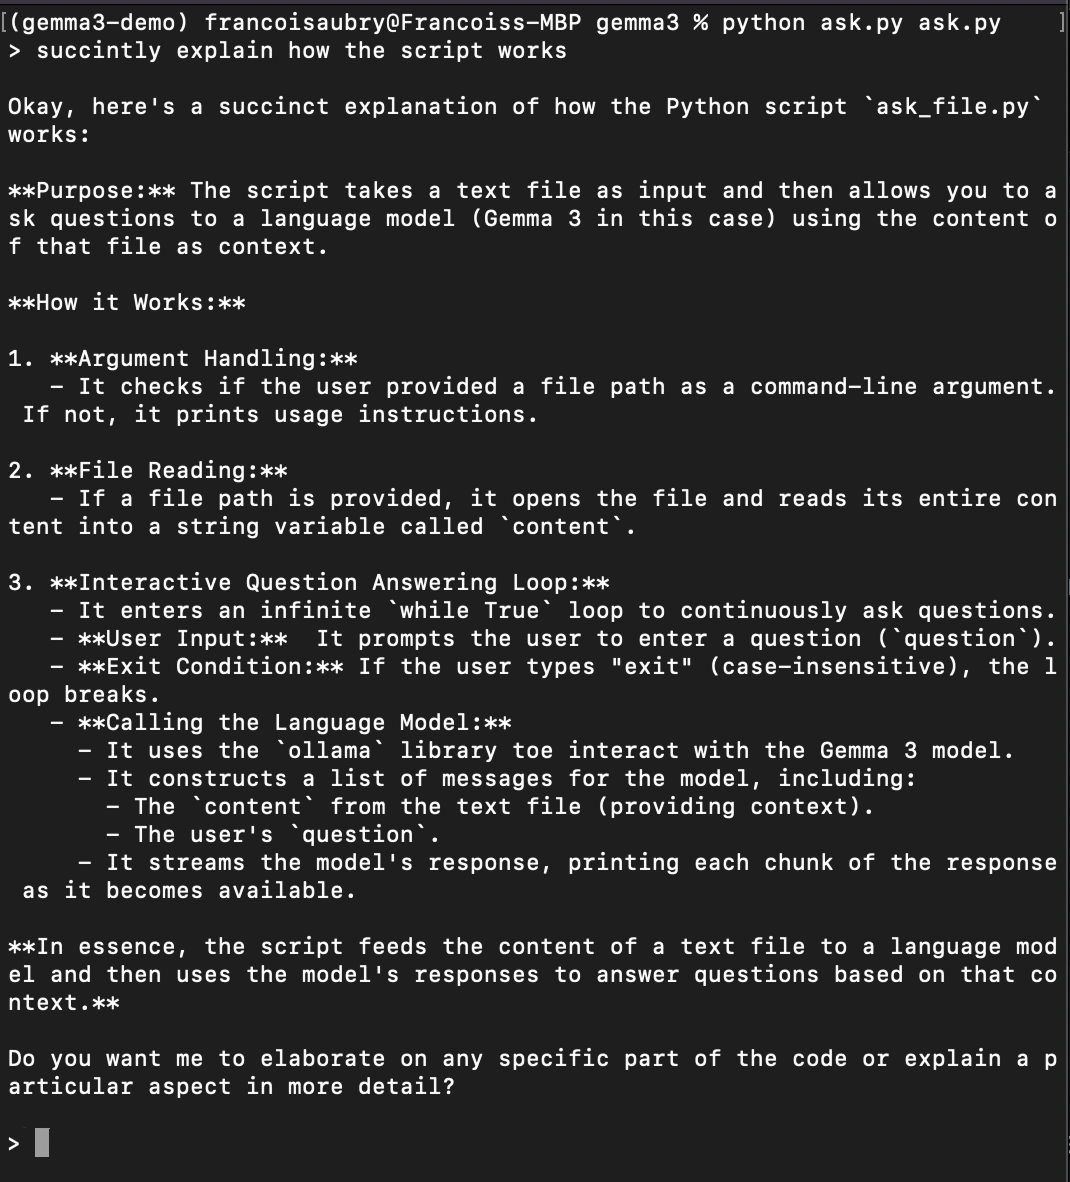
Save the above code in a file named, for example, ask.py. To test the script, run the command:
python ask.py ask.pyThis will run the script to ask questions about itself (that's why ask.py appears twice in the command above). Here's an example of asking it to explain how the script works:
We've successfully set up and learned how to run Gemma 3 locally using Ollama and Python. This approach ensures the privacy of our data, offers low latency, provides customization options, and can lead to cost savings. The steps we've covered aren't just limited to Gemma 3—they can be applied to other models hosted on Ollama too.
If we want to improve the functionality of our script, we could, for instance, extend its capabilities to handle PDFs. The best way to do that would be to use the Mistral OCR API. We can convert PDF files into text, allowing our script to answer questions about PDFs, making it even more versatile and powerful.
With these tools, we're now equipped to explore and interact with large models right from our own devices.
Learn AI with these courses!
Track
Course
Course
Tutorial
Aashi Dutt
Tutorial
Abid Ali Awan
Tutorial
Aashi Dutt
Tutorial
Ryan Ong
Tutorial
Ryan Ong
Tutorial
François Aubry