Track
Containerization and Virtualization with Docker and Kubernetes
13 hr
NGINX inside a Docker container can provide a dependable web service in many environments. You might be working on a personal website, a lightweight web service, or a home lab project. Docker can help you keep it consistent across different machines and setups. This approach offers a way to run NGINX with fewer overhead concerns when moving between development and production. It is common to rely on Docker for simple packaging of the web server, which makes it easier to share your projects without messy manual steps.
This article explains how to run a ready-made NGINX image, how to serve content from your local machine, and how to build your image with custom features. It also covers setup steps for a reverse proxy, plus the usage of Docker Compose for multi-service deployment. In the end, you will see how to manage containers with a few simple commands and have a detailed view of how to integrate Docker and NGINX for practical tasks.
If you’re new to Docker, be sure to check out our Docker for Beginners guide to learn all the essentials.
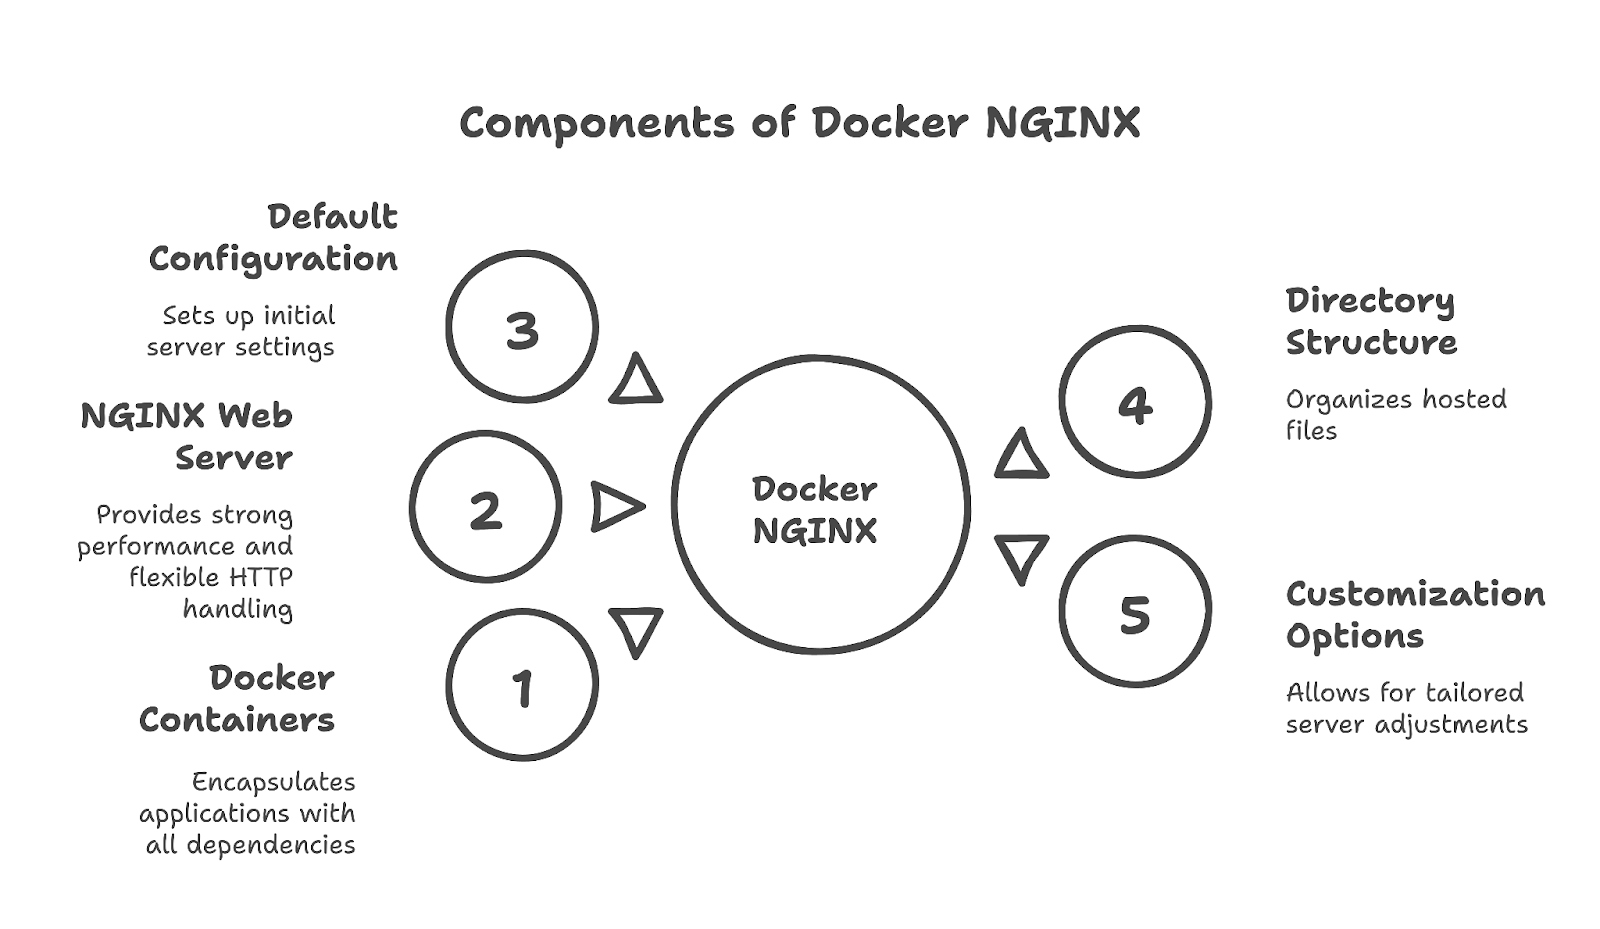
Docker NGINX refers to running the NGINX web server inside a lightweight container. Docker containers are similar to small packages that hold an application and all the dependencies it needs.
NGINX is a popular web server known for strong performance, easy configuration, and flexible handling of HTTP traffic. Pairing NGINX with Docker is appealing because it keeps the environment consistent. If you deploy on macOS, Windows, or Linux, the container’s content remains the same. That means it behaves identically, regardless of the host operating system.
A typical Docker image for NGINX includes the server software, a default configuration, and a directory structure for hosted files. You can run that container right away or adjust it by mapping specific folders, adjusting configuration files, or building an image based on your own Dockerfile. By doing that, you might add custom modules or scripts to customize NGINX for your application.
To learn more about how to containerize applications, refer to our How to Containerize an Application Using Docker tutorial. It goes into more detail about how to containerize machine learning applications with Docker in a beginner-friendly way.
Before you start running NGINX containers, confirm that Docker is installed. Docker has official installers for macOS, Windows, and various Linux distributions. The Docker documentation provides a step-by-step process for each operating system.
Check out our Introduction to Docker course for a comprehensive guide on how to get started with Docker.
Test your installation with a quick command such as:
docker version
derrickmwiti@Derricks-MacBook-Pro% docker version
Client:
 Version:           28.0.1
 API version:       1.48
 Go version:        go1.23.6
 Git commit:        068a01e
 Built:             Wed Feb 26 10:38:16 2025
 OS/Arch:           darwin/arm64
 Context:           desktop-linux
Server: Docker Desktop 4.39.0 (184744)
 Engine:
  Version:          28.0.1
  API version:      1.48 (minimum version 1.24)
  Go version:       go1.23.6
  Git commit:       bbd0a17
  Built:            Wed Feb 26 10:40:57 2025
  OS/Arch:          linux/arm64
  Experimental:     false
 containerd:
  Version:          1.7.25
  GitCommit:        bcc810d6b9066471b0b6fa75f557a15a1cbf31bb
 runc:
  Version:          1.2.4
  GitCommit:        v1.2.4-0-g6c52b3f
 docker-init:
  Version:          0.19.0
  GitCommit:        de40ad0
If you see version details, that means Docker is ready. Beyond Docker itself, you need internet access to pull the NGINX image from Docker Hub. If you plan to create your image, you will need a text editor to write a Dockerfile. Any text editor works fine, but pick one that is comfortable for you.
Running NGINX from a ready-made image is usually the quickest method. You can pull it from Docker Hub in a matter of seconds and then launch a container. Thereafter, you will see the default page in your browser. This short process is often the first step in many Docker-based server setups.
The official NGINX image is publicly available on Docker Hub under the name nginx.
Pull it like this:
docker pull nginx
derrickmwiti@Derricks-MacBook-Pro % docker pull nginx
Using default tag: latest
latest: Pulling from library/nginx
4c7c1a5bd3af: Download complete
bef2ee7fab45: Download complete
d9b636547744: Downloading [======================>                            ]  12.58MB/28.04MB
0994e771ba34: Downloading [===>                                               ]  3.146MB/40.56MB
589701e352f8: Download complete
13f89c653285: Download complete
8e77214beb25: Download complete
This goes to the registry and gets the latest version. When everything is complete, you can check that it exists on your machine:
docker images
derrickmwiti@Derricks-MacBook-Pro% docker images
REPOSITORY                                                                     TAG                                                                           IMAGE ID       CREATED         SIZE

nginx                                                                          latest                                                                        124b44bfc9cc   6 weeks ago     280MB
keras-custom-training-container                                                latest                                                                                                                                     <none>                                                                        7de0f04013e5   7
That command shows a list of images in your local library. You should see the nginx image in the table. That means you are ready to create a container from it. Discover a list of images you would need for your data science projects from our Top 12 Docker Container Images for Machine Learning and AI tutorial.
Once the NGINX image is on your system, you can start the container with a single command:
docker run --name mynginx -p 8080:80 -d nginx
derrickmwiti@Derricks-MacBook-Pro % docker run --name mynginx -p 8080:80 -d nginx
ec44d1a43016e9684b602437b967c0ed8e11c933a8a76b341b68c25168d2af70
This command does several things. It runs a container named mynginx in the background (because of the -d option). It maps port 8080 on your host machine to port 80 inside the container. That port mapping means you can visit http://localhost:8080 in your browser and see the default NGINX page. The container uses the nginx image pulled from Docker Hub.
The new container should keep running because NGINX is active. If you check logs with:
docker logs mynginx
derrickmwiti@Derricks-MacBook-Pro % docker logs mynginx
/docker-entrypoint.sh: /docker-entrypoint.d/ is not empty, will attempt to perform configuration
/docker-entrypoint.sh: Looking for shell scripts in /docker-entrypoint.d/
/docker-entrypoint.sh: Launching /docker-entrypoint.d/10-listen-on-ipv6-by-default.sh
10-listen-on-ipv6-by-default.sh: info: Getting the checksum of /etc/nginx/conf.d/default.conf
10-listen-on-ipv6-by-default.sh: info: Enabled listen on IPv6 in /etc/nginx/conf.d/default.conf
/docker-entrypoint.sh: Sourcing /docker-entrypoint.d/15-local-resolvers.envsh
/docker-entrypoint.sh: Launching /docker-entrypoint.d/20-envsubst-on-templates.sh
/docker-entrypoint.sh: Launching /docker-entrypoint.d/30-tune-worker-processes.sh
/docker-entrypoint.sh: Configuration complete; ready for start up
2025/03/20 04:33:10 [notice] 1#1: using the "epoll" event method
2025/03/20 04:33:10 [notice] 1#1: nginx/1.27.4
2025/03/20 04:33:10 [notice] 1#1: built by gcc 12.2.0 (Debian 12.2.0-14)
2025/03/20 04:33:10 [notice] 1#1: OS: Linux 6.10.14-linuxkit
2025/03/20 04:33:10 [notice] 1#1: getrlimit(RLIMIT_NOFILE): 1048576:1048576
2025/03/20 04:33:10 [notice] 1#1: start worker processes
2025/03/20 04:3
You can see any messages that NGINX wrote.
You might want to serve an HTML page, rather than the default page included in the container image. You can create a simple file on your local machine and then mount it into the container. That keeps your content separate from the container. Whenever you tweak your page, you can refresh the browser to see the change.
Pick a convenient location on your local machine. Possibly a folder called html_content in your home directory. Create an index.html file there. It might look like this:
<html>
<head>
<title>My NGINX Page</title>
</head>
<body>
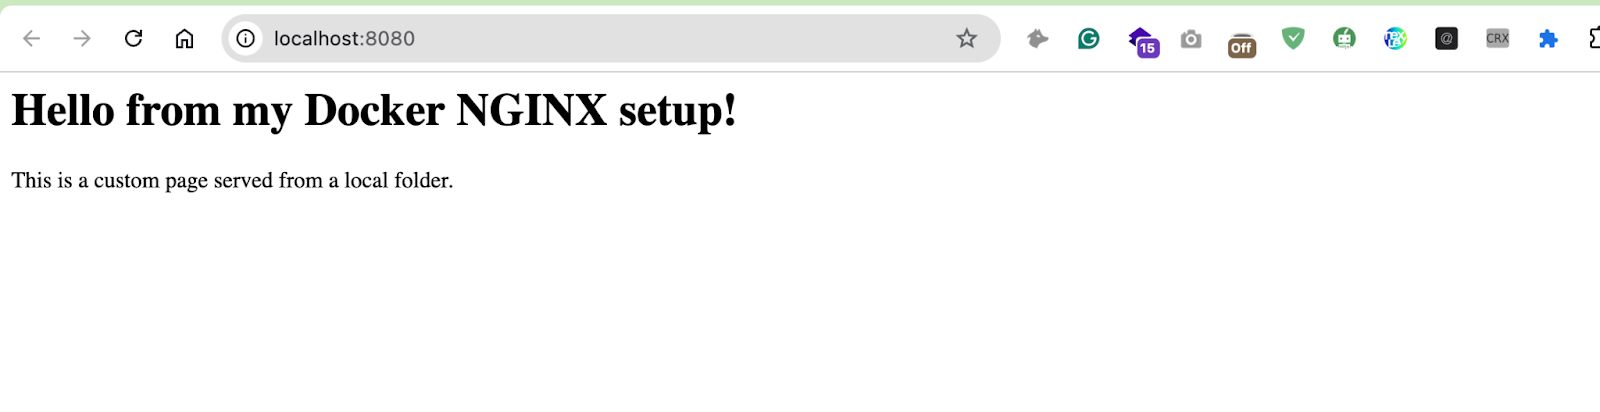
<h1>Hello from my Docker NGINX setup!</h1>
<p>This is a custom page served from a local folder.</p>
</body>
</html>That is a basic HTML page. You can put any text or styling you want. Add images or JavaScript, or anything else that suits your needs.
The official NGINX image serves content from /usr/share/nginx/html by default. You can map your local folder to that location inside the container. That is done with the -v (volume) flag in Docker. Stop any existing container named mynginx to avoid a port conflict:
docker stop mynginx
docker rm mynginx
Then start a new container:
docker run --name mynginx -p 8080:80 -d \
    -v /Users/derrickmwiti/Documents/html_content:/usr/share/nginx/html \
    nginx
6f68085733eeac418c3302e5c580a4f7c5c0c36d3591d8e2a7f35f69f6308d18
Replace /path/to/html_content with the actual path on your computer. This way, whenever you browse to http://localhost:8080, the container will serve the HTML file you placed in html_content. By default, if you call it index.html, NGINX will load that file automatically.
That approach is beneficial when you want to adjust the content regularly. You do not need to rebuild the container each time. The server pulls content from your local folder on the fly.
If you see a permission-related warning, you might need to ensure that your local user and Docker can read that folder.
On Linux, that might mean adjusting ownership or file permissions. On Windows or macOS, it might mean granting Docker permission to access your drive.
Mounting a local folder is a quick fix for simple testing. You might want extra modules, special configuration, or some other tweak. That is where building an image can be helpful.
Docker makes it easy to create a small recipe file, known as a Dockerfile, which sets up a container exactly how you want it. Then you will have an image that you can share with others or push to a registry. That can be more convenient than telling people to mount a bunch of local files.
A Dockerfile is just a plain text file. You can name it Dockerfile or pick another name if you prefer. Place it in a new directory. Here is a simple example:
FROM nginx:latest

COPY index.html /usr/share/nginx/html/index.html
This uses the official nginx:latest image as the base. Then, it copies a local file named index.html into the default web content folder in the container. You could include more lines if you need them. For instance, you might copy a custom nginx.conf or add modules you want to install. That depends on your needs. If you just want to place a static page, the snippet above is enough.
When you have that Dockerfile in place, add the custom index.html in the same folder. Then you can build. The typical command is:
docker build -t mynginximage .
[+] Building 2.6s (7/7) FINISHED                                                                                                                                                       docker:desktop-linux
 => [internal] load build definition from Dockerfile                                                                                                                                                   0.0s
 => => transferring dockerfile: 245B                                                                                                                                                                   0.0s
 => [internal] load metadata for docker.io/library/nginx:latest                                                                                                                                        0.0s
 => [internal] load .dockerignore                                                                                                                                                                      0.0s
 => => transferring context: 2B                                                                                                                                                                        0.0s
 => [internal] load build context                                                                                                                                                                      0.0s
 => => transferring context: 365B                                                                                                                                                                      0.0s
 => [1/2] FROM docker.io/library/nginx:latest@sha256:124b44bfc9ccd1f3cedf4b592d4d1e8bddb78b51ec2ed5056c52d3692baebc19                                                                                  2.3s
 => => resolve docker.io/library/nginx:latest@sha256:124b44bfc9ccd1f3cedf4b592d4d1e8bddb78b51ec2ed5056c52d3692baebc19                                                                                  2.3s
 => [2/2] COPY index.html /usr/share/nginx/html/index.html                                                                                                                                             0.0s
 => exporting to image                                                                                                                                                                                 0.1s
 => => exporting layers                                                                                                                                                                                0.0s
 => => exporting manifest sha256:19dd719772fd7ac839fadb7d49862f84422f4571a442994ffaca152e9674553a                                                                                                      0.0s
 => => exporting config sha256:e974f3ab92a0278e419f0fe4c5a6fc43fafb4a75da27895d90c4f2d5d385daa1                                                                                                        0.0s
 => => exporting attestation manifest sha256:e391b0212e5a100bd9132fbbd6cb4052e288dbbcba093839b55f8b197131372b                                                                                          0.0s
 => => exporting manifest list sha256:d35c2bbe10ab0b7e46d1ef8fba6c6cb28628eb9c283db02607e32e95b62e14d5                                                                                                 0.0s
 => => naming to docker.io/library/mynginximage:latest                                                                                                                                                 0.0s
 => => unpacking to docker.io/library/mynginximage:latest                                                                                                                                              0.0s
The dot at the end indicates the current directory as the build context. Docker reads the Dockerfile in that directory. You end up with an image called mynginximage on your local system. Check it with:
docker images
mynginximage                                                                   latest                                                                        d35c2bbe10ab   36 seconds ago   281MB
You should see the new name in the list. This approach means your Dockerfile and HTML are combined into a single image. You do not have to mount anything at runtime.
Now that you have mynginximage built, you can run it:
docker run --name mycustomnginx -p 8080:80 -d mynginximageBe sure to stop the previous container to avoid port conflicts.
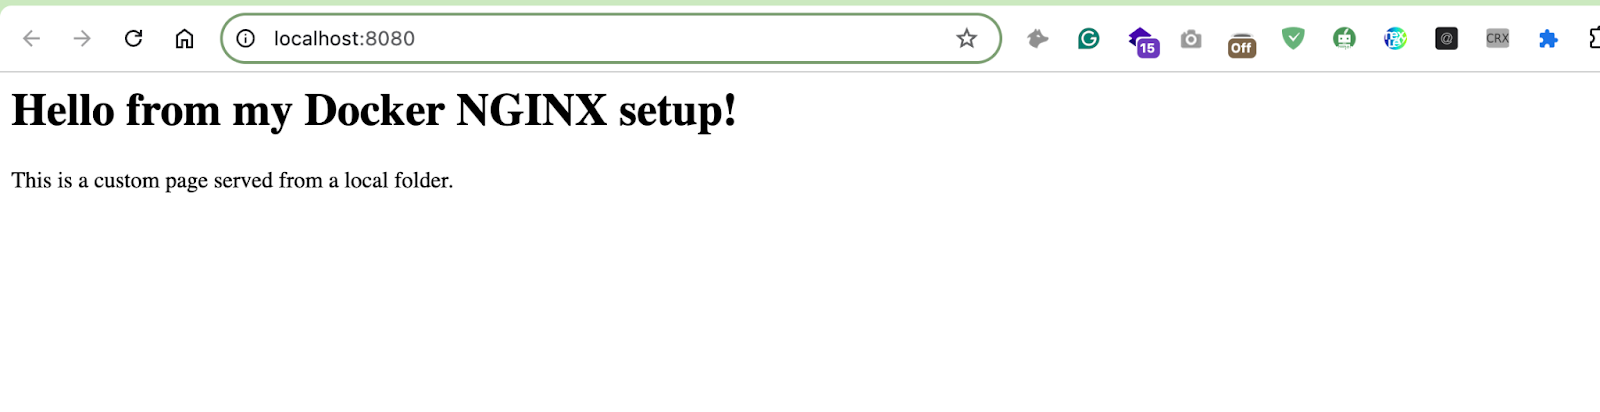
This container automatically serves the page you placed in the Dockerfile. If you open a browser at http://localhost:8080, you should see that HTML text.
You can share your Dockerfile with others or push the built image to a registry. Then, your teammates or colleagues can spin it up without copying local folders.
That completes the process of building a minimal custom NGINX image. You started from the official base, copied a file or two, and produced a new container that includes your custom site. You can extend the Dockerfile further. For example, you might want to switch the configuration to handle PHP with php-fpm in a multi-stage build or add custom modules that NGINX does not ship by default.
This approach highlights the flexibility of Docker: each layer in the Dockerfile can handle a certain task, and the final image can be distributed easily. You have control over the web content, plus the option to tweak settings so that your container suits your project.
Explore these 10 Docker Project Ideas to learn Docker with hands-on projects focused on building and optimizing data science applications.
NGINX can direct incoming requests to other services on the same system or even to services running on separate machines. This is typically called a reverse proxy setup. You might place NGINX in front of a group of applications so that requests can pass through a single entry point.
This is common when you have multiple Docker containers listening on different ports, and you want a single domain name for everything. NGINX listens on a standard port, such as 80 or 443, then routes the traffic to the correct service based on the path, hostname, or other factors.
When NGINX is configured this way, the client is unaware of background communication. NGINX acts as the public face, receiving and forwarding requests and then sending responses back to the client.
This design simplifies your network structure. It also provides an opportunity to adjust caching, add TLS certificates, handle load balancing, or do other advanced tasks. It is often easier to manage these tasks in a single place, rather than scattering them among multiple services.
A typical scenario might involve a container running NGINX on port 80, which sends requests to an application container on port 3000. While the client visits http://yourdomain.com, the traffic is directed to a separate container behind the scenes.
That might allow your application container to keep its default port, with minimal overhead for the user. Another reason to do this is that you might wish to hide the internal details of your services or present a uniform URL structure.
To achieve this, you need a configuration file for custom NGINX that uses proxy directives. You can do it by mounting a new configuration file when you run the container, or by building a custom image that includes it. Here is a simple example to illustrate the general idea:
server {
    listen 80;

    location / {
        proxy_pass http://myapp:3000/;
    }
}
In the snippet above, any request that arrives at your NGINX container on port 80 gets sent to myapp:3000. The myapp name suggests there is another container reachable by that name, which is common when you use Docker networking.
If you are using standalone containers, you might map the container’s IP address or use the host’s IP. You can also add more advanced settings, such as proxy_set_header Host $host, or adjust timeout values to suit your application.
If you opt to mount this file at runtime, you can do something like this:
docker run --name nginxproxy -p 8080:80 -d \
    -v /path/to/nginx.conf:/etc/nginx/conf.d/default.conf \
    --network mynetwork \
    nginx
This command runs the NGINX container, mounting your local nginx.conf as the default configuration. It also connects the container to a Docker network called mynetwork, where your other container (myapp) resides. That is often the simplest approach if you want to keep your configuration outside the container.
It is also possible to put that file into a Dockerfile if you want a static arrangement. Either approach can work, as long as the references match how you named your containers and networks.
This design gives you the ability to have a single domain or IP for all your web services, along with a common port. If you are dealing with multiple back-end containers, you could define multiple locations in your configuration, each pointing to a different container port. NGINX can then route to each service based on the URL path. That is a popular approach for microservices because it consolidates the entry points in a tidy manner.
A reverse proxy often becomes more useful when you have several containers that work together. Docker Compose is a tool that lets you define many services in a single file. Then, you can bring them up or down with a single command. It reduces the chance of mistakes in container creation or port mapping because all the details reside in a standard file.
Docker Compose allows you to manage sets of containers. You describe each service, specify the image to use, ports to publish, volumes to mount, and networks to join. Then a simple command (docker compose up -d) will start everything at once.
This approach is handy for local development or for staging environments where you need to coordinate multiple Docker containers. The usual file format is YAML.
Although Docker Compose can work on various operating systems, you need to ensure that it is installed and recognized. Modern Docker Desktop installations often include it by default. Check your version with:
docker compose version
Docker Compose version v2.33.1-desktop.1
If you see the version details, you are ready to proceed. If you do not, consult the Docker documentation on how to enable or install Docker Compose.
The file typically includes a services section. Below is a simple example of a docker-compose.yml file that sets up a single NGINX container to serve static content:
services:
  web:
    image: nginx:latest
    ports:
      - "8080:80"
    volumes:
      - ./html:/usr/share/nginx/html
Here is how to interpret the file:
html directory to NGINX's default content directory inside the container (/usr/share/nginx/html). This setup enables NGINX to serve your custom static content.In the same directory as your docker-compose.yml file, create a subdirectory named html.
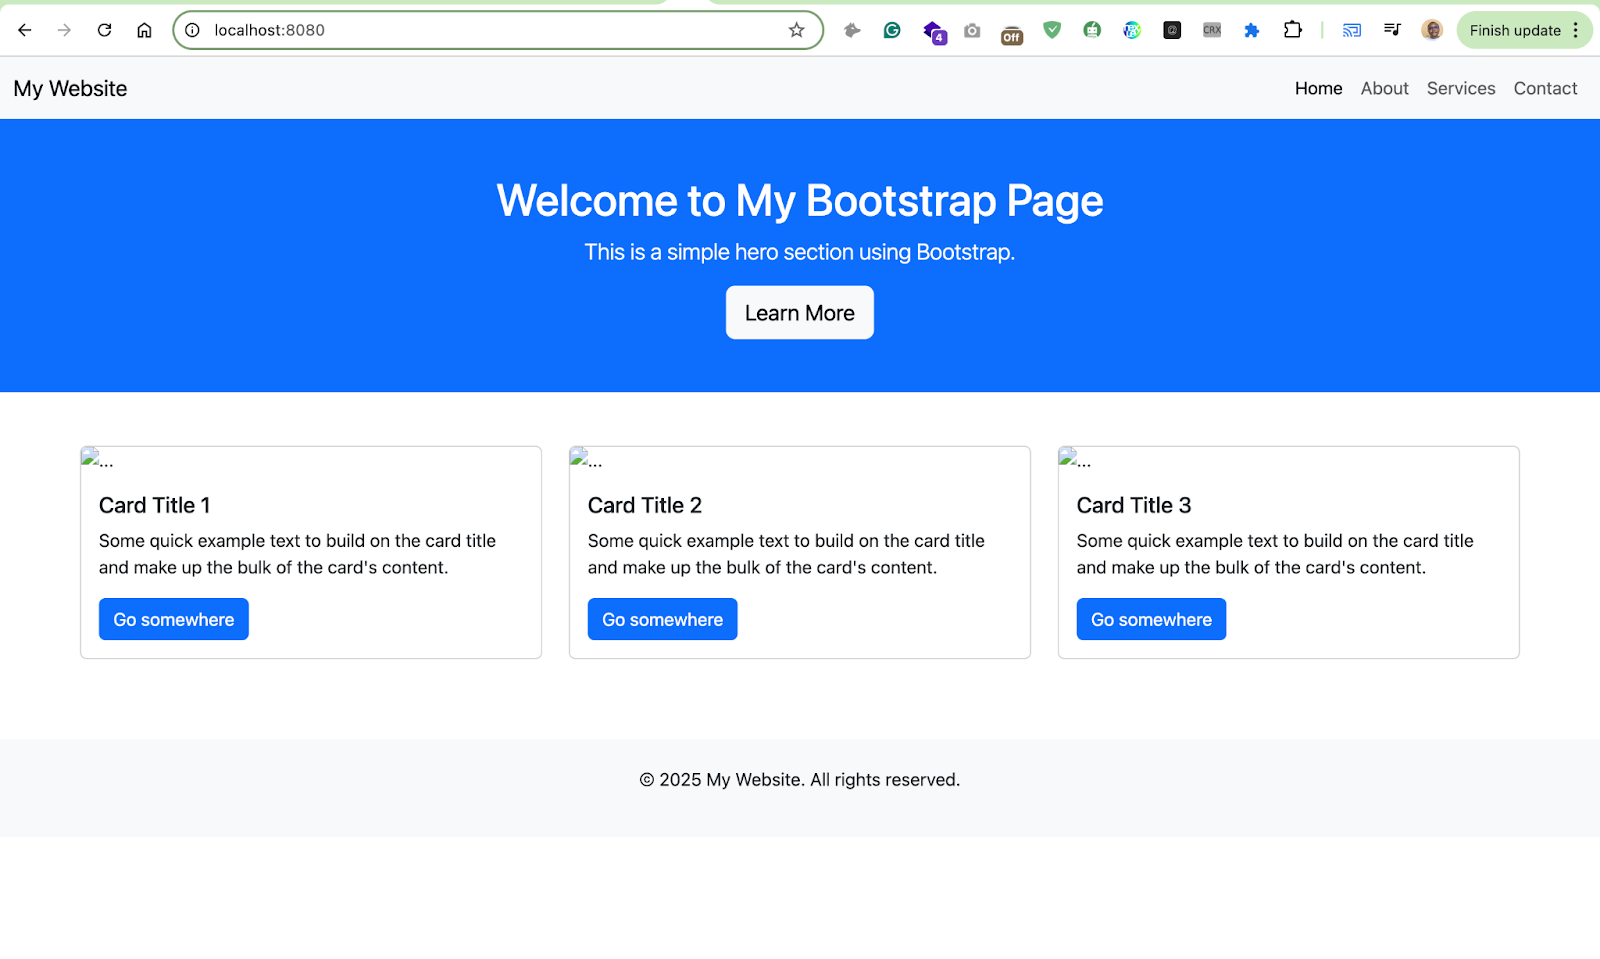
Place your static HTML files (e.g., index.html) inside this html directory. In this case, I have created a simple Bootstrap-styled page for demonstration.
Open a terminal and navigate to your project directory containing the docker-compose.yml file.
Run the following command to start the service:
docker compose up -d
[+] Running 1/1
 ✔ Container html_content-web-1  Started
The -d flag runs the container in detached mode, allowing it to run in the background.
Docker Compose looks at the docker-compose.yml file in the current directory. It pulls any images that are not already present and then launches each container.
Open your web browser and navigate to http://localhost:8080.
You should see your static content being served by NGINX.
You can inspect the status of your running services by checking:
docker compose psIf you need to tear everything down, a single command can remove the containers:
docker compose downThat stops and removes them all at once. If you want to replicate the entire environment, you simply copy the Docker Compose file and the relevant code to a new machine, and then run the same commands. This ensures that you get consistent results with minimal manual steps.
While the Docker Compose approach is popular for multi-service workflows, sometimes you just need to manage a single container or a small cluster. Docker provides a few basic commands that help you see what is running, pause or stop containers, and remove them if needed.
These are essential for housekeeping, especially if you are experimenting with multiple NGINX containers or repeated builds.
Whenever you want to see which containers are running, you can use:
docker ps
CONTAINER ID   IMAGE          COMMAND                  CREATED         STATUS         PORTS                  NAMES
2d386c085129   mynginximage   "/docker-entrypoint.…"   4 minutes ago   Up 4 minutes   0.0.0.0:8080->80/tcp   mycustomnginx
That command prints a table of active containers, each with an ID, image, name, and more. If you need to see all containers, including ones that have stopped, use:
docker ps -aThis shows every container that exists on your system, even those that exited. It is often helpful to see which containers are still there from older runs. You might have containers named mynginx, mycustomnginx, or something else if you have been experimenting with multiple images.
When you are done with a container, you can stop it by name:
docker stop mynginx
CONTAINER ID   IMAGE          COMMAND                  CREATED         STATUS         PORTS                  NAMES
2d386c085129   mynginximage   "/docker-entrypoint.…"   4 minutes ago   Up 4 minutes   0.0.0.0:8080->80/tcp   mycustomnginx
That tells Docker to send a stop signal to the container, which should cause NGINX to shut down cleanly. If you want to remove the container right afterward, you can do:
docker rm mynginxIf you prefer a single command that stops and removes in one go, try:
docker rm -f mynginxThat forces removal, stopping the container if it is still running. Be cautious when using that approach in a production environment, since it terminates the container without giving it a graceful shutdown. Another housekeeping command is docker rmi, which removes images from your system.
That is helpful if you no longer need certain images and want to free up space. However, Docker only deletes images that are not being used by a running container.
NGINX in Docker is a handy way to serve web pages or route traffic to other services. You can run the official image or build your own with a simple Dockerfile. Docker Compose can coordinate multiple containers, making complex setups easier to handle.
With these methods, you can deliver content, handle forwarding, and maintain a reliable environment for web projects.
If you need a more hands-on approach to learning Docker, check out our Introduction to Docker Course to discover its importance in the data professional’s toolkit.
Top DataCamp Courses
Track
Course
Course
blog
Joel Wembo
14 min
Tutorial
Bex Tuychiev
Tutorial
Moez Ali
Tutorial
Dario Radečić
Tutorial
Rajesh Kumar
Tutorial
Arunn Thevapalan