Track
Python Developer
28 hr
NiceGUI is a Python-based UI framework that makes it easy to create web interfaces. It allows developers to build graphical user interfaces (GUIs) for web applications without knowing HTML, CSS, or JavaScript.
In this article, I'll explain how you can use NiceGUI to create user-friendly interfaces. But, if you are new to Python, take our Introduction to Python course and then advance to the Python Programming skill track to strengthen your skills.
NiceGUI is a Python library that helps create web-based user interfaces using only Python code. If you're a Python developer who wants to build a UI but also want to avoid HTML, CSS, or JavaScript, NiceGUI is for you. It’s backed by three main technologies:
However (and this is the real point of NiceGUI, really) you don't have to understand these technologies to use NiceGUI effectively. It’s versatile enough to handle both small web applications and more complex projects. This is one of NiceGUI's key strengths - its accessibility. You can create functional interfaces with minimal code, even if you're new to Python. Let's take at the code below and I'll show you what I mean.
Here, I'll cover the installation process and guide you through creating your first simple application.
There are several methods to install NiceGUI, depending on your preferences. Here’s how to do it. Run the following commands in your terminal or command prompt. I am giving options depending on the tool you use.
pip install niceguipython3 -m pip install niceguidocker pull zauberzeug/niceguiFirst, add conda-forge to your list of channels like this:
conda config --add channels conda-forge
conda config --set channel_priority strict
After enabling the conda-forge channel, run the following command to install NiceGUI:
conda install niceguiYou have installed NiceGUI, so it’s time to create our first interface. Let's take a basic example — displaying a simple hello message. First, create a new Python file (e.g., app.py). Then, write the following code:
# Importing the module
from nicegui import UI

# pass the text
ui.label('Hello World')

# run it
ui.run()
Now run the code. You can either save and execute it by clicking the run button or writing the following command in the terminal:
python app.py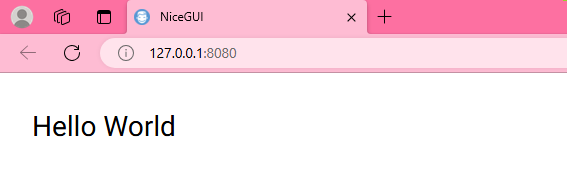
Display the label using NiceGUI. Image by Author.
NiceGUI is becoming popular for its simplicity, interactivity, and integration capabilities. Here’s a rundown of what makes it a helpful framework for developers.
Unlike other tools like Streamlit or Dash, you can use NiceGUI to create graphical user interfaces with minimal code. Here's an example:
from nicegui import ui
	ui.label('Hello NiceGUI!')
	ui.button('BUTTON', on_click=lambda: ui.notify('button was pressed'))
	ui.run()
In the above code, I define a button and handle its click event. When I clicked the button, the message button was pressed pops up. And that’s it. This isn't the most complicated example, albeit you can see how quickly I set up this functional UI without configurations or any complex logic.
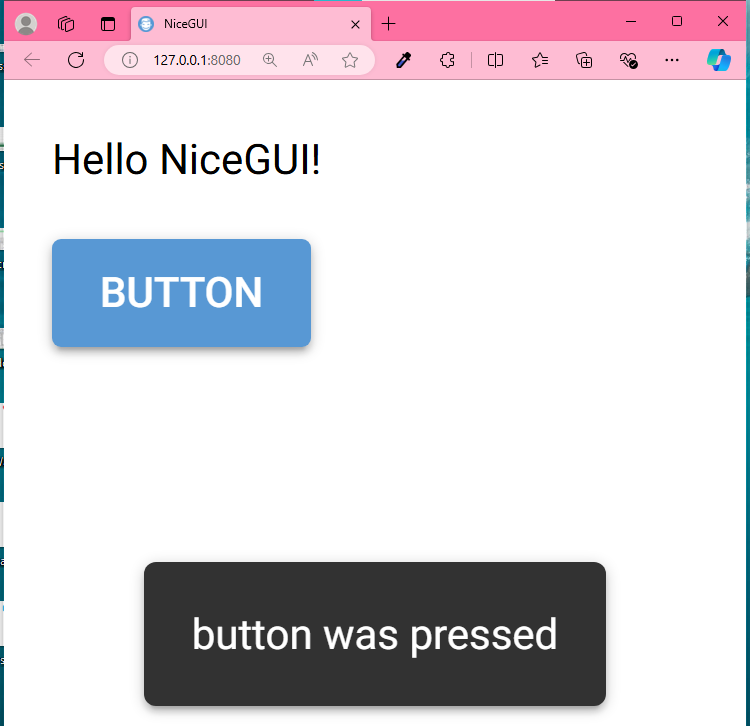
NiceGUI interface with a button and notification. Image by Author.
With NiceGUI, you can also create real-time interactive UIs that respond instantly in your web browser. When you make changes on the backend, those updates are reflected immediately on the frontend, thanks to WebSocket connections. This continuous communication between the server and client means you don't have to refresh the page to see updates.
from nicegui import ui
slider = ui.slider(min=0, max=100, value=50)
ui.label().bind_text_from(slider, 'value')
ui.run()
As you move the slider, the label updates instantly without reloading the page. This shows an advantage of NiceGUI compared to frameworks like Streamlit and Dash, where updates might require more effort.

Creating a slider. Image by Author.
NiceGUI has layout options, including buttons, sliders, charts, and 3D elements. You can arrange these elements in rows, columns, and cards to create interfaces without writing HTML or CSS. Here's an example:
from nicegui import ui
with ui.column():
    ui.button('Button 1')
    ui.button('Button 2')
with ui.row():
    with ui.card().style('width: 300px; height: 150px'):
        ui.label('Temperature')
        ui.slider(min=0, max=100, value=20)

    with ui.card().style('width: 500px; height: 400px'):  # Adjusting the size of the card
        ui.label('Line Chart')
        ui.echart({
            'title': {'text': 'Sample Line Chart', 'left': 'center', 'textStyle': {'fontSize': 18}},
            'xAxis': {
                'type': 'category',
                'data': ['Category A', 'Category B', 'Category C'],
                'axisLabel': {'rotate': 0}  # Ensures the labels are not rotated
            },
            'yAxis': {'type': 'value'},
            'series': [{
                'name': 'Values',
                'data': [1, 2, 3],
                'type': 'line',
                'smooth': True,  # Makes the line smoother
                'label': {'show': True}  # Shows data points on the chart
            }]
        })
ui.run()
I used this code to create an interactive layout. The code first imports the necessary module from NiceGUI. It then creates a column containing two buttons and a row with two cards. The first card contains a temperature control, which has a label and a slider for adjusting the temperature. The second card contains a line chart. At last, ui.run() runs the code to display the result.
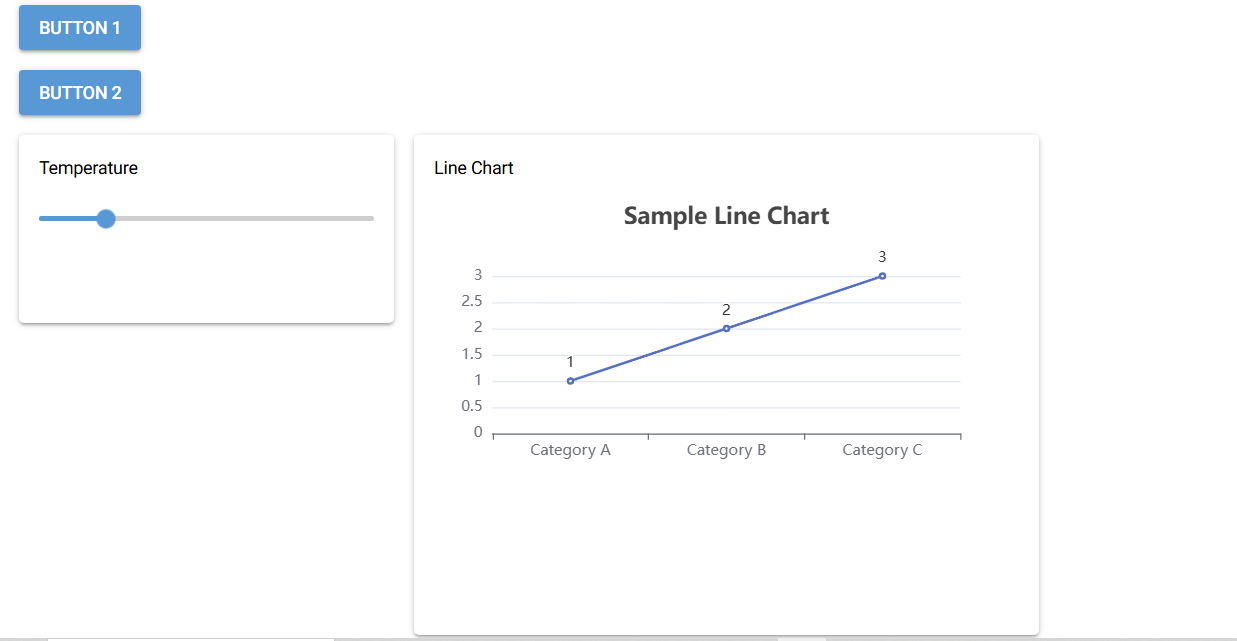
Creating visual elements and layouts. Image by Author.
If you're into data science or visualization, I've good news for you — NiceGUI works well with popular Python libraries like NumPy, Matplotlib, and Plotly. Let’s say you work on data science projects that require complex data processing or visualization. In this case, you can use these libraries as you normally would in Python, and NiceGUI will display the results for you in a web-based interface.
Here's an example of how you can use NiceGUI along with Matplotlib and NumPy to create a basic data visualization in a web-based interface. First, we install the necessary libraries by running this:
pip install nicegui numpy matplotlibNow, create a simple Python script to generate a plot and display it using NiceGUI like this:
import numpy as np
import matplotlib.pyplot as plt
from nicegui import ui

# Generate some data using NumPy
x = np.linspace(0, 10, 100)
y = np.sin(x)

# Create a Matplotlib plot
plt.plot(x, y)
plt.title('Sine Wave')
plt.xlabel('X-axis')
plt.ylabel('Y-axis')

# Save the plot to display it in the web interface
plt.savefig('sine_wave_plot.png')

# Define the NiceGUI interface
@ui.page('/')
def main_page():
    # Display the plot using NiceGUI
    ui.image('sine_wave_plot.png')

# Run the NiceGUI application
ui.run()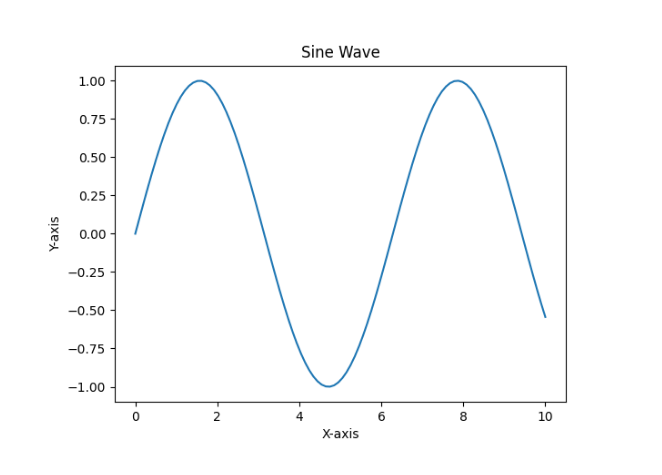
Interactive plot using NiceGUI, Matplotlib and NumPy. Image by Author.
You now know the basics of NiceGUI, so let's look at some of its advanced features. They will help you build more complex and interactive web apps.
Apart from basic layouts, you can even make dashboards that show live data using NiceGUI. Here's how:
For example, I created a financial dashboard that shows live stock prices using NiceGUI and Matplotlib.
from nicegui import ui
import plotly.express as px
import pandas as pd
# Sample data
df = pd.DataFrame({
'time': ['10:00', '10:05', '10:10'],
'stock_price': [100, 102, 105]
})
# Create a Plotly line chart
fig = px.line(df, x='time', y='stock_price', title='Stock Price Over Time')
# Use NiceGUI to display the chart
with ui.card():
ui.plotly(fig)
ui.run()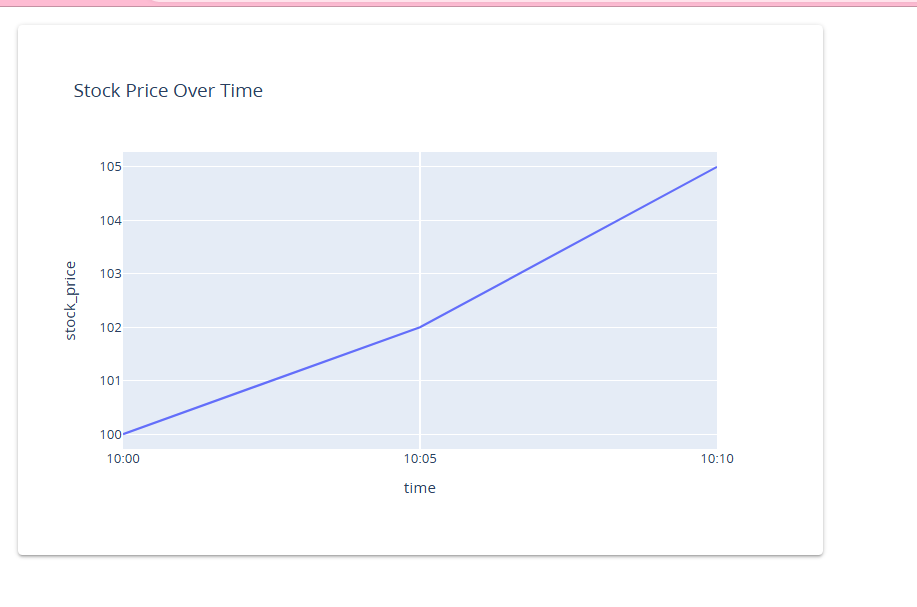 Real-time stock dashboard using NiceGUI and Plotly. Image by Author.
You can also connect your app to an API that streams live data. To do so, Matplotlib or Plotly will help you create charts that automatically refresh as new data arrives, giving users a real-time market view.
NiceGUI works well with machine learning projects too. Here’s how you can use it:
As an example, I created an interface for a linear regression:
from nicegui import ui
import numpy as np
import plotly.graph_objects as go

X = np.array([1, 2, 3, 4, 5])
y = np.array([1, 6, 8, 7, 9])

# Slope and intercept
slope = 2.2
intercept = 0.6

# Create the initial figure with two traces
fig = go.Figure()
fig.add_trace(go.Scatter(x=X, y=y, mode='markers', name='Data'))  # Actual data points
# The prediction line uses the manually set slope and intercept
y_pred = slope * X + intercept
fig.add_trace(go.Scatter(x=X, y=y_pred, mode='lines', name='Prediction'))
fig.update_layout(title='Linear Regression Model',
                  xaxis_title='X',
                  yaxis_title='Y',
                  height=400)

def update_model():

    y_pred = slope * X + intercept

    # Update the results with the fixed slope and intercept
    result.set_text(f"Slope: {slope:.2f}, Intercept: {intercept:.2f}")

    # Update the prediction line in the plot
    chart.update_traces(y=y_pred, selector=dict(name="Prediction"))

# Create the UI
with ui.card().classes('w-full'):
    ui.label('Linear Regression Demo').classes('text-h6')
    ui.button('Update Model', on_click=update_model).classes('my-2')
    result = ui.label(f"Slope: {slope:.2f}, Intercept: {intercept:.2f}")
    chart = ui.plotly(fig).classes('w-full')

ui.run()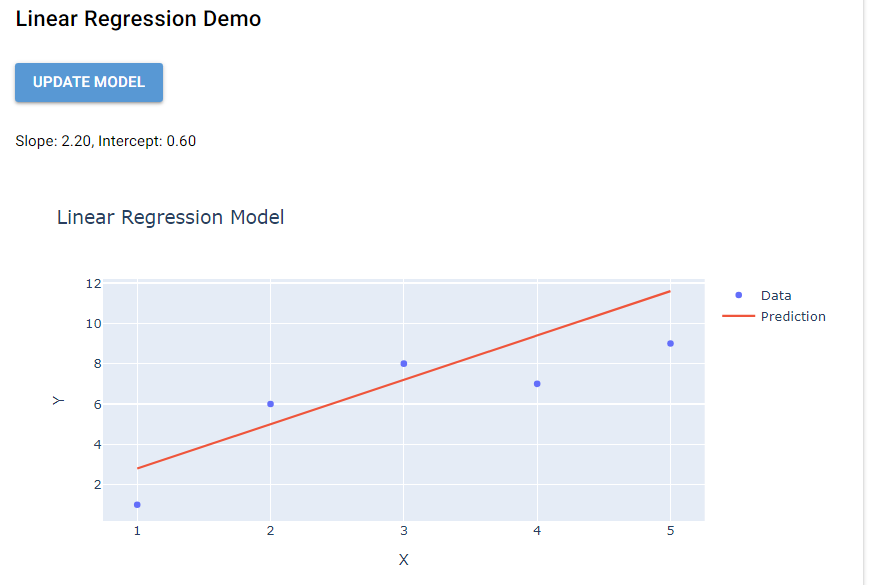
NiceGUI integrated into ML. Image by Author.
When starting a new project, you may compare NiceGUI with popular Python alternatives like Streamlit, Dash, and JustPy. Although every framework has strengths and weaknesses that can impact your project’s development, let’s compare them to in terms of ease of use and performance.
Once you've built your app, you'll want to share it with others. Deployment makes your app available for users, whether it's on the internet or a local network. Since NiceGUI apps are Python-based, you have several deployment options.
You can opt for either Google Cloud Run or AWS — two of the most popular cloud deployment options. These are the basic steps to deploy your app on these platforms:
The deployment process may vary slightly depending on the type of cloud platform you use. However, almost all cloud platforms provide easy-to-use interfaces and CLI tools that simplify this process, even for those new to cloud hosting.
Docker allows you to package your app with all its dependencies into a single container, which can be easily deployed on any system that supports Docker. NiceGUI also offers a Docker image, which makes it ideal for containerization and abstracts many of the complexities of deployment.
The Docker image includes all necessary dependencies to ensure consistency across development and production environments. However, you can extend the official image to include additional requirements for your application. The deployment process generally involves the following:
NiceGUI is a Python framework that’s easy to use, works in real-time, and can be used with other popular libraries. So whether you're working on a small or big project, NiceGUI is a good choice.
To learn more about how GUIs are shaping the future of work, check out the GUIs and the Future of Work tutorial. If you're working on AI applications and looking for another approach to building user interfaces, check out this tutorial on Building User Interfaces For AI Applications with Gradio in Python.
Learn Python with DataCamp
Track
Track
Course
Tutorial
Aditya Sharma
Tutorial
Bex Tuychiev
Tutorial
Arunn Thevapalan
Tutorial
Bekhruz Tuychiev
Tutorial
Matthew Przybyla
Tutorial
Amberle McKee