

Course
Building AI Agents with Google ADK
1 hr
6.5K
Writing code can get tedious when you’re stuck on boilerplate or small syntax details. That friction only grows when you’re experimenting with new AI models and just want to focus on building. Tabnine helps cut through that slowdown with AI code completions inside your editor.
In this article, I will explain step by step how to use Tabnine in Visual Studio Code (VS Code) to create an AI image editor using Google's latest image generation model, Nano Banana. By the end of this article, we'll have a working Python application that allows users to generate and edit images using prompts.
For those of you who want to stay up to date with the latest Google image generation models, I recommend reading our Nano Banana 2 guide.
Tabnine is an AI-powered coding assistant similar to GitHub Copilot and Cursor. It works in most popular editors like VS Code, PyCharm, Jupyter, and more.
Some of Tabnine’s key features include:
- Jira integration: Tabnine can connect to Jira, a popular platform for managing software engineering projects. This makes it easier to manage work and allows Tabnine to track the tasks in the pipeline.
- Custom commands: Tabnine comes equipped with a variety of commands, such as "Explain code" or "Fix code." It also allows users to define prompt-based custom commands.
- Custom behavior: Tabnine allows you to configure a prompt that guides the way the AI models answer. For example, if you have well-defined coding guidelines, you can provide them to ensure it generates code according to those guidelines.
- Smart autocomplete: It suggests full lines or blocks of code, not just variable names.
- Context-aware: Tabnine adapts to your project structure and coding style.
- Support for multiple AI models: Tabnine supports the most popular AI models, making it easy to choose which one to use.
- Team learning: In enterprise plans, it can learn from your team’s private codebase to make suggestions tailored to your company’s patterns.
To get started, we need to create a Tabnine account and subscribe to one of their plans. They offer a 14-day trial, so you can try it for free. After the trial period, Tabnine costs $9 per month.
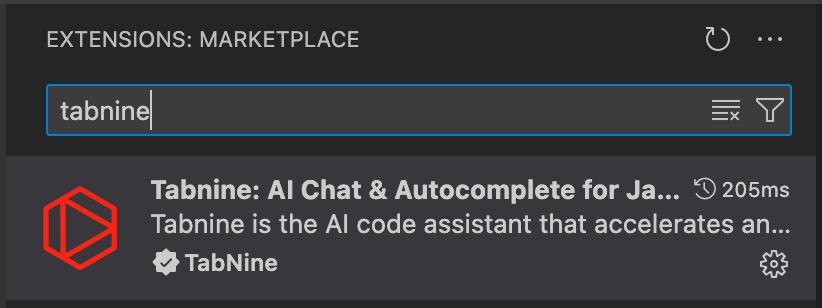
After you create your Tabnine account, open VS Code. If you don't have VS Code, install it from here. Open the extensions tab and type "tabnine" to find the official extension.
Once the extension is installed, we're prompted to log in. Then we can access Tabnine on the left menu bar (the last option in this screenshot).

Before building our AI image editor, let's quickly go over the main elements of Tabnine.
When we open Tabnine, we're presented with an AI chat interface:
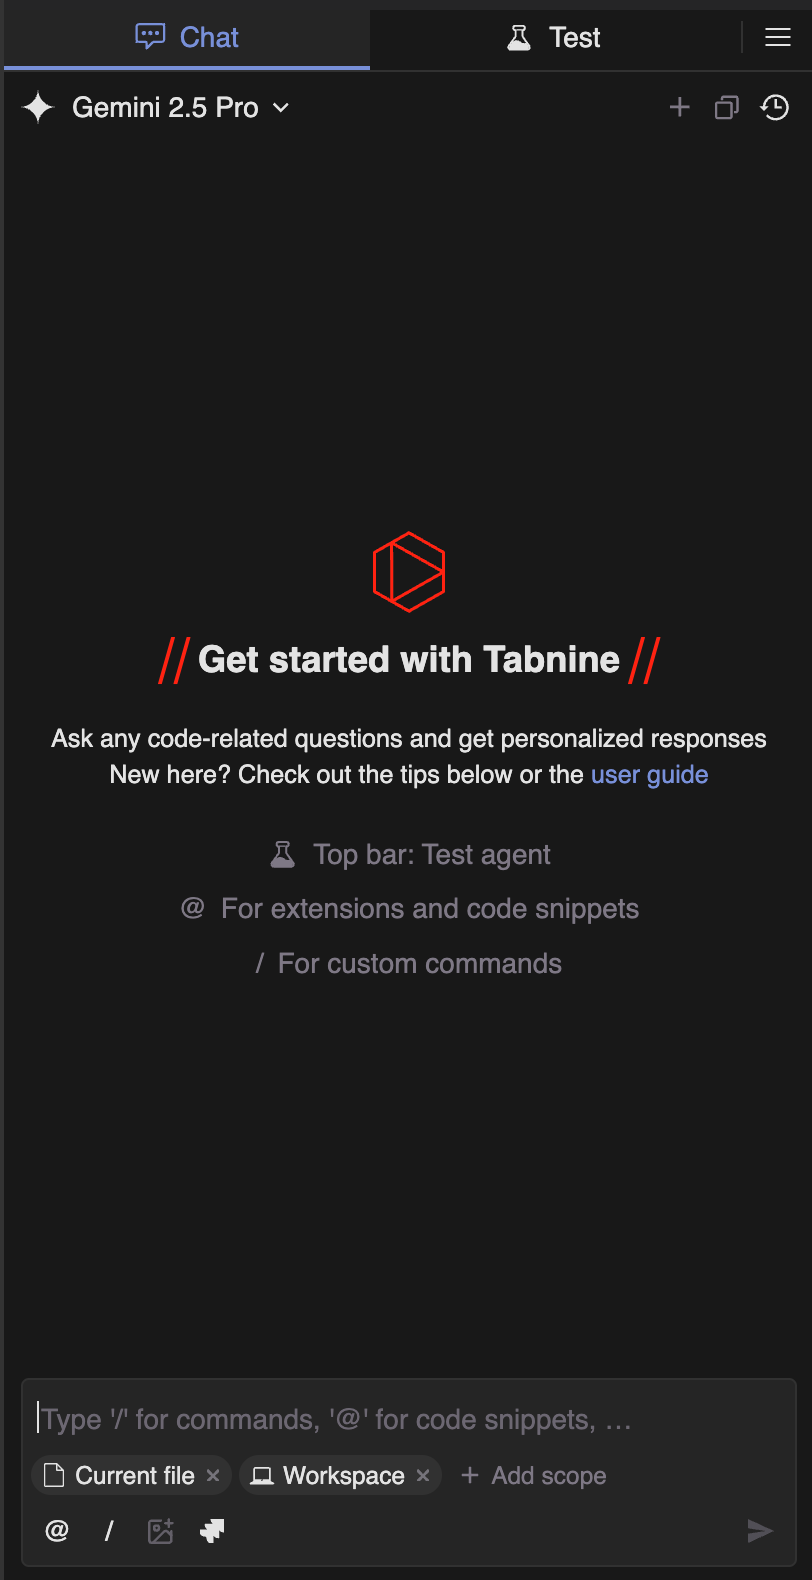
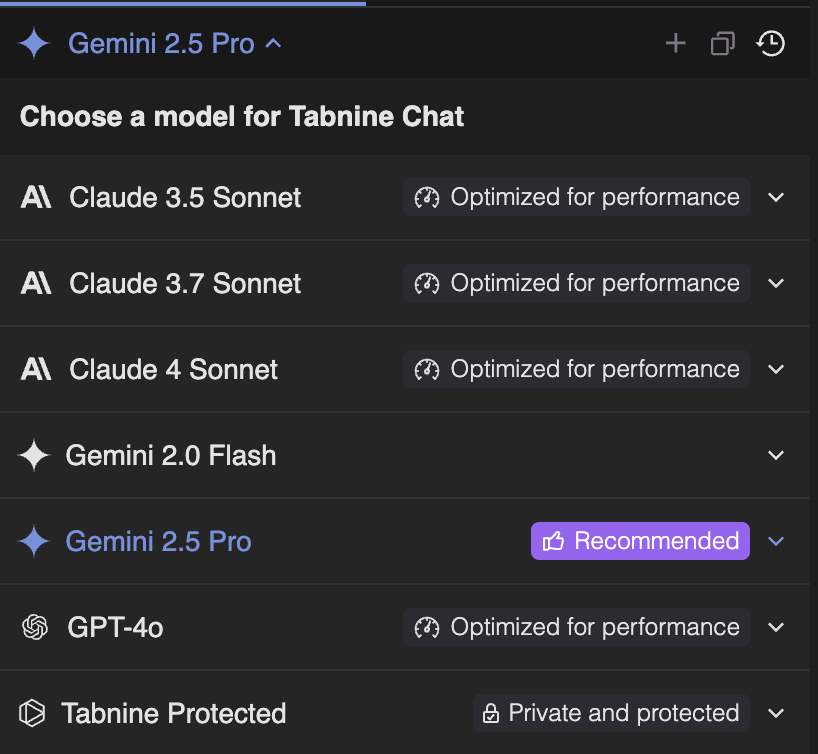
At the top, we have a model selector. Here, we can choose which model to use. I'll stick to the default in this tutorial, Gemini 2.5 Pro.
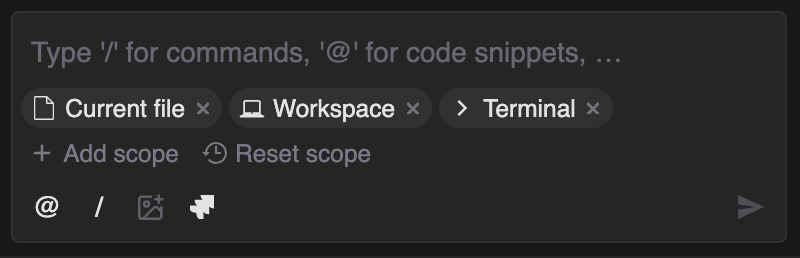
At the bottom, we can define the context. This defines what we want the AI model to see when answering.
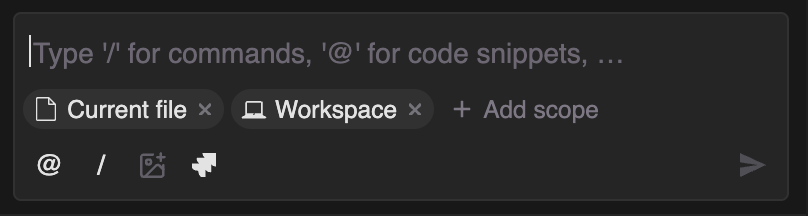
By default, the context includes the current file and the workspace (the project). We can add other things, like the Terminal, which is very useful to let the model know about errors when we encounter them. We can also give a specific code snippet using the "@" character and then typing the name of the function we want to add to the context.
On the hamburger menu, we can configure Tabnine:
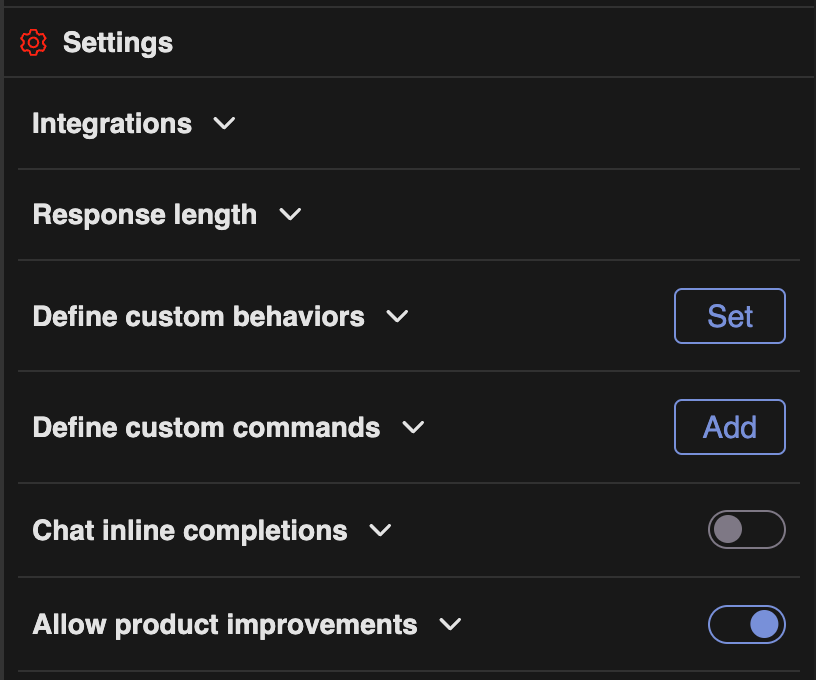
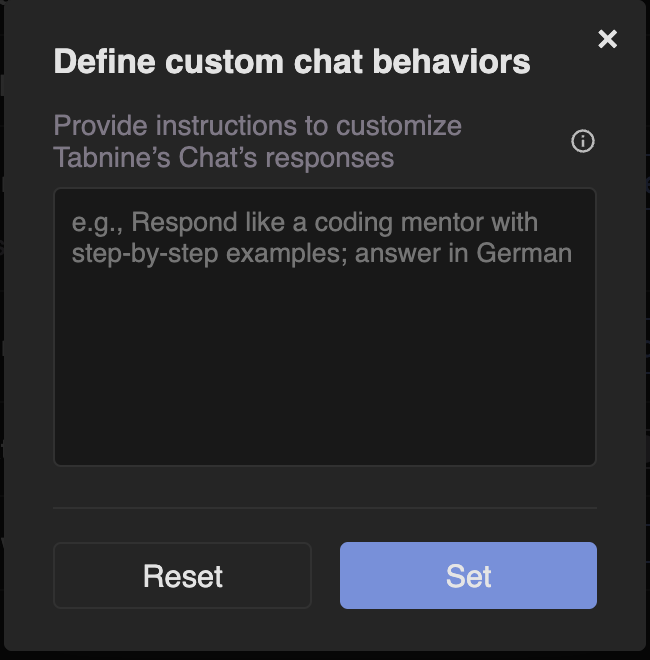
Two noteworthy settings are custom behavior and custom commands. In the custom behavior section, we can set a prompt that guides the model when generating code. It is useful in situations where we want the code to follow specific guidelines.
The command section allows defining custom commands that can be executed using a /<command-name> in the chat interface. A command is essentially a prompt for performing specific actions. This is a good way to save time and avoid having to repeat the same prompt over and over again.

In this section, I’ll walk you through how to build a Python application that uses Nano Banana, Google's latest image generation model, to edit images. The user can use a prompt to generate an image or combine and edit existing images with the prompt.
My goal was to see if it was possible to vibe-code this application, meaning, to build it entirely out of prompts from scratch.
All the code generated in this tutorial can be found in this GitHub repository.
To get started, I wanted to create the base UI where users can select images from their computer and type a prompt. I created a new folder and opened VS Code in that folder. I didn't create any files. This was my first prompt:
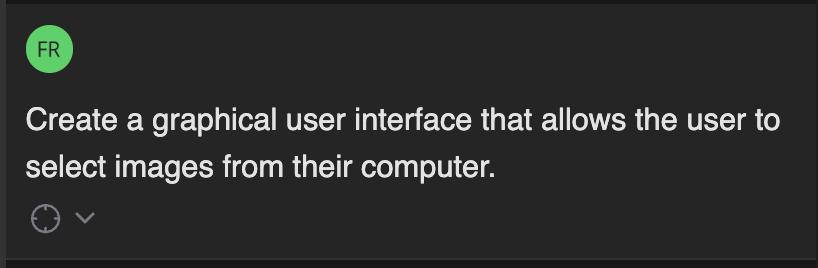
I realized after the fact that I forgot to mention I was building a Python app. Somehow, I got lucky, and that was what the AI model assumed I wanted. It responded to my prompt by explaining the commands it would execute and the code it would write.
To make the changes, we need to either apply them one by one or click the "Apply All" button at the bottom of the screen. Note that some of the changes involve command executions. In these cases, the commands install necessary Python packages and create the files and folders to store the code.
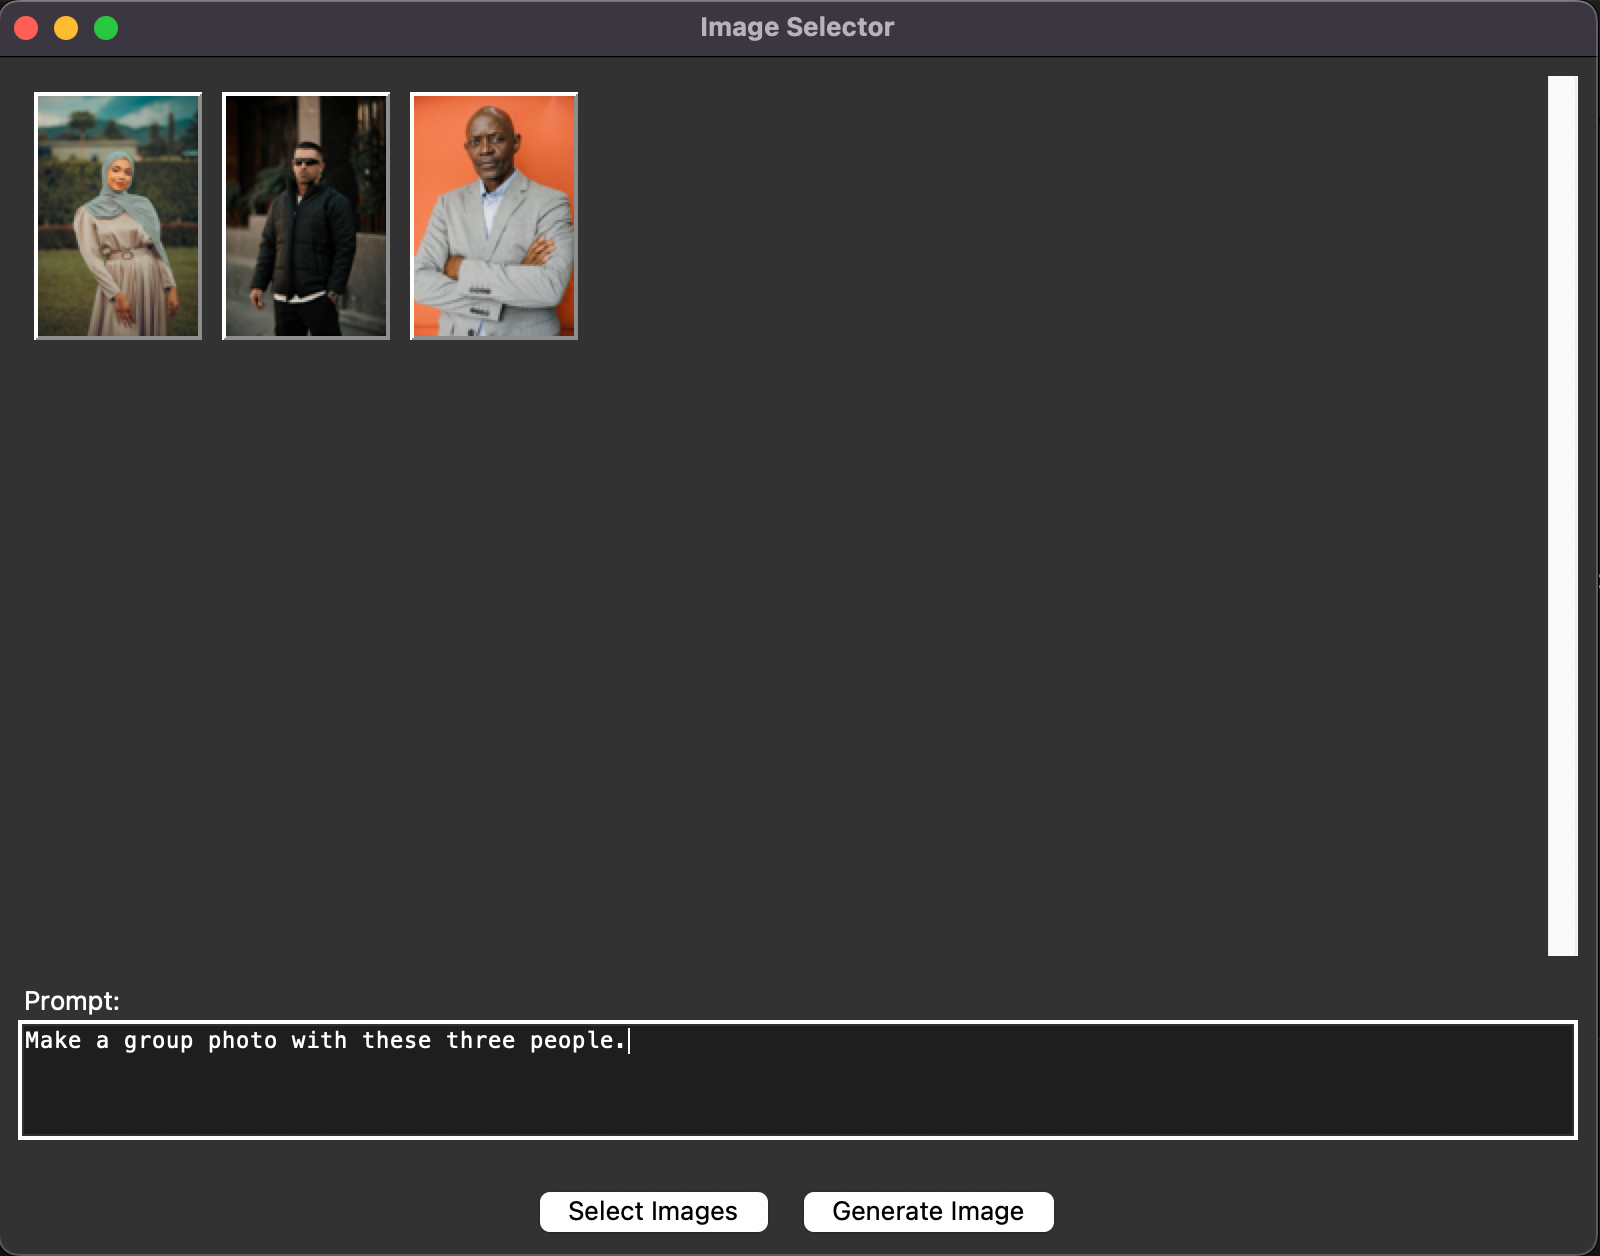
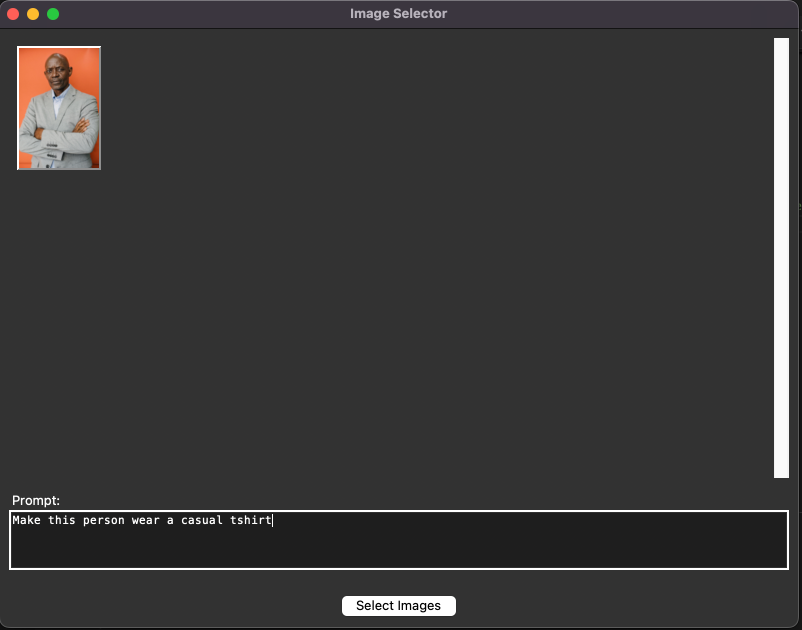
This is what the interface looked like when I ran the script it created:
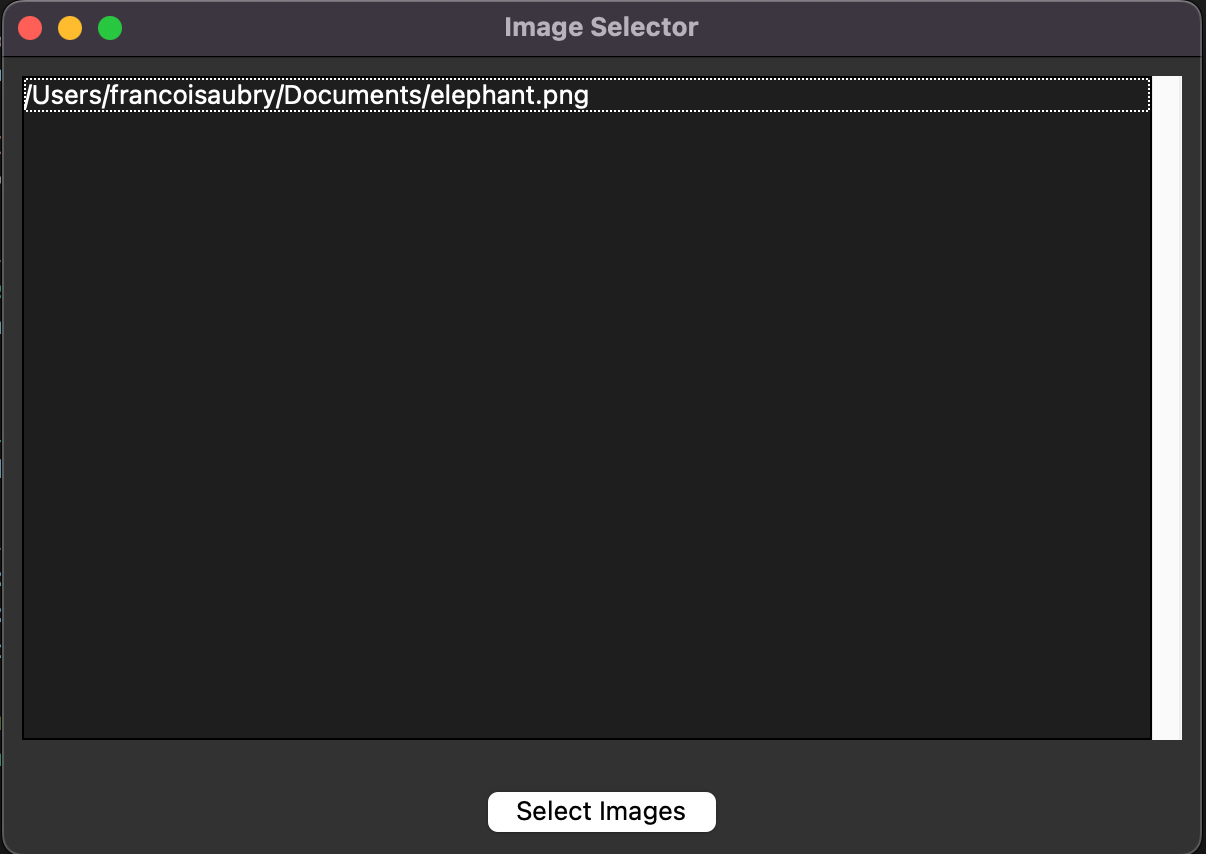
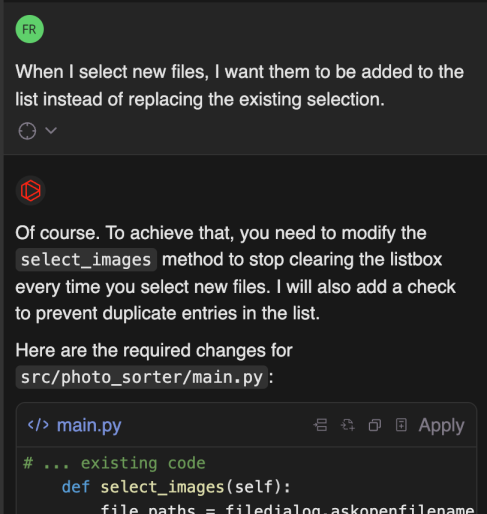
At the top, there is a list of all selected images and a button to open a file selector. The user can select one or more files, and the selected files are listed. However, when new files are selected, the old list is overwritten, so I asked it to append the new files to the list instead of removing the old ones.
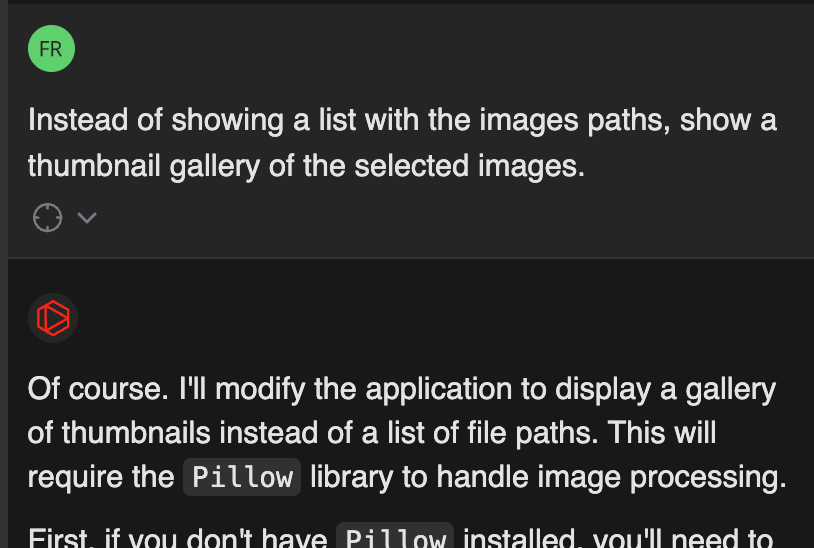
Next, I wanted to improve the UI to show the image thumbnails instead of their paths:
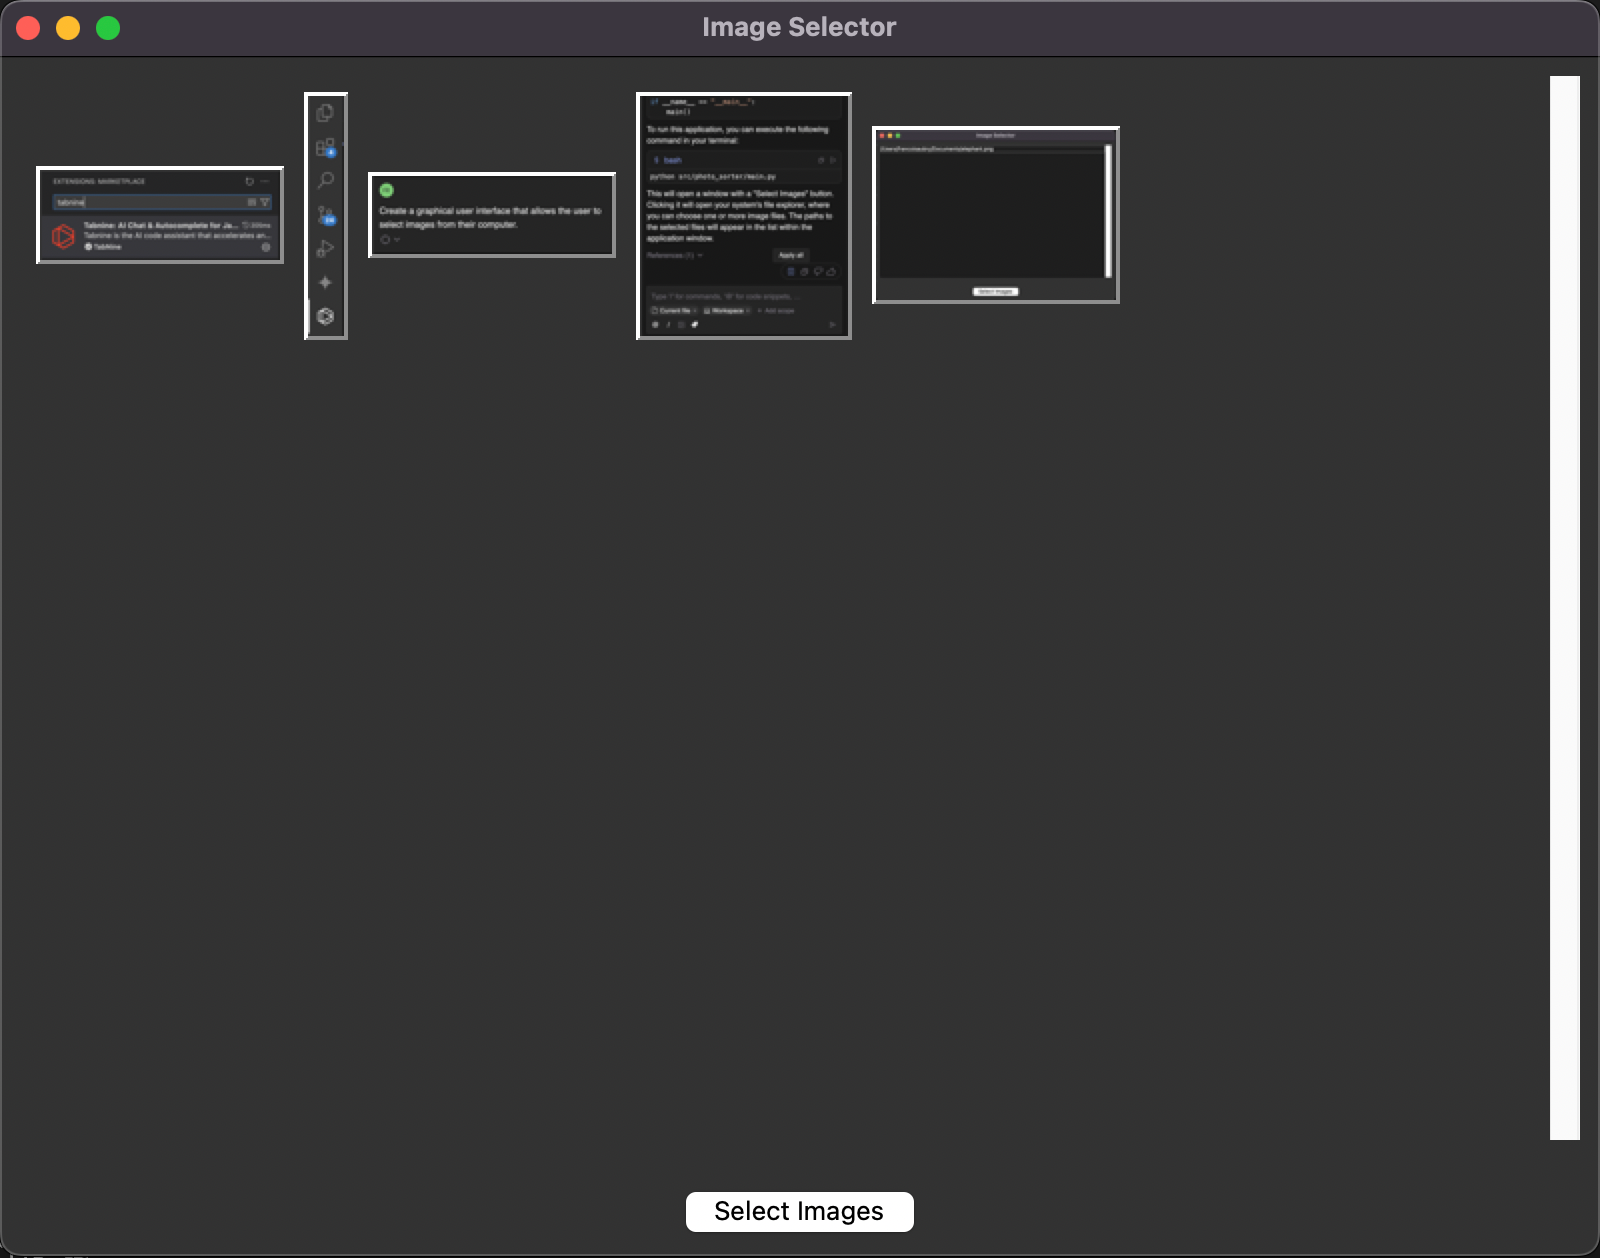
This is the result:
Another important feature is the ability to easily remove images:
With this prompt, it modified the code so that when we right-clicked on a thumbnail, a pop-up menu appeared, allowing us to delete the image. I wanted it to work this way, so I request that change:
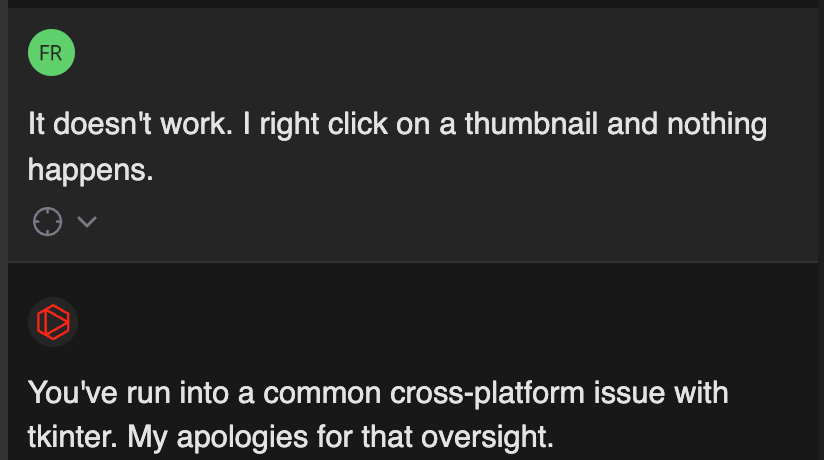
When I tried the application after this change, image deletion wasn't working anymore. I suspected it was because I'm using a Mac, but I didn't say it. I wanted to see if it could figure it out itself.
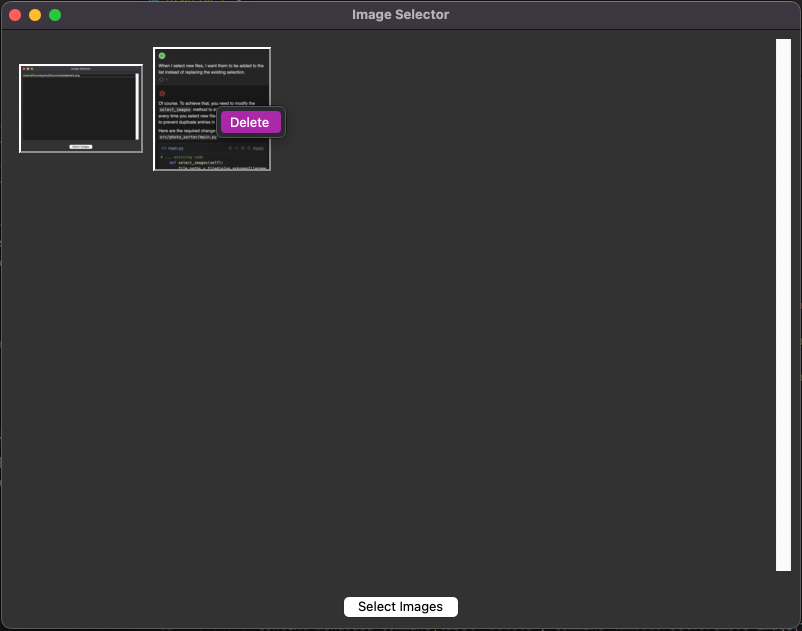
It worked very well, and I was able to right-click on an image to delete it:
The last step in the basic UI was to add a text box for the prompt.
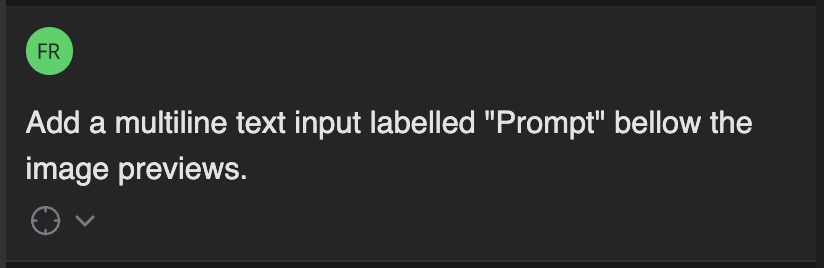
With this, the base UI was done. We can select images and type a prompt. However, we can't generate an image yet. That's what we'll implement in the next section.
To keep the code organized, I asked it to create a new Python script with a function that uses Google's generative AI API with their latest image model to generate images.
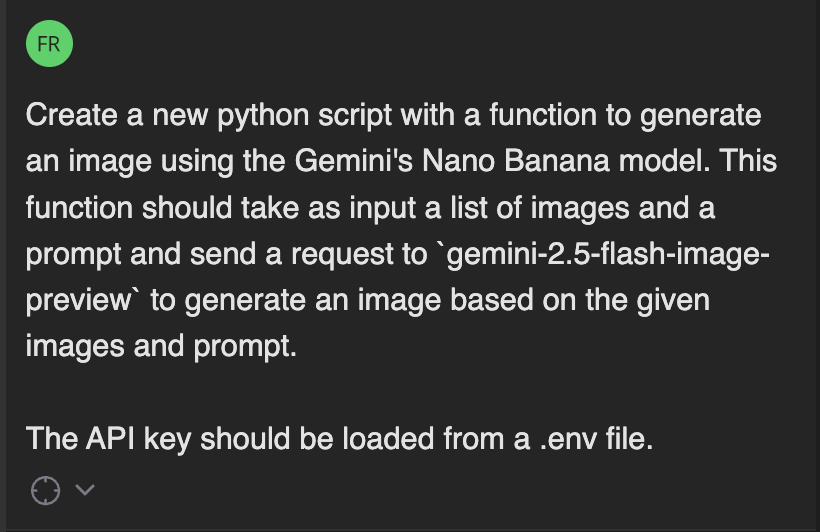
It created the new script and the .env file. This file is used to store the API key needed to connect to the Google API. If you're following along, you'll need to create an API key here and place it in the .env file.
Then, I asked it to add a new button to the interface to call the image-generating function. It added the button, but when I clicked it, I got an error. So, I made sure to add the terminal to the context before asking it to fix the error.
It made some updates to the files, but the error persisted. I tried to have it fixed, but it didn't work. It started to say the AI model didn't exist, and wanted to change the code in a direction I knew wasn't correct.
To overcome this, I had to fix the code manually. I went to Gemini's official website and copied and adapted the example code from there.
This is one of the reasons why I think it's important to have some fundamental knowledge about coding, even when vibe coding. It often happens that we run into something the AI model can't fix, and knowing how to program is important so that we understand that what the model is saying is not correct and we can fix it. These kinds of tools should always be used to speed up the process, not to replace it altogether.
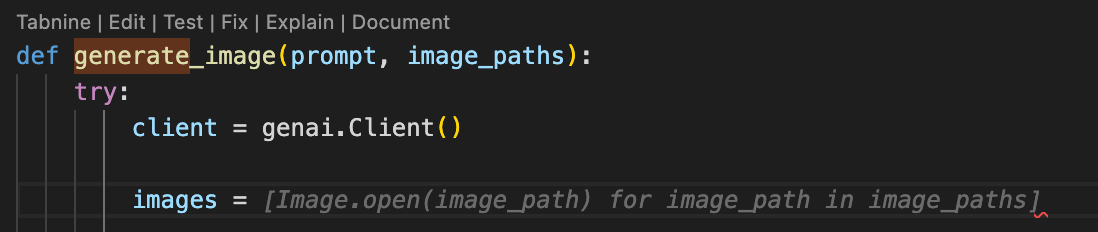
However, even when having to write this code manually, Tabnine was helpful due to its autocomplete capabilities. For example, when I wanted to convert the selected image paths into images to provide to the model, I could just start typing what I wanted and got the correct code:
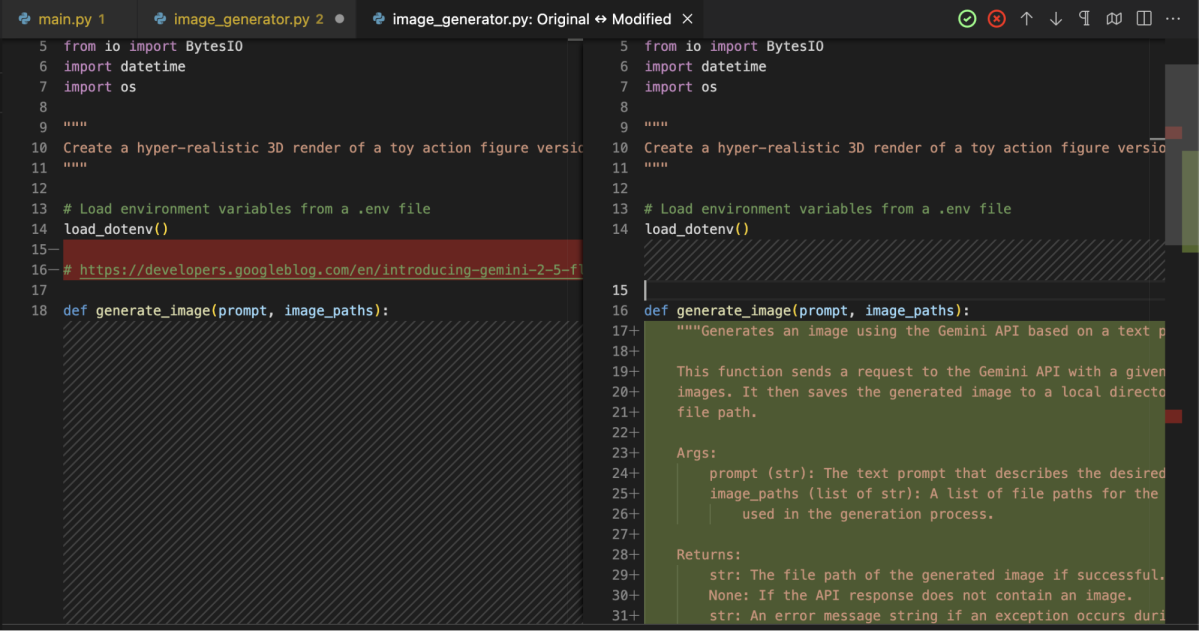
We also see above the function name that Tabnine provides tools to edit, test, fix, explain, and document the function. For example, I used the document function it to document the code, and it showed me a diff with the changes it planned to make, which I could then accept or reject:
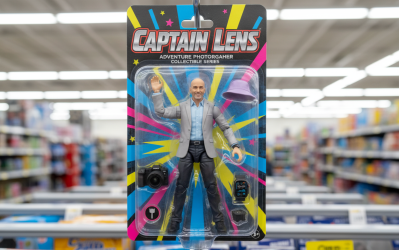
The application was now functional and ready to use. Let's try to create an action figure for a given person with accessories taken from other images:
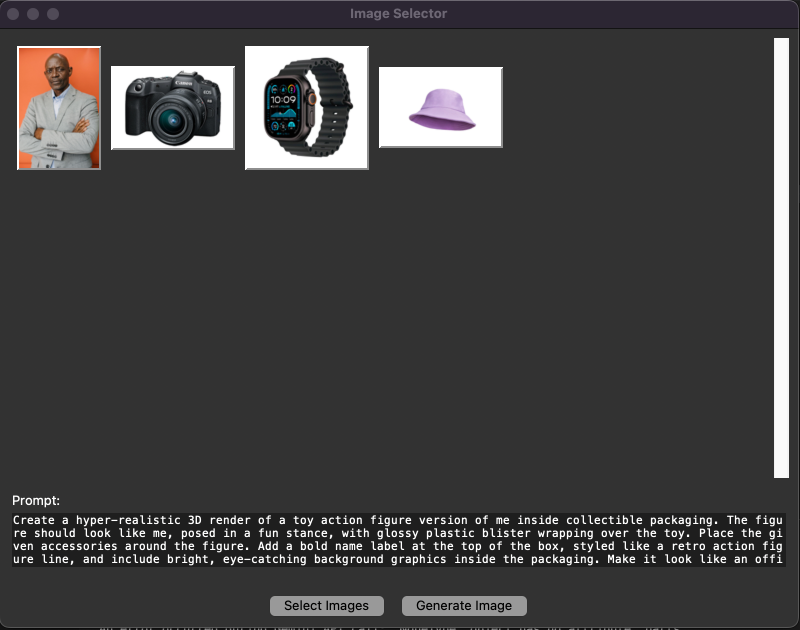
Here's the result:
It is very important to write automated tests when working on a project. One of Tabnine's features is to help us write these tests.
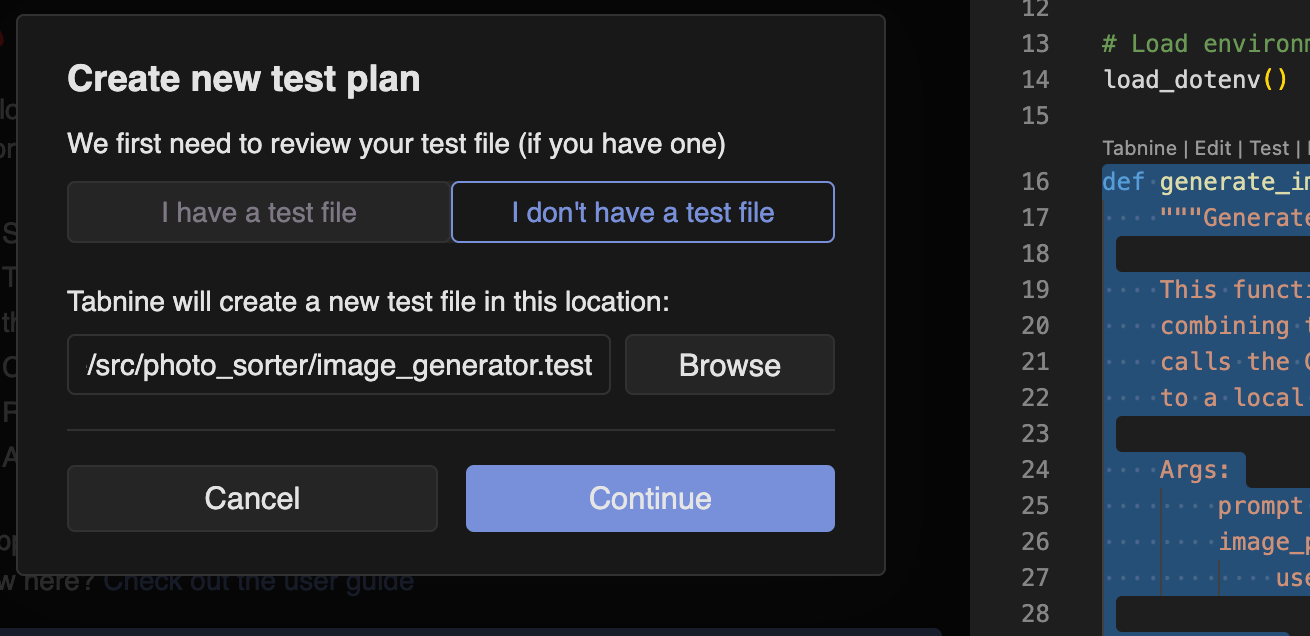
This feature is available in the "Test" tab or by clicking the "Test" option above a function definition. When we do so, Tabnine will create a test plan for that function.
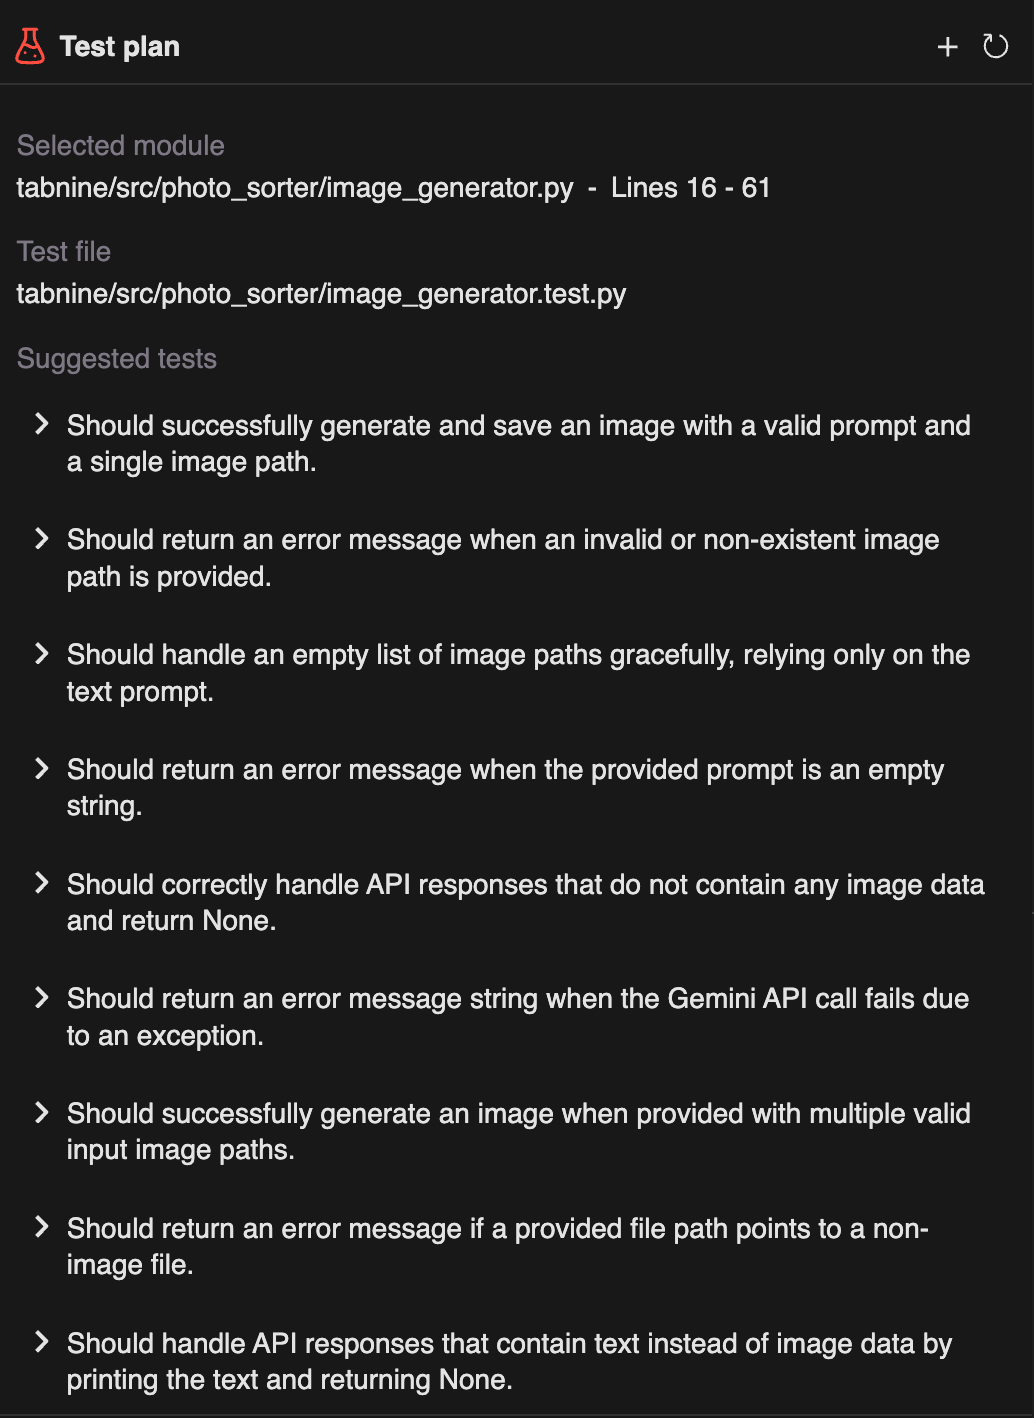
A test plan consists of scenarios with the expected behavior of the function. Here are some of the scenarios Tabnine identified for our function:
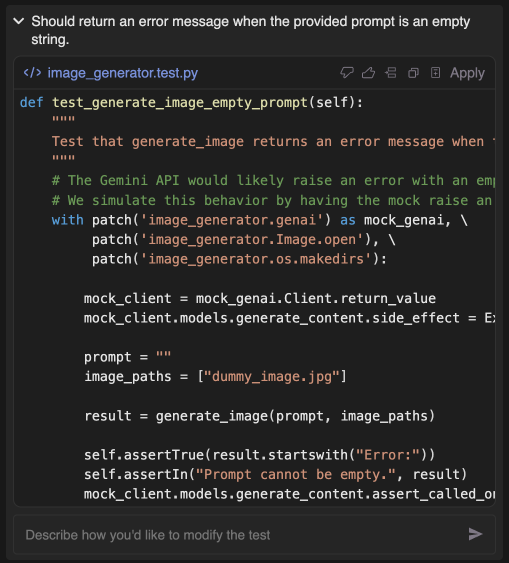
To generate a test for a specific scenario, we simply click on it. It will generate the test function for that specific scenario, which we can then integrate into our test suite.
When I applied these changes, the test file contained the test function and nothing else. It was missing the imports and the surrounding test class. I had to go back to the "Chat" tab to ask it to finish implementing the test. After that, I ran into an error because the name of the file it created was incorrect. As before, I told it that an error had happened, and it fixed it. Now the test runs successfully.
When I added other tests after this, all worked well.

Tabnine shows its potential as a powerful tool for rapid development by integrating easily with popular code editors. Its AI-assisted coding capabilities speed up the process, allowing developers to focus on innovation rather than rote tasks.
However, my attempt to construct an application purely through vibe-coding highlighted the importance of a solid foundational understanding of coding principles. Blind reliance on AI-generated code without verifying its suitability can lead to complications, leaving developers vulnerable to errors they might not comprehend fully.
Tabnine functioned efficiently for the most part, yet it often felt as though the underlying AI model was the real workhorse, comparable to other tools like GitHub Copilot. While Tabnine is indeed a useful tool, this experience underscores the irreplaceable value of traditional coding knowledge to ensure the effective, sustainable development of complex software applications.
Learn AI with these courses!
Course
Course
Course
Tutorial
François Aubry
Tutorial
Bex Tuychiev
Tutorial
Bex Tuychiev
Tutorial
François Aubry
Tutorial
Aashi Dutt
Tutorial
Aashi Dutt
