
Course
Designing Agentic Systems with LangChain
3 hr
12.1K
Running a trillion-parameter model like Kimi K2.5 typically requires a massive multi-GPU cluster and an infrastructure budget to match, often exceeding $40/hr. However, with the right optimization tools, you can run this state-of-the-art model without breaking the bank.
In this tutorial, I will show you how to run Kimi K2.5 locally using a single NVIDIA H200 GPU on RunPod. By leveraging llama.cpp for efficient inference and connecting it to the Kimi CLI, you can bypass complex enterprise infrastructure and start building high-level software immediately.
Kimi K2.5 is a state-of-the-art open source large language model designed for advanced reasoning, coding, and high-quality text generation. Developed by Moonshot AI, it is a trillion-parameter scale model designed for advanced reasoning, high-quality code generation, and strong general writing tasks.
In practice, it feels on par with Claude Opus 4.5 for many workflows, especially programming, structured reasoning, and long-form generation.
One of the biggest advantages of Kimi K2.5 is that it is fully open source. This means anyone can download the weights and run the model themselves without relying on paid APIs or closed platforms. The trade-off, of course, is scale.
This section explains the hardware, memory, and GPU prerequisites required to run Kimi K2.5 locally, including expected performance on a single H200 GPU.
Disk space
Memory (RAM + VRAM)
GPU requirements
GPU drivers and CUDA
We will now set up a GPU pod on RunPod and prepare it for running Kimi K2.5.
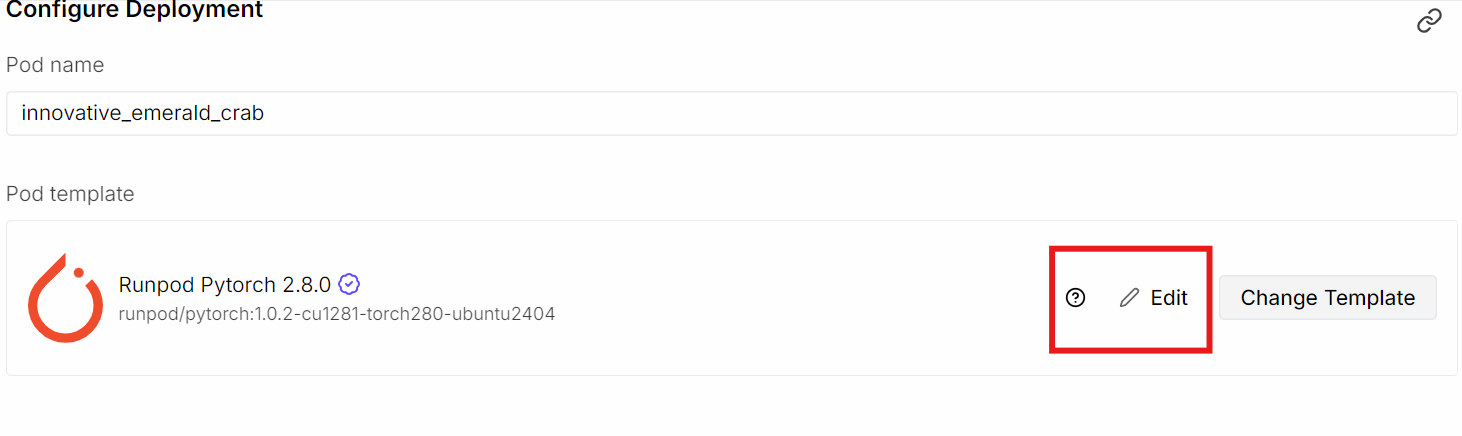
Start by creating a new pod in RunPod and selecting the NVIDIA H200 GPU. For the container image, choose the latest PyTorch template, as it already includes most of the CUDA and deep learning dependencies we need. After selecting the template, click Edit to adjust the default pod settings.
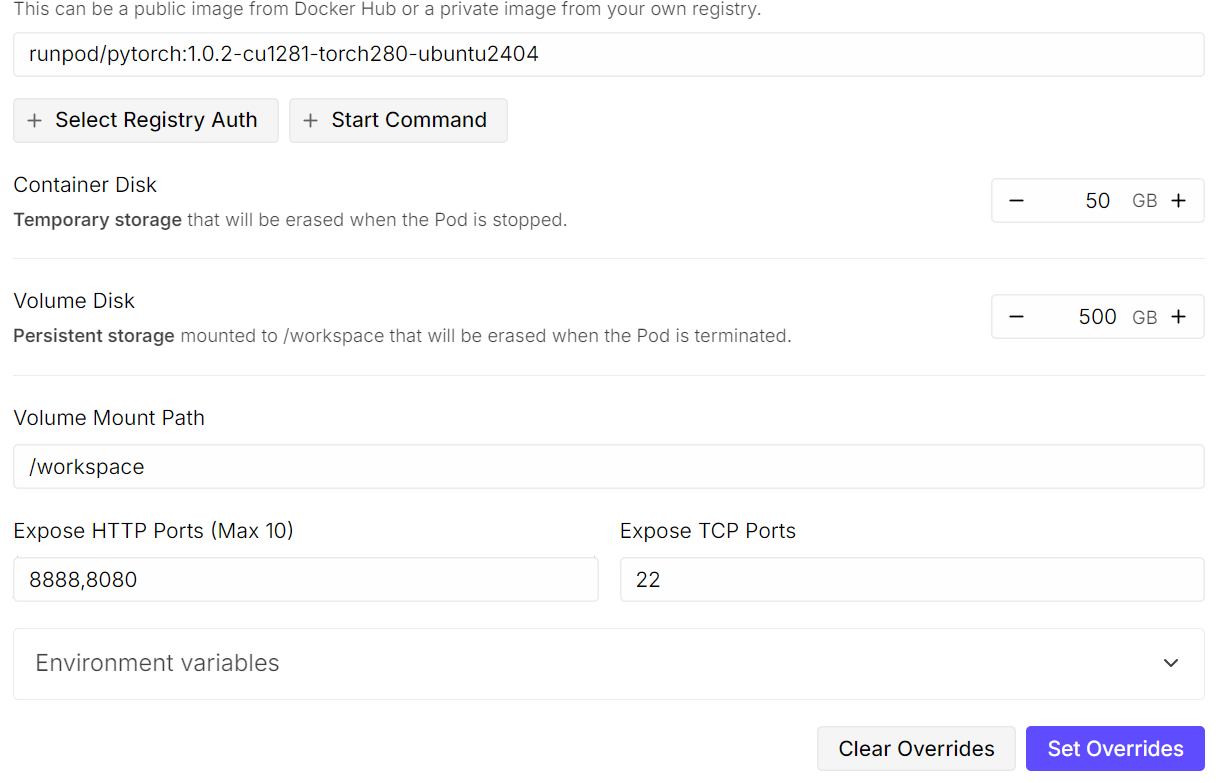
Update the storage configuration as follows:
Next, expose an additional port:
We expose port 8080 so we can access the llama.cpp server and Web UI directly from the browser, either locally or remotely, once the server is running.
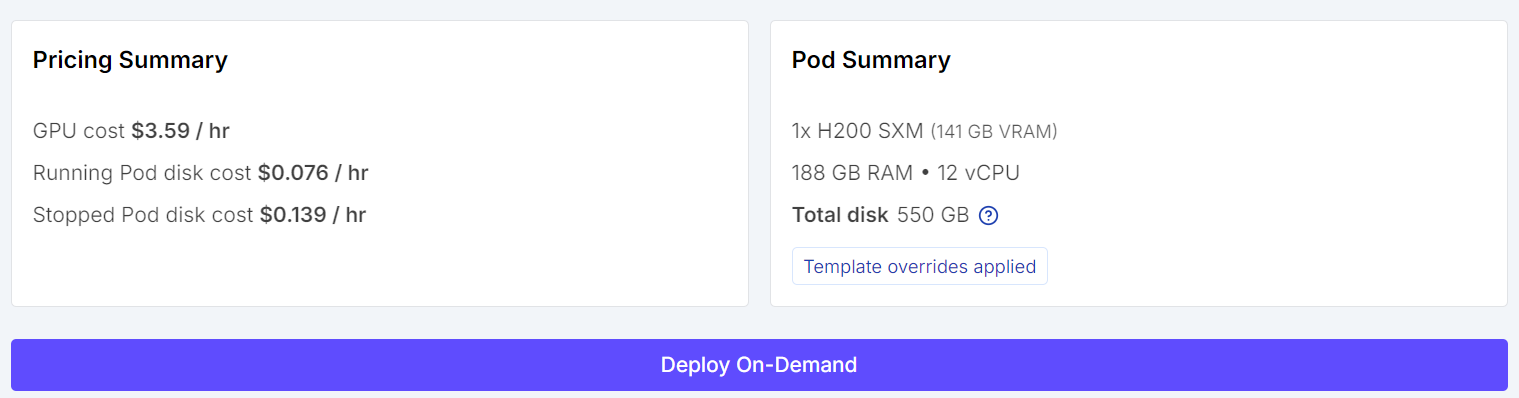
After saving these settings, deploy the pod. Even with a single GPU, running a model like Kimi K2.5 is expensive, but RunPod offers significantly more cost-effective options compared to traditional cloud providers.
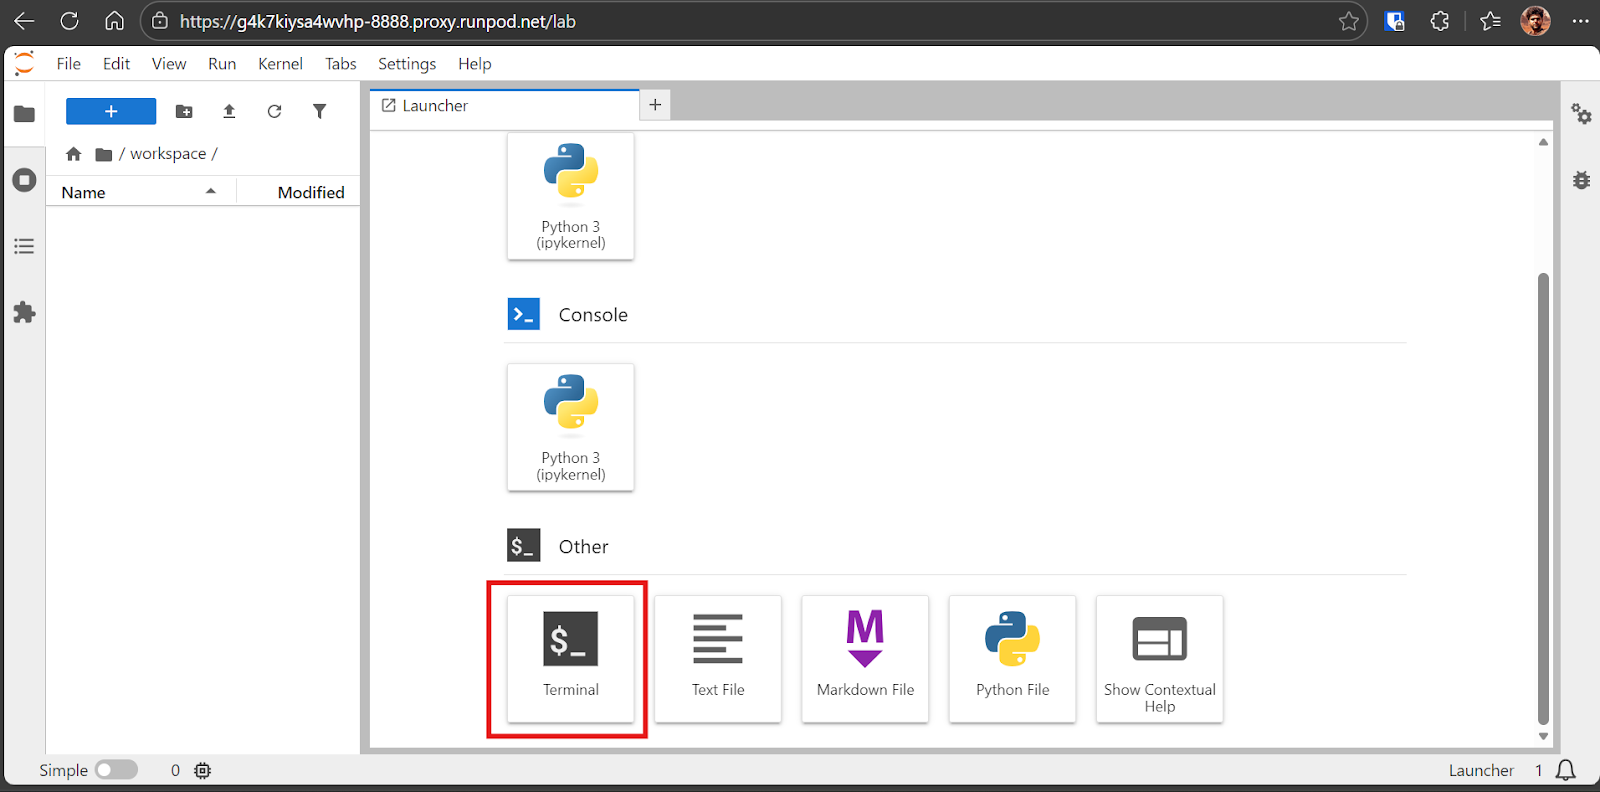
Once the pod is ready, launch the Jupyter Lab interface. From Jupyter Lab, open a Terminal session.
Using the terminal inside Jupyter is convenient because you can open multiple terminal sessions instantly without managing separate SSH connections.
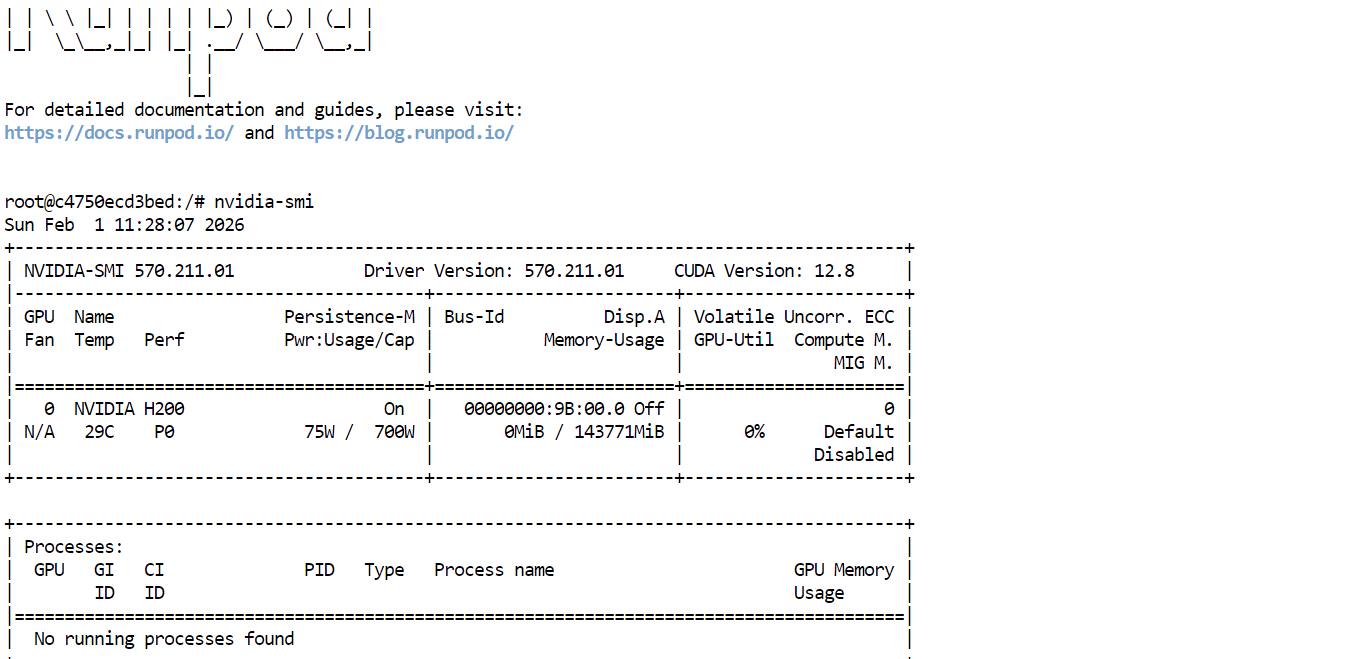
First, verify that the GPU drivers and CUDA are installed correctly by running:
nvidia-smiIf everything is set up properly, you should see the H200 GPU listed with approximately 144GB of available VRAM.
Next, install the required Linux packages needed to build llama.cpp from source:
sudo apt-get update
sudo apt-get install -y build-essential cmake curl git libcurl4-openssl-devWe will now build llama.cpp from source because it is fast, lightweight, and gives us the best performance on the H200 GPU.
llama.cpp is an open-source C and C++ inference engine designed to run large language models. It includes a built-in HTTP server called llama-server, which provides REST endpoints and a Web UI for interacting with the model from your browser.
It also supports custom CUDA kernels and CPU plus GPU hybrid inference, which helps when models do not fully fit in VRAM.
First, clone the official llama.cpp repository:
git clone https://github.com/ggml-org/llama.cppNext, configure the build with CUDA support enabled. We explicitly target CUDA architecture 90, which is required for NVIDIA H200 GPUs:
cmake /workspace/llama.cpp -B /workspace/llama.cpp/build \
  -DGGML_CUDA=ON \
  -DBUILD_SHARED_LIBS=OFF \
  -DCMAKE_CUDA_ARCHITECTURES=90
Now compile the llama-server binary. This server will later be used to run Kimi K2.5 and expose an HTTP endpoint and Web UI:
cmake --build /workspace/llama.cpp/build -j --clean-first --target llama-serverOnce the build completes, copy the binary to a convenient location:
cp /workspace/llama.cpp/build/bin/llama-server /workspace/llama.cpp/llama-serverFinally, verify that the binary exists and was built successfully:
ls -la /workspace/llama.cpp | sed -n '1,60p'We will now download the Kimi K2.5 GGUF model from Hugging Face using Xet, which provides significantly faster downloads for large model files.
First, install the required Hugging Face and Xet transfer tools:
pip install -U "huggingface_hub[hf_xet]" hf-xet hf_transferEnable the high-speed transfer backend:
export HF_HUB_ENABLE_HF_TRANSFER=1Next, download the 1.8-bit quantized model (UD-TQ1_0) from Hugging Face and store it locally.
We use this quant because it offers the best balance between model quality and hardware feasibility, allowing Kimi K2.5 to run on a single H200 GPU by offloading part of the model to system RAM while still maintaining usable inference speed.
hf download unsloth/Kimi-K2.5-GGUF \
  --local-dir /workspace/models/Kimi-K2.5-GGUF \
  --include "UD-TQ1_0/*"
Even without logging in using a Hugging Face access token, you should see download speeds of 800 MB per second or higher on RunPod.

In our case, the full download completed in around 6 minutes. The actual download time may vary depending on network bandwidth and disk performance.

Now that the model is downloaded and llama.cpp is built with CUDA support, we can launch Kimi K2.5 locally using the llama.cpp HTTP server.
Run the following command to start llama-server:
/workspace/llama.cpp/llama-server \
  --model "/workspace/models/Kimi-K2.5-GGUF/UD-TQ1_0/Kimi-K2.5-UD-TQ1_0-00001-of-00005.gguf" \
  --alias "Kimi-K2.5" \
  --host 0.0.0.0 \
  --port 8080 \
  --threads 32 \
  --threads-batch 32 \
  --ctx-size 20000\
  --temp 0.8 \
  --top-p 0.95 \
  --min_p 0.01 \
  --fit on \
--prio 3 \
  --jinja \
  --flash-attn auto \
  --batch-size 1024\
  --ubatch-size 256
What each argument does:
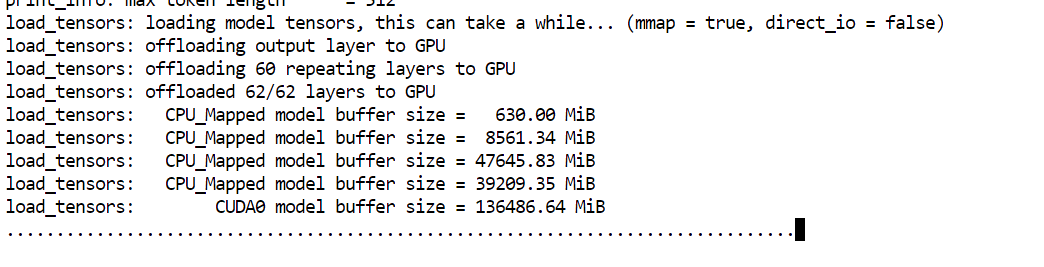
--model: Path to the GGUF model file to load--alias: Friendly name used to identify the model in the server and UI--host: Network interface to bind the server to (0.0.0.0 allows external access)--port: HTTP port used to expose the llama.cpp server and Web UI--threads: Number of CPU threads used for inference and preprocessing--threads-batch: CPU threads used for batch prompt processing--ctx-size: Maximum context window size in tokens--temp: Controls randomness of generated output--top-p: Nucleus sampling threshold for token selection--min_p: Filters out very low-probability tokens--fit: Automatically balances model weights between VRAM and system RAM--prio: Sets higher process priority for inference workloads--jinja: Enables Jinja-based prompt templating--flash-attn: Enables Flash Attention when supported by the GPU--batch-size: Number of tokens processed per GPU batch--ubatch-size: Micro-batch size to balance memory usage and throughputDuring startup, you will see the model load roughly 136GB into GPU memory, with the remaining weights offloaded to system RAM.
Note: If the llama.cpp server does not detect the GPU and starts on the CPU, restart the pod. If the issue persists, remove the existing build and rebuild llama.cpp with CUDA support enabled.
Once loading completes, the server prints an access URL. Open the Web UI in your browser at:
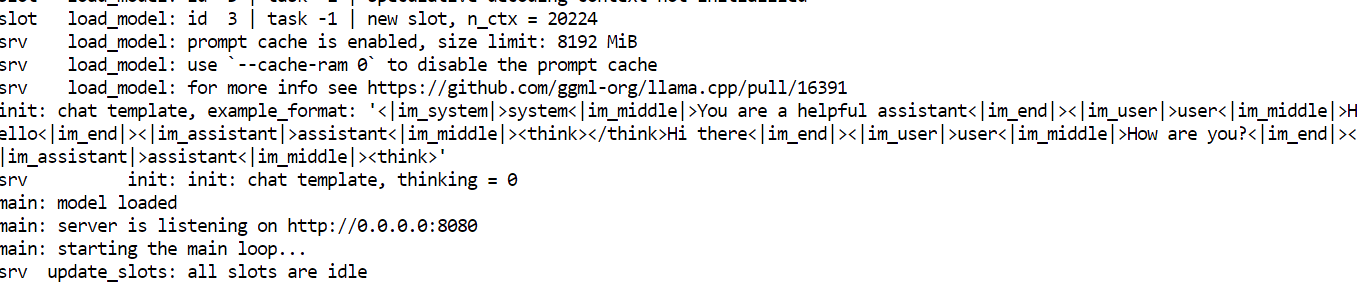
Note: If you see an error when running nvidia-smi, the process has likely crashed due to memory pressure. Restart the pod. All model files remain on the persistent disk.
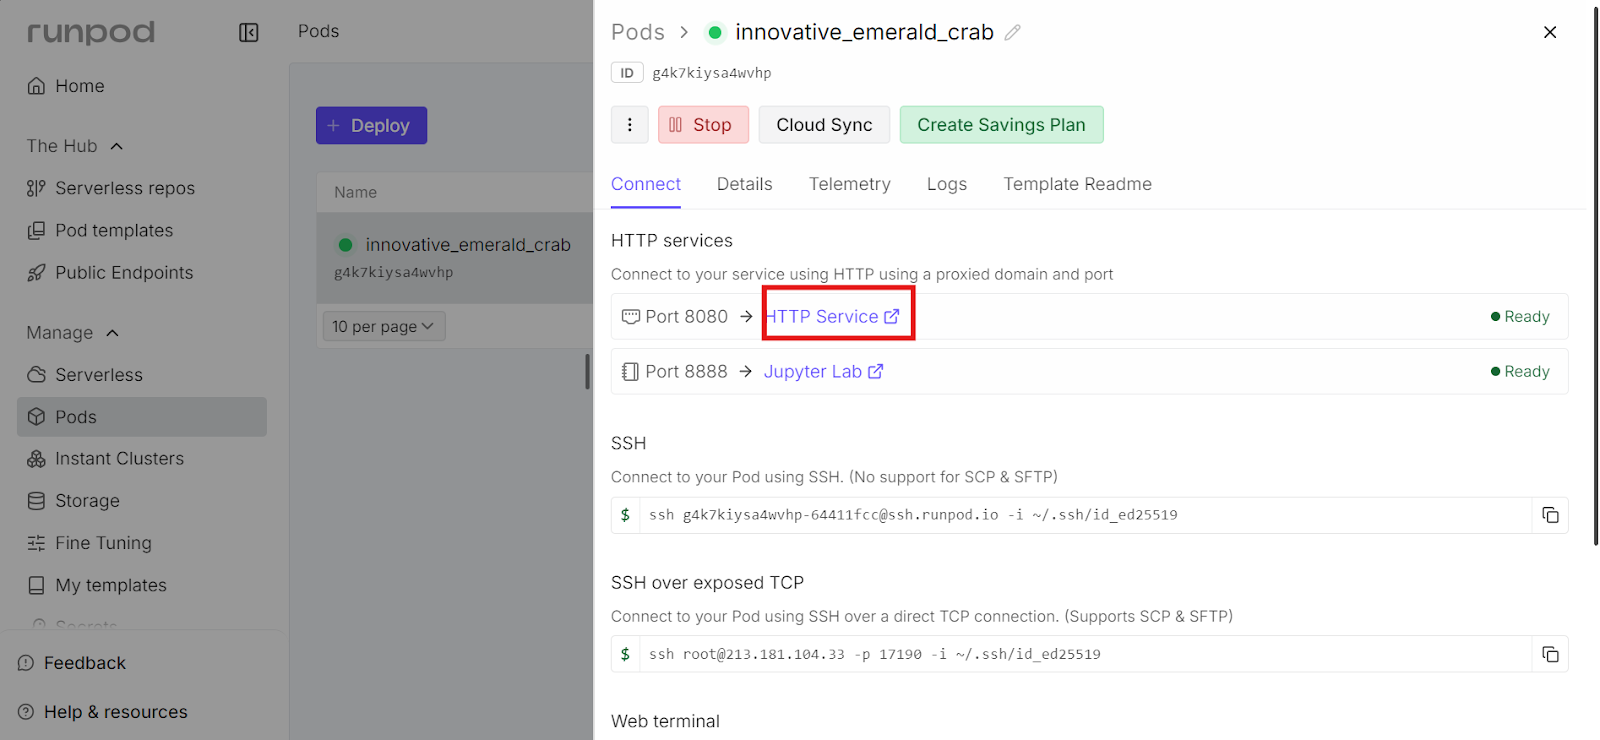
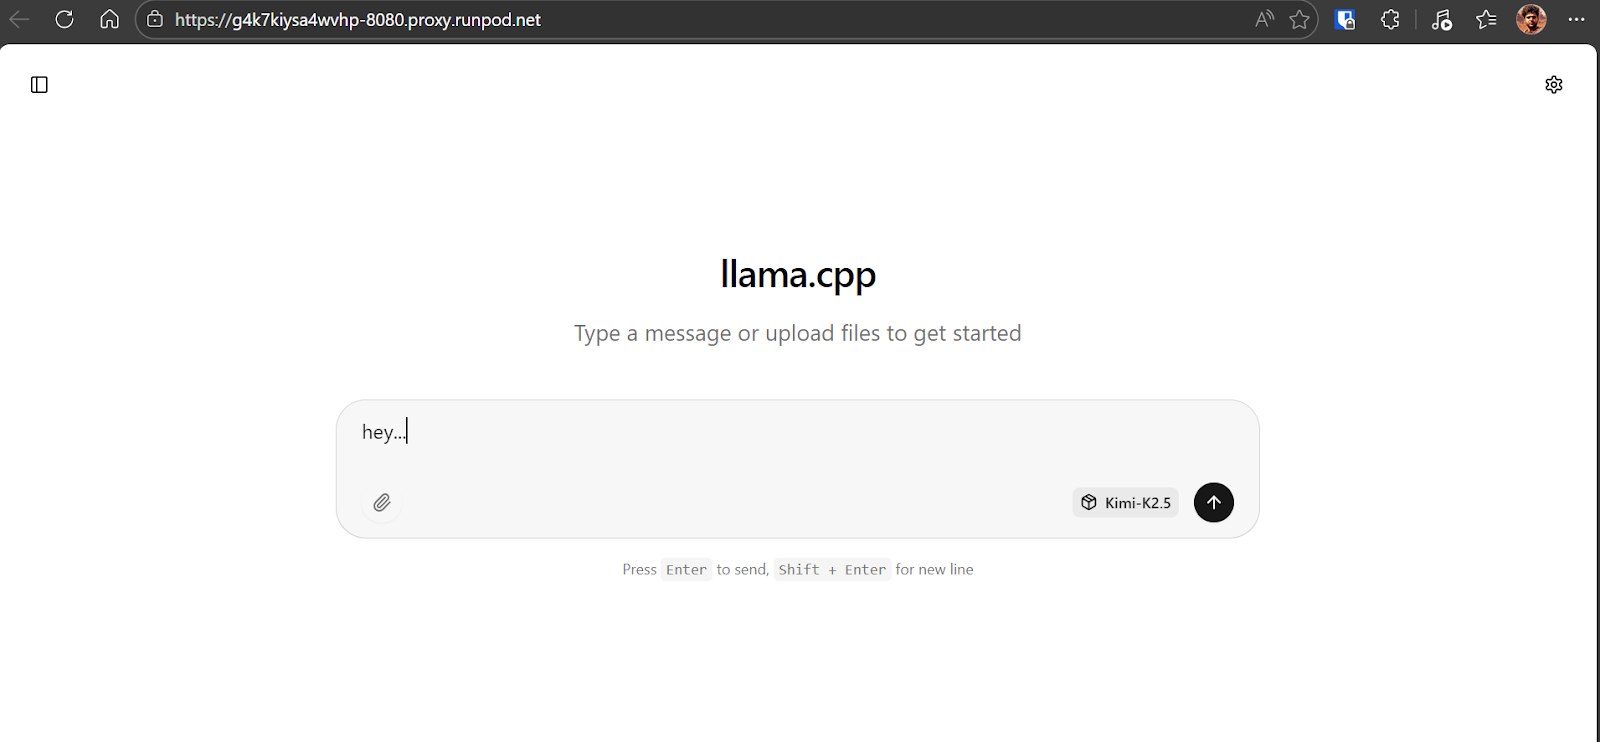
Once the llama.cpp server is running, you can access it through the Web UI exposed on port 8080.
To open it, go to the RunPod dashboard, select your running pod, and click the link shown next to port 8080. This opens the llama.cpp Web UI directly in your browser.
The Web UI provides a simple chat-style interface, similar to ChatGPT, but running entirely on your own RunPod instance. The URL is publicly accessible. You can share this link with teammates or collaborators if needed.
Start by sending a simple prompt to the Kimi K2.5 model to verify everything is working correctly. In our case, the model responds at around 6 to 7 tokens per second, which is expected for the 1.8-bit quant running on a single H200 GPU with partial RAM offloading. This is a solid baseline and confirms the model is using the GPU correctly.
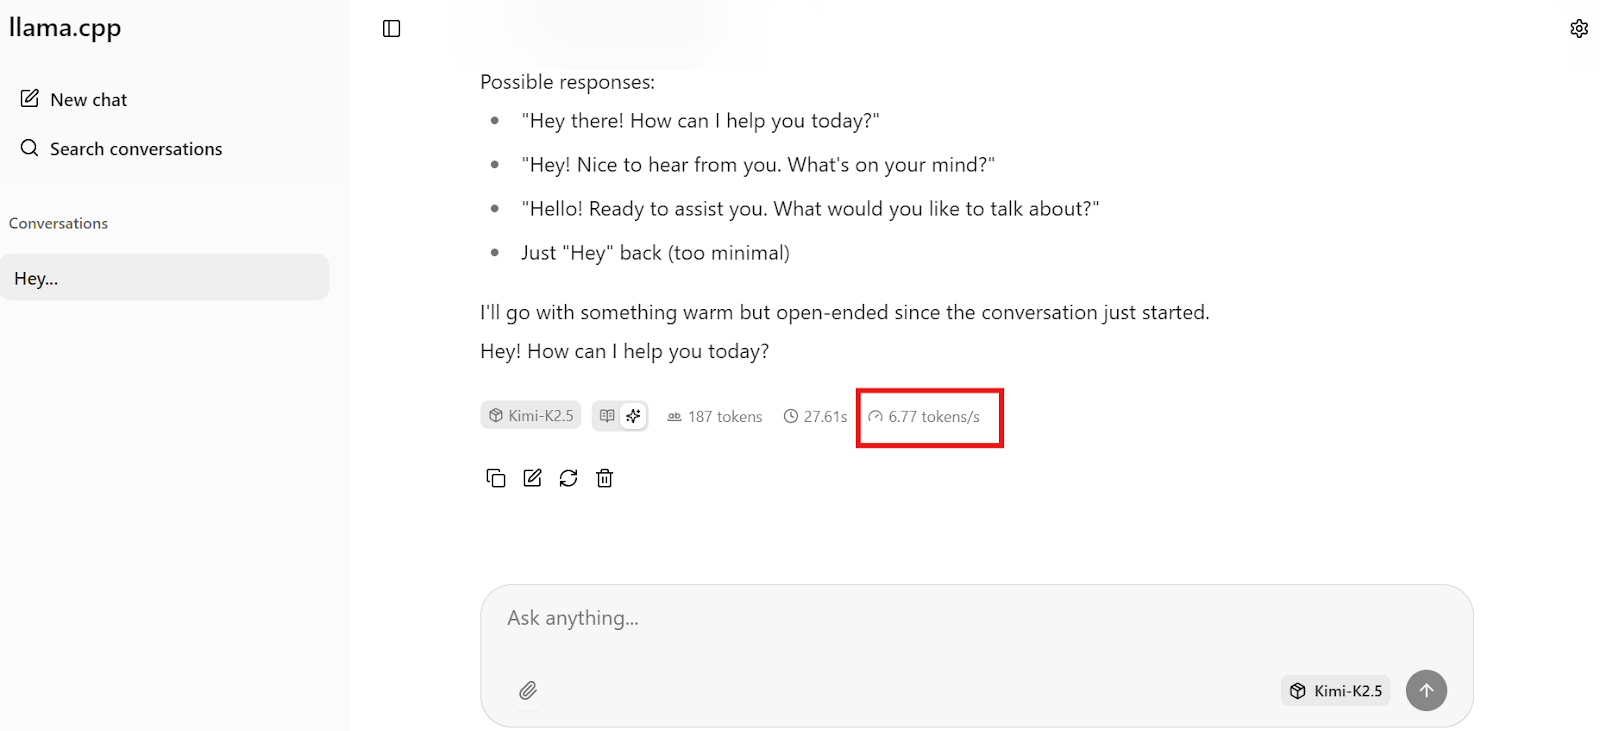
Note: The llama.cpp Web UI does not clearly separate reasoning from final output, so you may see both mixed together due to template issues.
Kimi CLI is a terminal-based coding and reasoning agent developed by Moonshot AI. It is designed to assist with coding tasks, shell workflows, and project-level changes directly from your command line. Unlike a simple chat interface, Kimi CLI can operate within your working directory, making it well-suited for real development workflows.
For local inference, the key advantage of Kimi CLI is that it supports OpenAI-compatible APIs. This allows us to point it directly at our locally running llama-server, enabling Kimi K2.5 to run entirely on our own hardware without relying on any hosted or paid API services.
Start by running the official installation script:
curl -LsSf https://code.kimi.com/install.sh | bashNext, add the binary to your PATH so the kimi command is available in your terminal:
export PATH="/root/.local/bin:$PATH"Confirm that the installation was successful:
kimi --versionYou should see output similar to kimi, version 1.5.
Create the configuration directory used by Kimi CLI:
mkdir -p ~/.kimiNow, create the configuration file. This tells Kimi CLI to treat your local llama.cpp server as an OpenAI-compatible provider running at http://127.0.0.1:8080/v1. It also registers a local model entry that matches the alias you specified when launching llama-server.
cat << 'EOF' > ~/.kimi/config.toml
[providers.local_llama]
type = "openai_legacy"
base_url = "http://127.0.0.1:8080/v1"
api_key = "sk-no-key-required"

[models.kimi_k25_local]
provider = "local_llama"
model = "Kimi-K2.5"
max_context_size = 20000
EOF
Make sure the value of the model exactly matches the --alias used when starting llama-server. The api_key field is a placeholder and is not required for local inference.
In this section, we will use Kimi CLI connected to our local Kimi K2.5 server to one-shot a fully playable Snake game using vibe coding.
First, create a new project directory and move into it:
mkdir -p /workspace/snake-game
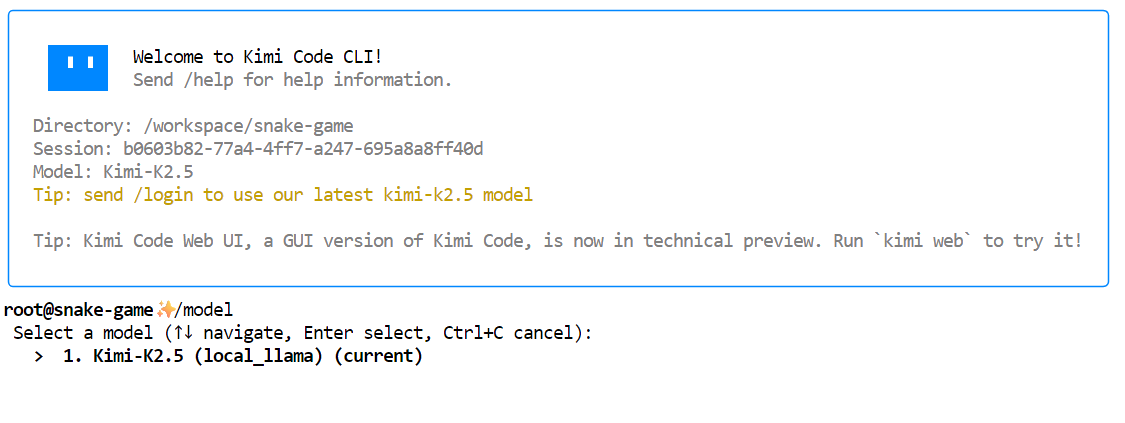
cd /workspace/snake-gameNext, launch the Kimi CLI:
kimiOnce Kimi CLI starts, type /model and select the local Kimi K2.5 model that we configured earlier. You should see Kimi-K2.5 listed as an available model.
 Now, prompt Kimi to generate the game. Use a simple, direct instruction like the following:
"Create a simple Snake game as a single self-contained file named index.html."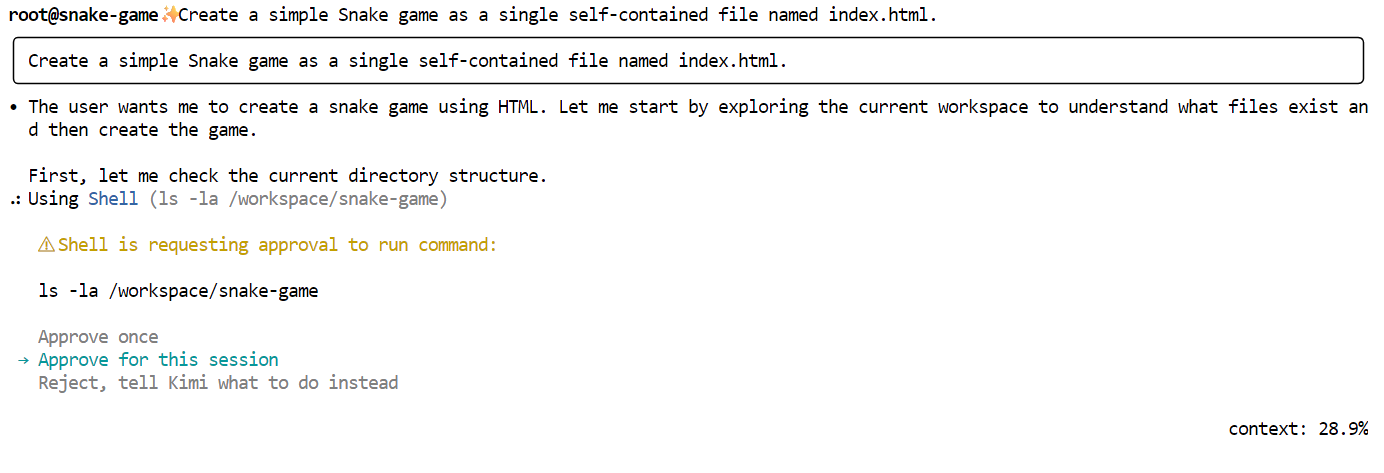
Kimi will first outline a plan and ask for your approval. Read through it and approve the request.
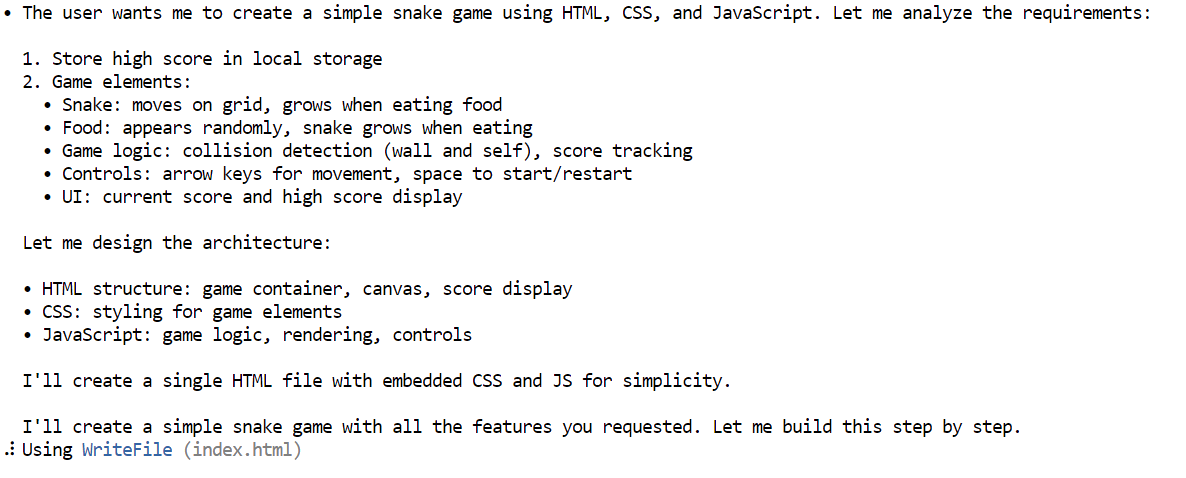
After approval, Kimi will generate the complete index.html file, including HTML, CSS, and JavaScript, all in one place.
Once the file is generated, download it or copy it locally and open it in your browser. The game launches immediately.
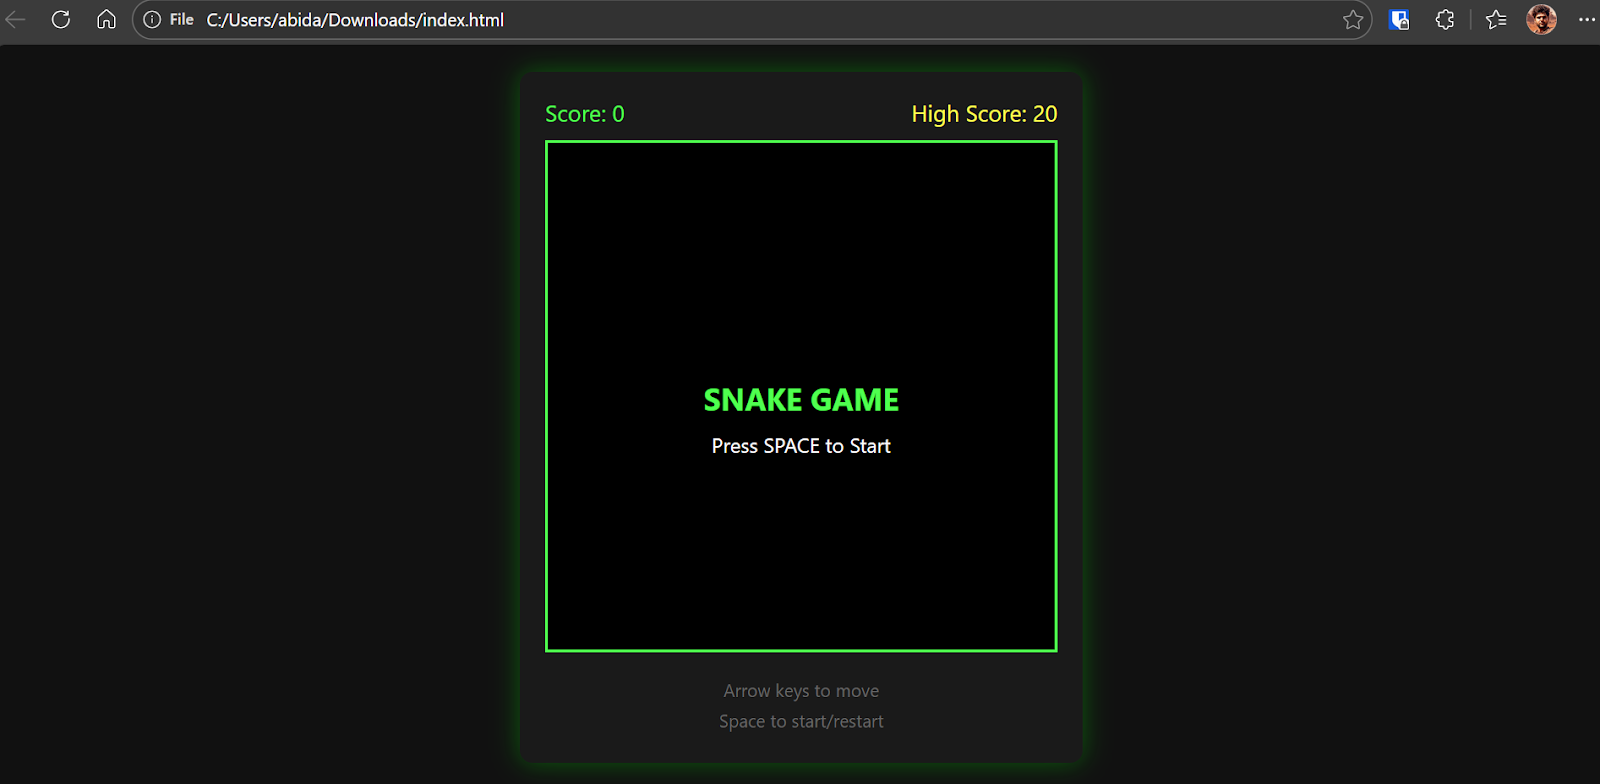
The result is a fully functional Snake game with smooth movement, clean visuals, and classic gameplay features.
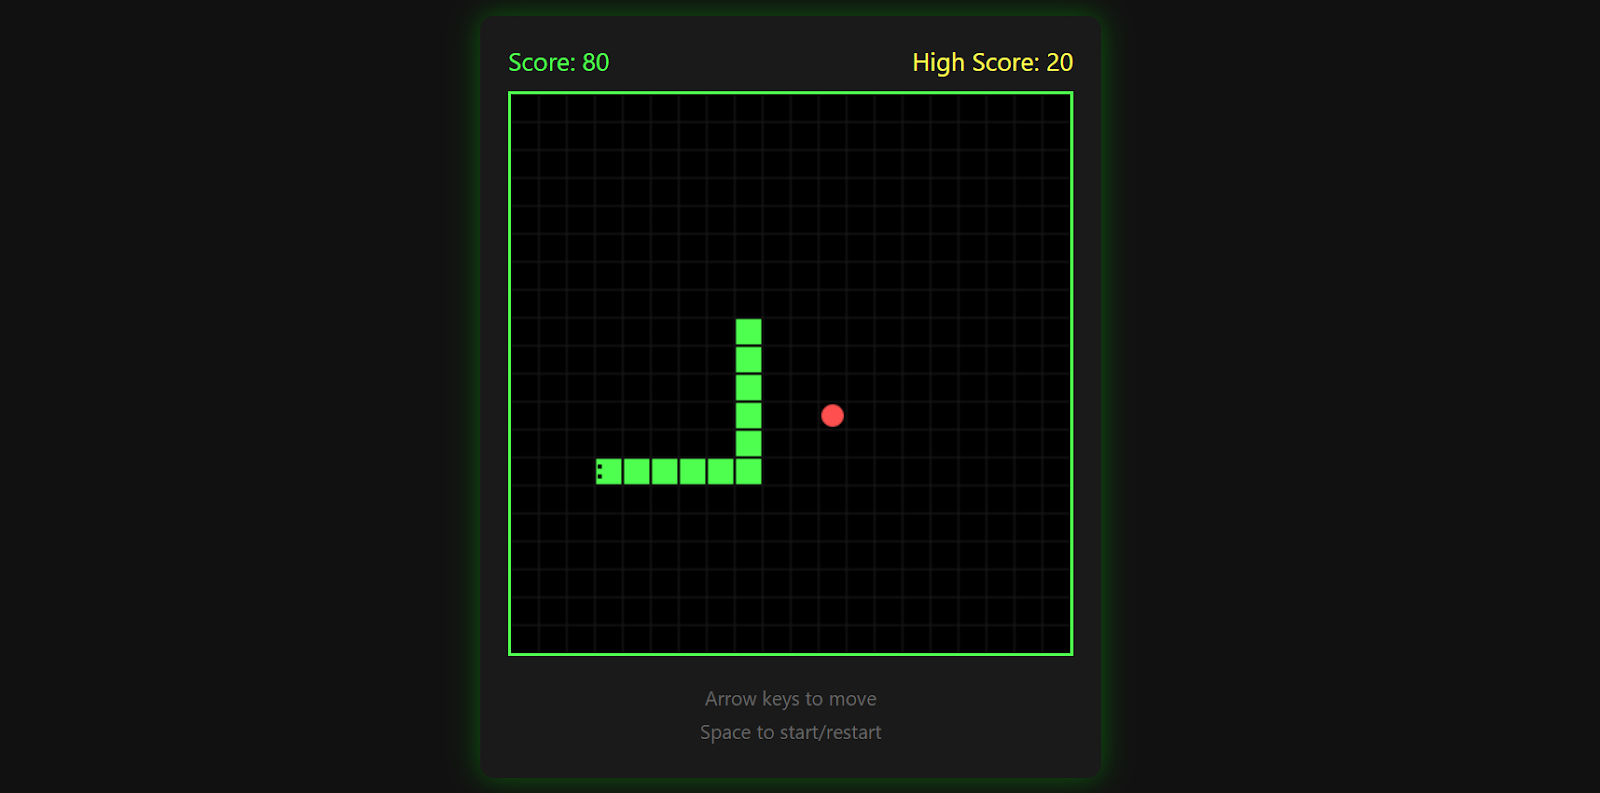
The game tracks your high score, ends when you hit a wall, and lets you restart by pressing the space bar again.
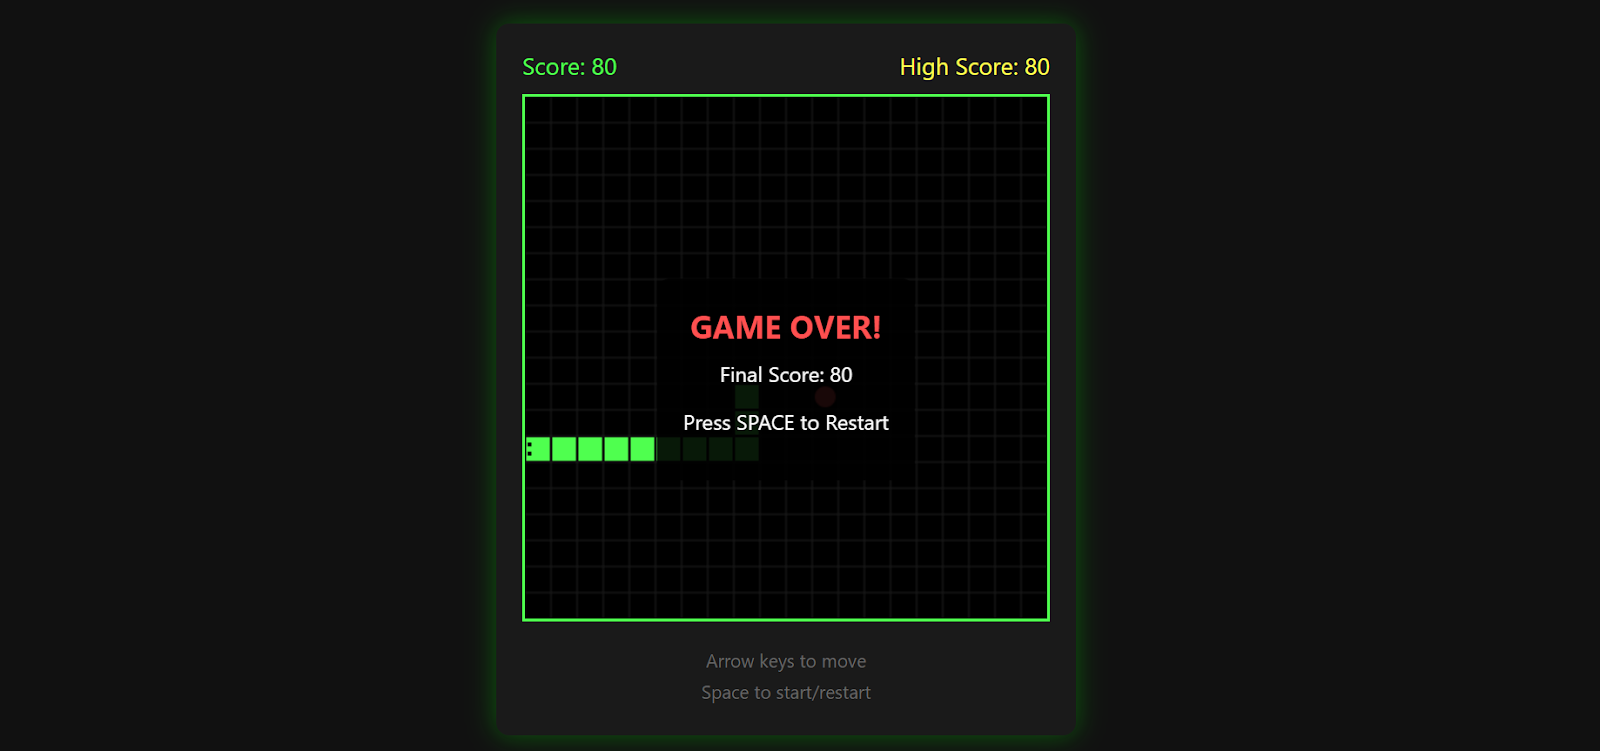
It is surprisingly polished for a single prompt and a great demonstration of what Kimi K2.5 can generate when paired with Kimi CLI and a local inference setup.
To be completely honest, I found building a fully working game in a single one-shot prompt was more frustrating than expected.
While Kimi K2.5 is clearly capable, the model often struggles to decide when to stop iterating on a task. In practice, it tends to overwork the problem.
For example, when asked to build a Snake game in Pygame, it may switch back to an HTML implementation, and when asked for HTML, it may revert to a Python-based approach.
This back-and-forth means you often have to intervene multiple times to keep the model aligned with your intent.
A large part of this behavior comes from the 1.8-bit quantization. While the 1-bit and sub-2-bit modes make it possible to run an extremely large model on limited hardware, they come with trade-offs.
The model can still generate coherent responses, but it struggles more with task termination, long-horizon reasoning, structured planning, and function calling. These are exactly the areas that matter most for agent-style workflows and multi-step coding tasks.
Realistically, Kimi K2.5 starts to shine at higher precision, such as 4-bit or above. At that level, planning improves noticeably, and the model behaves more predictably.
The downside is obvious. Higher precision requires significantly more RAM and VRAM, which puts it out of reach for many local setups. From a pure size-to-performance perspective at low precision, models like GLM 4.7 currently offer a smoother experience for many users.
That said, if you ignore the hardware constraints and run Kimi K2.5 at higher precision or through a hosted API, the model is genuinely impressive. Its reasoning depth, code generation quality, and long-context handling are strong enough that it can replace proprietary models in many workflows.
In fact, when used via the Kimi AI API, it is good enough to justify switching an entire vibe-coding workflow to it.
To keep learning more about the concepts we’ve covered here, I recommend these resources:
Top DataCamp Courses
Course
Course
Course
Tutorial
Abid Ali Awan
Tutorial
Bex Tuychiev
Tutorial
Abid Ali Awan
Tutorial
Abid Ali Awan
Tutorial
Aashi Dutt
Tutorial
Abid Ali Awan